Re: Royal William 1/48 scale

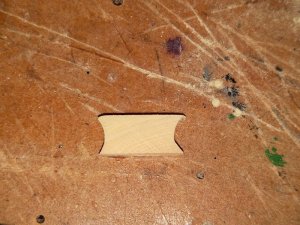
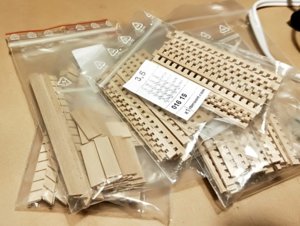
G'day guys, I have a set from Max at ZHL and they have a wood plate that bolts on each side to stop the metal cutter from bending, I am going to try and do the same for these Micro ones, as Dave and Zoly have said the wood needs to be the exact width for the cutter to fit on and also take small amounts at a time, I w2ill let you know how I go,

best regards John.
 
450.jpg
While waiting for the varnish to dry on the Steam Launch I decided to do some more to the RW, so its continuing
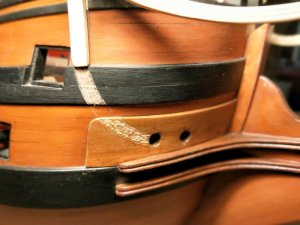
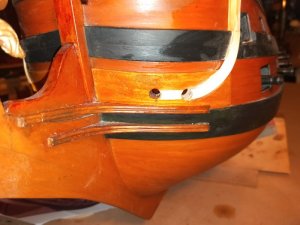
on with the head rails etc, I have marked and scratched the varnish from where the lower part of the rail will sit,
so the glue will have a good key,


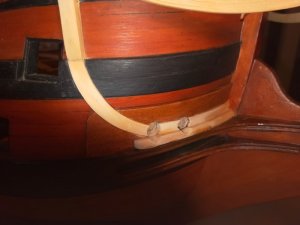
451.jpg
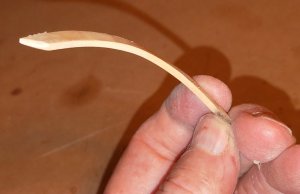
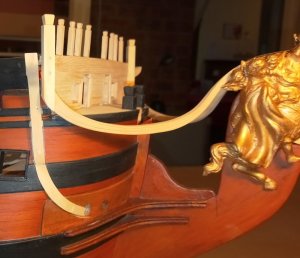
this is a part of the lower rail after it has been steamed and bent to shape,


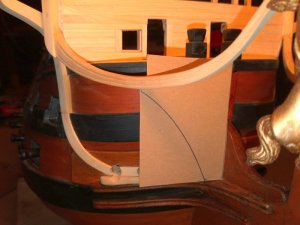
452.jpg
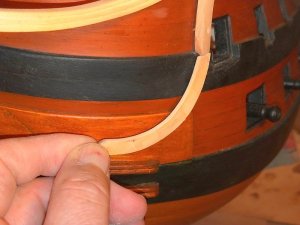
Holding the port side piece it against the ship where it will go,


453.jpg
and the starboard side piece attached,


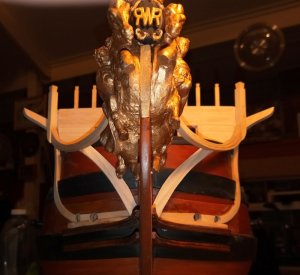
454.jpg
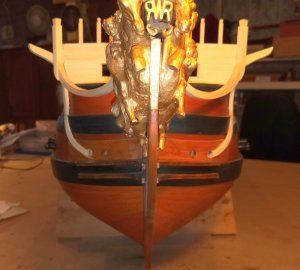
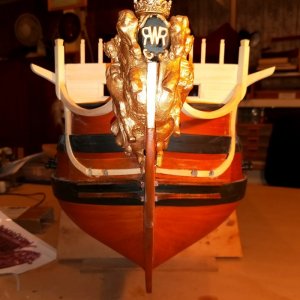
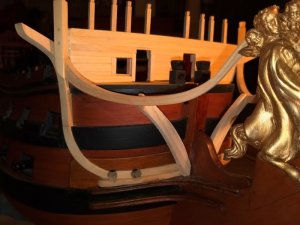
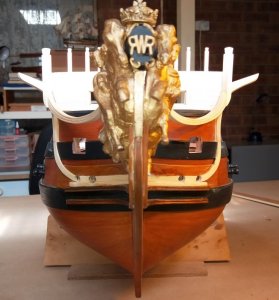
Head on view of both sides glued in place, this is the hard part, trying to keep everything symmetrical,


.
 
Last edited:
455.jpg
So next up was the piece that goes between the two hawser outlets,


456.jpg
and the part glued in place,


457.jpg
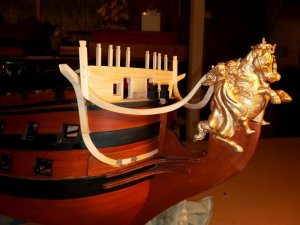
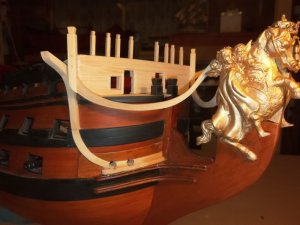
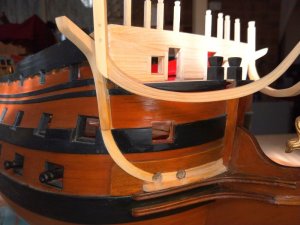
and a view of the finished rail assembly, still have to attach the bolsters under the rails,


458.jpg
Side on view,


459.jpg
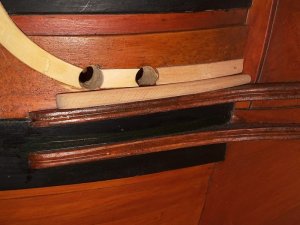
and a close up of the finished bolster in place,


460.jpg
another view,


461.jpg
and a close up of the finished bolster,


.
 
Hello John
Trying to catch up a bit on some of the great builds here on the Form. Just love your Figure Head and also all of its Wood Rail Trims, it all goes together very nicely and looks great, WELL DONE. Those AL molding scrappers look very interesting, just may see if I could acquire a set for mu Old Ship Yard, ENJOY.
Regards Lawrence


Thank you for the very kind comments Lawrence, I have yet to try out the scrapers maybe soon,

best regards John,
 
462.jpg
Working out the size and position of the rail supports, a lot of it is just eyeballed, I will get this one set of supports
worked out and then I will cut the rails and juggle things around to fix the position and shape of the other rails,


463.jpg
the port and starboard supports after cutting,


464.jpg
and a view of them just sitting in place not yet glued still a bit of trimming and sanding to do,


465.jpg
and a side view, any questions just ask, I cut these from normal pine wood, they will be painted black and faced
with some decoration,


.
 
466.jpg
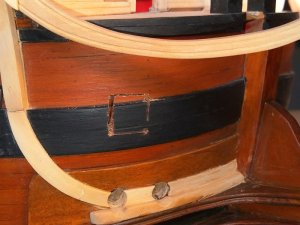
before continuing with the rails I decided to cut out the two smaller ports , I don't think these are gun ports but
more of an access to the anchor cables etc, but I could be wrong, I drilled a hole in each corner and then cut
them out with a small saw, squaring them up with small rasps and files,


467.jpg
still a small amount of cleaning up to do,


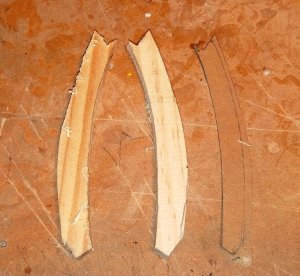
468.jpg
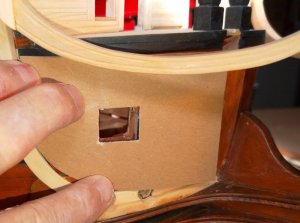
Then I cut a piece of cardboard to sit in the area as shown and marked and cut out the opening to use as a guide
for the starboard side,


469.jpg
Head on view of both ports cut out, just a small amount of cleaning up to do,


.
 
Hello John
Happy belated birthday, sorry for the late coming but with all of our family troubles lately I have not been on the SOS Form that much. However I do hope that you had a great day and that you received all of the new toys that you had hoped for and jus maybe a few more. Your ship is looking great, keep up the great work, ENJOY.
Regards Lawrence

Thank you for the Birthday wishes Lawrence, I know what you mean about not having time,

Best regards John,
 
I decided to have a break from the tug and do some more on the RW

470.jpg
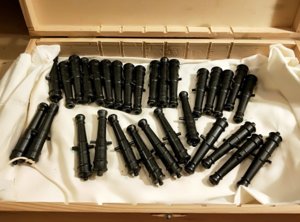
These are the rest of the large cannon that I had prepared earlier on, I have to attach the breeching ropes
and fix them on the carriages,,

471.jpg
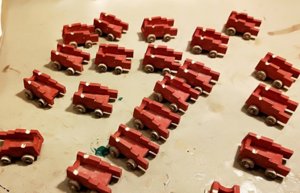
these are the carriages that will go on this next deck once it is planked,


185.jpg
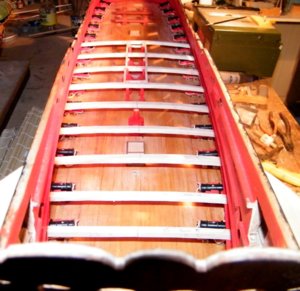
This is the next deck to be planked,
.
 
So up to date i have made 56 gun carriages to go on the two lower decks, so that still left me 48 to make for the
upper decks, so I decided to buy some instead of making them, I settled on the Lumber Yard, which is run by
Dave Stevens who is a member on SOS, I bought 28 18 pounders and 20 12 pounders, I have had them for
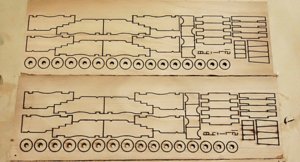
awhile now and have only just removed them from the sheets they were laser cut into, they are a fantastic quality
and they just fell from the sheets with a gentle push, and boy will they save me some work,

472.jpg
these are some of the 12 pounders,


473.jpg
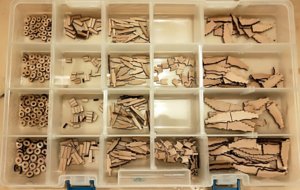
and all the parts removed and stored, enough parts here to make 48 carriages and there was enough wood
from around the parts to make spares if I stuff any up, but looking at the quality i don't think I will have any
problems, Thank you Dave they are brilliant,

.


.
 
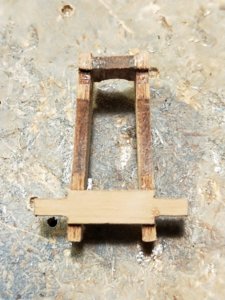
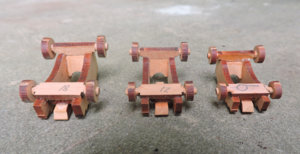
I've run into a little bit of a problem with assembling my gun carriages, see pics below,


475.jpg
This is the underside of the carriage and you can see the rear axle sitting in place,
this part fits OK,


476.jpg
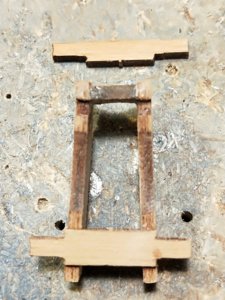
Now above the carriage you can see the front axle, but there is no way that I can fit
into the slot, can anyone see if I am doing something wrong,


477.jpg
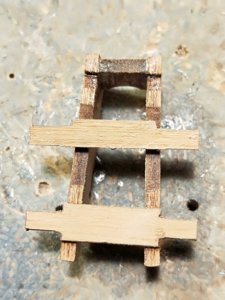
Another view, any help or suggestions gratefully recieved,

best regards John,


.
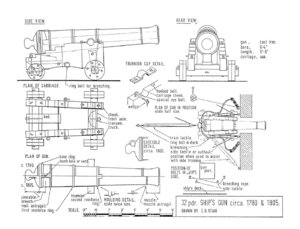
 
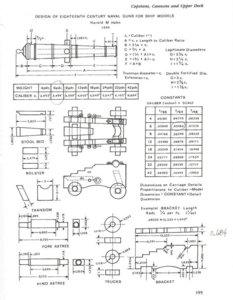
I guess, that they are cut wrong - and I think they should be slightly adjusted to fit a naval gun
View attachment 112568 View attachment 112569


Thanks for the info Uwe, thats what I was thinking, I have gone ahead and started to customize
them a bit to make them stronger, I have made flat beds to go in each one, and will see if I can
easily adapt the front axles to fit, if not I will make some new axles, bit of a bummer I was hoping to
just assemble them and save some time,

PS I have also sent a PM to Dave, maybe he can shed some light on question,

best regards John.
 
Last edited:
Back
Top