-

Win a Free Custom Engraved Brass Coin!!!
As a way to introduce our brass coins to the community, we will raffle off a free coin during the month of August. Follow link ABOVE for instructions for entering.
-

PRE-ORDER SHIPS IN SCALE TODAY!
The beloved Ships in Scale Magazine is back and charting a new course for 2026!
Discover new skills, new techniques, and new inspirations in every issue.
NOTE THAT OUR FIRST ISSUE WILL BE JAN/FEB 2026
You are using an out of date browser. It may not display this or other websites correctly.
You should upgrade or use an alternative browser.
You should upgrade or use an alternative browser.
Re: Royal William 1/48 scale
- Thread starter neptune
- Start date
- Watchers 56
-
- Tags
- royal william
Canoe21
Lawrence
Hello John
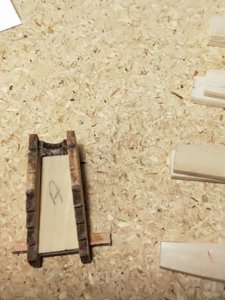
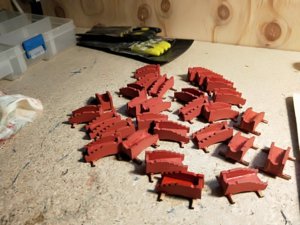
Great progress on your ship, she sure is looking great. Thanks for posting the Carriages pictures, I have a bunch for my Oliver Cromwell also from Dave, they look very good and will save me many hours, ENJOY.
Regards Lawrence
Great progress on your ship, she sure is looking great. Thanks for posting the Carriages pictures, I have a bunch for my Oliver Cromwell also from Dave, they look very good and will save me many hours, ENJOY.
Regards Lawrence
Thank you Lawrence, I've got to get back to building some more on her, too many projects too little time,
Best regards John,
Best regards John,
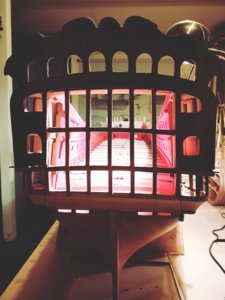
A view through the aft gallery windows, I've been having a clean up and a bit of a dust
off of the Royal William, I've got to get back and do a bit more on her, so I vacuumed
her out and got rid of the bits and pieces left over from installing the beams,
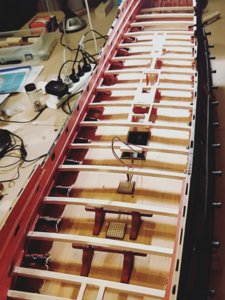
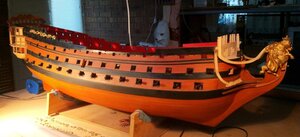
View of how she is at the moment,
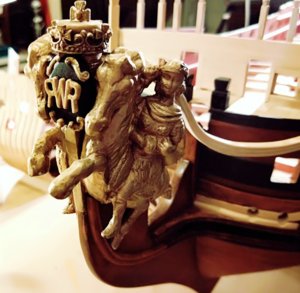
and the figure head,
.
This is certainly my favorite build in your workshop..
Canoe21
Lawrence
View attachment 113170
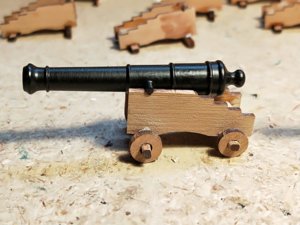
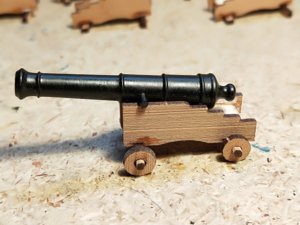
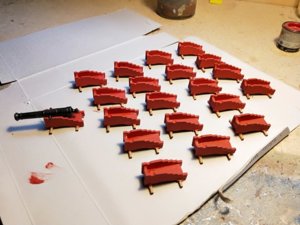
Some pics of the cannon mounted on the carriages,
View attachment 113171
View attachment 113172
and the cannon that will go on the two upper decks,
View attachment 113173
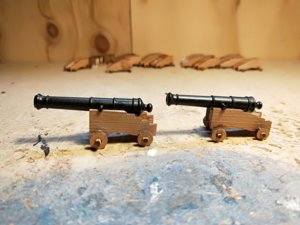
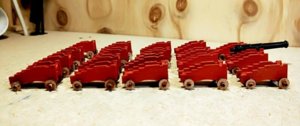
and after triming the axles to size and painting,
View attachment 113174
these are for the second deck down,
Hello John, after you installed the lower deck in your gun carriages may I ask how you fastened thin to the ships decks, a couple of nails or a small wood screw or did you glue thin in place?
Regards Lawrence
Last edited by a moderator:
@neptune ,Hello John, after you installed the lower deck in your gun carriages may I ask how you fastened thin to the ships decks, a couple of nails or a small wood screw or did you glue thin in place?
Regards Lawrence
I just edited Lawrence last post, the question to you was not visible before....
@neptune ,
I just edited Lawrence last post, the question to you was not visible before....
Thank you Uwe,
best regards john,
Hello John, after you installed the lower deck in your gun carriages may I ask how you fastened thin to the ships decks, a couple of nails or a small wood screw or did you glue thin in place?
Regards Lawrence
G'day Lawrence, on the lower deck I glued them in place and also put a long pin down through the sides of the carriage, see pic below,
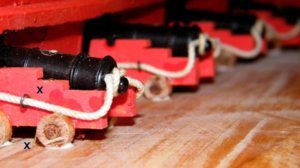
you can see the pin between the X,s, on the upper deck I will probably glue a small block of wood
under the carriage to fix it with glue to the deck,
best regards John,
Last edited:
Thank you Don for all the likes,
best regards John,
best regards John,
Canoe21
Lawrence
Hello John, Thanks for your great ideas, they are very helpful. Now I can start the task of building 24 gun carriages.G'day Lawrence, on the lower deck I glued them in place and also put a long pin down through the sides of the carriage, see pic below,
View attachment 130438
you can see the pin between the X,s, on the upper deck I will probably glue a small block of wood
under the carriage to fix it with glue to the deck,
best regards John,
Regards Lawrence
Hi John,
I missed your post about fabricating the decorative fretwork.
Can you run us through your process please ? It looks great.
I missed your post about fabricating the decorative fretwork.
Can you run us through your process please ? It looks great.
Hi John,
I missed your post about fabricating the decorative fretwork.
Can you run us through your process please ? It looks great.
G'day Brian, there is too much to repost but here is a link to page 5, where it shows it all,
https://shipsofscale.com/sosforums/threads/re-royal-william-1-48-scale.1417/page-5
best regards john,
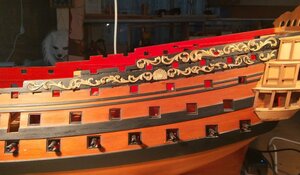
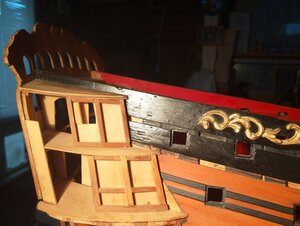
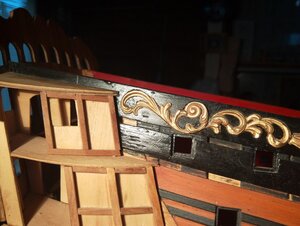
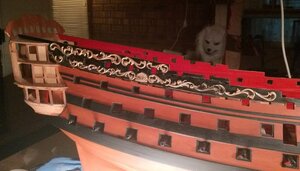
Thats the port side after scrolls attached,
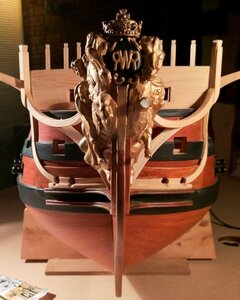
I've moved back up to the head rails, this shows the after most two rail supports just held
in position with a small amount of CA just enough to hold them while I work out the shape
of the other supports,
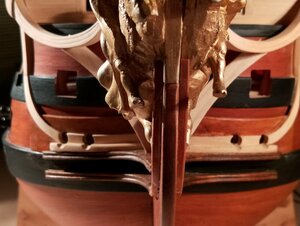
close up view,
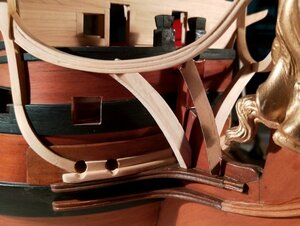
a piece of cardboard cut to shape as i work out the final shape, there will be one more support to go in front of
this one,
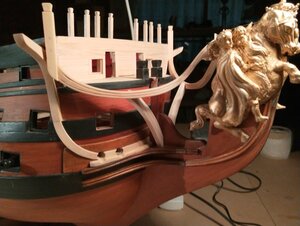
and a couple of views of how she is at the moment,
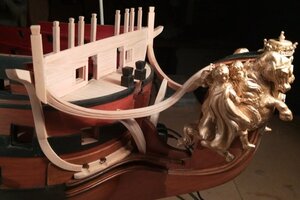
thank you for looking in,
best regards John,
.
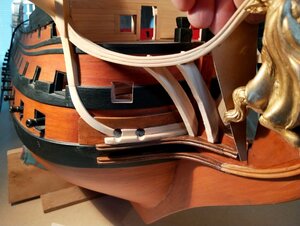
making the cardboard pattern for the last support,
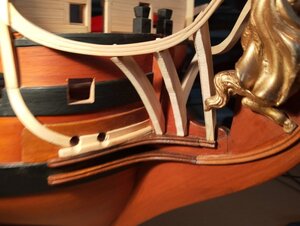
all three supports just sitting in place, next thing is to trim and sand down the front edges of the supports so
the head rails will sit flush with each support,
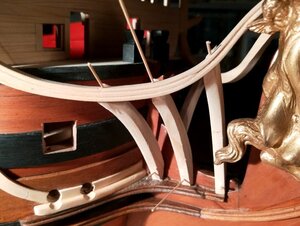
I had to keep removing each support and trim and sand a little at a time, so I used dowels to keep them in place,
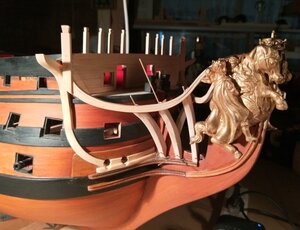
general view, everything seems to be working out OK,
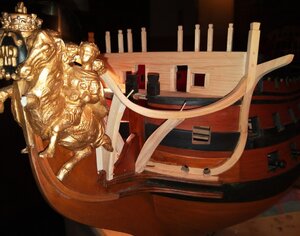
and two of the port side supports in the process of being trimmed to fit,
.
Following this build with much interest. Great work John.
Hi John, good to see you are back on RW.
Gives me some time to catch up with my RC
Gives me some time to catch up with my RC


