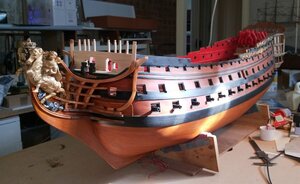
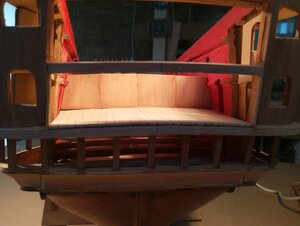
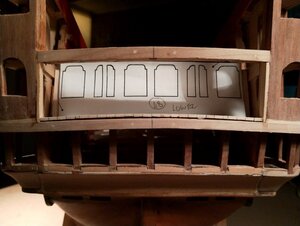
He has full rights to be unhappy! Why didn't you install the 'seats of easy' yet while allow the crew to board the ship? LOLbut one
of them was not very happy,
-

Win a Free Custom Engraved Brass Coin!!!
As a way to introduce our brass coins to the community, we will raffle off a free coin during the month of August. Follow link ABOVE for instructions for entering.
-

PRE-ORDER SHIPS IN SCALE TODAY!
The beloved Ships in Scale Magazine is back and charting a new course for 2026!
Discover new skills, new techniques, and new inspirations in every issue.
NOTE THAT OUR FIRST ISSUE WILL BE JAN/FEB 2026
You are using an out of date browser. It may not display this or other websites correctly.
You should upgrade or use an alternative browser.
You should upgrade or use an alternative browser.
Re: Royal William 1/48 scale
- Thread starter neptune
- Start date
- Watchers 56
-
- Tags
- royal william
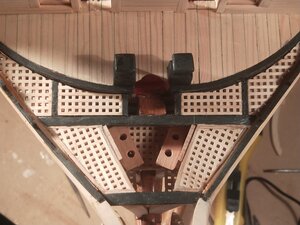
So after temporarily sitting the seats of ease in place. I wasn't very happy with how they looked, they seem
to be a bit of a tight fit,
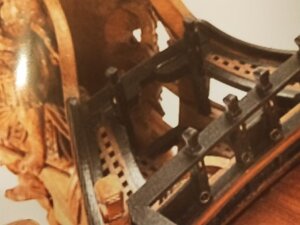
So it was another look at the photo's, ( I wish that I had a view looking straight down on to this area ) and it
looks like the gratings on this model are narrowed down to only one opening at the figure head end,
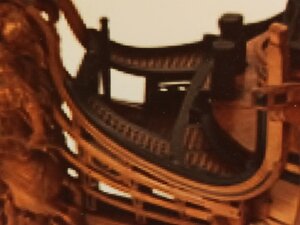
and approx three openings at the other end,
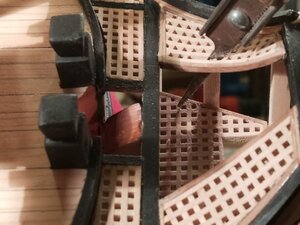
So it was out with the saw and I was only goiny to take one row off the gratings,
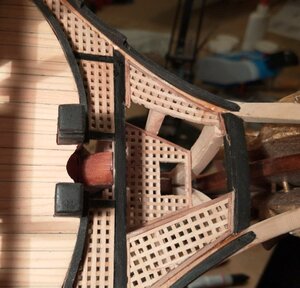
but ended up taking two rows off to try and match the Original model, one side still to be cut back,
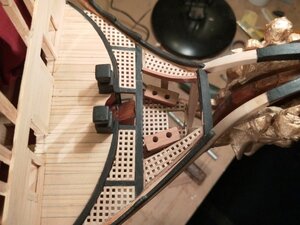
both sides now have been cut back and the seats of ease again just sitting there, they seem to look a lot better
now, so next job is to glue them in place,
.
Last edited:
- Joined
- Jul 22, 2017
- Messages
- 331
- Points
- 268

That was a nice repair job and a good call to address it in the first place. I remember using an old latrine when in the Army. The commodes were situated in such a way that five of them across looked at the five in front facing each other. Also, there were no dividing walls nor doors for privacy. But on the other hand you could tell who the actual veterans and newbies were. Newbies were shy about there business while veterans sat down and talked to there neighbors.
Raymond
Raymond
My daughter is a navy officer. A part of her first education was a few months on the small Danish fullrigger / tall ship, Georg Stage. This ship does have proper toilets on the quarterdeck. However the toilet doors starts about 2 feet above the deck so a little harassment is unavoidable. One day after some "trouble" aboard the captain sent all the toilet doors to a painting company for refurbishment, just before departure on a 6 weeks journey
Last edited:
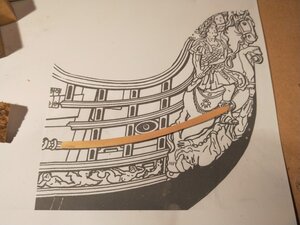
Now its time for the lower head rails, this is of course the bottom rail that I cut to shape and sanded, again I cut
the rail out of a piece of wood that was thick enough to get four rails from, a couple extra just in case,
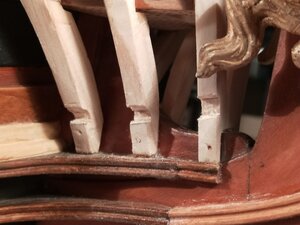
cutting out the joints in the support pieces, first one is OK the other two still to be finished,
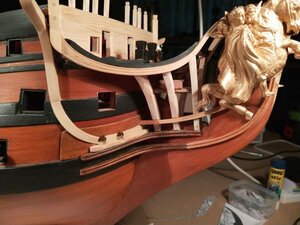
and test fitting the rail, it still has to have a moulding scaped on its top surface,
.
,
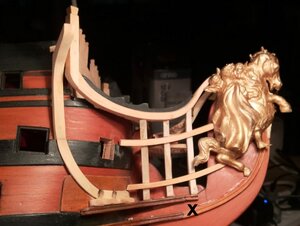
Preparing to fit the third rail up, I have to correct the small part of the moulding above the X, it might be OK as
this is where the gammoning ropes come and go through a slot that I have yet to cut, also I am looking for a figure
to go under the hooves of the horses, if I cannot find one I will put some scroll work in there,
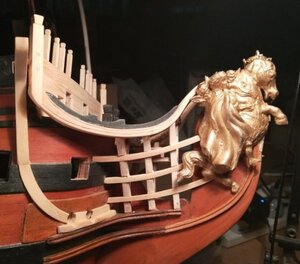
and all three rails just sitting in place not yet glued, I'm wondering if I should taper
them a little bit more from the rear to the front, still some cleaning up to do,
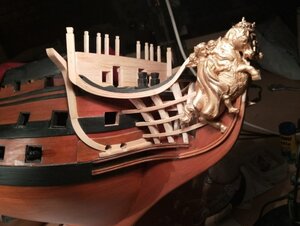
another view,
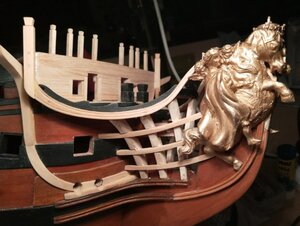
and a close up,
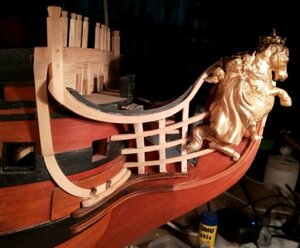
and with the flash on, thank you for looking any comments welcome,
best regards john,
.
G'day mate
What can I say that hasn't been said before? So dito to them all.
Happymodeling
Greg
What can I say that hasn't been said before? So dito to them all.
Happymodeling
Greg
G'day mate
What can I say that hasn't been said before? So dito to them all.
Happymodeling
Greg
Thank you Greg, its good to see you back and posting again,
best regards John,
Well I havn't done much in the last couple of weeks, just had a spell where I didn't feel like doing much,
but I have got back into in the last couple of days, so here are the results,
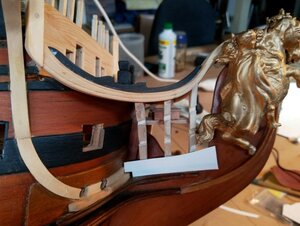
after measuring and cutting the starboard side notches for the rails, I made three templates, to the top of each rail as
in the pic and then transferred the marks to the port side and cut them out also,
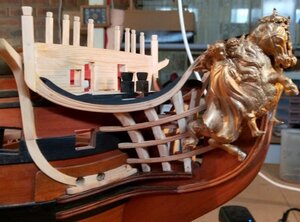
Then I cut to size and glued the rails in place, not too happy with them but they look alright at a distance with
your eyes closed, they still have to have some cleaning up done on them,
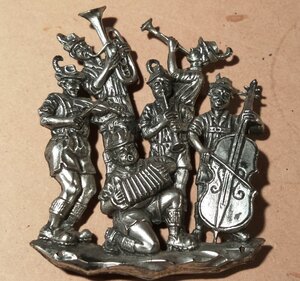
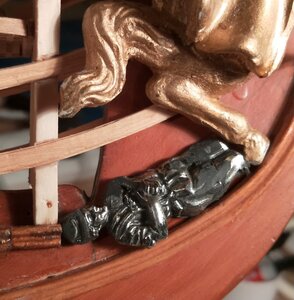
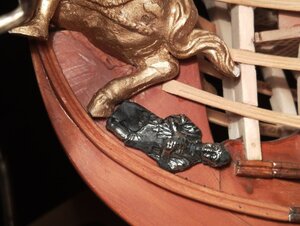
and then its time for the figures that go under the horses hooves, the King is riding over his enemies captured
and chained after battle, I found this group of figures in my stash box and decided to use them, they look like
a German style music group,
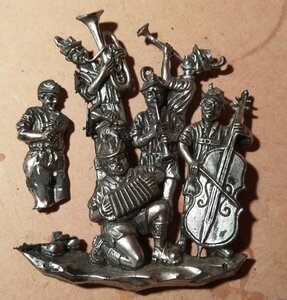
So after studying the figures I decide to use the one on the left for the starboard side, and cut him free and
shaped him to fit,
.
.
but I have got back into in the last couple of days, so here are the results,

after measuring and cutting the starboard side notches for the rails, I made three templates, to the top of each rail as
in the pic and then transferred the marks to the port side and cut them out also,

Then I cut to size and glued the rails in place, not too happy with them but they look alright at a distance with
your eyes closed, they still have to have some cleaning up done on them,

and then its time for the figures that go under the horses hooves, the King is riding over his enemies captured
and chained after battle, I found this group of figures in my stash box and decided to use them, they look like
a German style music group,

So after studying the figures I decide to use the one on the left for the starboard side, and cut him free and
shaped him to fit,
.
.
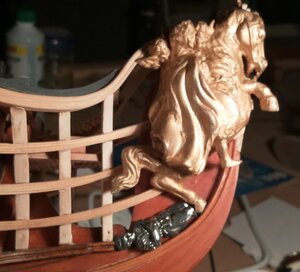
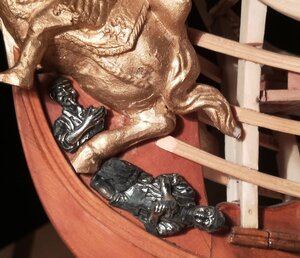
The lower side figure just sitting where he will go,
and a close up,
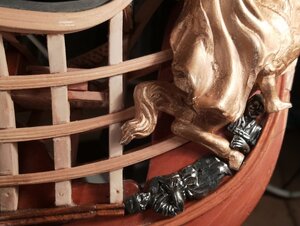
Then the upper figure again just sitting in place, thes still have to be refined and other pieces added like some
manacles and chains connecting them together,
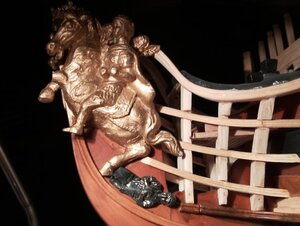
and three pics of the port side, Iv'e got a bit more work to do on this side to fill and clean up the joints,
.
Love your creativity John, looks like this tiroler band was tailor made for your ship. Just fantastic. 
Hopefully Uwe is not blaiming you for cutting some Austrians into pieces.
Hopefully Uwe is not blaiming you for cutting some Austrians into pieces.
Love your creativity John, looks like this tiroler band was tailor made for your ship. Just fantastic.
Hopefully Uwe is not blaiming you for cutting some Austrians into pieces.
Thank you for the very nice comments Maarten, I just wish that I could carve as good as you, maybe next time around, Iv'e got to catch up on you RC build among a lot of others,
Hi dear John
You are indeed doing an amazing job and the creativity is evident from the work process and the beautiful results. It is a pleasure to follow your creative process
Thank you shota70, fot your nice comments as well and also all the likes, they are much appreciated,
best regards John,
No problem -> I am German.......Love your creativity John, looks like this tiroler band was tailor made for your ship. Just fantastic.
Hopefully Uwe is not blaiming you for cutting some Austrians into pieces.
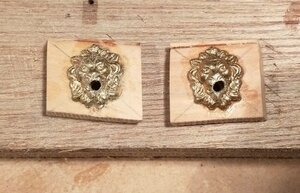
I have some brass pressed lions heads so i decided to use two of them for the fore
sheet tack rope to go through,
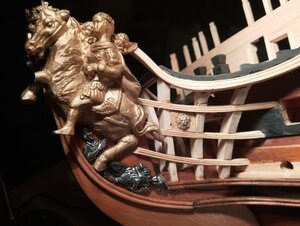
shows where they will be positioned in the rails,
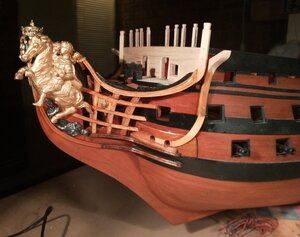
and after a coat of clear varnish, nearly all these head rails will end up being painted gold, the varnish is just a primer,
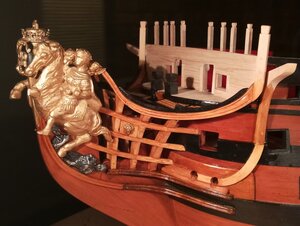
and a close up,
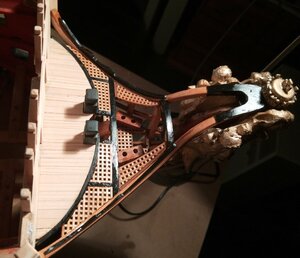
a couple of views of the gratings after a couple of coats of clear varnish,
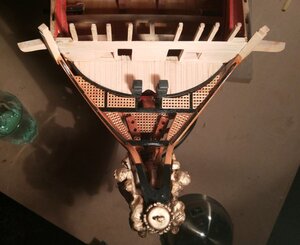
.
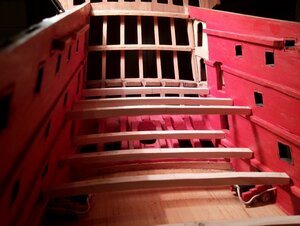
while I was waiting for the varnish to dry I decided to start on the transom end, I glued three beams across the ledges,
in preparation for the planking that will define where and how the stern gallery balconies will be planked,
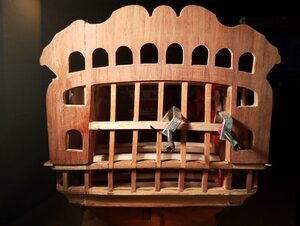
this pic shows me building out the horizontal frame work to bring it flush with the external planking,
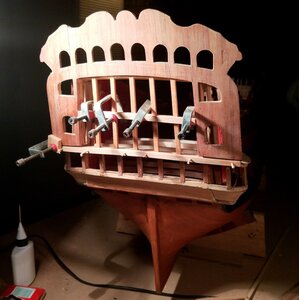
just got to wait for the glue to dry and clean everything up,
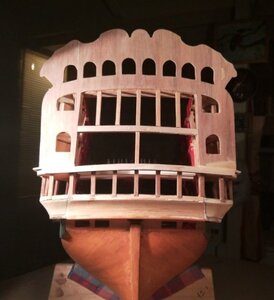
Ive now cut away the lower uprights and sanded all the outer face of the stern,
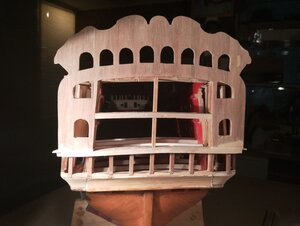
and the upper also cut away,
.
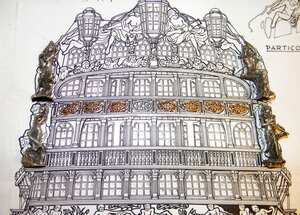
so for decorations I use whatever comes to hand, or sometimes out of my wife's trinket box, so up above we have
some ladies cast in pewter that i picked up at a bargain store, and also some metal oval decorations that came off
some ladies jewelry, both of these can be adapted with a little cutting and filling,
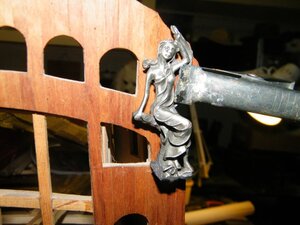
this is one of the ladies after being trimmed down a little,
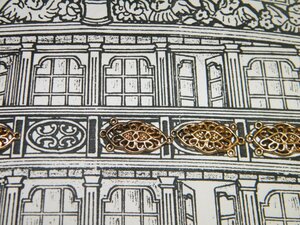
and a close up of the oval parts,
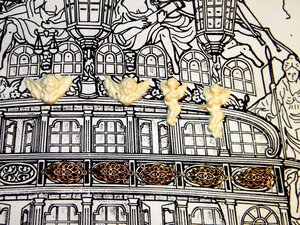
and these are some of the many Cherubs that I cast in resin,
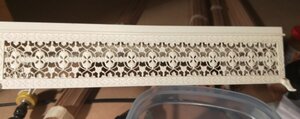
I also came across some lovely Tissue box holders years ago, these are great as they are actually see through,
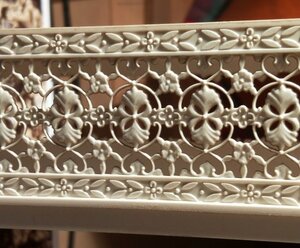
and a close up, I'm not sure if I will use these or the metal oval ones,
once again thank you for looking,
best regards john.
.
Last edited:
Thats a great idea on improvisation John.


