-

Win a Free Custom Engraved Brass Coin!!!
As a way to introduce our brass coins to the community, we will raffle off a free coin during the month of August. Follow link ABOVE for instructions for entering.
-

PRE-ORDER SHIPS IN SCALE TODAY!
The beloved Ships in Scale Magazine is back and charting a new course for 2026!
Discover new skills, new techniques, and new inspirations in every issue.
NOTE THAT OUR FIRST ISSUE WILL BE JAN/FEB 2026
You are using an out of date browser. It may not display this or other websites correctly.
You should upgrade or use an alternative browser.
You should upgrade or use an alternative browser.
Re: Royal William 1/48 scale
- Thread starter neptune
- Start date
- Watchers 56
-
- Tags
- royal william
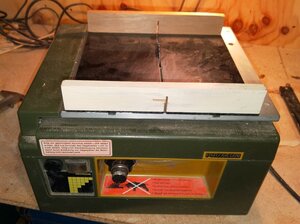
However before starting the bulkheads I though that i would finish making all the window frames, a couple of years
ago i had made a sled for my Proxxon saw, its just a sheet of plastic with two timber end pieces and a couple of
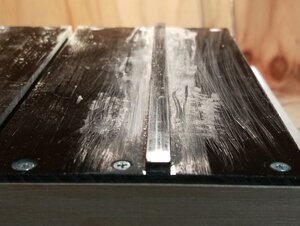
pieces of plastic glued to the underside to enable it to slide in the grooves on the saw table,
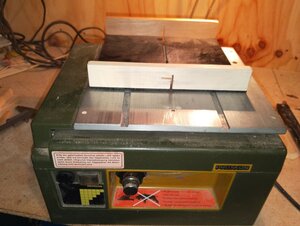
this pic shows the grooves that the sled is sliding in,
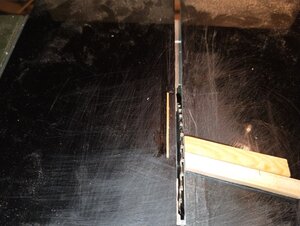
this sled comes in handy not only for cutting timber square, I also cut my grating strips on it, but this time I am
cutting the window frames on it,
the lower piece of whiter wood is CA glued to the table at the desired angle to match the angle of the window
frames and the piece above it has just been cut,
A strip of wood has also been CA glued to the table, the gap between the strip of wood and the saw blade has to
be the same as the gap between the window frames, you will see what I mean in the next few pics,
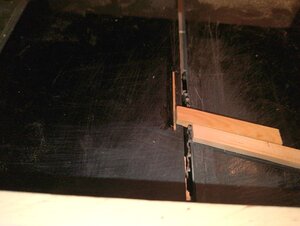
so here I am cutting the first slot,
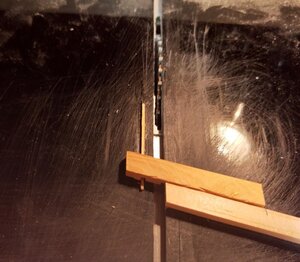
after cutting the first slot it then goes over the strip of wood which is just a nice fit for the slot, then the next slot is cut,
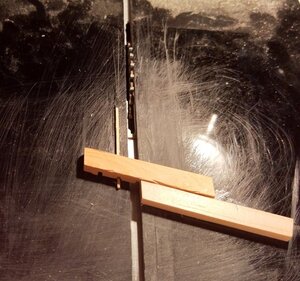
and you just keep going til the end of the piece of wood, these pieces are only test strips,
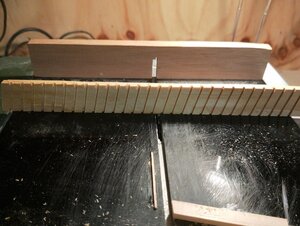
This is an actual piece that I have finished and now I will cut into strips to make the frames,
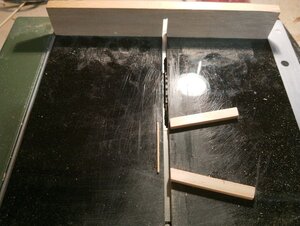
I then glued another piece of timber above the lower, on this piece I will cut the notches for the frames on the
other side of the ship,
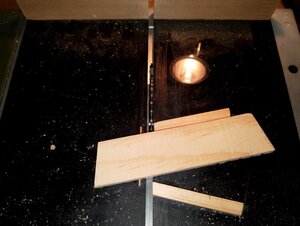
Just test cutting to make sure all is well,
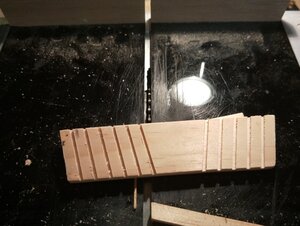
show the notches cut both ways, as I said this is just a test strip,
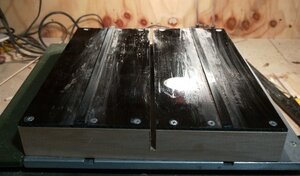
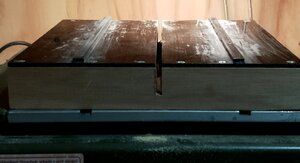
and a couple of views of the underneath of the sled, any questions just ask,
.
it's looks beautiful,
great progress
thank you so much for your encouragement,
best regards John,
Hello John!! Great idea to use sliding table (Russian called Stuslo) when made ladders!! And the all over appearance of your Royal William is just WOW!!!
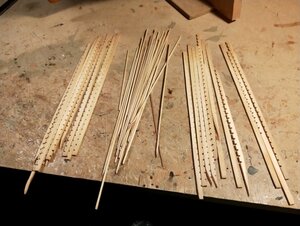
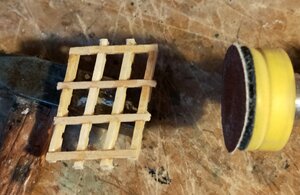
strips cut for the frames of each side of the galleries and in the middle smaller strips cut for going across the frames,
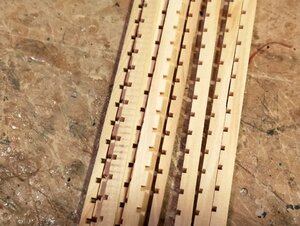
close up, the wood is Huon Pine,
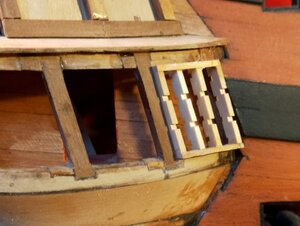
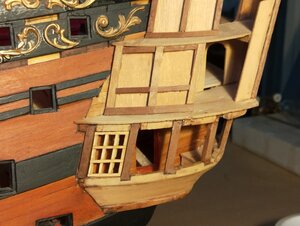
the first frame being test fitted,
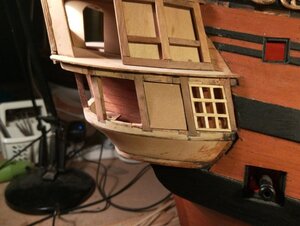
and after some sanding finally in place but not glued yet, and a piece of cardboard cut to size for the next frame,
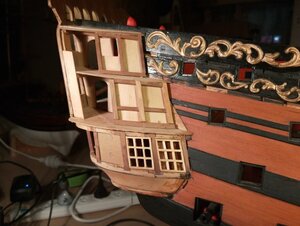
second frame in, and on and on,
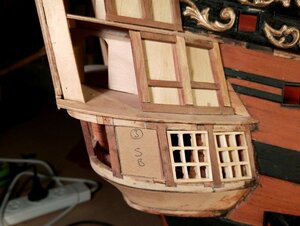
close up,
.
Thank you Jim and everyone for all the likes,
best regards John,
best regards John,
Last edited:
Hallo John,
very good result - very good
very good result - very good

Very nice work John. I love to see every time you find some jewelry which exactly fits the model.
In the mean time your model is becoming the jewel.
In the mean time your model is becoming the jewel.
Thank you guys for the nice comments and the likes,
best regards john.
best regards john.
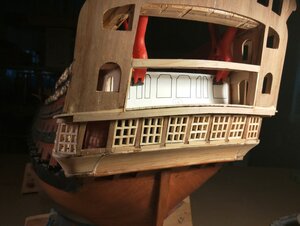
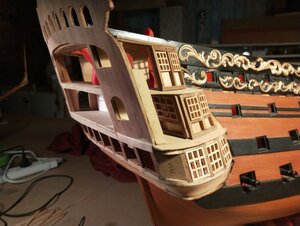
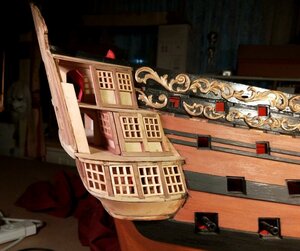
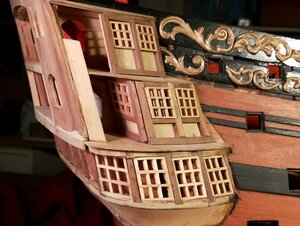
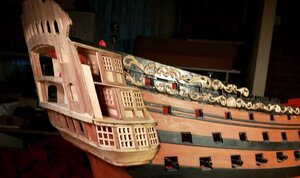
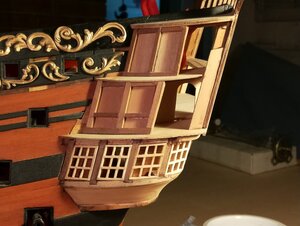
Just one more to make and that is all the outer windows made, I just realised that I have more to make up top,
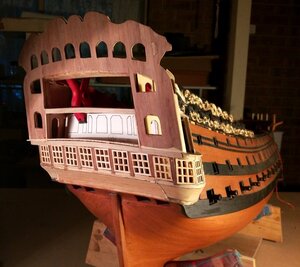
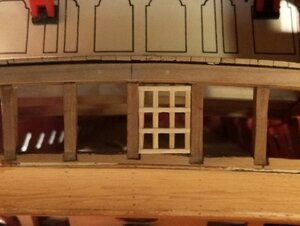
Thats the lot now I have to make the ones for the inside on the balconies,
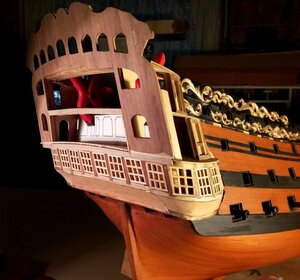
None of the frames are glued in yet, I got to make my mind up whether to glaze them or leave them like
they are, any idea's welcome, thanks for looking,
best regards john.
.
Last edited:
Hi John, I would say glaze them. Have you thought about liquid glass to fill up the small frames.
I would suggest looking for MICA, John. Yes, it is a bit hard to work, but it gives a natural glass appearance.
Thanks guys for the comments, the liquid glass sounds interesting, I don't know if I can get it in Australia, will have to check up on it, thanks again,
Best regards John,
Best regards John,
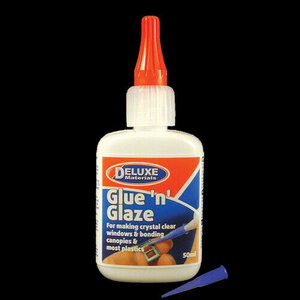
I have never worked with it but have seen some videos on youtube about these kind of liquid glass products. Would be interesting to see.I have just bought some some of this for glazing the windows,
View attachment 176152
so hopefully it works well,
thank you for the suggestions,
best regards john,
.
I am looking forward to see the result and how you use it...I have just bought some some of this for glazing the windows,
View attachment 176152
so hopefully it works well,
thank you for the suggestions,
best regards john,
.


