-

Win a Free Custom Engraved Brass Coin!!!
As a way to introduce our brass coins to the community, we will raffle off a free coin during the month of August. Follow link ABOVE for instructions for entering.
-

PRE-ORDER SHIPS IN SCALE TODAY!
The beloved Ships in Scale Magazine is back and charting a new course for 2026!
Discover new skills, new techniques, and new inspirations in every issue.
NOTE THAT OUR FIRST ISSUE WILL BE JAN/FEB 2026
You are using an out of date browser. It may not display this or other websites correctly.
You should upgrade or use an alternative browser.
You should upgrade or use an alternative browser.
Re: Royal William 1/48 scale
- Thread starter neptune
- Start date
- Watchers 56
-
- Tags
- royal william
Canoe21
Lawrence
Hello John, She sure is looking good.
Regards Lawrence
Regards Lawrence
Wow, absolutely incredible and fascinating work. I admire your skills
Jan
Jan
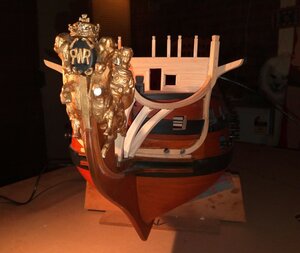
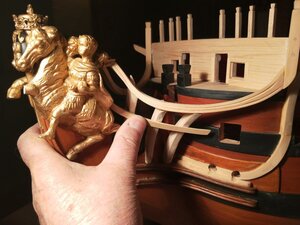
Hello John, I am looking at the head figure and you holding hand - Man...The model is pretty large, and BTW, gorgeous looking  Great job!
Kurt Konrath
Kurt Konrath
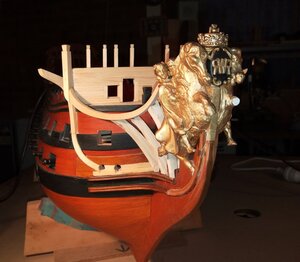
How did you paint the figure head to get then nice glow to it.
Hello John, I am looking at the head figure and you holding hand - Man...The model is pretty large, and BTW, gorgeous lookingGreat job!
Thank you Jim, the model is 55 inches from the front of the figurehead to the transom, and has a beam of 12 inches and the height from the base of the stern post to the top of the transom is 18 inches, I've attached another pic of my hand touching the centre of the model,

best regards John.
How did you paint the figure head to get then nice glow to it.
G'day Ken I just painted it with gilt paint and a coat of clear varnish to seal it, I've had the same tin of paint for over 40 years,
I've just taken and attached a pic of a ship I built back in 1977 and this is the same paint I used on it back then, it seems to
have stood the test of time, but it is a little dusty,
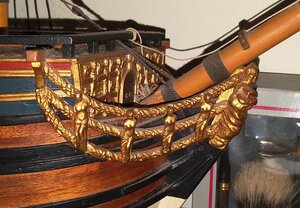
thanks for looking in,
best regards john.
Canoe21
Lawrence
Hello John, Never realized that your ship was that large, fantastic job you are doing on her. One question and that is your home must be very large to be able to find a place for such a fine large ship to live?
Regards Lawrence
Regards Lawrence
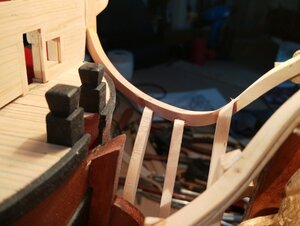
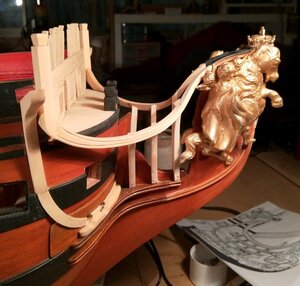
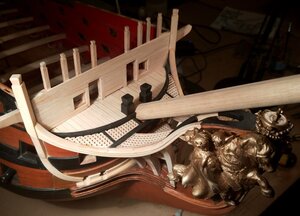
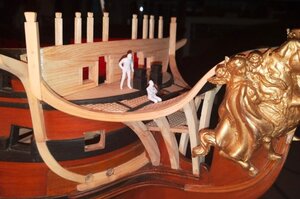
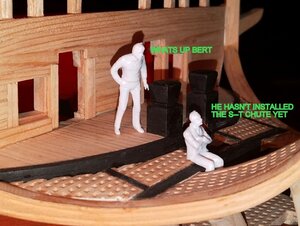
I am now cutting down the tops of the supports, I have to fit some cross beams that will frame and hold the gratings
and the seats of ease,
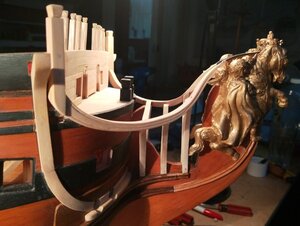
the first beam in place, I have no plans for this area so I am just going by some photo's that I have,
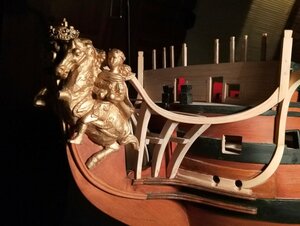
and so that's the top two beams attached and the three lower one's that will hold the lower part of the gratings,
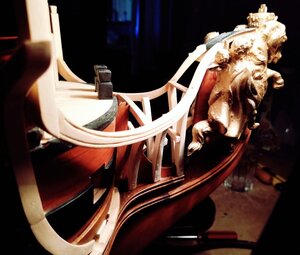
and another view, there is still a lot of framing to make and also the gratings,

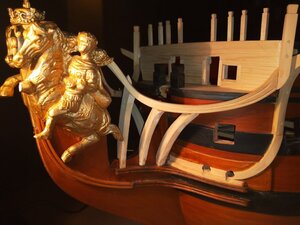
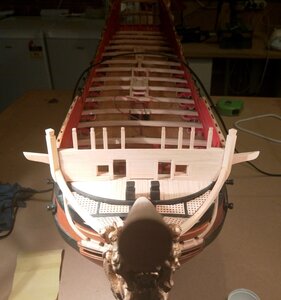
this is a pic of the bow area, you can see the area that I am trying to frame,
.
Hello John, Never realized that your ship was that large, fantastic job you are doing on her. One question and that is your home must be very large to be able to find a place for such a fine large ship to live?
Regards Lawrence
Thank you for the nice comments Lawrence, my hobby room is 20 feet x 14 feet, I build my Period ships
in it and I have another smaller room out in my shed that I lined with plywood and insulated it which is
8 feet x 7 feet which i do my sawing in and also build my tugs and steam boat in it,
best regards john,
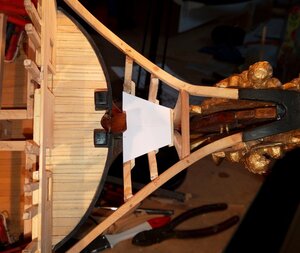
working out the shape of the gratings to go as the flooring on which the seats of ease will sit,
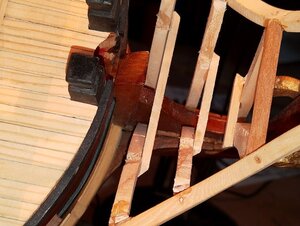
I didn't like the beams going across the supports, I have looked at several pics of the RW and couldn't see them, so I
decided to take them off, but before I did that I notched the insides of the two back supports on which I could sit the
gratings and their framing, once I had the notches cut correctly I then removed the cross beams,

the grating that will act as the flooring, still has to be cleaned up and have a surround attached,
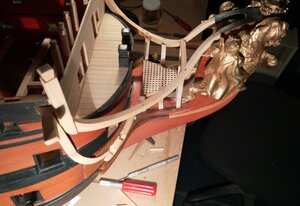
and just sitting in place, all the beams have been taken away now,
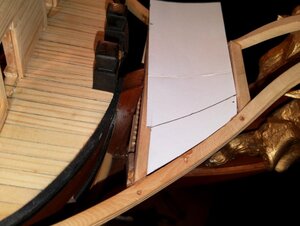
making a pattern for the gratings that curve up along the inside of the top rail,
.

Measuring the grating for fitting,
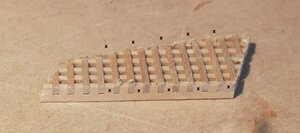
After transferring the pattern to the grating and cutting the grating to shape, I then made cuts across the
grating between the X,s to the depth of half way, this will be the bottom of the grating and the cuts will
let me bend the grating upwards, fingers crossed, I cut them slightly oversize so there was a lot of of
trimming and sanding to get them to fit, I bent the gratings dry over a small glass jar,
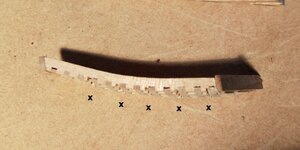
I also sanded the grating to 3/4 of its thickness, this is the bent grating, you can just see the saw cuts above the X,s,
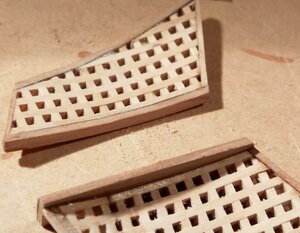
I then framed the gratings, I had to use some exta wide wood strip on the bent sides and then sand it back to
the grating, you can see this in the lower part of the pic,

I just remembered in time to cut a hole through the floor grating for the Bow Sprit ropes to go down through,
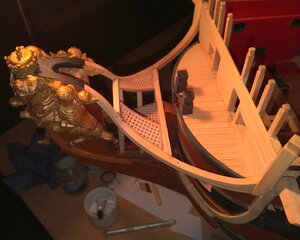
The finished gratings in place,
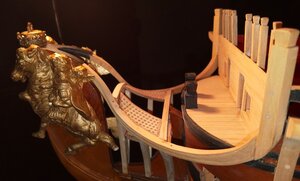
another view, still a lot more gratings to go in here yet,
.
Last edited:
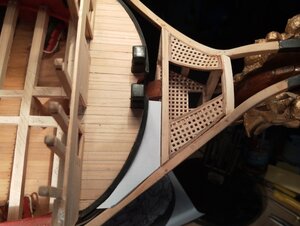
making and trimming the pattern, I was looking at the photo's of the original models of the RW, and I couldn't
make out whether these side gratings were fitted straight or on an angle, so I went with the angle as in the pic,
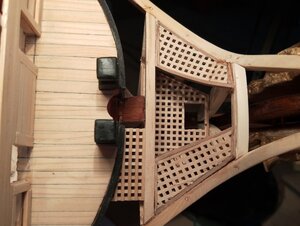
the first part of the gratings, just testing for fit,
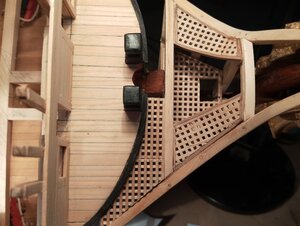
and doing the same with the second piece of grating, where they join together there will be a slice taken off
one side of the gratings and a framing piece added in,
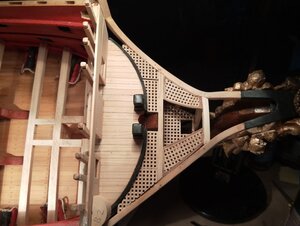
that's all the gratings for the after part now cut, just have to finish sanding and adding the framing pieces,
you can see what will be one of the two the round house sitting at the bottom of the pic,
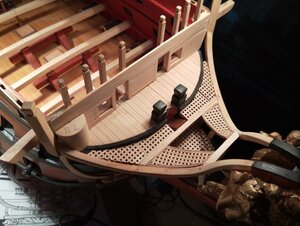
another view,
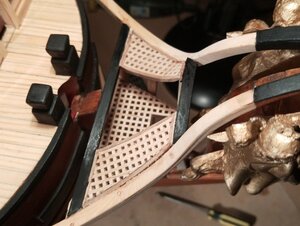
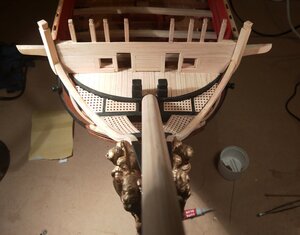
and after painting the cross beams black, still the boomkin rail to make and add also a pair of bits to go in
front of the first cross rail, also the seats of ease, etc,
.
Very nice work John. Our Dutch William III would have been proud at you. 
Great work! Congrats.
Thank you Messis for the nice comment,
Best regards John,
Very nice work John. Our Dutch William III would have been proud at you.
That is a very nice compliment Maarten, thank you very much,
best regards John,
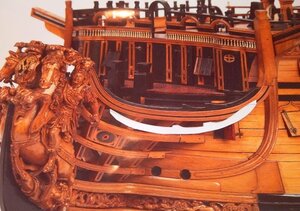
Now for the black rail on top of the main rail, I made a rough oversize template,
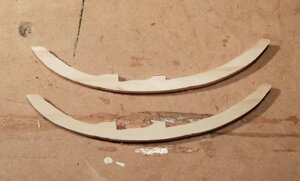
then I cut the part out of a piece of wood that was thick enough to get at least four rails, a couple spare just in
case, the pic shows the rail cut in two parts, which were still quite thick,
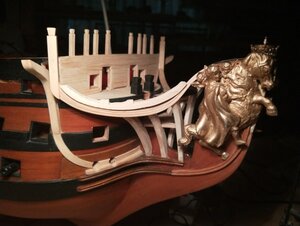
First off I rounded the bottom of the rail to fit to the top of the main rail, pic shows the rail before shaping the
bottom to fit,
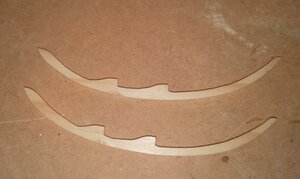
as I said before the rails were still quite thick, so after final shaping of one of the rails I tried it for fit
on both sides of the top rail and found it sat on each OK, so as the rail was thick I mounted my .5mm
saw blade in my Proxxon saw table and carefully cut the rail in half length ways,

Just sanding for a final fit,
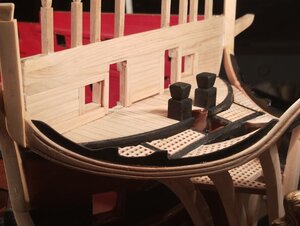
after one coat of black paint, just sitting there the rail isn't glued yet,
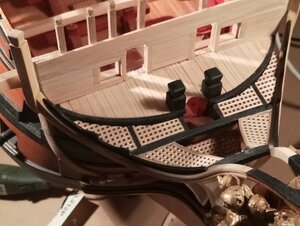
and another view looking down on the rails,
.


