Royal James sloop

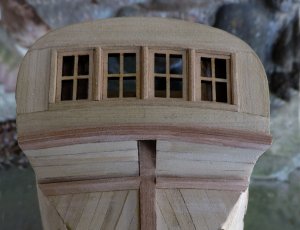
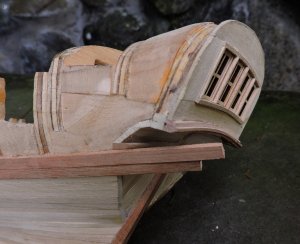
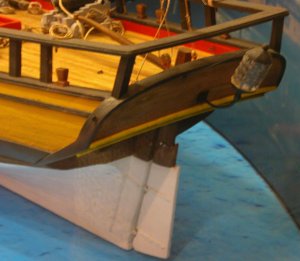
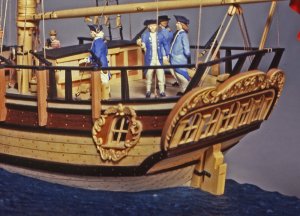
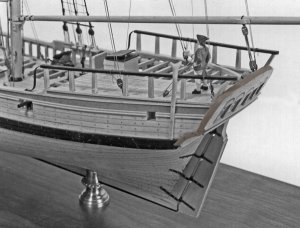
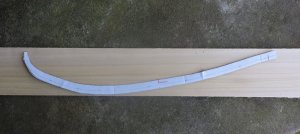
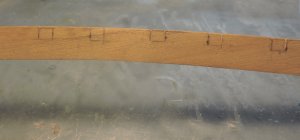
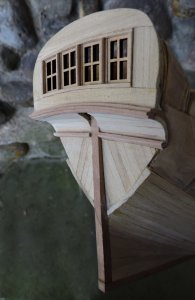
the last section of the stern to refine is planking of the counter which is the area built to overhang the stern post and the rudder goes up through.

It is the area between the two moldings
cp0.jpg

cp2.jpg

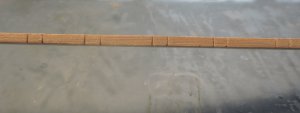
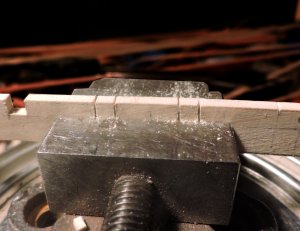
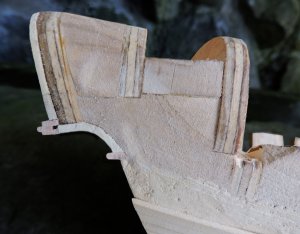
the few planks that make up the counter follow the curve of the stern which was established when the stern filler blocks were shaped. The only thing to watch is having to slightly bevel the edges so the planks will fit tight to one another as they conform to the arc of the stern.
cp1.jpg


the stern is now done and time to move on to the bulwarks and gun ports
 
in order to do the upper works i have to set in the wales and work up from them.

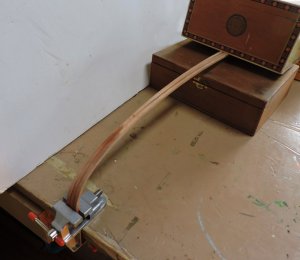
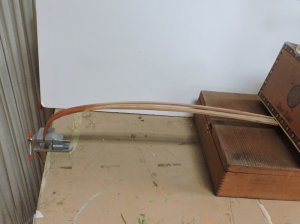
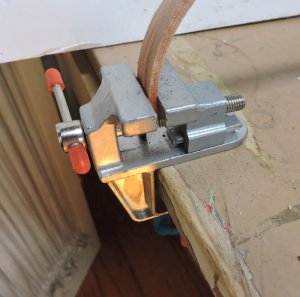
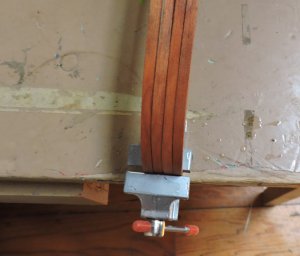
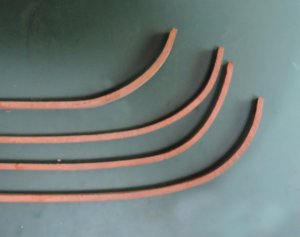
first thing to do was soak the ends of three pieces of Cherry in hot water for 20 minutes. I did this to give the bend at the bow a little start so not to stress out the final bend when i bend the strips on the hull.

i let the strips sit over night and dry out, this sets the bend.

i am not concerned about making an exact bend, the wood is still flexible enough it will easily conform to the hull.

wales1.jpgwales2.jpgwales3.jpgwales4.jpg
 
adding the wales

I am using Cherry for the wales because it bends nice and I will ebonize the wales ( see topic on wood to ebonize )

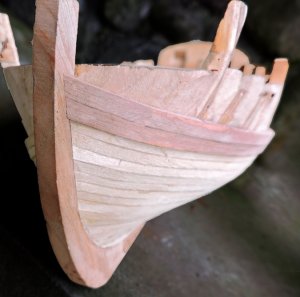
what I like to do is super glue the first inch or so of the wales to the hull and against the stem first. This makes sure I have a neat, tight fit and it is difficult to clamp the ends to the hull. the super glue is kind of acting as a clamp.

wales7.jpg

next I will put a spot of super glue along the hull right above the shutter plank, then ever so slightly dampen the inside of the wale strip, this will cause the super glue to grab within seconds, super glue likes moisture. Inch by inch I press the wale to the hull working my way to the stern.
to do this with a slower drying wood glue each strip has to be clamped, which is an issue.

wales5b.jpg

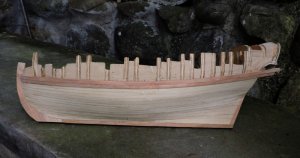
The reason i finished the stern before I did the wales is because I need to know the exact height of the first molding. The wales hit exactly at the lower molding. At this point I will fit a stern side molding

wales6.jpg
 
What happened here and why?

bu;k2.jpgbulk1.jpgbulk3.jpg

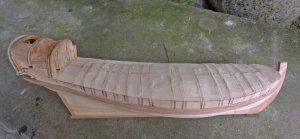
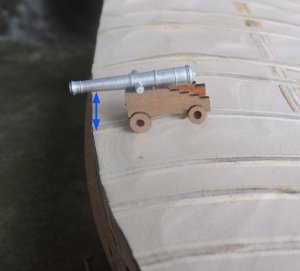
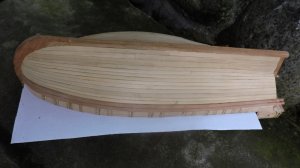
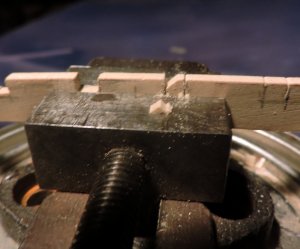
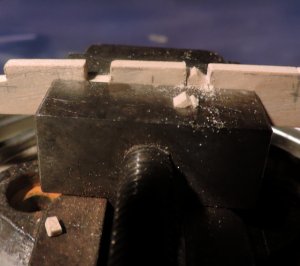
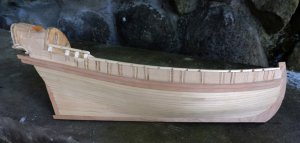
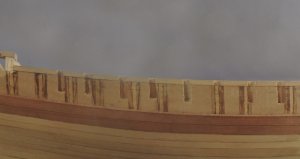
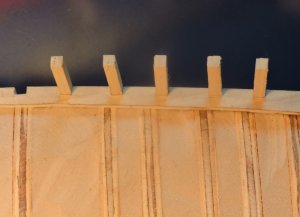
I cut the hull down to the deck and removed all the top timbers for a couple reasons first I am adding another gun port per side so the location of the posts no longer matched up with the Mediator plans, I need to know the exact height of a 6 pound cannon to make sure it fits under the caprail and putting in waterways, port sills and top timbers is easier from starting at square one, finally I can put in the hull planking above the wale and sand it down for a dead match fit to the sheer molding which runs along the deck line.
 
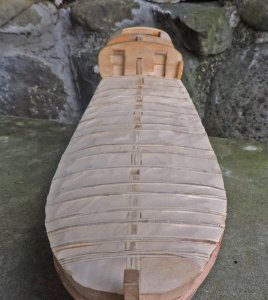
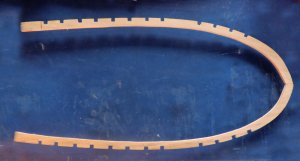
and the final waterway timbers are ready to install on the model. that wider gap between the gun ports is where the chain plate and deadeyes go for the rat lines.
79554

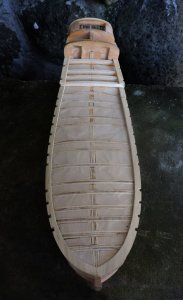
there it is that sweet curving sweep of the deck line from bow to stern

79552

looking down on the model the second sweet curving shape of the hull. Now I am ready to install the timbers that will make up the gun ports.

79553

by doing the waterway timbers off the hull I can be sure once I build the upper works, plank the rest of the hull and set in any moldings everything will flow as one sweet curve from back to front and from top to bottom along with the run of the hull planking from stem to stern post. Oh yes! this is what I love doing when all the shapes and curves and flow of the planking come together as one harmonious piece of work. oh my
 
Last edited:
Great progress, Dave! This is a very interesting build.

I have this log flagged as “watched” but I don’ Get any email notifications. That’s the case for a bunch of other logs I’m following. Is this a known problem?
 
Great progress, Dave! This is a very interesting build.

I have this log flagged as “watched” but I don’ Get any email notifications. That’s the case for a bunch of other logs I’m following. Is this a known problem?


hum that is something you have to take up with Donnie or one of the moderators I don't know what the deal is
 
Great progress, Dave! This is a very interesting build.

I have this log flagged as “watched” but I don’ Get any email notifications. That’s the case for a bunch of other logs I’m following. Is this a known problem?

You need to pm Donnie about that
 
Time to install the top timbers which extend up through the waterway and form the bulwarks and in this case the sides of the gun ports. On real ships these timbers may be shifted to accommodate the location of gun ports, sometimes on working ships the top timbers were not always the top timber of a frame but a separate timber wedged between frame timbers. This was done because loading and unloading a ship sometimes the bulwark took damage so it was easy to replace a timber without having to deal with the frame timbers. War ship had solid timbering above the wales so the bulwark was a solid wall of timbers.

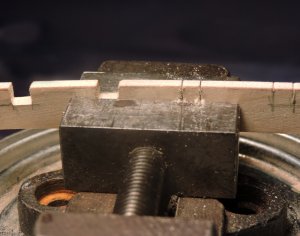
The process begins with cutting a slot below the waterway notch.

If I used wood as filler blocks this process would be a bit tougher to do but I am used sign board as fillers which is a dense foam board so I could cut the slots with a knife.

79693

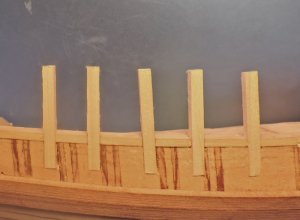
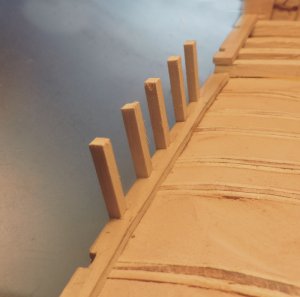
once the slots were cut I can now place the top timbers in. first I measured the height of the bulwarks from the plans then double checked to make sure a 6 pound cannon had enough room to fit under the caprail. cutting the timbers I gave myself a little extra length so I can be sure I have enough when it comes time to set the cap rail.

79694

setting up the timbers and the waterways in this fashion really gives me a nice clean tight fit. This was so much easier than trying to cut a notch around 14 top timbers in the waterway and having a clean fit on every one.

7969579696

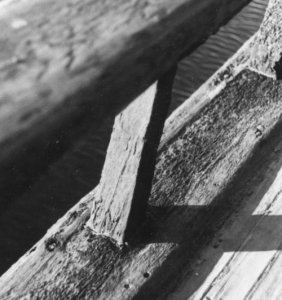
what secures these timbers in place is a outer molding you can see on this waterway of a ship wreck.

79697
 
Last edited:
Back
Top