Saint Albans 1687 in Navy Board Style - 1 : 48 scale [COMPLETED BUILD]

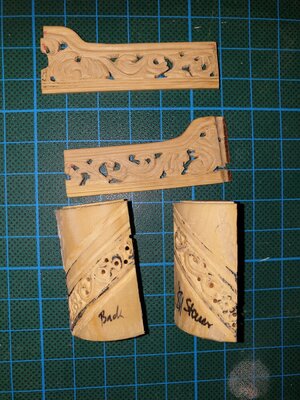
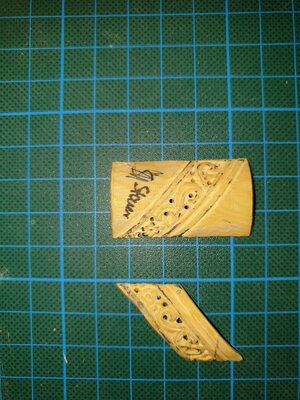
in the meantime I have also finished the second pair of angels.
I like it better than the first. I have therefore placed it on the port side, as that is later to be the viewing side.

A metal worker made me angles out of brass, which serve as a stand. A mirror will be placed under the model later, just like on the original model.

View attachment 354897

View attachment 354898

View attachment 354899

Cheers, Alexander
Dear Alexander
the second pair of angels, looks very beautiful
 
Thanks Uwe and Shota - thanks also to the likers!


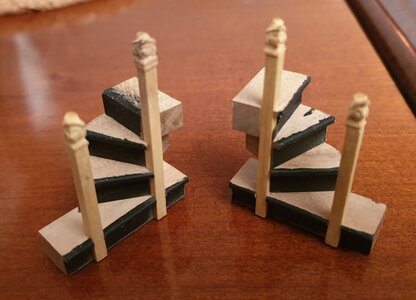
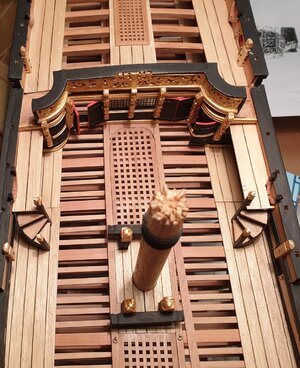
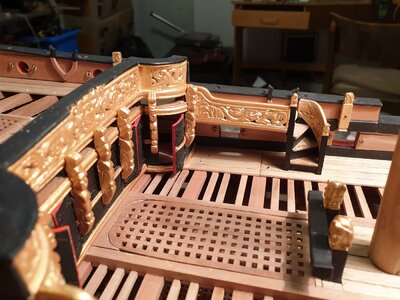
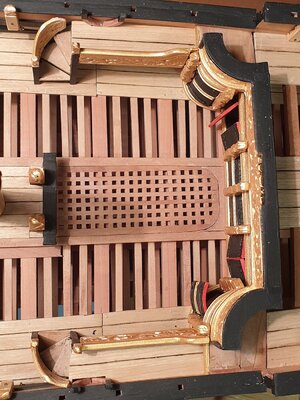
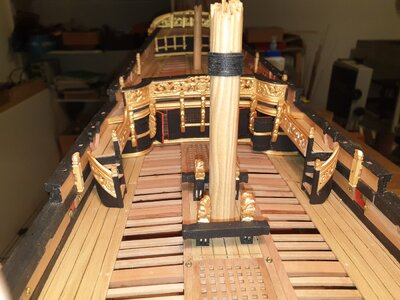
The Saint Alban has only two stairs. I am currently dedicating myself to this topic. I left the bottom step a bit wider to keep a bearing for the circular saw for a while.


The heads are now the minimum that is still possible for me

20230204_140353.jpg

Cheers, Alexander
 
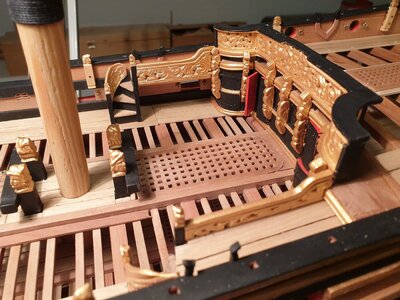
On the poop deck I revised and attached the deck pieces again. I carved the interior carvings on the hackbord. These don't really correspond to the carvings on the original model. I'm considering changing something there. In order to achieve an optimal fit, I would have to remove parts of the rear figures. Maybe, I will redo it.

View attachment 341462


After that, I continued with the rudder. I prepared the rudder three years ago. Here is the rudder with the brass connection for the whipstaff:

View attachment 341466

The pintles of the rudder on the original model are missing. It is no longer possible to determine whether these have been lost or whether they were dispensed with from the outset.

View attachment 341469

So I thought about how to make this connection. I prepared the pintles in the form of four 1mm thick pins. To get them in the right place, I drilled slanted holes in the rudder blade above the cutouts (see the blue lines in the photo).

View attachment 341468

There the pins were inserted and the rudder blade pressed against the upside down model. Then the model was rotated. The pins slipped out of the holes in the eyelets of the gudgeons. It had to be helped with tweezers until they were properly seated in the eyelets

View attachment 341463

View attachment 341464

View attachment 341465
The result fits and I felt a load lifted from my heart that the uncertain plan I had made 3 years ago has now worked out.

View attachment 341467

Still the obligatory proof photo that shows, that the connection between tiller and whipstaff is there. It won't be visible later because I will show the gunports closed.

Cheers, Alexander
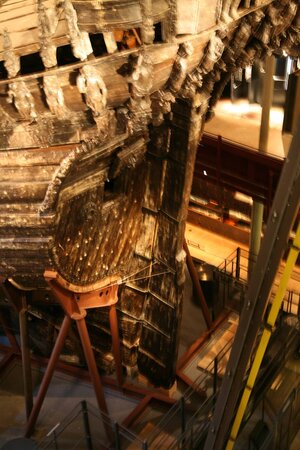
Hello Alexander. I still admire your work. But now I'm writing about the rudder fittings. The pin must be placed on the fitting strip. I don't know if you simplified the system, but it is visible. See photo. Ondras

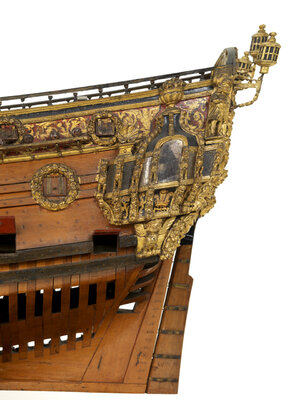
English period model.jpg.jpg

Vasa.jpg
 
I already know that, Ondras. But I'm building a copy of a contemporary model.

Funnily enough, they used this (obviously wrong) type of rudder fitting there. The attachment is very mysterious and fancy. I really wanted to show it on my model as well.

There is one small difference: only the top and bottom pins are present on the original model. I built all 4 pins

Cheers, Alexander
 
Dear Alexander
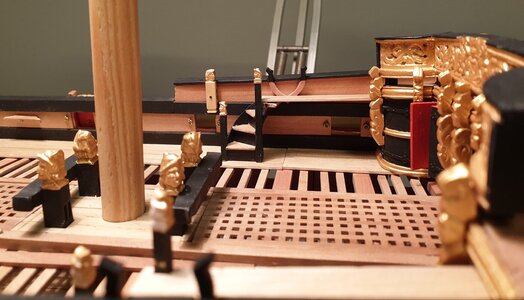
your work on spiral staircases and the associated footbridges, is outstanding, well done my friend :D Thumbsup
 
Hallo Alexander,
the stairs are looking very good, I have only doubts about the height of the individual steps - there are only 5 steps to reach the next level. So it would be appr. 35cm in real - not very comfortable
Is this also like in the original contemporary model?
 
Hi Uwe

that's an interesting finding.The stairs are according to the plan resp. the original model.

I didn't check whether the dimensions are realistic.
Actually, I can only rely on the plans. I can only check how accurate they are by looking at the photos of the original. And that's a rather uncertain thing.


Cheers, Alexander
 
Back
Top