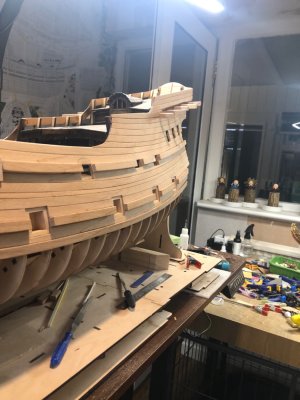
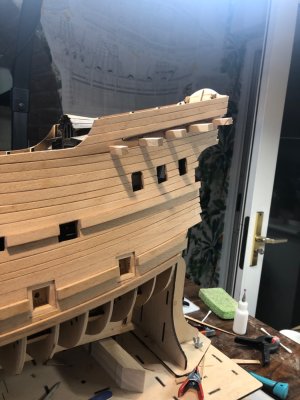
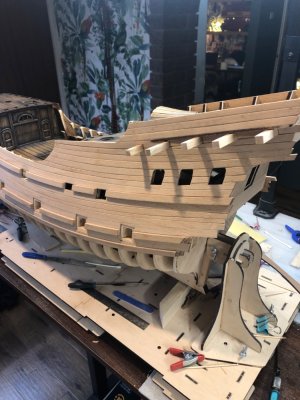
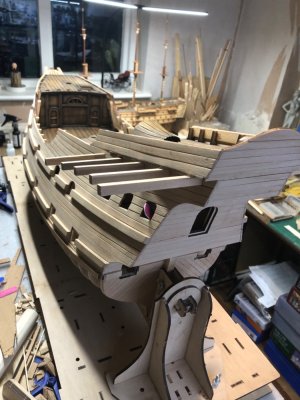
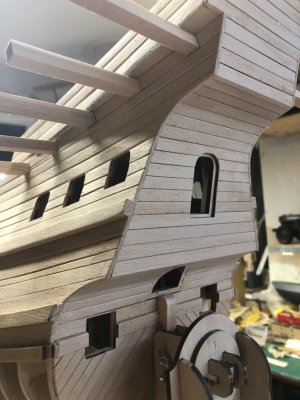
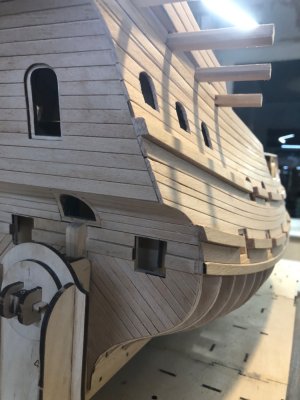
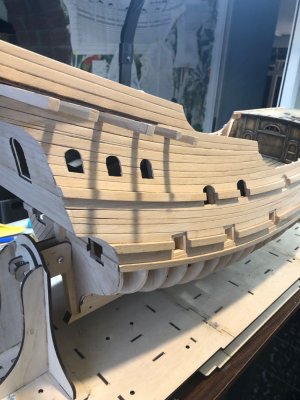
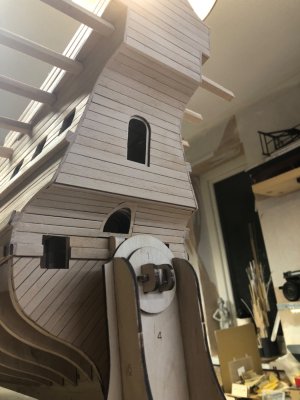
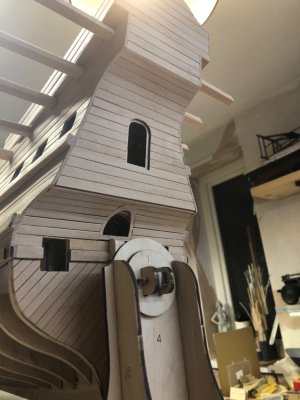
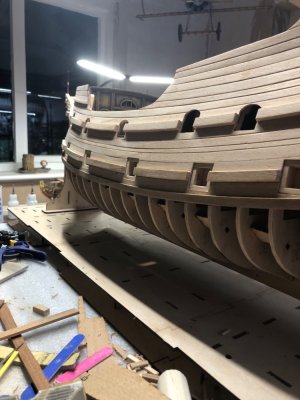
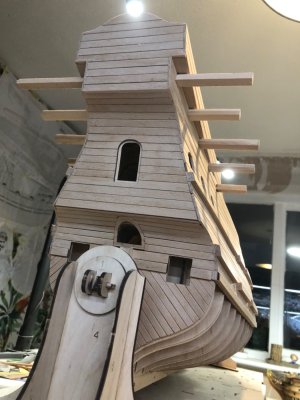
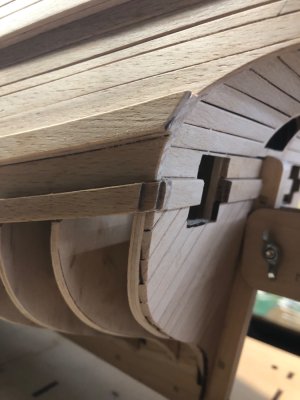
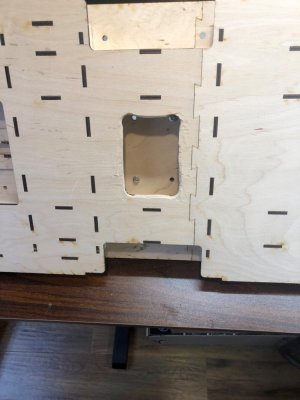
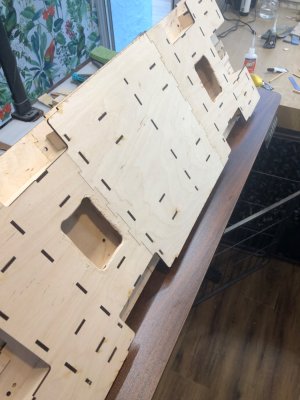
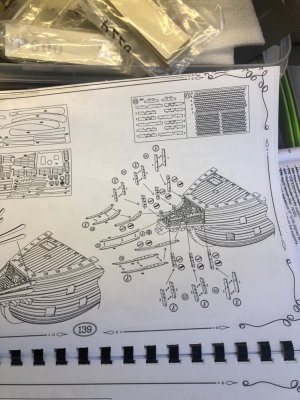
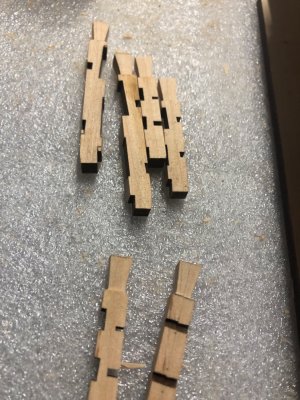
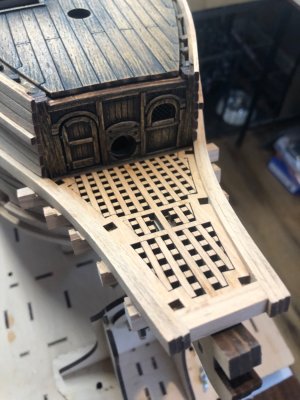
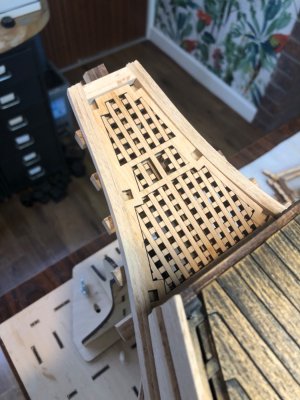
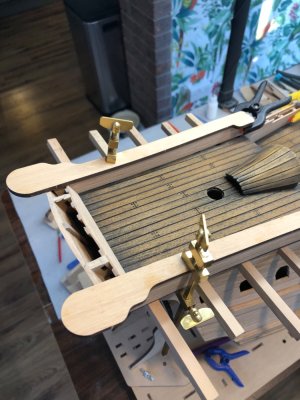
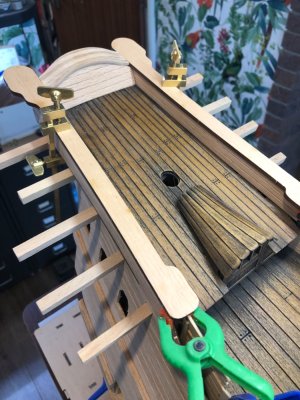
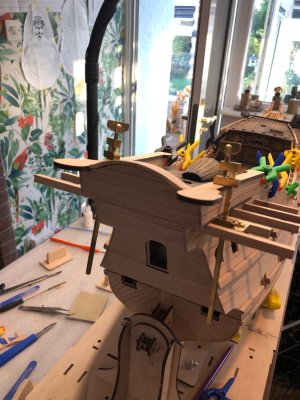
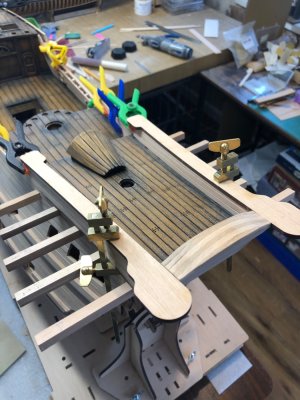
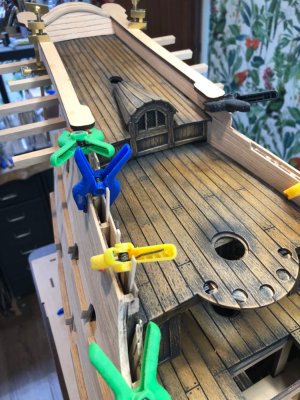
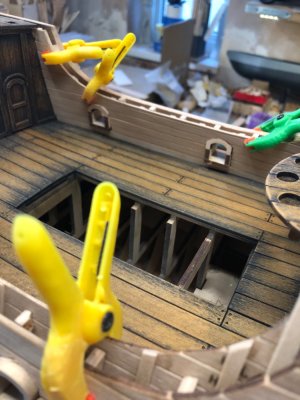
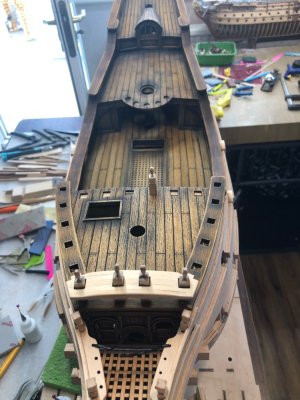
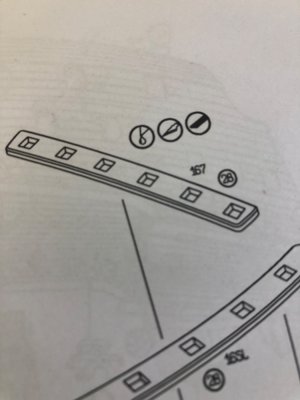
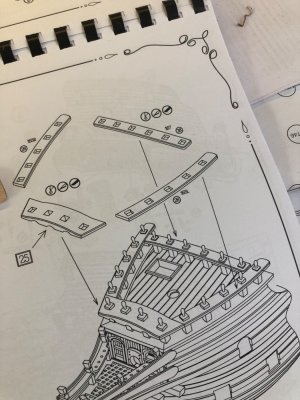
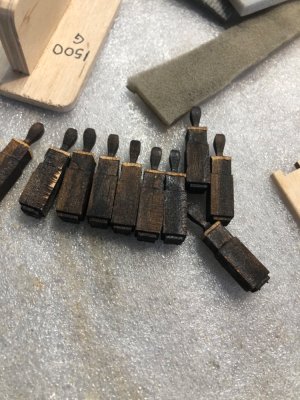
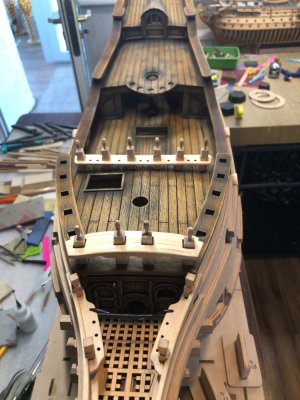
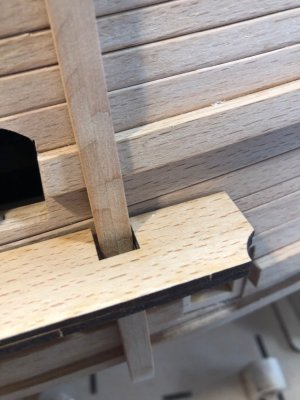
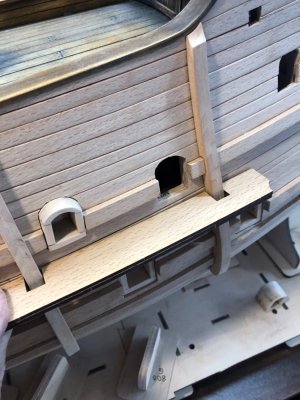
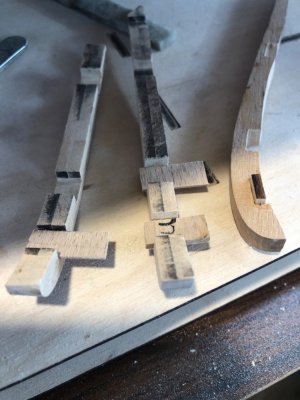
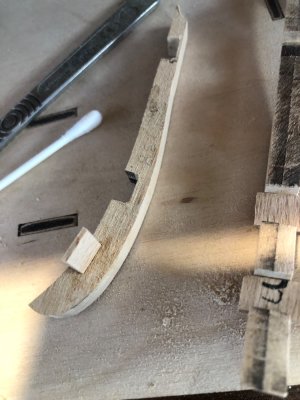
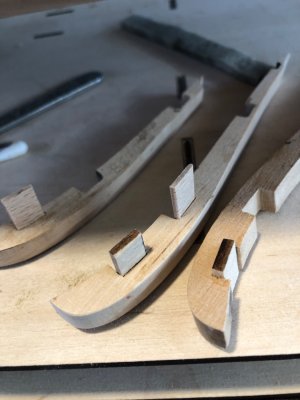
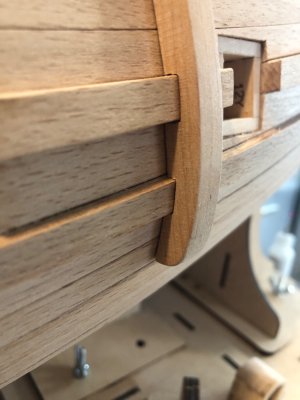
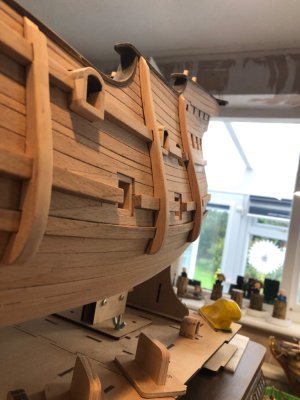
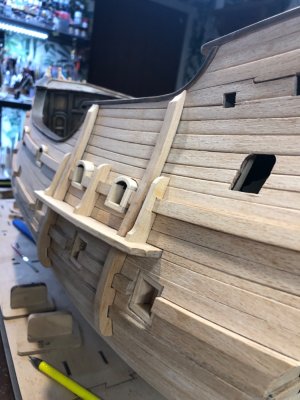
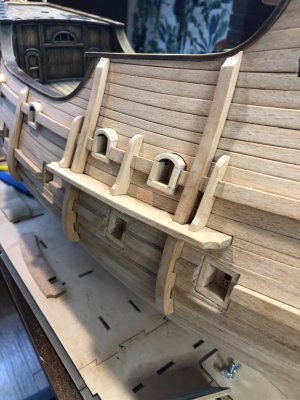
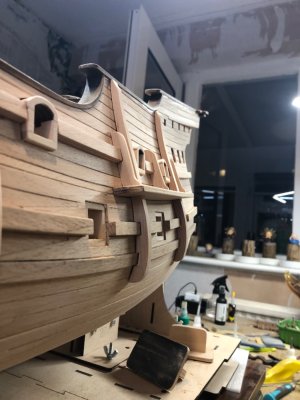
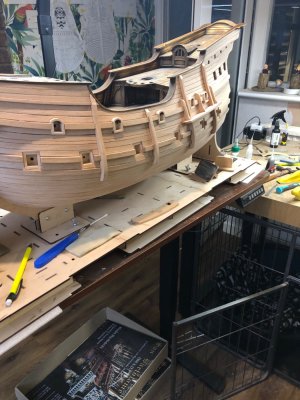
DittoI also had the same problem and had to put extensions. But it will not be the only time that you will have to improvise and use leftover wood, so I recommend that you do not throw anything away until you are finished.
-

Win a Free Custom Engraved Brass Coin!!!
As a way to introduce our brass coins to the community, we will raffle off a free coin during the month of August. Follow link ABOVE for instructions for entering.
-

PRE-ORDER SHIPS IN SCALE TODAY!
The beloved Ships in Scale Magazine is back and charting a new course for 2026!
Discover new skills, new techniques, and new inspirations in every issue.
NOTE THAT OUR FIRST ISSUE WILL BE JAN/FEB 2026
You are using an out of date browser. It may not display this or other websites correctly.
You should upgrade or use an alternative browser.
You should upgrade or use an alternative browser.
Many thanks Otsoa.I also had the same problem and had to put extensions. But it will not be the only time that you will have to improvise and use leftover wood, so I recommend that you do not throw anything away until you are finished.
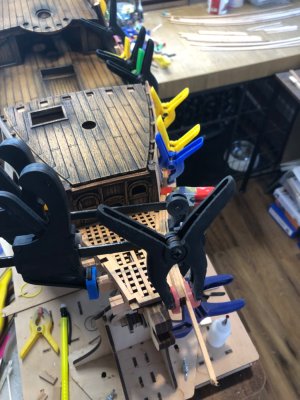
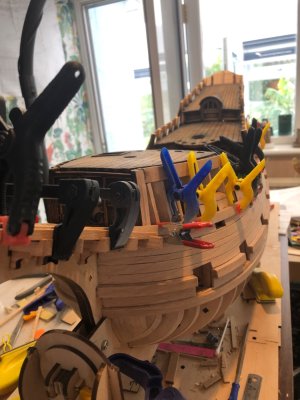
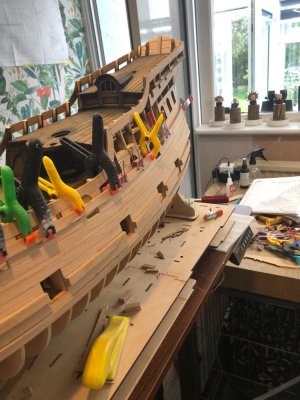
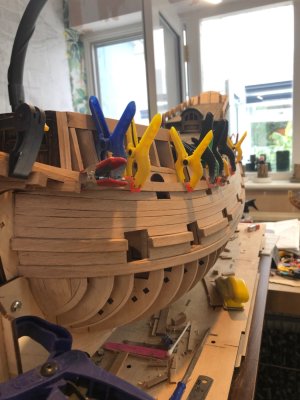
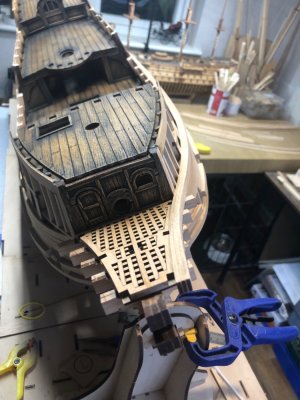
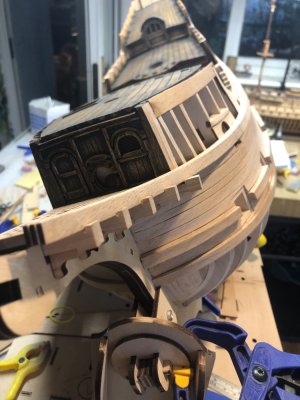
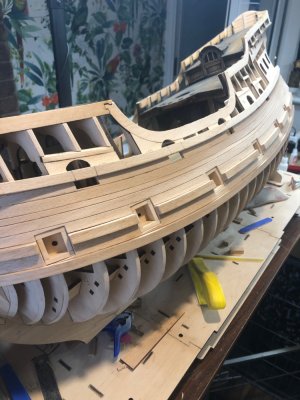
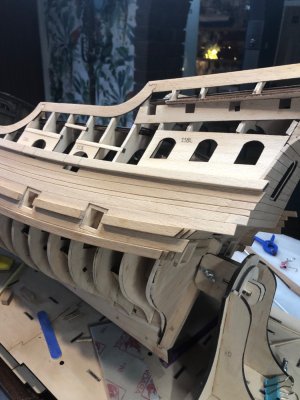
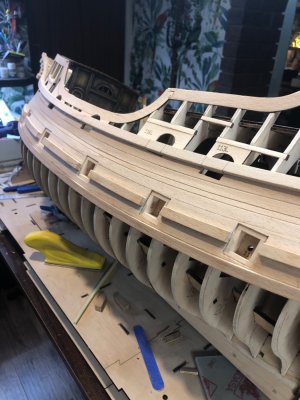
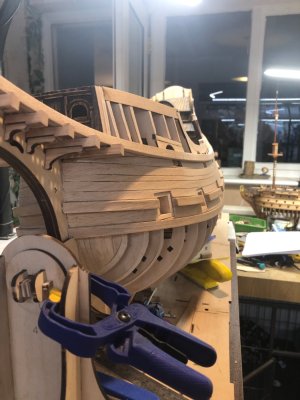
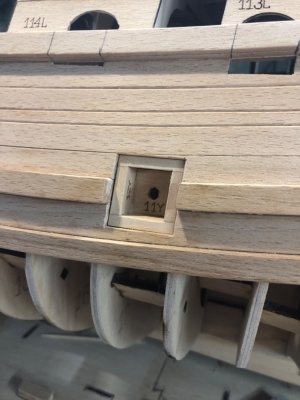
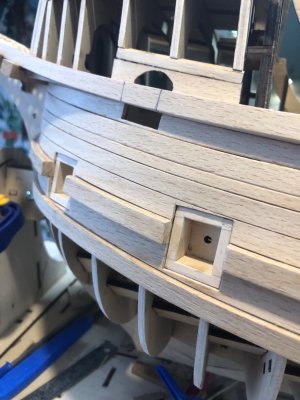
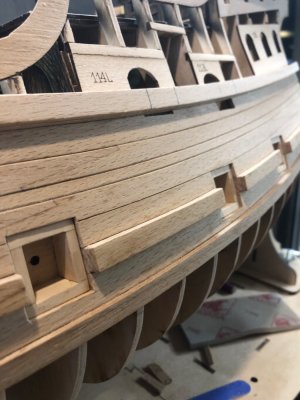
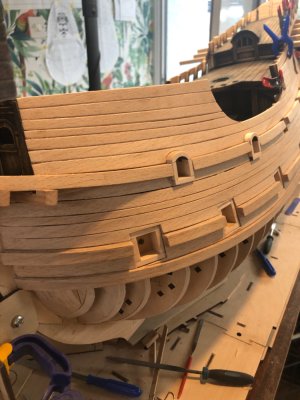
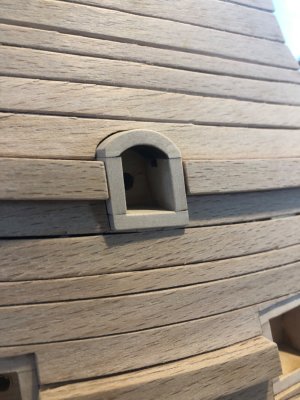
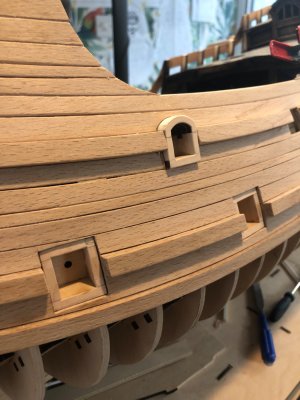
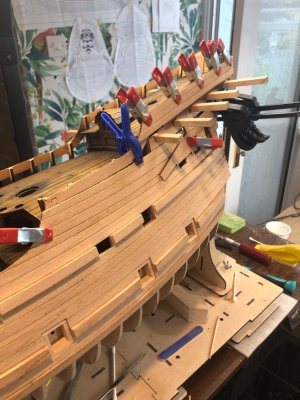
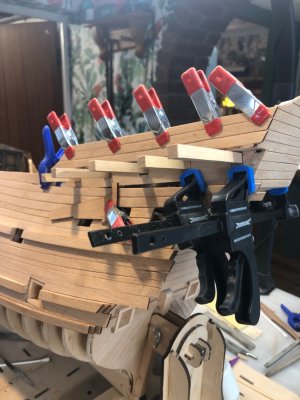
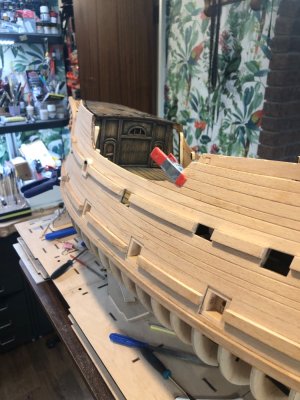
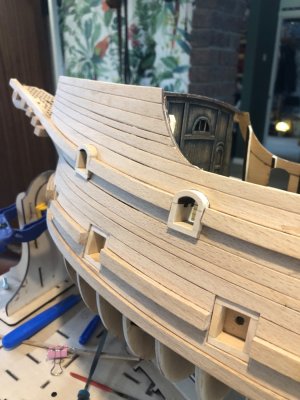
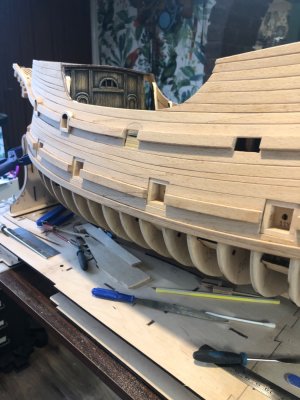
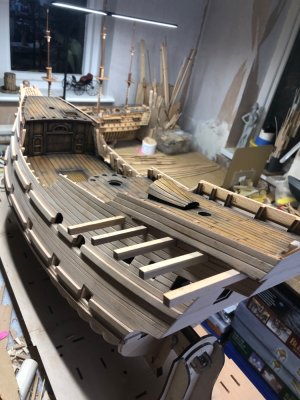
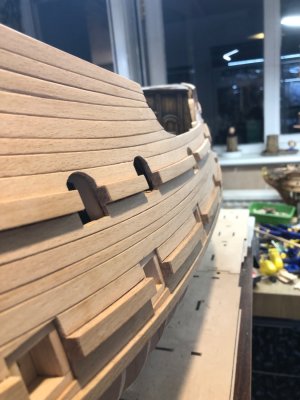
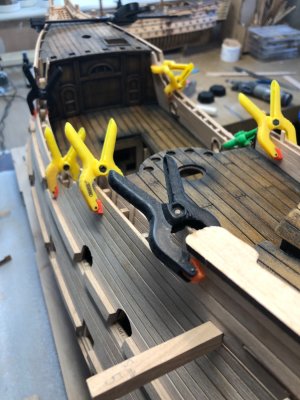
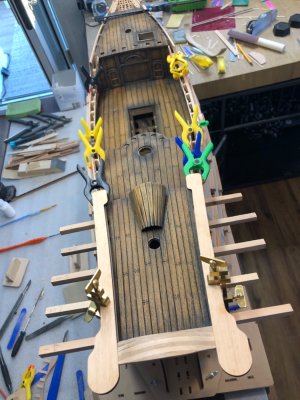
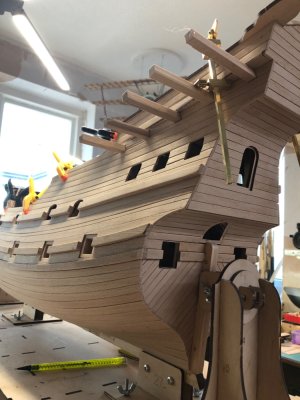
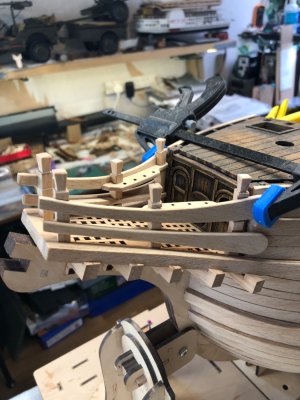
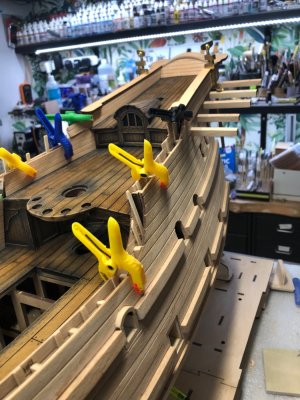
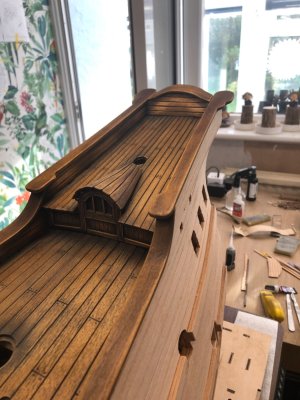
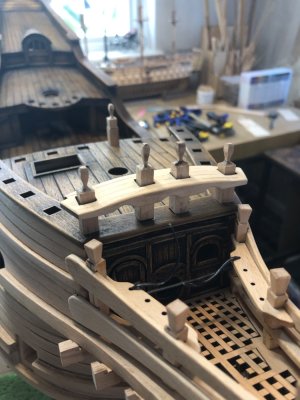
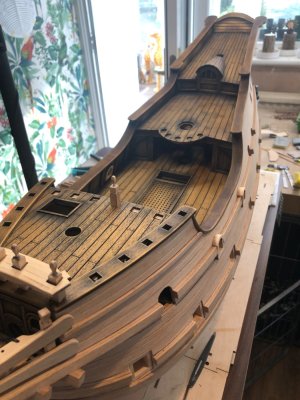
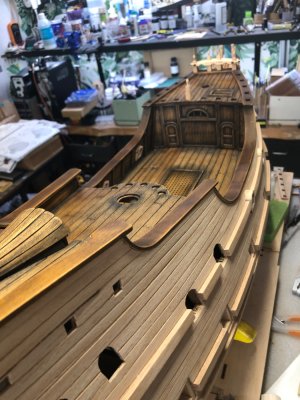
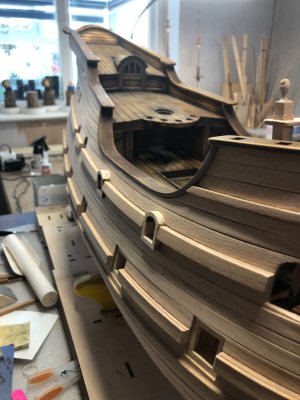
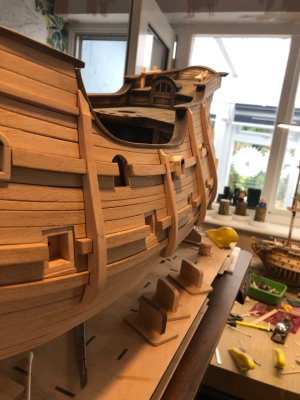
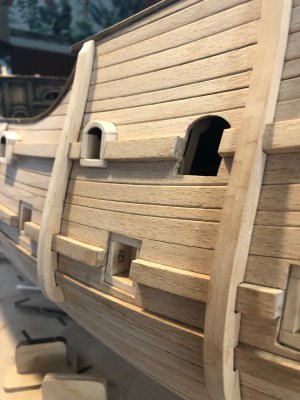
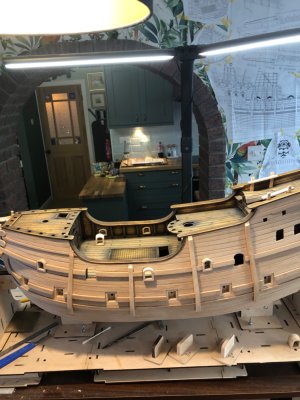
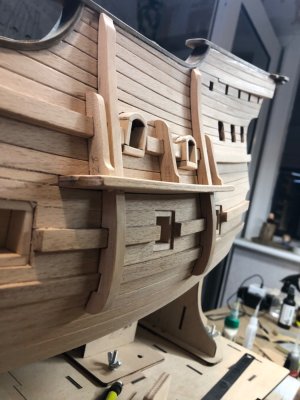
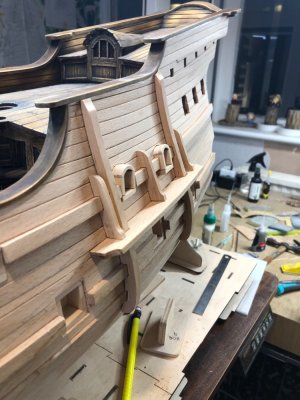
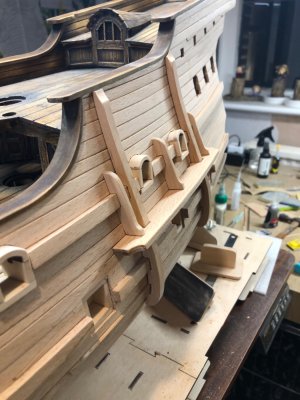
Hull planked now both sides. Still finishing to do but found this bit really hard.
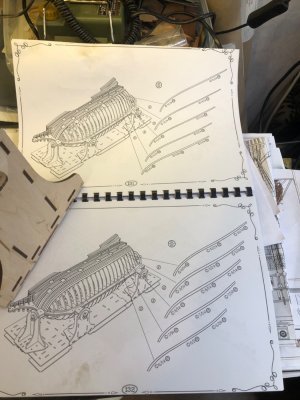
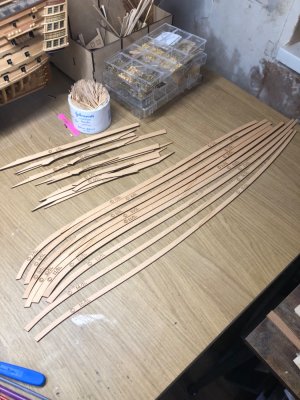
The pre cut planks were ok counting down from 15 to 7, but as soon as I got after this, they just fitted terrible. So much sanding to make them lie properly.
Still don’t really understand why as other builders say they lay quite well without too much work. Must be me.
Got there in the end but hated this part of the kit.
Few pics !!!
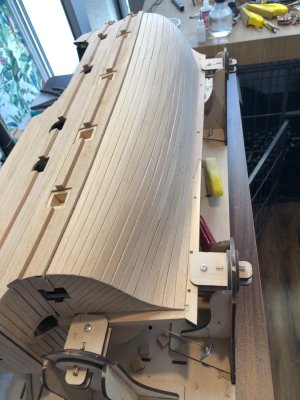
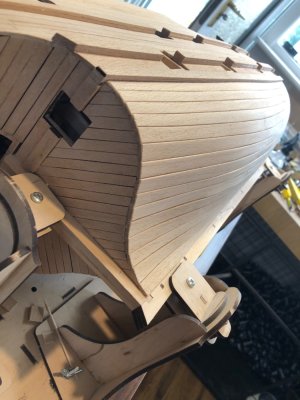
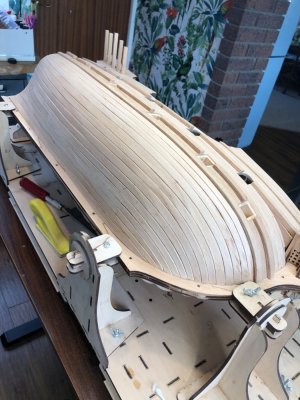
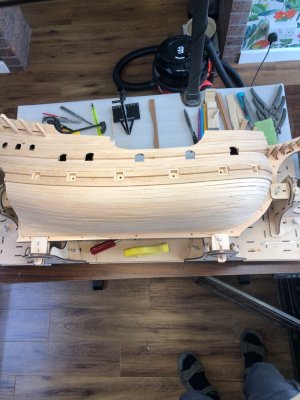
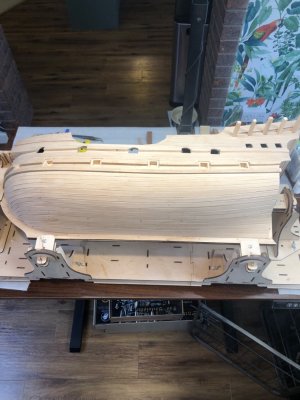
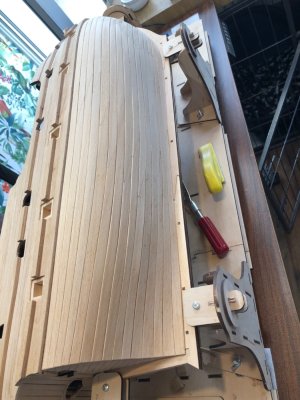
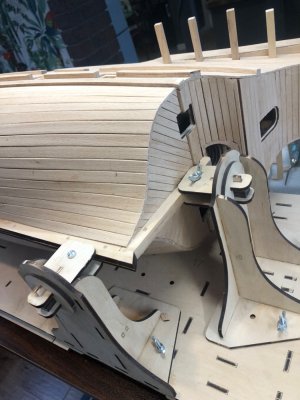
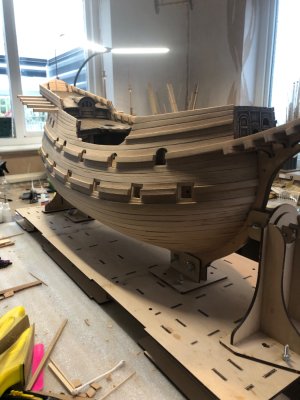
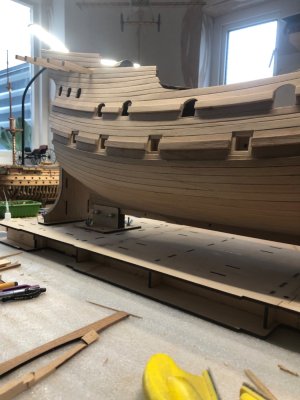
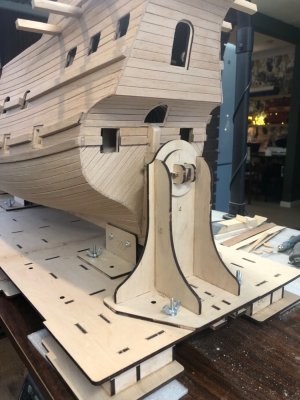
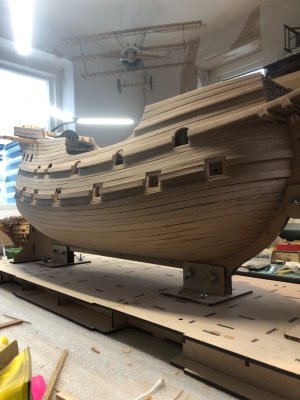
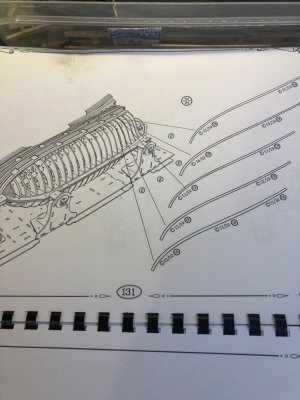
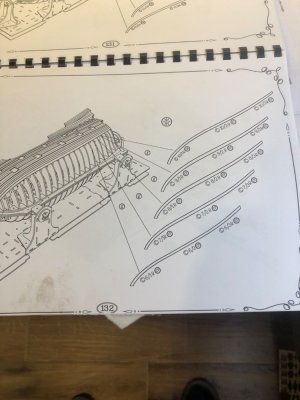
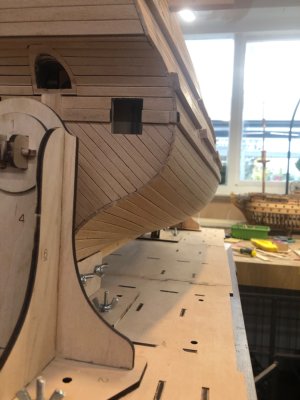


Looks fantastic Neil, got a lovely finish to itHull planked now both sides. Still finishing to do but found this bit really hard.
The pre cut planks were ok counting down from 15 to 7, but as soon as I got after this, they just fitted terrible. So much sanding to make them lie properly.
Still don’t really understand why as other builders say they lay quite well without too much work. Must be me.
Got there in the end but hated this part of the kit.
Few pics !!!
View attachment 481102
View attachment 481103
View attachment 481104
View attachment 481105
View attachment 481106
View attachment 481107
View attachment 481108
View attachment 481109
View attachment 481110
View attachment 481111
View attachment 481112
View attachment 481113
View attachment 481114
View attachment 481115
Thank you Otsoa. I keep looking at your build for inspiration.Too slow? I think you're going very fast and it's going great.
Good morning. This is quality work. Well done. Cheers Grant
Many thanks Grant. Much appreciated.Good morning. This is quality work. Well done. Cheers Grant
Fantastic work Neil, will look spectacular when completed
Many thanks Mark. No where near your standard though !Fantastic work Neil, will look spectacular when completed
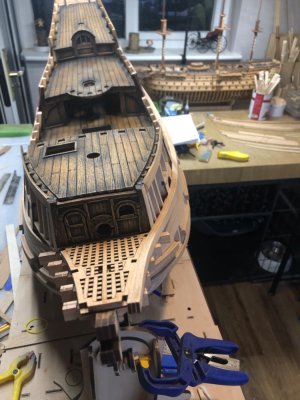
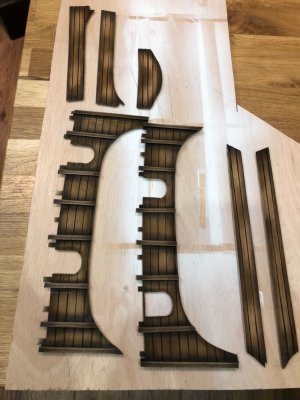
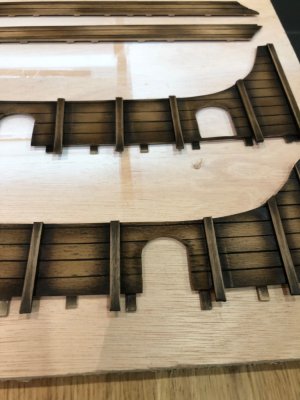
Nothing glued as yet, so the joints should come out even better once clamped.Been busy doing a few more bits.
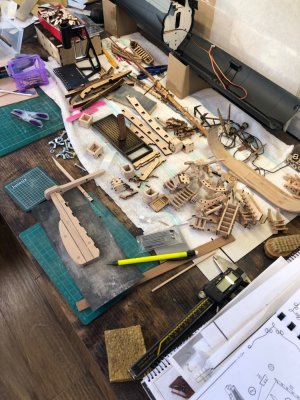
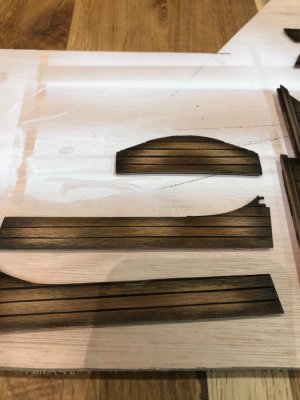
Some of Pavel’s precut pieces are over cut , I think less would have been better as you have to rectify the mistakes. But generally not too bad.
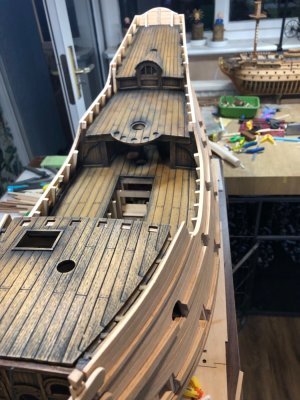
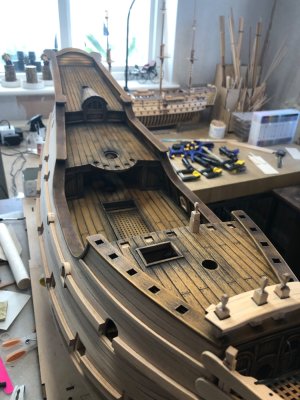
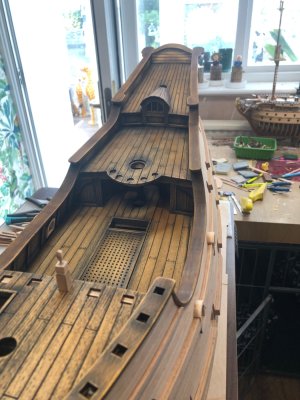
Just laid some of the pieces on the ship to see how it will all come together.
All ready for patina and weathering.
View attachment 485095
View attachment 485096
View attachment 485099
View attachment 485100
View attachment 485101
View attachment 485102
View attachment 485103
View attachment 485104
View attachment 485105
View attachment 485106
View attachment 485107
View attachment 485108
View attachment 485109
View attachment 485110
View attachment 485111
View attachment 485112
View attachment 485113
View attachment 485114
View attachment 485115
View attachment 485116
View attachment 485117
View attachment 485118
View attachment 485119
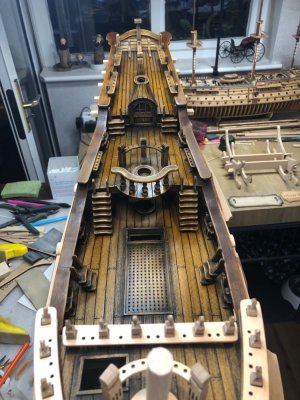
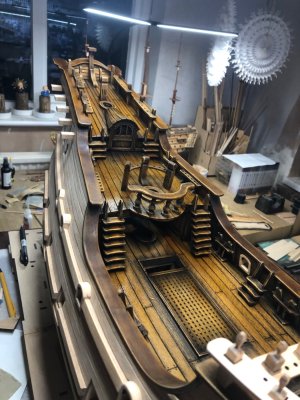
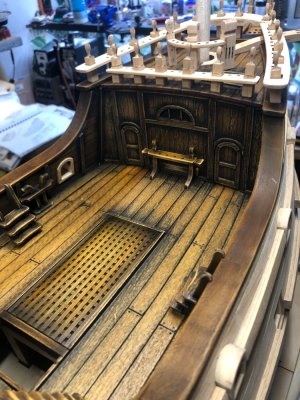
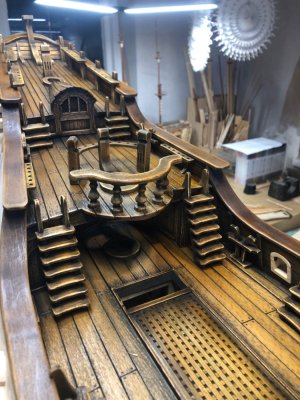
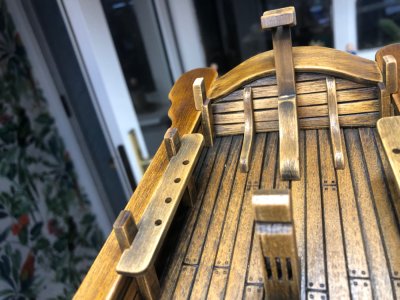
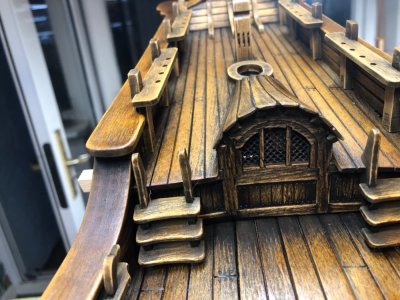
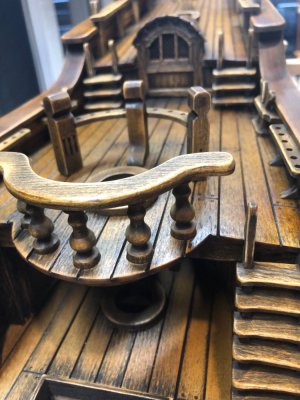
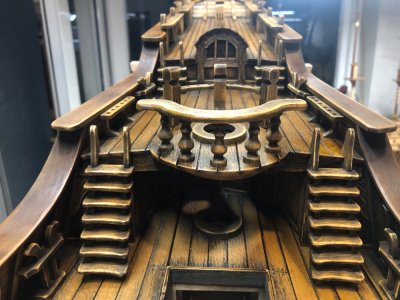
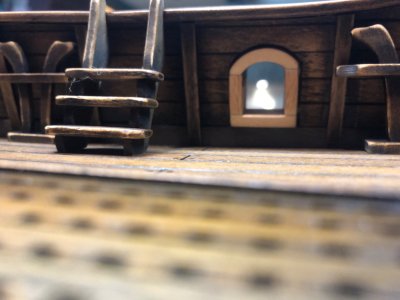
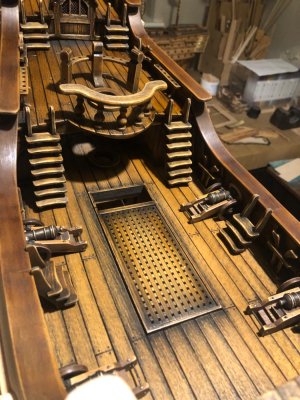
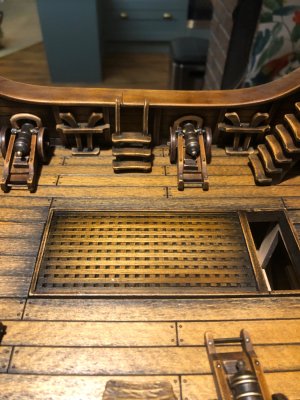
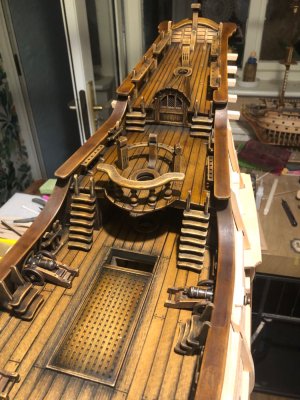
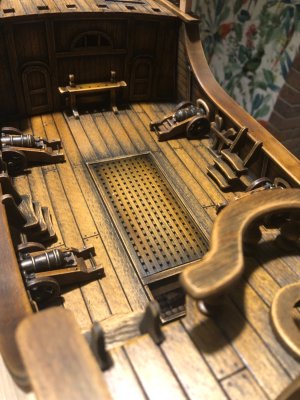
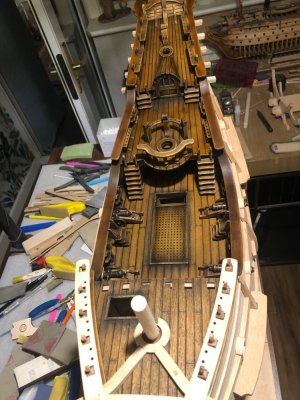
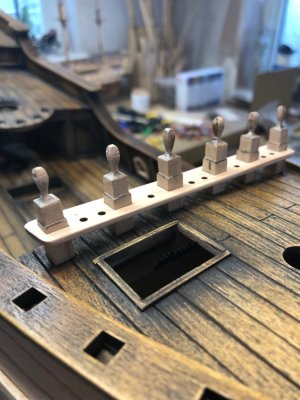
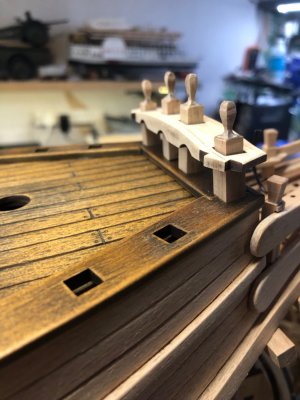
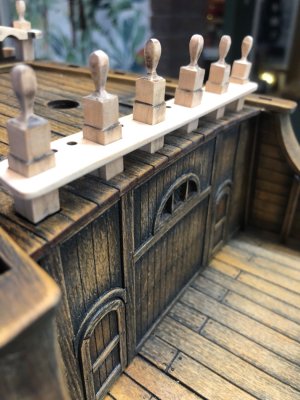
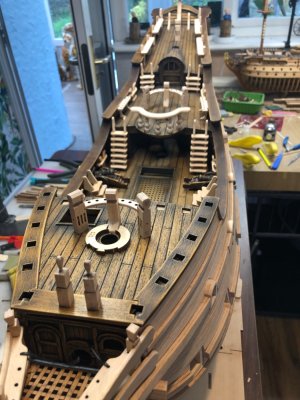
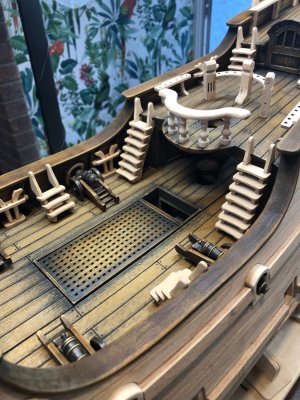
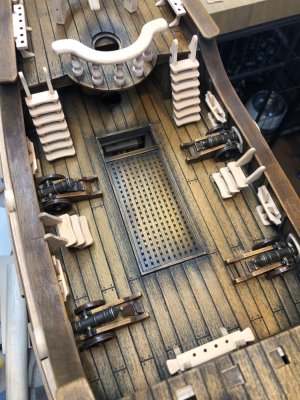
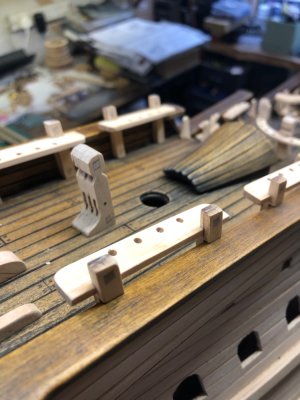
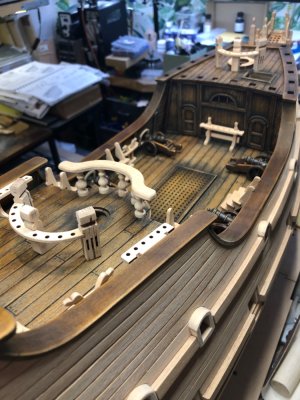
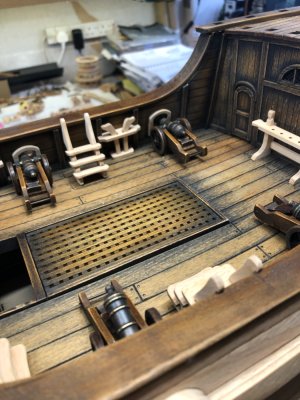
More finishing touches to the decks. Dyes working a treat. Don’t think Pavel’s painting kit will see through the build, nearly out of oak dye already but will see if I can match it with a more local Uk supplier. Don’t know if it’s classed as light, medium or dark oak. Will do a few tests and keep you posted.
