San Felipe 1690 from ZHL

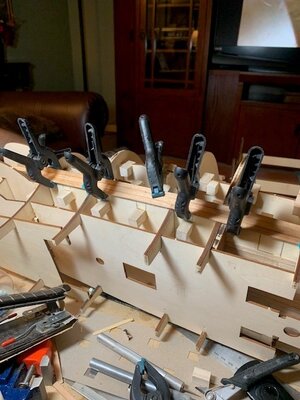
Time for some sort of post. Been pecking away at the frame. Dealing with a few parts that are flat out labeled incorrectly. I am to the point now where I won't glue on a part until completely convinced myself that it actually goes there. I guess that is all part of the fun.

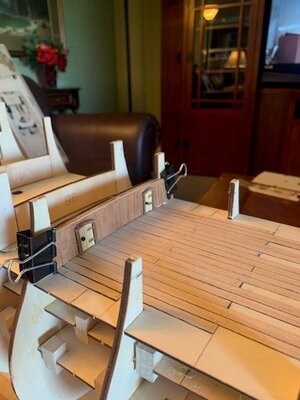
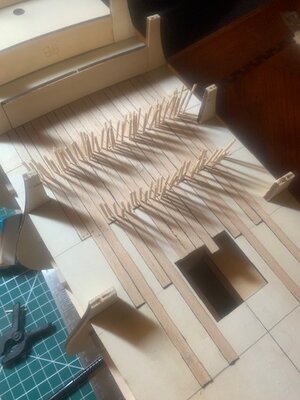
Tree nailing is a whole lot more difficult than it looks. The only smart thing I did here was attempt this on a section of the boat that is under a deck. Learned a couple things here. Do a deep mark where you want to drill the hole. The Dremel will jump on you. I ended up with plenty of holes in the wrong spot. Another thing is to stain the tooth pics first. With this pear veneer you can barely see them. Once I get the entire deck finished, I'll make a decision on whether or not to stain.

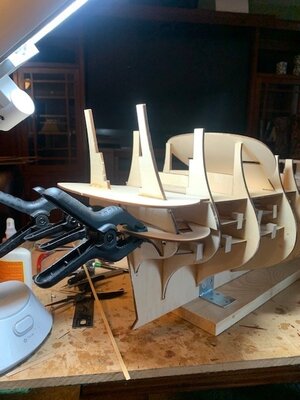
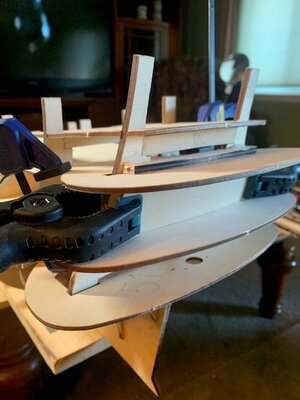
I have some correcting to do on the very back of the boat. Once done with that I'll start planking.

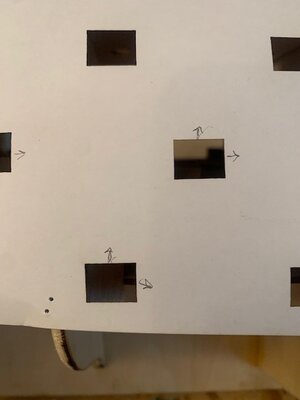
Greg. On the back of the boat the drawings call for part 48 (wrong) it's part 47 that you want.

Have a nice day everyone.
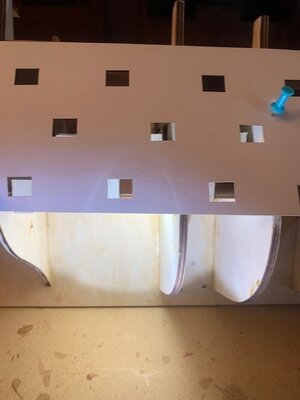
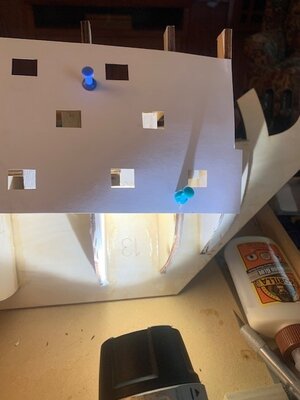
09-25-2023 Reworking the Stern with the proper part.jpg09-25-2023 First Attemp at Tree Nailing.jpg9-25-2023 Working on the stern.jpg09-25-2023 Couple of little doors..jpg
 
Tree nailing is a whole lot more difficult than it looks. The only smart thing I did here was attempt this on a section of the boat that is under a deck. Learned a couple things here. Do a deep mark where you want to drill the hole. The Dremel will jump on you. I ended up with plenty of holes in the wrong spot. Another thing is to stain the tooth pics first. With this pear veneer you can barely see them. Once I get the entire deck finished, I'll make a decision on whether or not to stain.
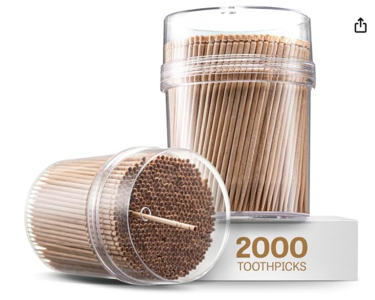
Looks like I might be just a couple hours too late. Read your initial post about dark wood toothpicks, and I found and ordered these just today:

Prestee 2000ct Wooden Toothpicks, Dark Wood
1695695865707.png
 
Time for some sort of post. Been pecking away at the frame. Dealing with a few parts that are flat out labeled incorrectly. I am to the point now where I won't glue on a part until completely convinced myself that it actually goes there. I guess that is all part of the fun.

Tree nailing is a whole lot more difficult than it looks. The only smart thing I did here was attempt this on a section of the boat that is under a deck. Learned a couple things here. Do a deep mark where you want to drill the hole. The Dremel will jump on you. I ended up with plenty of holes in the wrong spot. Another thing is to stain the tooth pics first. With this pear veneer you can barely see them. Once I get the entire deck finished, I'll make a decision on whether or not to stain.

I have some correcting to do on the very back of the boat. Once done with that I'll start planking.

Greg. On the back of the boat the drawings call for part 48 (wrong) it's part 47 that you want.

Have a nice day everyone.
View attachment 396656View attachment 396657View attachment 396658View attachment 396659
Thanks Scott , I'm going to keep notes of the problems you find as I'm bound to miss something.
I am trying tree nailing for the first time also. Punching a hole to start with is something I didn't think of till the dremel jumped a couple of times.
 
Dark Wood??? oh man. I was using things like "toothpicks walnut" "toothpicks mahogany" Toothpicks all sorts for wood. But never just a simple Dark Wood. Pretty funny. Thanks Signet. I'll order these straight away.

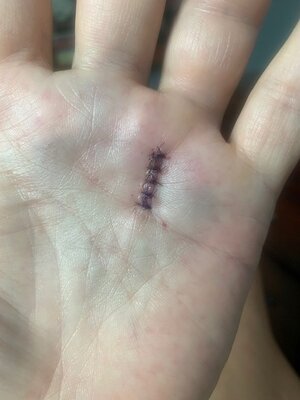
Just back from getting my trigger finger fixed. Very sore left hand right now so the build will need to wait a week or so. Pretty bruised as well. Stitches out on Oct 10.

Next step is to start planking. I need to plan this out very carefully as I have just so much cherry and mahogany to work with and how to deal with the water line.

Back in a week or so.

Scott 09-28-2023 Finger is fixed.jpg
 
Dark Wood??? oh man. I was using things like "toothpicks walnut" "toothpicks mahogany" Toothpicks all sorts for wood. But never just a simple Dark Wood. Pretty funny. Thanks Signet. I'll order these straight away.
I wish you better luck than me. Then sent me the light colored wood, not the dark wood. I'm returning them, and hoping they send the right thing next. We'll see tomorrow.
 
Sunday afternoon here. Just watched a miracle. The Denver Broncos won! OMG.

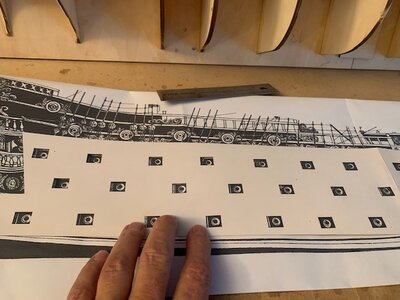
While watching the game and whilst my hand is still healing up, I decided to dry fit the canon template. Hmmmmm. It did not match up very well to the cannon holders. I guess that's you call them. The bow holders are too far back, and the stern ones are too far forward. My first thought was to just make a new template. But before doing that I figured I lay the template down on the one to one side view of the instructions. A perfect fit. So, with that I decide to just modify the cannon holders. I'll add some wood up and left or right depending on the situation.

The hand is healing nicely so I think this evening I'll start modifying.

BTW I participated in a candidate forum yesterday for city of Westminster council position. the 10 of us candidates sat in front of a pretty good-sized crowd. the event was run by the League of Women Voters. They ran a tight forum, nice job. My competitors IMO were a total waste of time. In my closing statement I told the crowd that the definition of insanity is doing the same thing over and over and expecting a different result (a quote from Einstein). Who knows. 10-1-2023 How to handle.jpg10-1-2023 template dry fint pic 1.jpg10-1-2023 Template fit pic 2.jpg10-1-2023 Template verse 1 to 1 side view of instructions.jpg

Hope everyone had a nice weekend.
 
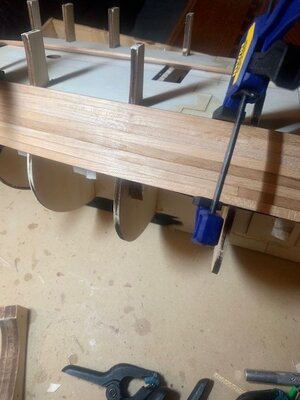
After modifying the cannon holders I went ahead and started some planking. The planks I made are plenty thick and very stiff. I figure I'll be able to do three per evening. So it's going to be a slog. Going to take my time because I want to get it right. I'll start with the Cherry.

View attachment 399245
Taking the time to clamp and pin the planks in place and waiting for glue to dry is painstakingly slow, but the end result is FANTASTIC. There is much less filling and sanding to do of the first layer of planking. If the model is an older single plank layer design, it's absolutely critical for making a good hull shape.
 
Ok - planking continues. This platform is chalk full of planking so no need to bore everyone with the step by step.

Because I am using my hand made Cherry Wood planks I wanted to give everyone my honest assessment of this wood. At least what I am working with.

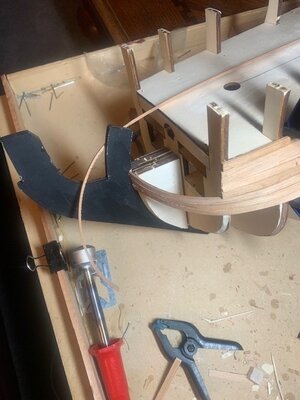
When dry the wood is very stiff and hard. So much so I was very worried about bending. To my great surprise, when you give the strips time to soak up some water the planks become incredibly easy to bend. AND much easier to cut! The soldering iron approach doesn't seem to work well though. The crimper approach works great. I noticed that the picture makes the rounded but look a little flat. It's not its ok.

Planking continues.
10-11-2023 Cherry Wood pic 1.jpg10-11-2023 Cherry Wood pic 2.jpg
 
Slow going is the price of quality, and experience makes it go a tad faster, but good work still takes lots of time.

Soaking the planks combined with the plank bender seems to work for you. The curves of the bow will be more apparent as you work down. Are you sanding one long edge of each plank at a slight angle to make sure there are no gaps in the planks? That's an extra challenge when doing a single plank hull. The need for edge prep with a sanding block will reveal itself when you start planking the double curves of the bow. Gaps can filled with a mix of sawdust and wood glue, sanded after it's dry. Stuff as much of that into the gaps from the inside of the hull and it will block light from passing through more readily.

The planking looks fantastic. Imagine how nice it's going to look when it's oiled! Cherry looks great. Well done.
 
I hadn't thought of sanding edges of planks to achieve a tighter fit. I will try that on my next build.
It only takes half a minute more to sand a slight angle along one edge of the plank before fitting to produce a tight edge to edge fit. Well worth the time. The thick the planks, and the greater the angle between the plank edges, the great the need to sand and fit them. You are at the point where the hull starts curving, so now is the time to fit the mate the plank edges. The upper planks have no gaps because the plank are in the same plane.
 
Back
Top