San Francisco II Cross Section - AL 1:50 by JeffT

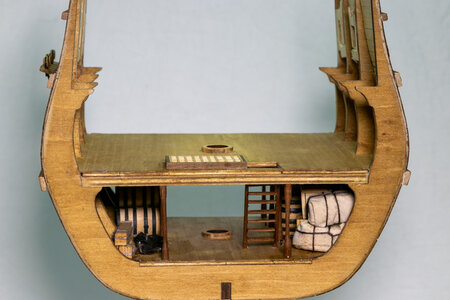
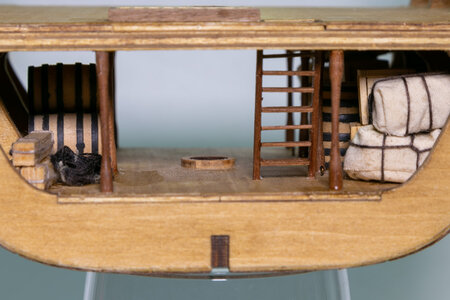
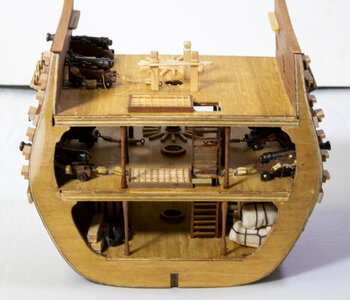
I finished all of the decorations/additions for the lower deck and installed them. This included barrels, planking bundles, boxes, coils of rope, and cloth wrapped bales. I also reattached two columns that I knocked out while doing some of the previous work.

Next I installed the grating on the middle deck and the ladder between the middle and lower decks.

IMG_6176.jpgIMG_6178.jpg

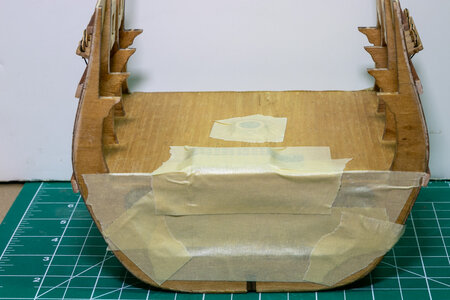
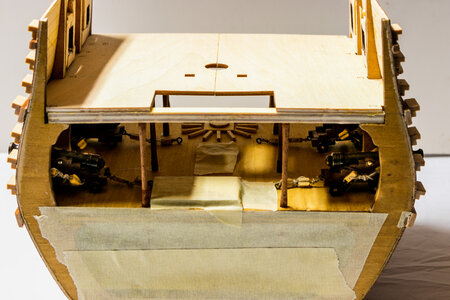
After finishing, I taped off the ends of the lower deck to prevent ingress of dust from sanding on the upper decks.
IMG_6180.jpg

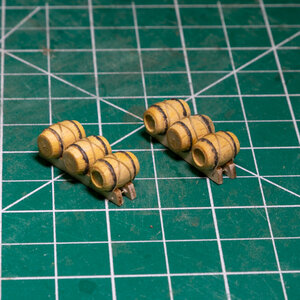
Powder barrels for the middle deck. I should have been more aware of the differences in the top and bottoms of the barrels when I glued them.
IMG_6181.jpg
 
I am enjoying the build so much that I ordered and received the kit.
Starting it today.

The kit is so beautifully packed, that I almost hate to unwrap everything.
 
I worked on several details today.

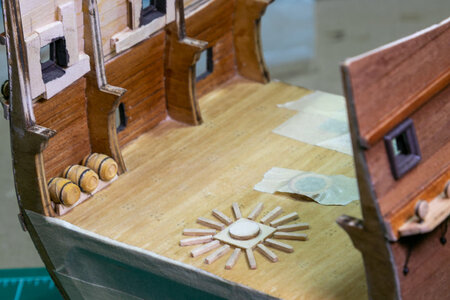
I addeded the middle deck capstan base and circular treads. I will wait to mount the capstan on this deck until I have the upper deck supports in place.
IMG_6182.jpg
IMG_6183.jpg
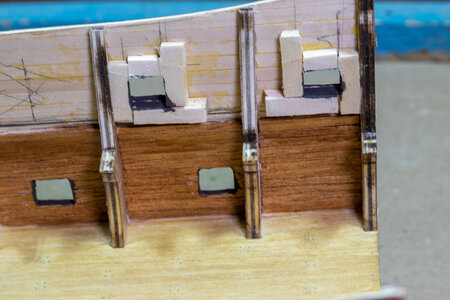
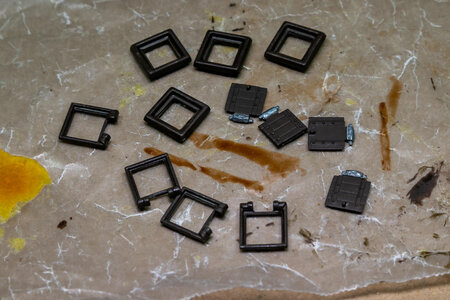
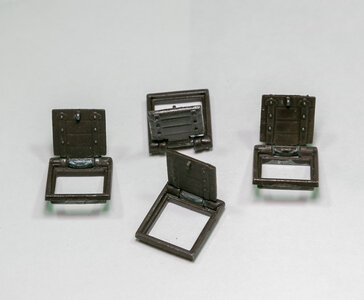
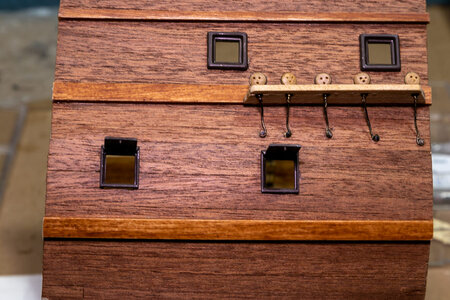
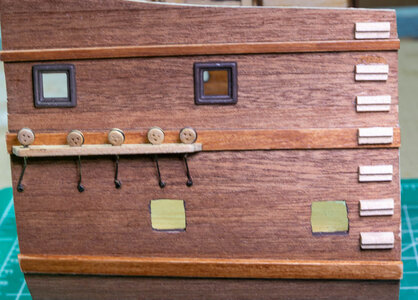
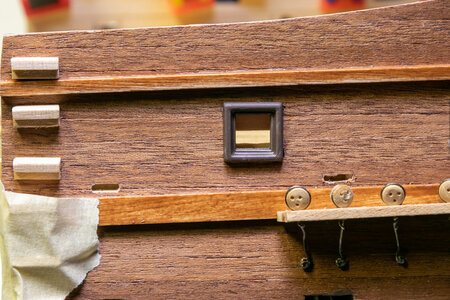
I painted the insides of the gun ports a brown color. I also painted the gunport frames and covers with the same color. I checked the fit of the lower frames, but will not install them until the very end. I am fairly certain that I would knock of the covers at some point working on the model.
IMG_6185.jpgIMG_6186.jpgIMG_6187.jpg
IMG_6188.jpg
Added the powder barrels to the middle deck.
IMG_6190.jpg

Finally, I constructed the accommodation ladder parts and installed to both sides.
IMG_6191.jpg

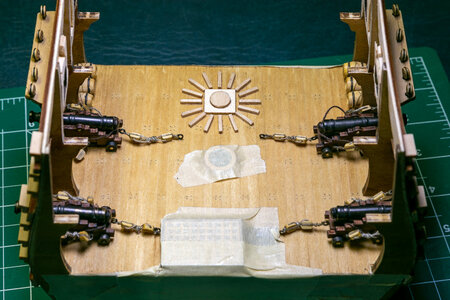
Next is to finish the cannon rigging and install the four cannons on the middle deck.
 
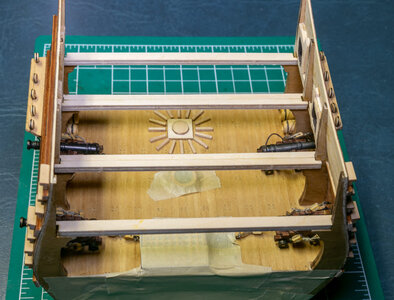
Middle deck guns are installed. I almost took it apart after looking at the pictures. The blocks (the smallest in the kit) seem to be too large. I may look at how to address that on the main deck guns. I also installed the main deck supports. On the lower deck, I installed the false middle deck before adding the support columns. On this deck I will make the columns next and install them before the false main deck. It will make it much easier to get the columns in the middle lined up if I can reach them from above. One of the reasons for doing this (relatively) simple build, was for the learning experience and I am learning quite a bit. One of them is that the instructions are not always the only way or necessarily the best way, to proceed with the build. Spending time thinking about how you will do something a number of steps ahead of actually doing it seems to be key to successIMG_6193.jpgIMG_6194.jpg.
 
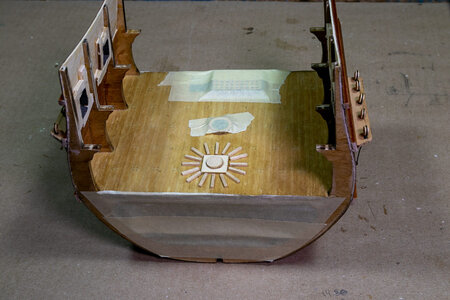
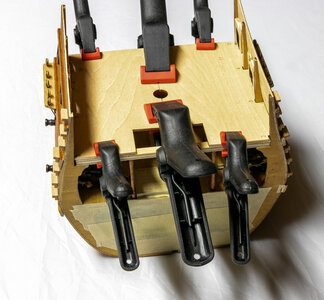
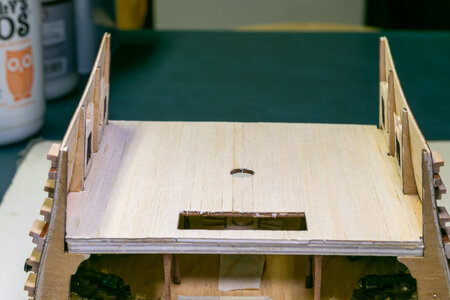
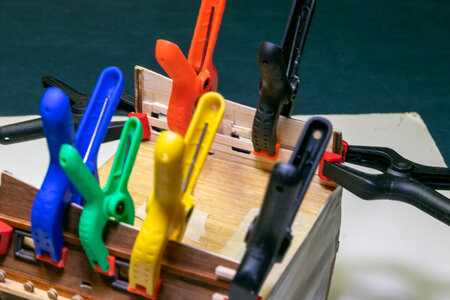
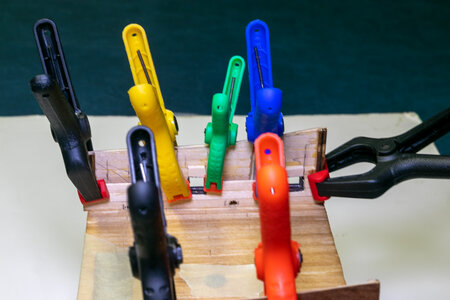
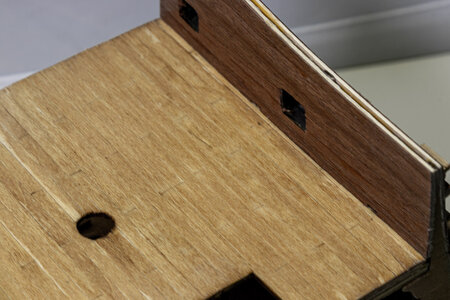
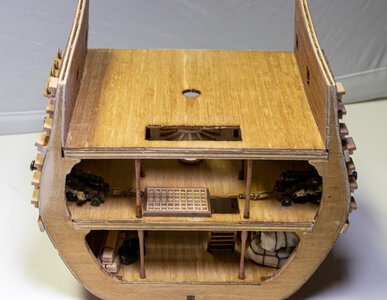
Deck supports are in. It was a lot easier to install them before the false deck above was installed since you can reach from above and not just from the side. In retrospect it would be best to do the same on the lower deck. I also installed the upper false deck. Planking the of the upper deck is next followed by two layers of planking of the inner bulkheads.IMG_6200.jpgIMG_6195.jpg
 
No, I have to concentrate on building.
I have a habit of making too many mistakes

Enjoying yours :)
 
Doing great work this looks really good. A friend asked me to build this model just before I was side lined for medical reasons. If I could get my strenth back I could do it along with the Constellation. For now the Constellation is a handful
 
The main deck planking is installed. Using the 0.5mm strips supplied with the kit makes this go very easy along with the completely straight deck.
IMG_6201.jpg

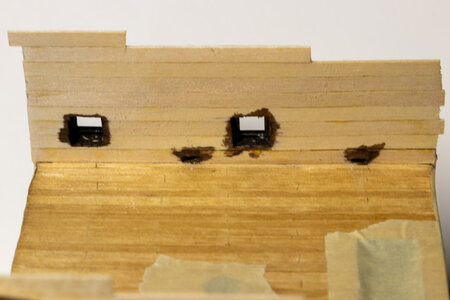
The next step was to line the bulwarks with the first layer of planking and cut out the gunports.
IMG_6202.jpgIMG_6204.jpg

I delayed cutting in the scuppers until I had the underlying planking on the bulwarks. This was a step that I have been concerned about. In the end I drilled 4 holes in a line for each scupper and using a #11 blade and a flat file I cut them in. I am happy with the way they turned out.
Note to other builders: Don't place the gunport frames on the outside of the ship until the planking of the bulwarks is completed.
IMG_6205.jpg

A bit of paint on the insides of the gunports and scuppers.
IMG_6209.jpg

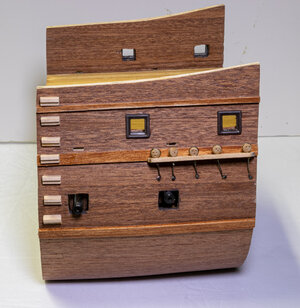
The final planking on the bulwarks completed with the curve to the bulwarks sanded even. I then sanded the bulwarks and clear-coated them.
IMG_6210.jpg

Progress to date. Next steps - The capstans or the deck grating.
IMG_6211.jpgIMG_6213.jpg
 
Deck supports are in. It was a lot easier to install them before the false deck above was installed since you can reach from above and not just from the side. In retrospect it would be best to do the same on the lower deck. I also installed the upper false deck. Planking the of the upper deck is next followed by two layers of planking of the inner bulkheads.View attachment 193950View attachment 193949
I wish I had thought of taping shut my lower decks to keep out the sawdust and detritus on my Black Pearl. Ingenious. I also wish I could find a way to simulate tiny blocks for my upper deck guns.
 
I cannot take credit for taping the decks closed. I saw somewhere else on another build, but I can't remember where. A secondary effect was that it protected the lower deck columns from my fingers when I was working on the hull. I must have knock out the end ones several times.
 
Lower capstan installed and the upper capstan is assembled. I will hold off installing the upper capstan until I have nearly completed the build. I am certain that I would have rigging eagerly reaching for and getting entangled in the bars.
IMG_6219.jpg

Gratings, ladder and the finishing piece at the top of the bulwarks installed. I have also started rigging the 4 guns on the main deck.
IMG_6218.jpg
When I look at the pictures, I see I have a bit of touch up on the staining and finishing of the ends of the planks and the sides of the bulkheads. Funny how you don't always see things until if shows up in a static picture.

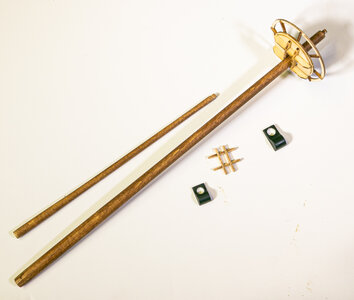
For a bit of a diversion, I started on the mast. I tapered the lower and top mast and stained them. I had already built the platform for the lower mast so I attached that. I put a wooden pin in the end of the lower mast to fit the hole in the cap and painted the metal caps. I will wait on assembling the mast until I am ready to work on the shrouds since I will get them looped over the mast before assembly of the mast.
IMG_6217.jpg
 
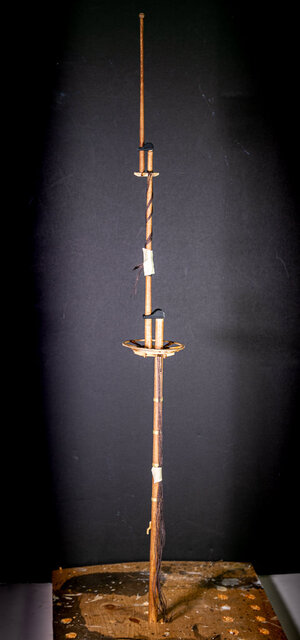
The mast is assembled. Following the instructions, there are no cheeks below the lower platform/top. This just does not feel right to me so I may have to make some to add. I don't think it will be too difficult to flatted a portion of the mast to accommodate the addition of cheeks. I have some time to work on other things before I make that decision. Other than the lack of cheeks, I am pleased with the mast. I attached the lower and the second level of shrouds before assembling the mast and taped them to the mast to keep them out of my way.

IMG_6226.jpg

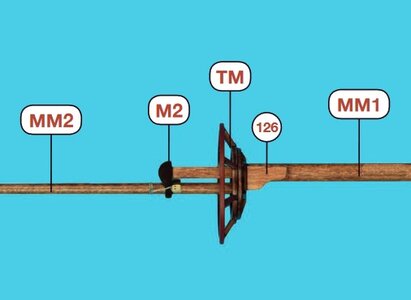
As I was writing this it occurred to me that the plans/instructions for the AL full San Francisco II are available. Those plans clearly show cheeks under the platform, so I guess my mind is made up … cheeks to be added.

Screenshot 2020-11-28 092134.jpg

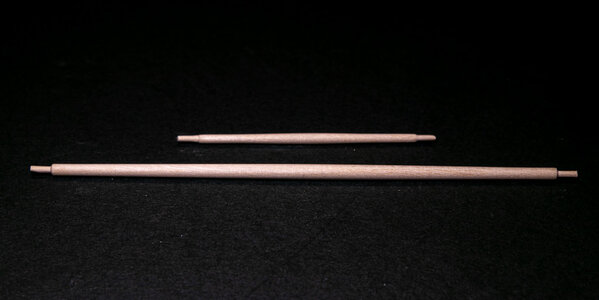
I have also started on the spars for the mast. These call for tapering and 2mm ends to be turned down. I have the equipment to do short pieces, but the main sail spar is too long for my equipment. I finished the upper two, but am still pondering how I will do the main yard. The tapering will not be difficult, but the 2mm tip on the yard still evades me.

IMG_6227.jpg

Just for information, the kit is short on dowel for all of the masts and spars, but I had some 5/32" dowel that worked perfectly for the upper spar.
 
Last edited:
The main deck planking is installed. Using the 0.5mm strips supplied with the kit makes this go very easy along with the completely straight deck.
View attachment 194509

The next step was to line the bulwarks with the first layer of planking and cut out the gunports.
View attachment 194510View attachment 194511

I delayed cutting in the scuppers until I had the underlying planking on the bulwarks. This was a step that I have been concerned about. In the end I drilled 4 holes in a line for each scupper and using a #11 blade and a flat file I cut them in. I am happy with the way they turned out.
Note to other builders: Don't place the gunport frames on the outside of the ship until the planking of the bulwarks is completed.
View attachment 194512

A bit of paint on the insides of the gunports and scuppers.
View attachment 194513

The final planking on the bulwarks completed with the curve to the bulwarks sanded even. I then sanded the bulwarks and clear-coated them.
View attachment 194514

Progress to date. Next steps - The capstans or the deck grating.
View attachment 194515View attachment 194516
looking really good! I wish I would have payed more attention to your build. I followed the sequence in the plans.Now I have to populate the lower decks with the upper decks installed :( It will be a challenge.
 
looking really good! I wish I would have payed more attention to your build. I followed the sequence in the plans.Now I have to populate the lower decks with the upper decks installed :( It will be a challenge.
I am not certain how I would have rigged the middle deck guns if I would have installed the upper deck first. I guess the guns could be fully rigged and then you would just have to put the eyebolts in place. My eyes are not good enough to have seen the holes in the shadows. I suggest doing the innermost guns first.

I have to give credit to others who have previously done this build for making the recommendation to not follow the order in the directions. I did dry fit the middle and upper decks as I went along just to make sure I wasn't bending the bulkheads as I progressed. Even with that I did have one bulkhead slightly out of alignment. I don't think anyone but me will ever know however.
 
Back
Top