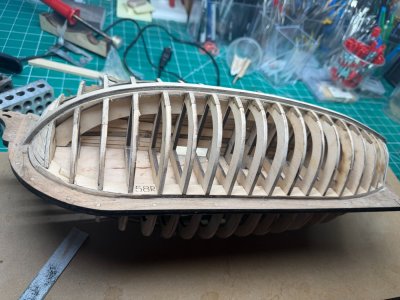
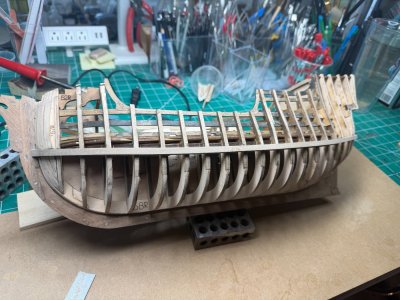
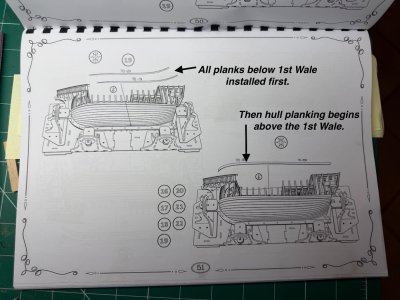
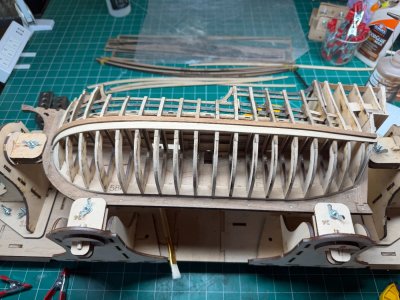
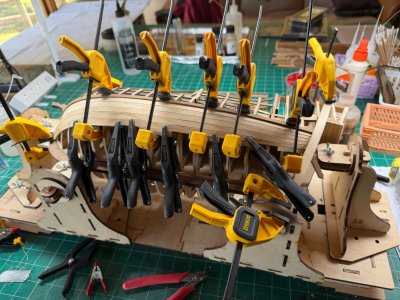
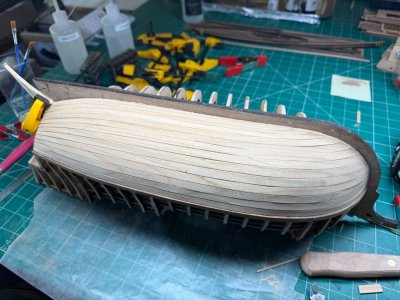
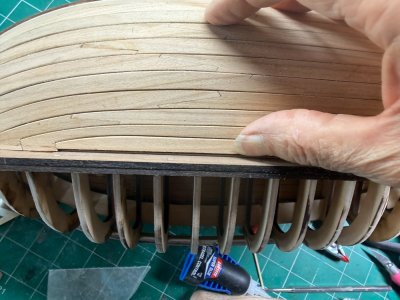
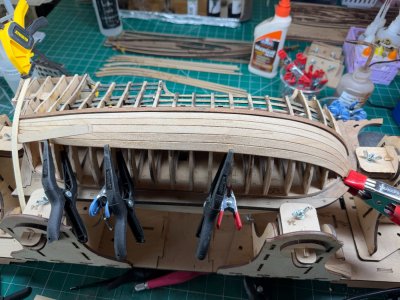
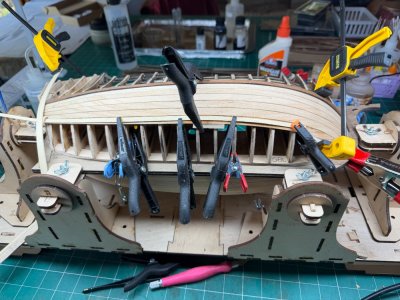
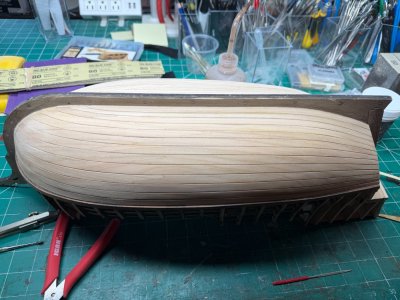
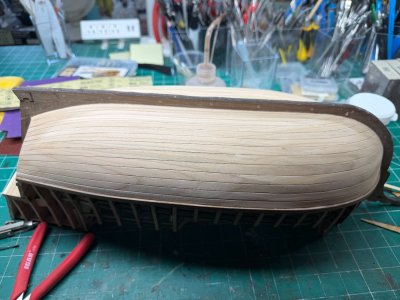
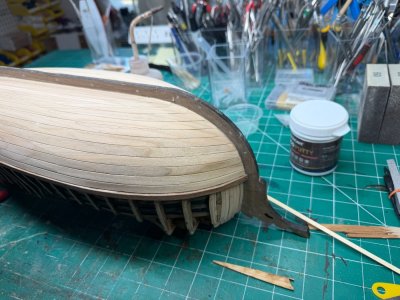
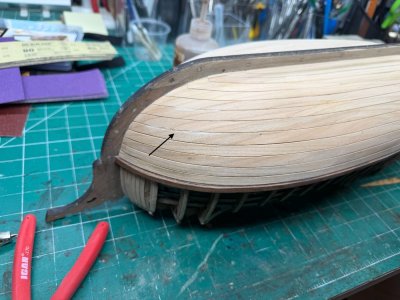
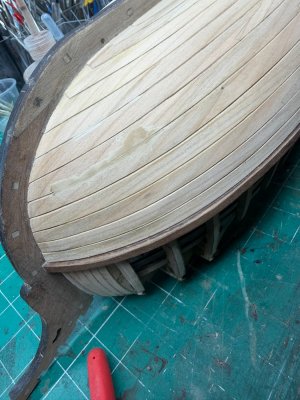
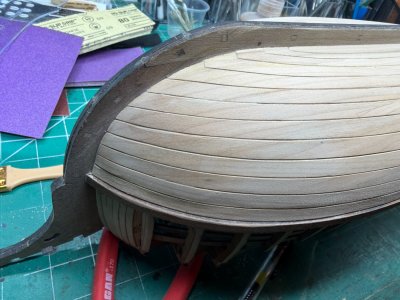
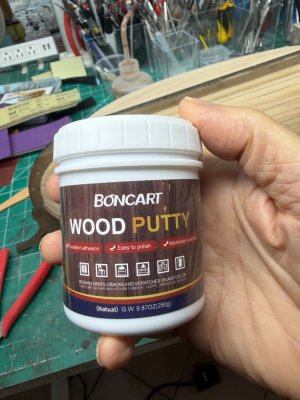
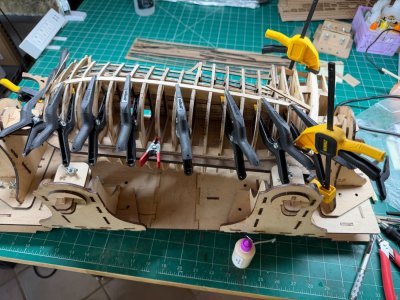
I have completed the port side of the lower hull... Very pleased with the way the planks went together. Some minor issues, but they were easily fixable. The hull only needs minor sanding to level/smooth it. Then need to check the grooves between the planks to correct any unevenness. If that is possible. I'm not real good at detail work. Hard fo me to see, even with the magnify glasses I have to wear when working on the ship.
View attachment 559057
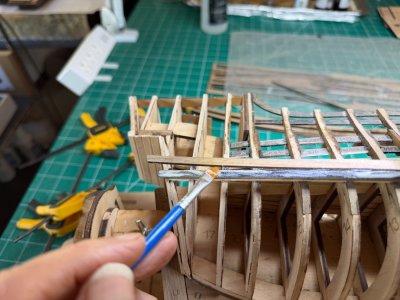
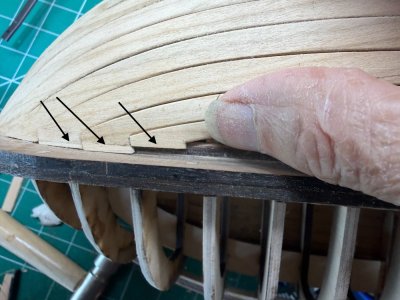
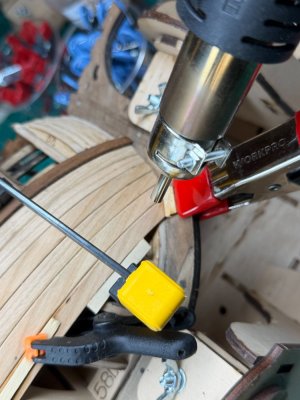
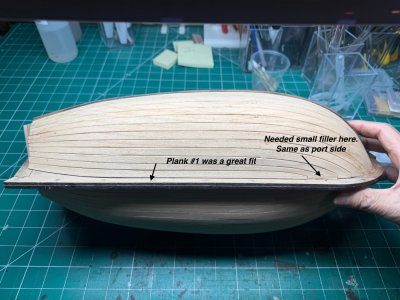
The front edge of planks 3,4 and 5 didn't reach the keel. I glued a small piece of scrap from the planking sheets and glued to each then sanded to fill the gap.
View attachment 559059View attachment 559060
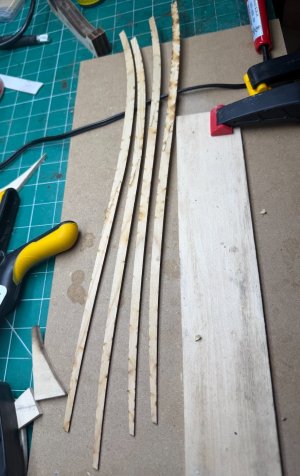
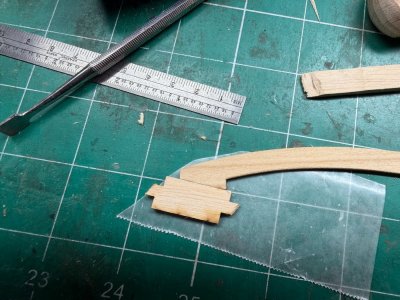
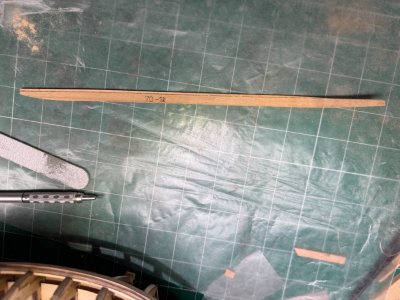
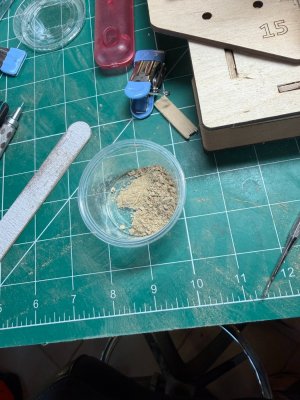
The final plank #1 was also too narrow to reach the keel. I ripped a narrow strip and glued to the keel side of the plank and sanded it down so plank #1 filled the space.
View attachment 559061View attachment 559062
I had some concerns about all the hull planks fitting corrrectly from watching some other builds. But, everything pretty much worked out fine with my ship. Overall I a very please with the fitting of the parts. Now to clean up this side, then plank the lower hull on the other sied.
I had bought Pavel's San Bartolome a few years ago and gave it way where on SOS when I wasn't feeling too well and had kind of stopped working on models. I wrote to Pavel about the San Bartolome. He is filling Christmas orders right now and said any further shipping will be at the end of Decem2 ber. I'm thinking probably a little later. He has a 10% christmas discount right now, so I went ahead and ordered another San Bartolome and all the associated parts. He said shipping to Florida would be about 2 weeks, though I'm sure it will be much longer. I'll have plenty of time to complete (I hope, if I don't drop it again) the Santa Maria before the San Bartolome arrives. I also ordered more airbrush stains.
Even though my building skills aren't much compared to most on this site, I have been enjoying building the Santa Maria. And as I said earlier, to me it's more about what I've done and the way it looks to me compared to what the actual ship may look like. Oh, and I almost dropped the hull onth the tile floor, but luckily I caught it and no damage was done.



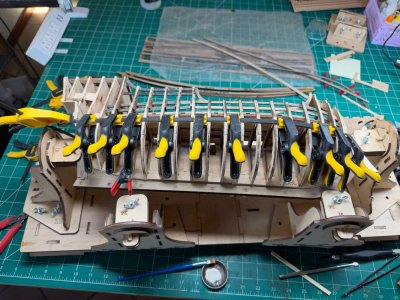
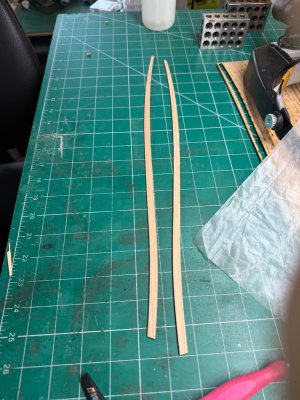
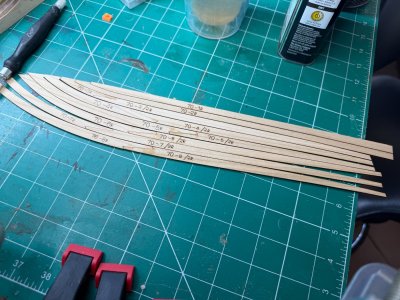
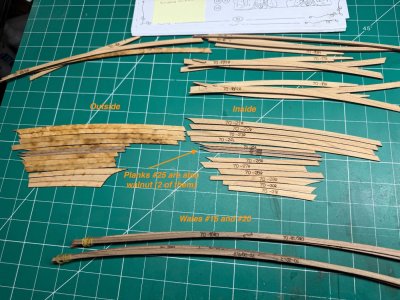
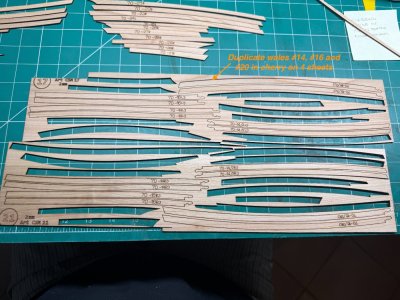
 . Now for the truth!! I had bent the 1st layer of the wales and glued them in place. Next I bent the 2nd layer (top layer) of the port side and glued it in place. And finally, I bent the 2nd layer for the starboard side. As I was brushing on the glue I saw the part number of the wale on the OUTSIDE (visible side) of the wale.
  . I had bent the wale in the wrong direction. I thought okay, I'll just sand the numbers off as I'll likely lower the height of the wales anyway. Wait! Can't do that as these pieces are cut with curves in them. Each of the hull planks are cut a certain way so they fit together without any trimming. So... I couldn't simply glue this wale on as it was cut to fit in only one direction!! I wetted the entire wale, put it between two flat boards and let it dry. When I removed it, the wale was straight again. Now I have to go through the process to bend it the CORRECT way. Finally I glued the last wale piece on. If fit perfectly. I was lucky I could recover from that mistake.