• LUCZORAMA SHIPWRECK SCAVENGER HUNT GIVEAWAY. 4 Weeks of Fun • 1 Legendary Prize ((OcCre’s Fram Ship)) • Global Crew Welcome!
    **VIEW THREAD HERE**

Santisima Trinidad Cross-Section 1:90 OcCre - Second Build

Hello Rebus,

that looks very nice!!! You've done a great job. You asked for help with your copper planking.
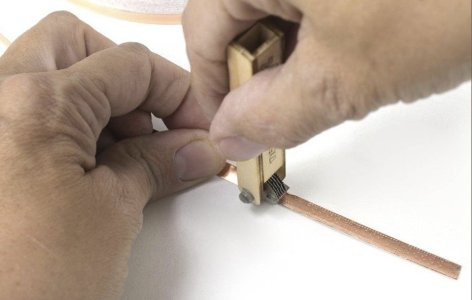
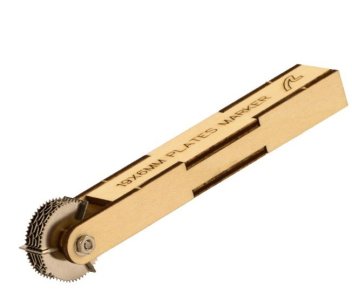
Have a look; I can only recommend the copper tape (5 mm). It sticks really well and the scale would also fit. As this copper tape is also used for the HMS Victory. There is also the embossing roller. You can use it to simulate the rivets. That would be my tip.
Have a look at the website of

Best regards
Günter Ship-1
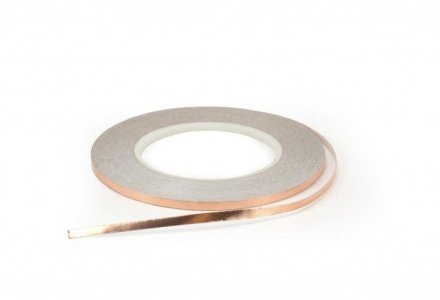
Kupferband.jpg

Rollerpräger.jpg
 
Hello Rebus,

that looks very nice!!! You've done a great job. You asked for help with your copper planking.
Have a look; I can only recommend the copper tape (5 mm). It sticks really well and the scale would also fit. As this copper tape is also used for the HMS Victory. There is also the embossing roller. You can use it to simulate the rivets. That would be my tip.
Have a look at the website of

Best regards
Günter Ship-1
View attachment 522132

View attachment 522133
Günther,

Thanks for the recommendation and kind words. I'm enjoying this build.

Have some 5mm tape and a similar tool that is used for tracing lines on fabric. Going to try and see how well I can do. Plan on making individual tiles and didn't know if 5mm would be right. Thinking the second dimension would be 16mm. Does that seem right?

Thanks so much for your help!
Rebus
 
Last edited:
Hey Rebus,

if you want to make pieces, it will be difficult from the tape. I think if you cut it into pieces, it won't be as stable and individual pieces will come off the copper strip.
I also have the rivet roller that you use. I used it for my airplanes to create rivets. It works quite well.

The one from AL is 5-wheeled and has a stamp that shows the pieces simultaneously. That's why it's so good. Take a look at the picture. You don't have to cut any pieces with it. But if you really want to cut pieces, then you really have to switch to copper plates and glue each one on individually. DeAgostini used to make copper plates like this in 1/84, but unfortunately they are no longer available.

Best regards
Günther Ship-1


Prägung.jpg
 
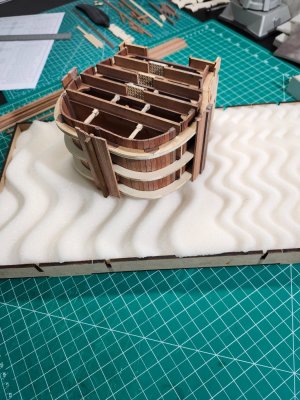
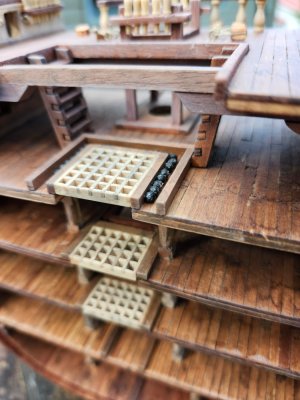
Haven't gotten as much done this week as I hoped. Between yesterday and today, I got the next deck done.20250531_195816.jpg

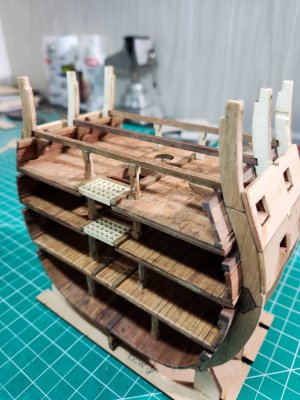
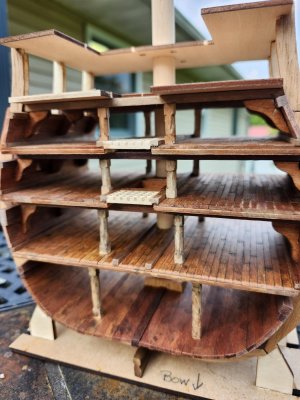
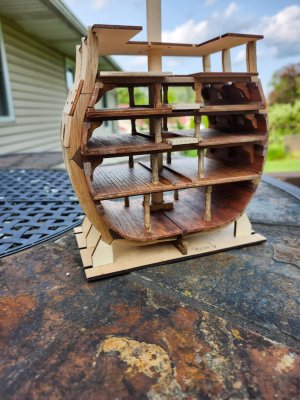
Decided to test fit the remaining two decks with the bottom part of the mast. All seems good. Have been checking with the mast after each deck. Didn't want to be surprised once I had all the decks installed.20250531_182522.jpg20250531_182502.jpg20250531_182450.jpg

The Admiral is impressed and happy with the progress. She thinks it is coming along fantastic and still wants to hang it in the dining room.
 
It’s looking great! Thanks for sharing.
How did you get the decks to look aged like that?
Thanks for your kind words. This is the first time I have tried to age a model.

To age the planks: I leave the ends of the planks a little rough after cutting them instead of sanding them square. Graphite all edges, stain with sapelli stain, and dot with watered down black acrylic paint. Let dry then repeat with stain and paint. The stain is added to a cloth and rubbed on the wood. The paint mixture looks like grey dirty water. I then spray a matte finish on them after they are dry.
 
Last edited:
Hey Rebus,

that looks great. Very nice and you've also done a good job with the ageing. Great work.

Cheers
Günther Ship-1
 
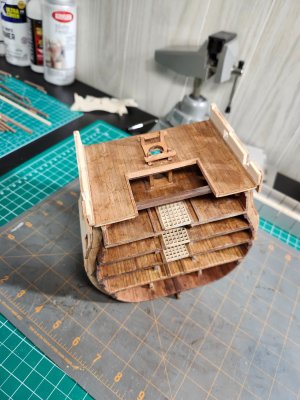
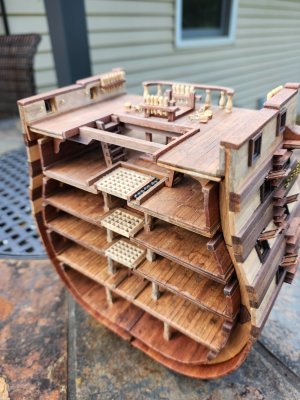
Got all the decks installed today. Then cut it off the jig.
20250605_194631.jpg20250605_194641.jpg

Since then I noticed I forgot the nails for the top deck. Guess that will be tomorrow's first task.

Started the exterior planks hope to finish them tomorrow.

20250605_205934.jpg20250605_205946.jpg

Still thinking about whether I want to copper plate the hull. Soon it will be time to decide.
 
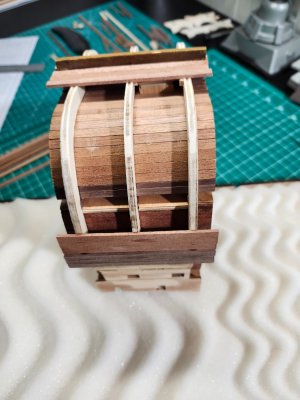
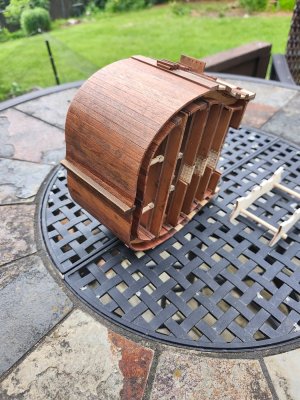
Finished the exterior planking this weekend and aged everything. Coated with a matte finish. Have decided not to do copper plating for the hull. The Admiral would like to see the wood not copper. Since she purchased it for me to build and wants to display it in her dining room, I agreed with her to leave the copper plating off. ROTF I like to see the wood also. For both of us, our undergraduate degree is in forestry.
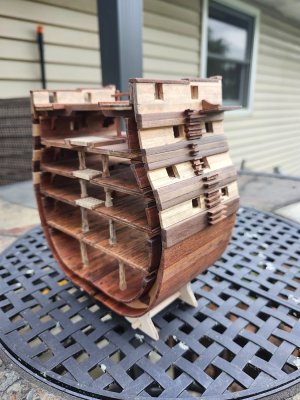
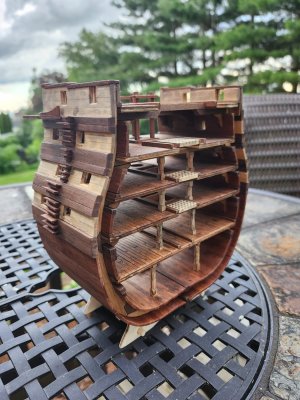
20250608_184406.jpg20250608_184414.jpg20250608_184425.jpg20250608_184437.jpg

So next is porthole covers and deadeyes on the channel before I start work on the interior.
 
If you don't take it sailing in the warm southern waters the wood will hold up without the copper plates to keep wood worms out.

The hull looks great, and since it is your model, build as you see best fit.
 
Hello Rebus,

of course we don't disagree with the ladies, we are gentlemen after all. ;)

I think you did a great job. It looks really good. I think you have taken your experience from your first wooden boat into this project. Very nice and keep it up.

Best regards
Günther Ship-1
 
Nice!! I had a great time building this kit - learned a lot about how they looked on the inside - Great amount of learning for me as well

Enjoy
 
I like it, very accurately made!
If you don't take it sailing in the warm southern waters the wood will hold up without the copper plates to keep wood worms out.

The hull looks great, and since it is your model, build as you see best fit.
Hello Rebus,

of course we don't disagree with the ladies, we are gentlemen after all. ;)

I think you did a great job. It looks really good. I think you have taken your experience from your first wooden boat into this project. Very nice and keep it up.

Best regards
Günther Ship-1
Nice!! I had a great time building this kit - learned a lot about how they looked on the inside - Great amount of learning for me as well

Enjoy
Thanks to all of you for your wonderful comments. I am very happy with the way this build is turning out. I agree this kit has helped me to better understand the internals of a ship. I am hoping one day to build the complete Santisima Trinidad. Doing what I can to learn more about this ship, unfortunately there seems to be only one book written about. And I would have to translate it to learn more.
 
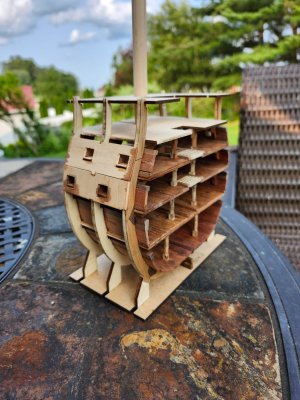
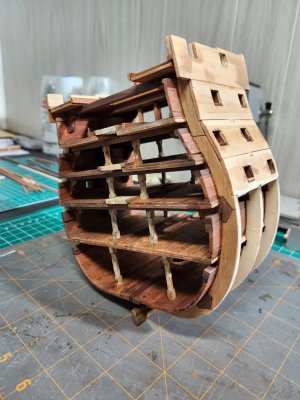
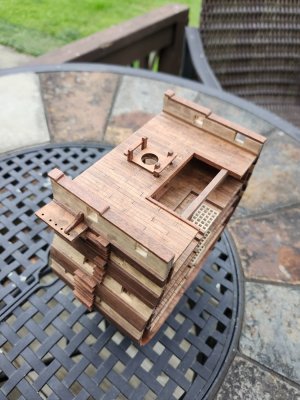
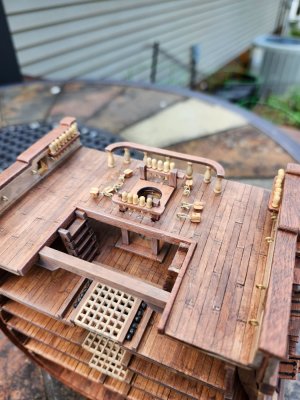
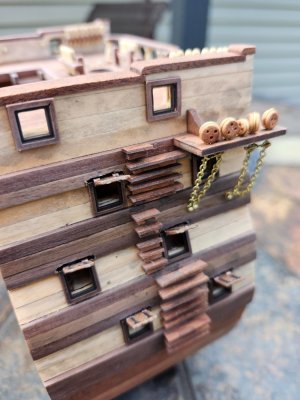
Here are some pictures for the current state of my build. Got all the port hole covers installed. Finished the deadeyes and chains. All belay pins are there and blocks mounted to the deck. Aging of all surfaces and then a matte finish was added. Now for the cannons and barrels then I will be able to add all the internals.

20250615_173843.jpg20250615_173852.jpg20250615_173914.jpg20250615_173925.jpg20250615_173938.jpg20250615_173903.jpg
 
Here are some pictures for the current state of my build. Got all the port hole covers installed. Finished the deadeyes and chains. All belay pins are there and blocks mounted to the deck. Aging of all surfaces and then a matte finish was added. Now for the cannons and barrels then I will be able to add all the internals.

View attachment 525971View attachment 525973View attachment 525975View attachment 525976View attachment 525978View attachment 525974
Hey Rebus,

that looks great! ThumbsupQuick question: Are those fingerprints on the side of the boat? Looks like they are dark stains?

Best regards
Günther Ship-1
 
Hey Rebus,

that looks great! ThumbsupQuick question: Are those fingerprints on the side of the boat? Looks like they are dark stains?

Best regards
Günther Ship-1

Günther,

Guess those spots do look like fingerprints. That is a few spots where I got heavy-handed with the black wash I used for aging the ship.

Rebus
 
Rebus, you model looks great. I especially liked how you veneered over the outer frames. I really dislike the use of plywood in most kits.

I wonder how OcCre expects people to belay a line, let alone hang a coil, on those enormous belaying pins. Perhaps you could rig her with dental floss?
 
Rebus, you model looks great. I especially liked how you veneered over the outer frames. I really dislike the use of plywood in most kits.

I wonder how OcCre expects people to belay a line, let alone hang a coil, on those enormous belaying pins. Perhaps you could rig her with dental floss?
Not only do the belay pins seem too big, I thought that eight of them together was a great number for the space on each bulkhead. Part of thing I wonder is since it is a cross-section have more pins been pushed into a smaller space for one mast of rigging. Guess I will find out in a couple of weeks when I start the rigging.
 
Back
Top