-

Win a Free Custom Engraved Brass Coin!!!
As a way to introduce our brass coins to the community, we will raffle off a free coin during the month of August. Follow link ABOVE for instructions for entering.
-

PRE-ORDER SHIPS IN SCALE TODAY!
The beloved Ships in Scale Magazine is back and charting a new course for 2026!
Discover new skills, new techniques, and new inspirations in every issue.
NOTE THAT OUR FIRST ISSUE WILL BE JAN/FEB 2026
You are using an out of date browser. It may not display this or other websites correctly.
You should upgrade or use an alternative browser.
You should upgrade or use an alternative browser.
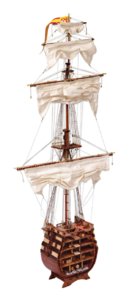
Santisima Trinidad cross section Occre - bashed [COMPLETED BUILD]
- Thread starter md1400cs
- Start date
- Watchers 31
-
- Tags
- completed build
You are making a really great model out of this kit - Great 
- Joined
- Aug 16, 2019
- Messages
- 870
- Points
- 343

I am short of words to give you the appreciation of your work
Just a beauty

Just a beauty


- Joined
- Aug 16, 2019
- Messages
- 870
- Points
- 343

Uwek just post a very good picture of the S.T. in the 1805 Trafalgar gun and paint configuration
Today in Naval History - Naval / Maritime Events in History
28th of February Model of the Santísima Trinidad at the Museo Naval de Madrid
Today in Naval History - Naval / Maritime Events in History
28th of February Model of the Santísima Trinidad at the Museo Naval de Madrid
It's amazing the amount the of detail there is in this model. One could look at it for hours and catch over looked details. I like how with addition of modern electronics gives the model a look of the old with the lighting. I could spend a lot of time just getting ideas of what could be done in a model. Great job 
Thanks mates for all of the super nice comments - very touching indeed.
Regards,
Regards,
Hi Mates,
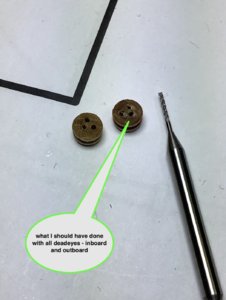
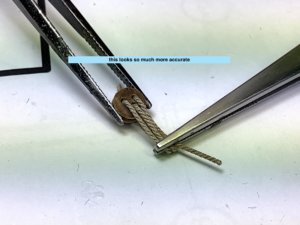
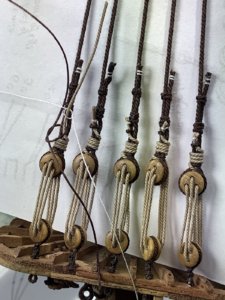
Minor – frustrating update – Only because I had thought of this after the Vasa. Then got to the deadeyes on this build and did not act.
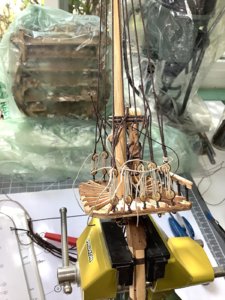
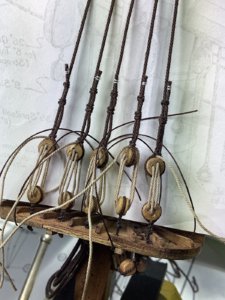
The results (for this part of the build) leave me less than satisfied; with the deadeyes attached to the shrouds do I really see my errors.
The laniards are not tight enough “looking” – as they come through the deadeyes the ropes also angle out incorrectly.
Yes, I could have used thinner ropes, but the next available size down looked too thin. After looking at many museum examples, I felt that the ropes that I used look just about right.
So- first two images are what I should have done.
The other images reflect the work up-to-date: I’m ok with the shrouds, middle and end seizings along with how the laniards are secured to their shrouds. PS: Some of the lower deadeyes are angled badly – when I attaché the ratlines I’ll do slight shroud twists here and there.
Thanks for dropping as always – Stay well everyone.


Minor update;
As always thanks so much for dropping by, likes and nice comments.
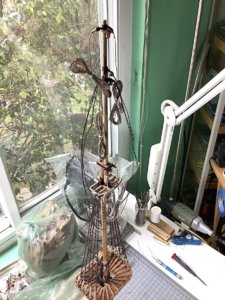
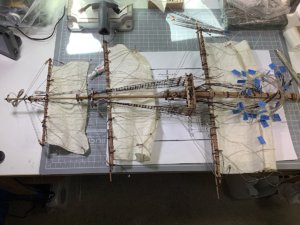
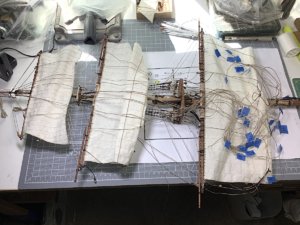
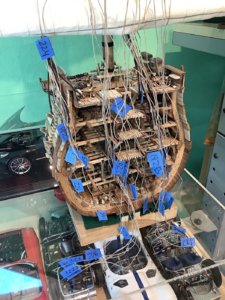
Attached topmast and top gallant to lower main. All came out ok.
Finished topmast shrouds and ratlines.
Added Futtock staves, kit instructions precluded those, even for lower mainmast. Staves are simply tied to shrouds.
Installed Futtock shrouds as well to lower platform.
Next step is to attach all ropes, jeers, and parrel to lower main yard.
Topmast yard is almost done as well – will install it next.
Stay well everyone –
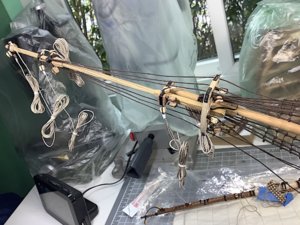
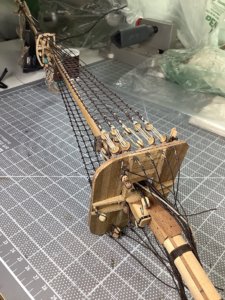
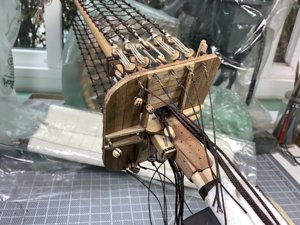
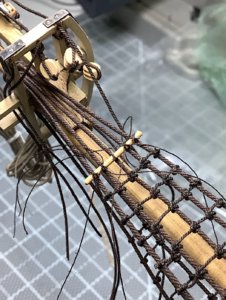
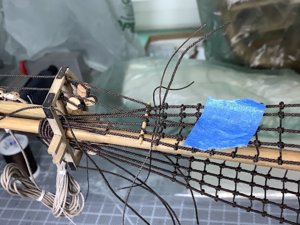
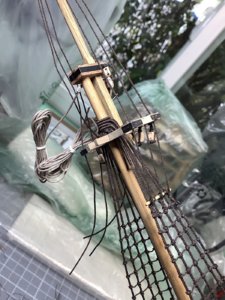
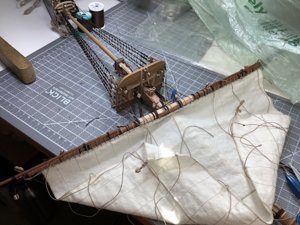
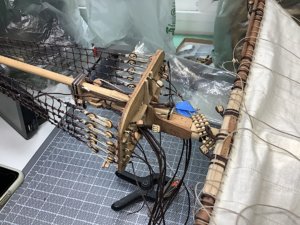


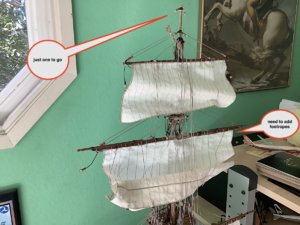
Attached the lower yard.
Need to connect the sling bits - I know that with the jeers, the parrels were not needed - and probably incorrect. As I was installing the
yard I almost removed the parrels - then though they were already mounted and it would be easier to attach the yard. Also they can hardly be seen from the front view - oh well.
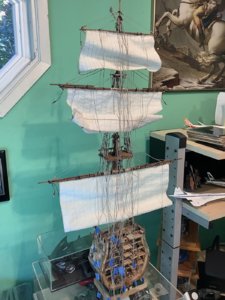
I will follow the look of the official kit photo regarding the sails - though might completely furl the topgallant - still about that - Now onto prepping the upper yard
Here are a few updated images.
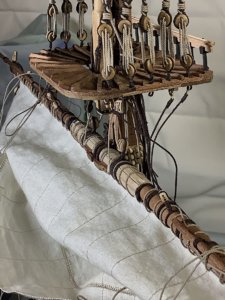
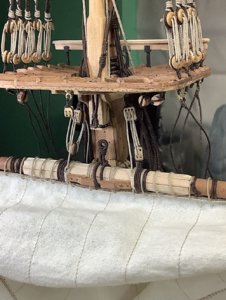
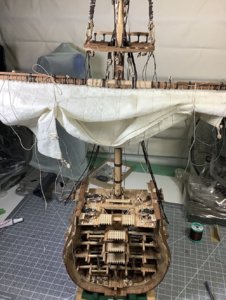
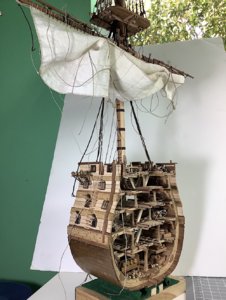
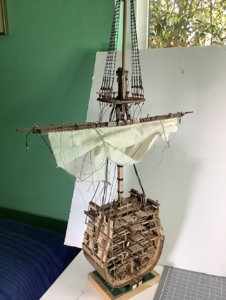
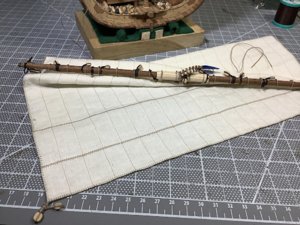


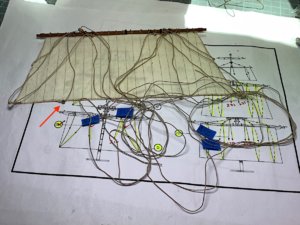
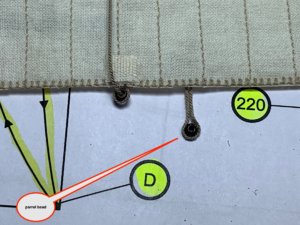
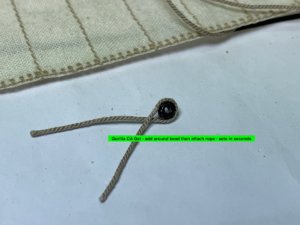
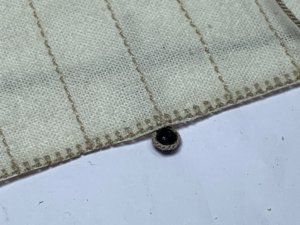
Running rigging is close to being completed. Wanted to add a bit of more detail to the sails at the Buntline connections. See arrow. The Boudriot 74 gun ship book shows these rings.
I had purchased – way back when – some small eyelets but found no particular use for them (outer ring shapes were wrong) but found a perfect use for them here.
Also: alternatively black plastic parrel beads would work just as well (just a bit of sanding to flatten the tops would make them look excellent) I will re-do the lower mainsail and add these bits of details.
Then below, just general updated images –
I know some of those – if not all – ropes are way too long, as they end at the pins. But I messed up with Vasa and had pre-cut ropes too short. Did not want to revisit that frustration especially after I had installed all masts and connected the mast shrouds. So went overboard with lengths
Regards,


Hello Michael, I am really impressed by how much details, and their quality you put into your model! Also, I want to admit your build log, outlined with the help boxes. This makes it very interesting to read and better understand the process. Bravo Mike! 


Jim,
Thanks - also glad that some of this is useful to others as well.
Thanks - also glad that some of this is useful to others as well.
Heinrich; Thank you for your very kind thoughts are much appreciated.
That said this particular kit is IMO a basic kit. I got it knowing that I fully intended to use little of the kit provided parts. I used the basic three futtoc frames (which, the front one I overlaid with oak), and some of the provided woods, mast and yards - I did follow the build instructions - having decided to add and keep a lot of the interior details open as a learning experience for me as well as offering a look at how these ships looked from the inside with parts still "open"
I have seen some "right out of the box" examples that look very good. Also please note that all ropes and blocks, are aftermarket as well as the copper hull plates.---- Still thank you for your kind post. Builders who bash detail purchased kits add much that kit manufacturers can't afford to provide in the box to the mass market.
But now having a bit of grief with OcCre rigging instructions.
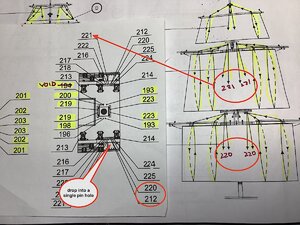
When I built the pin rails, I counted the “numbers” on the instruction sheet and drilled accordingly the same amount of pin-holes per railing side.
Now it turns out that the lower and topgallant sails have four bunt lines per yard seemed just about right when I rigged the sails (didn’t think about this current issue.
I assumed (that famous word) that each number for pin rail on the illustration sheet stood for an individual rope location on the rail.
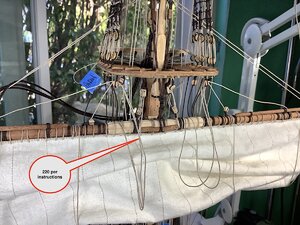
Now in the process of locating the ropes in the correct places – the instruction sheet only references only two pin locations per yard.
AND looking even more carefully it appears as if locations numbers 212, and 220 drop into a same single hole. So need to find/invent four extra pin locations -- Need to figure out how to “fix” this grrrr.
PS: At least I only have one mast to deal with - I wonder if the OcCre rigging instructions for this complete ship have issues as well?
Regards,


Kurt Konrath
Kurt Konrath
I am still working the basic hull as provided by the company.
I am at stand still do to waiting on replacement of missing strip of 4 x 4 African Walnut for whales and cross beam on top deck.
I sent an email to OcCre, but have not gotten a reply back yet.
I am at stand still do to waiting on replacement of missing strip of 4 x 4 African Walnut for whales and cross beam on top deck.
I sent an email to OcCre, but have not gotten a reply back yet.
Kkonrath,
As you know Italy is, for intent and purposes, shut down. You prob. won't get a responce for quite a while IMO - especially when asking them to ship "free" parts.
I also want to purchase my next kit from Sergal (The Sovereign of....) but production is also at a standstill, and my usual source has no product (nor anyone else for that matter).
Kurt Konrath
Kurt Konrath
Yup, that is why I am waiting and looking at my other projects to finish while things settle down and the world opens again in spring hopefully.
Doubtful - Spring was about two months ago - My best guess is late summer for ordering almost anything specific to this hobby.
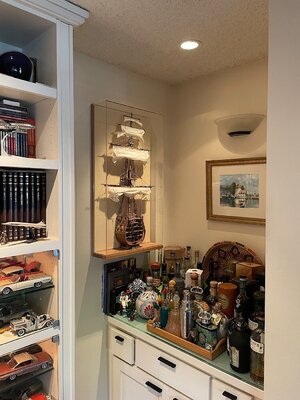
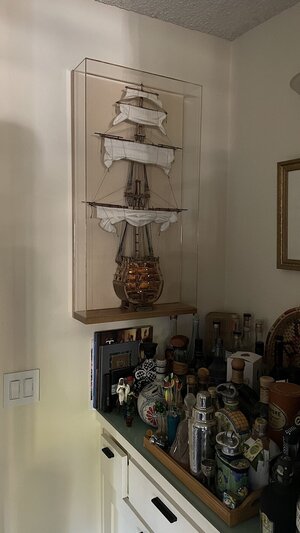
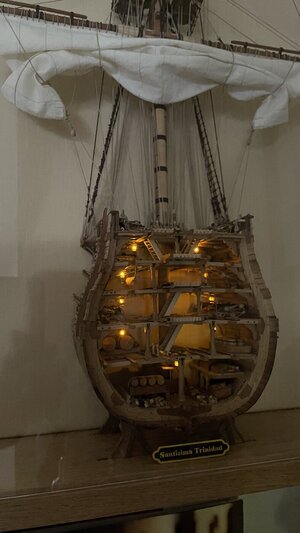
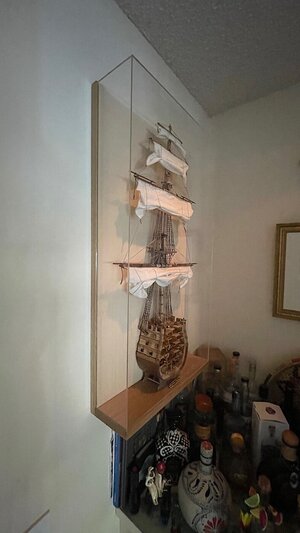
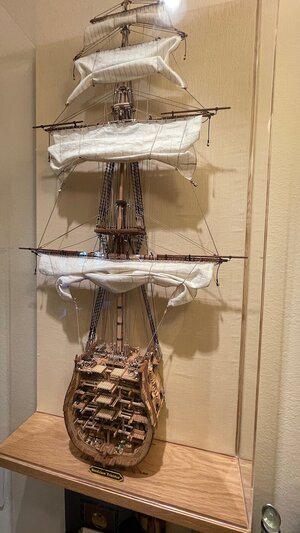
Been quite a while since I logged "here" for this build as...... / So she is, and had been completed for several months. I was also waiting for the case that was being made to hang on a small corner wall to be completed. Many months later finally got around to hanging her up.
I have so very much appreciated all of the super kind "over the top" comments, likes and your interest in following this log. - sooo nice mates. big hearted thanks. Here are a few preliminary images of her at her new home. Will post much better images of just details of the completed project very soon (along with the lighting case switch setup). This is where she will stay.
Sincerely,
(John is my birth middle name actually)


Absolutely beautiful John. Very well done. 


