Hello
Some time ago I started building Sao Gabriel based on the model in the museum in Lisbon. I do not have exact plans, but based on photos, dimensions and proportions of this type of vessels I managed to design a ship quite similar to the original one in Lisbon. The progress in the construction is enough to show the first photos.
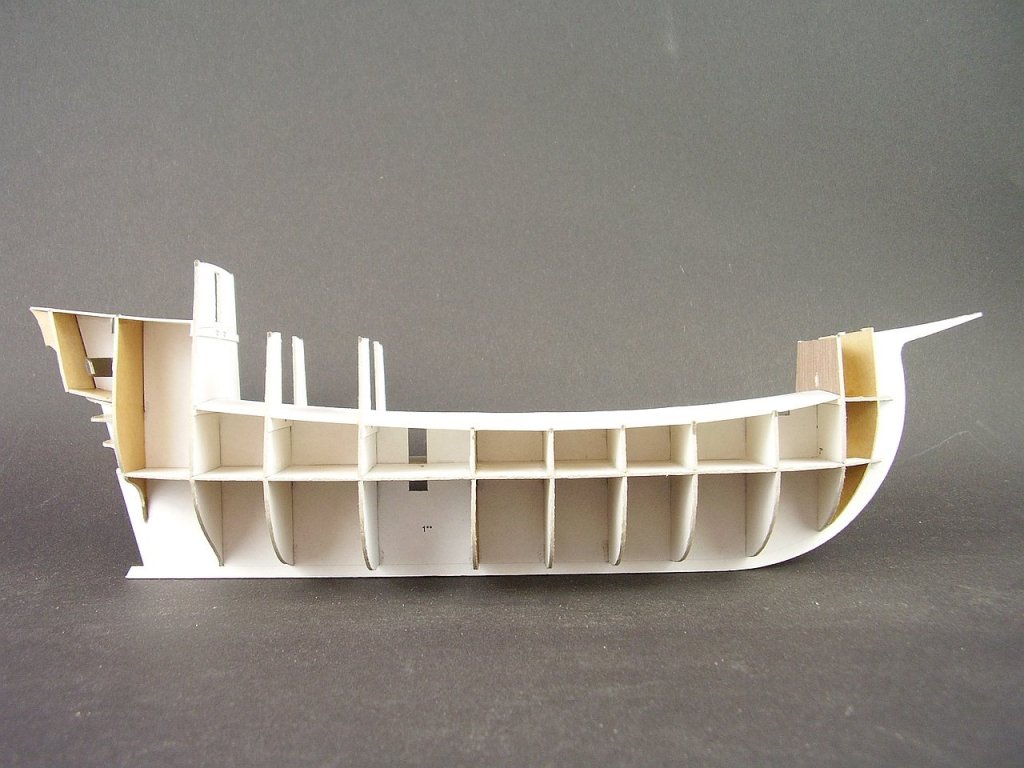
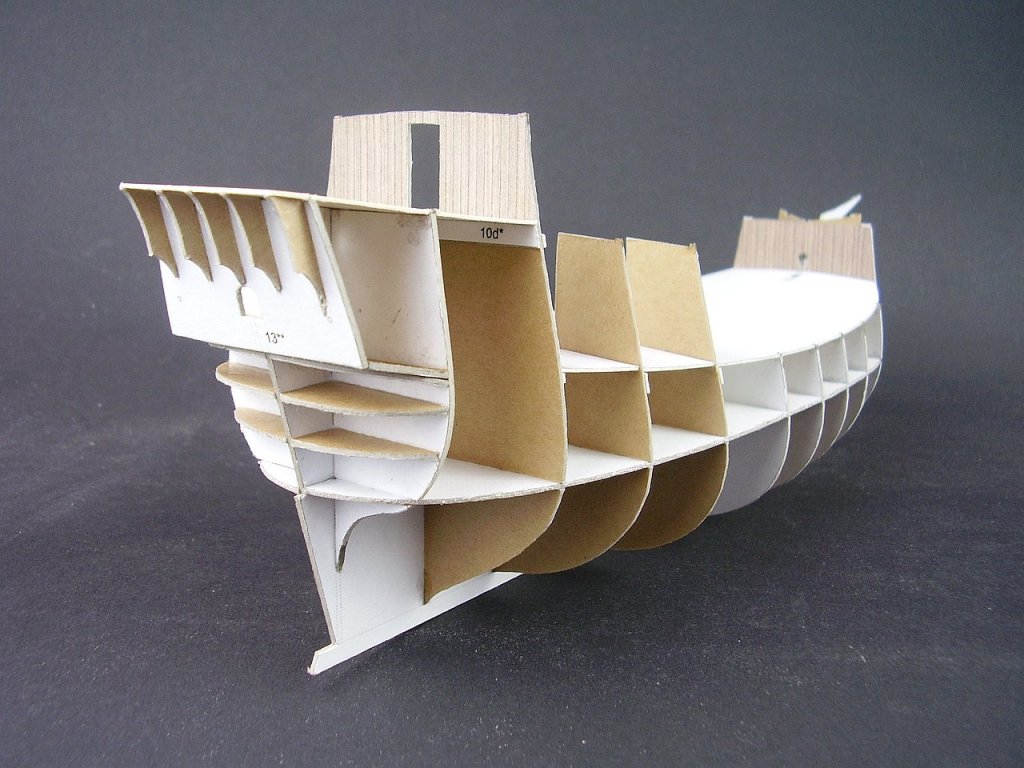
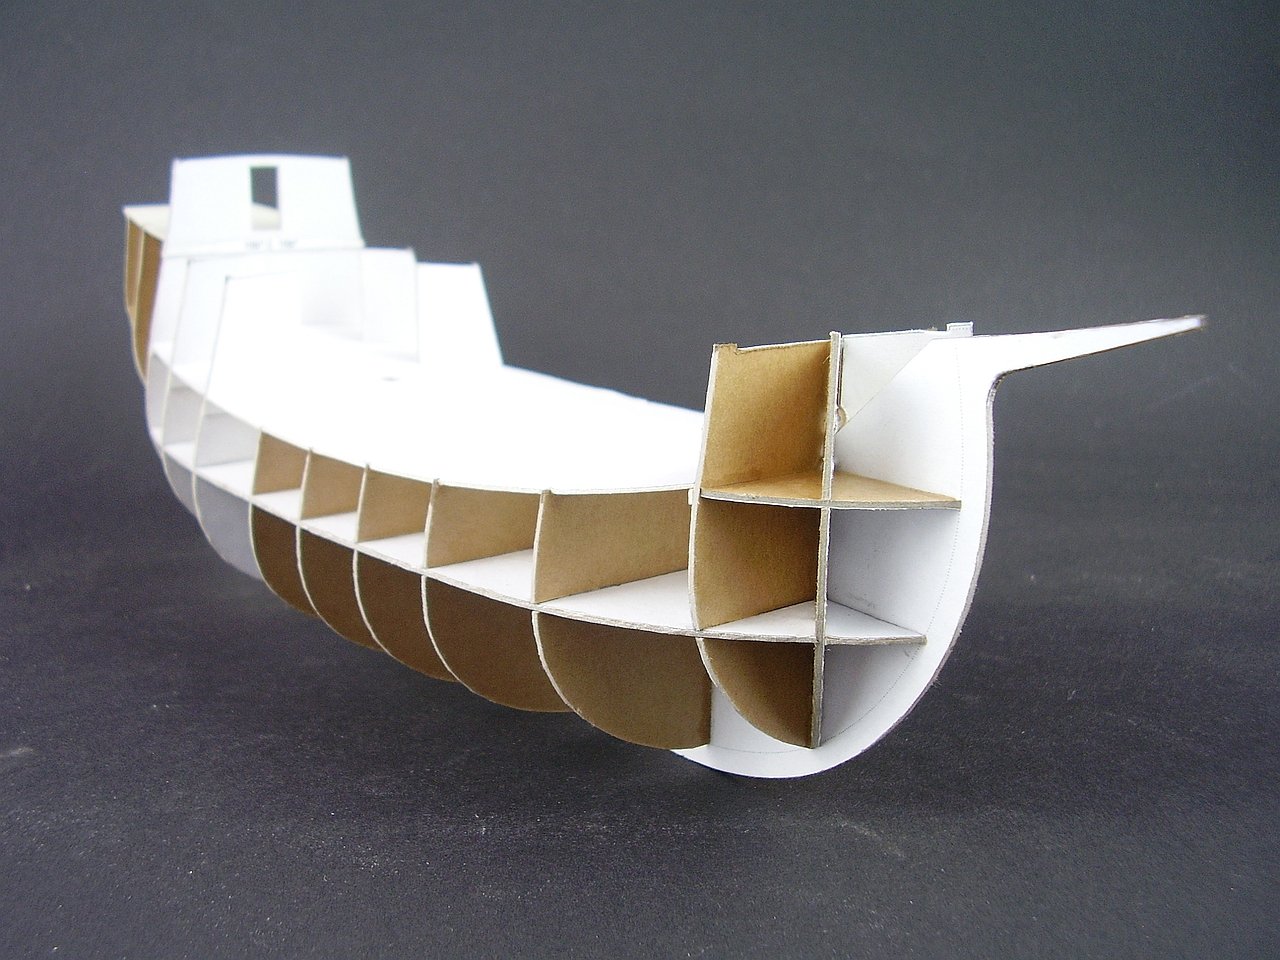
The hull frames were made of 1 mm thick cardboard.

I have planned three layers of planking: the first vertical layer, which stabilizes the frames, the second longitudinal one on the cardboard 0.5 mm and the third one in color as the final planks. After gluing the first layer, I added some of the decks and evened the entire hull with sandpaper to remove adhesive residues and greater inaccuracies.

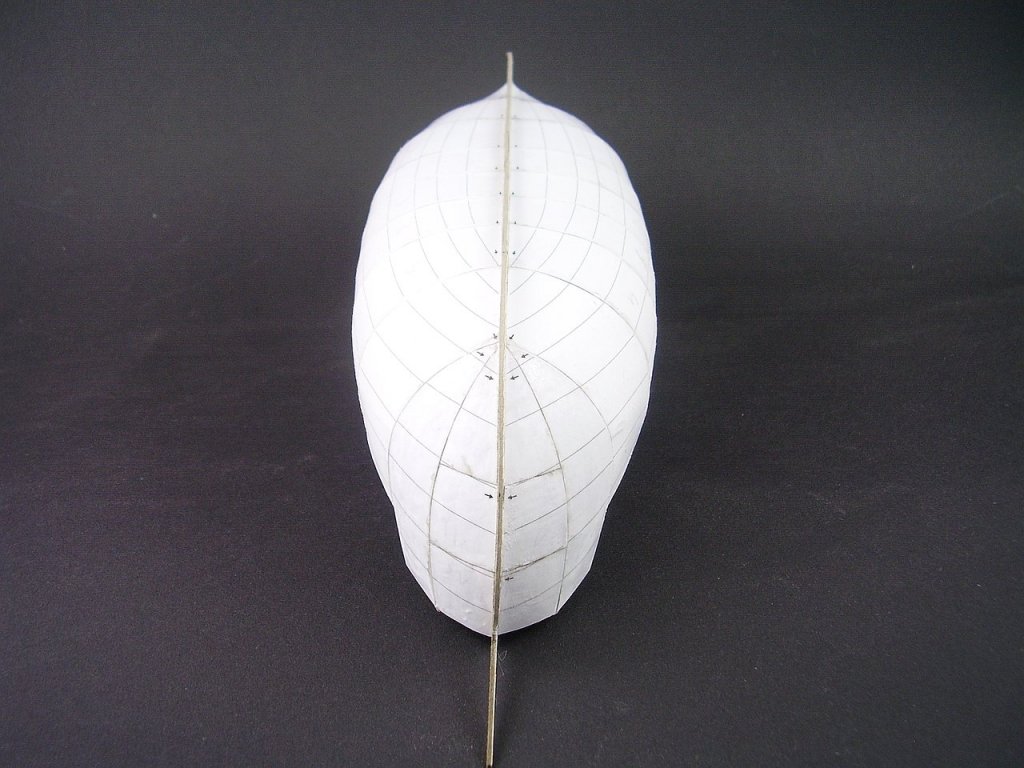
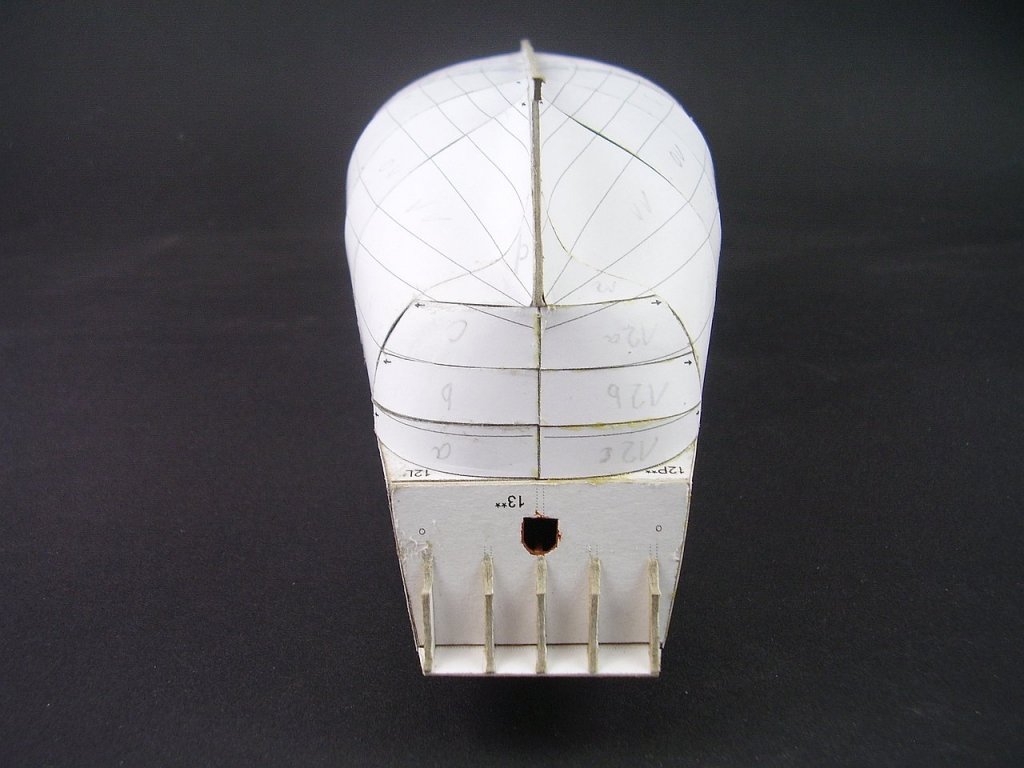

On the parts you can see lines according to which I will glue the next layer.
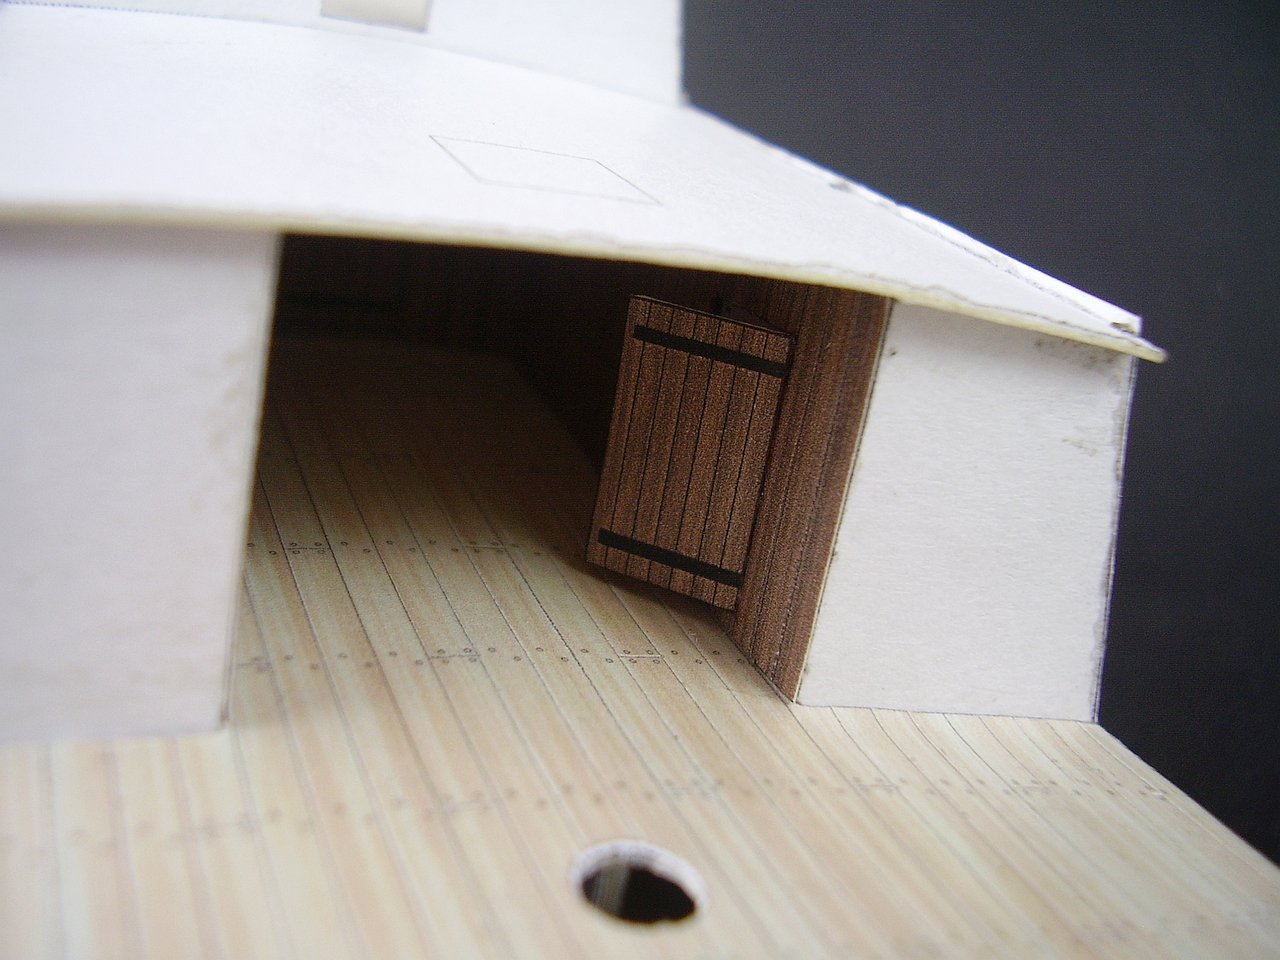
Before sticking the next decks, I had to make a few details, to which the later access would be very difficult.

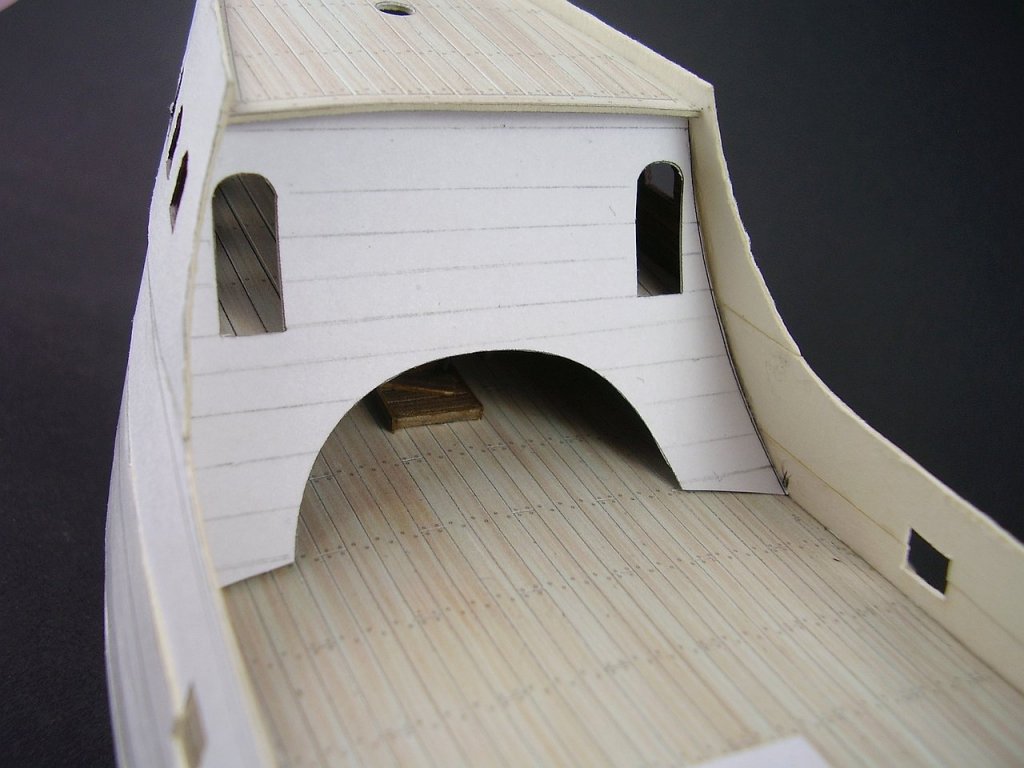
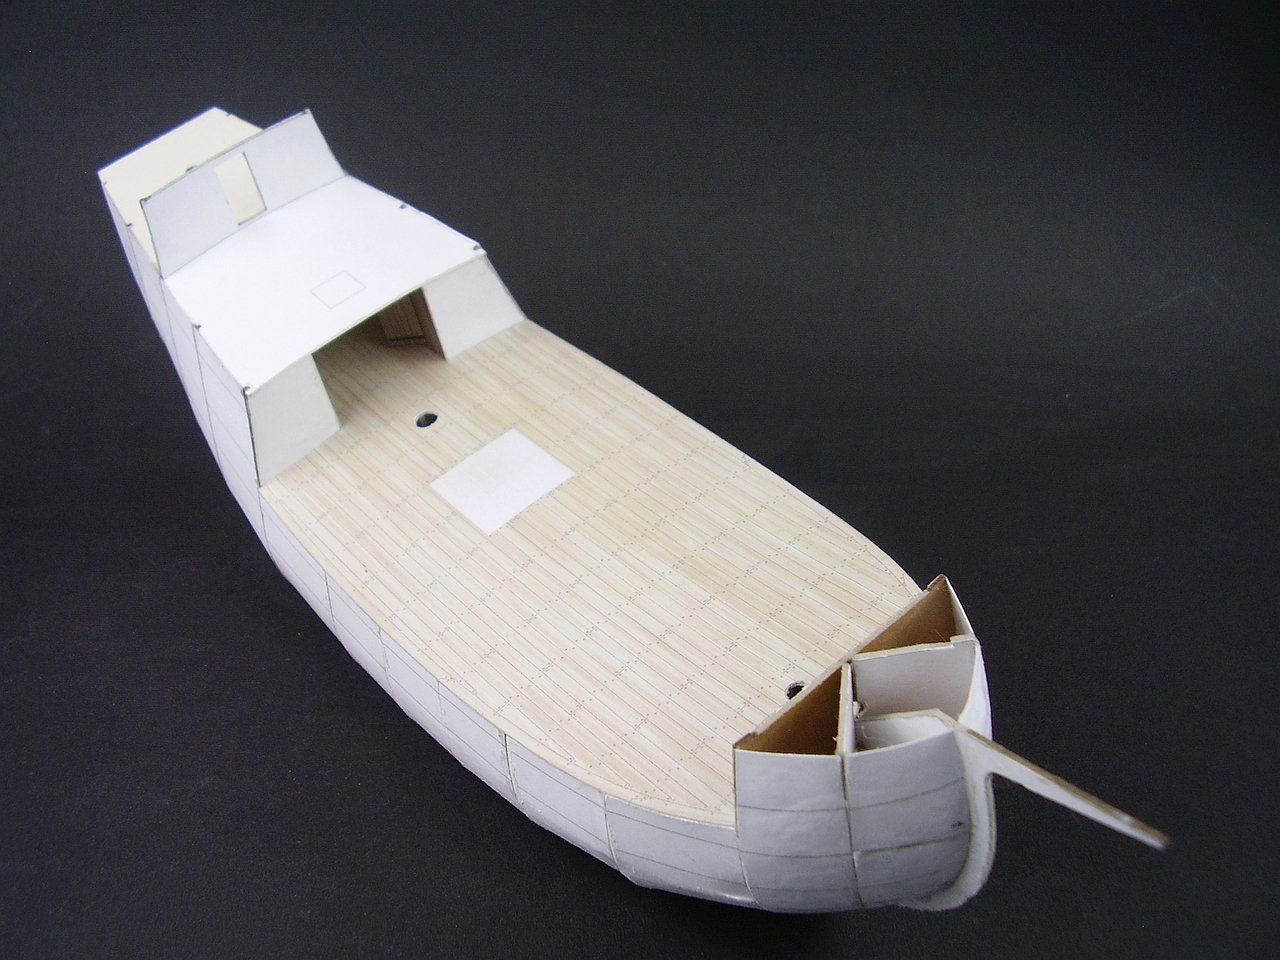
Then I glued the second layer, so far only to the level of the main deck and then I built a part of the forecastle.

The construction of the forecastle...

Then, step by step, I added the next strips of the second layer and the next level in the forecastle.
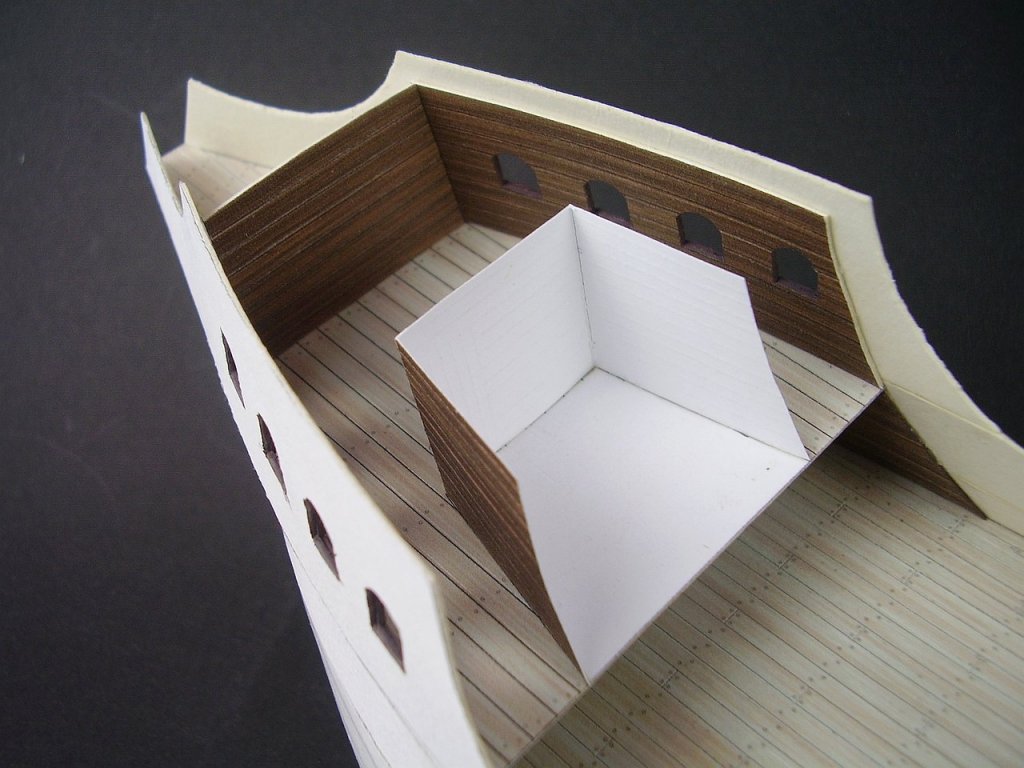
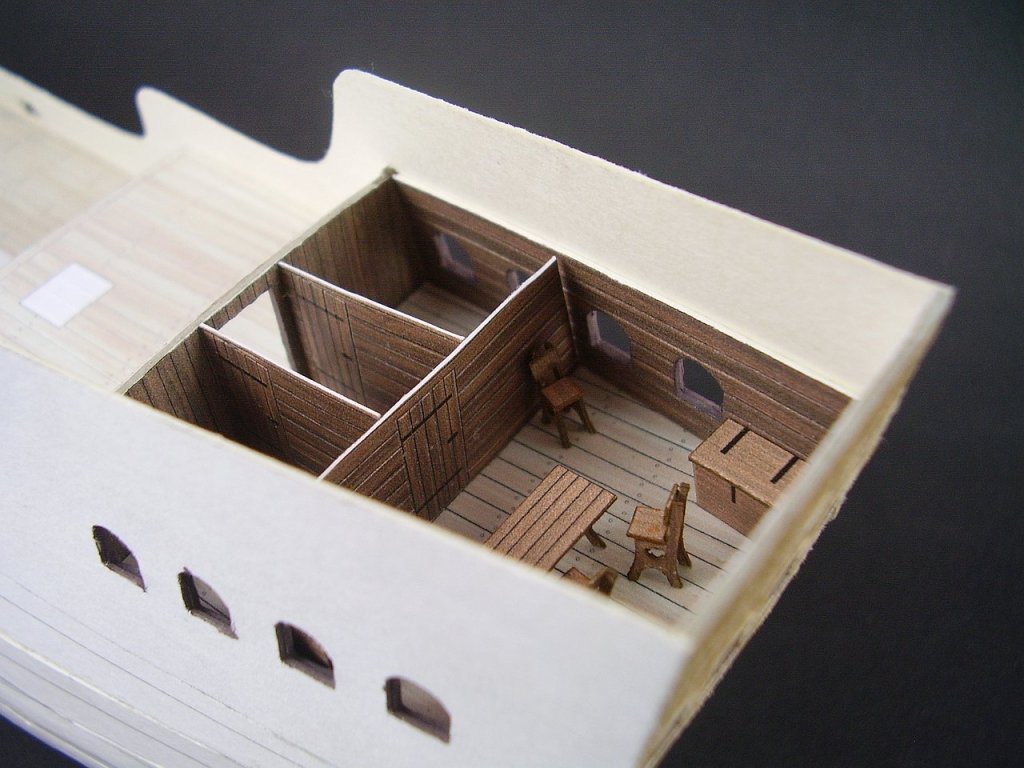
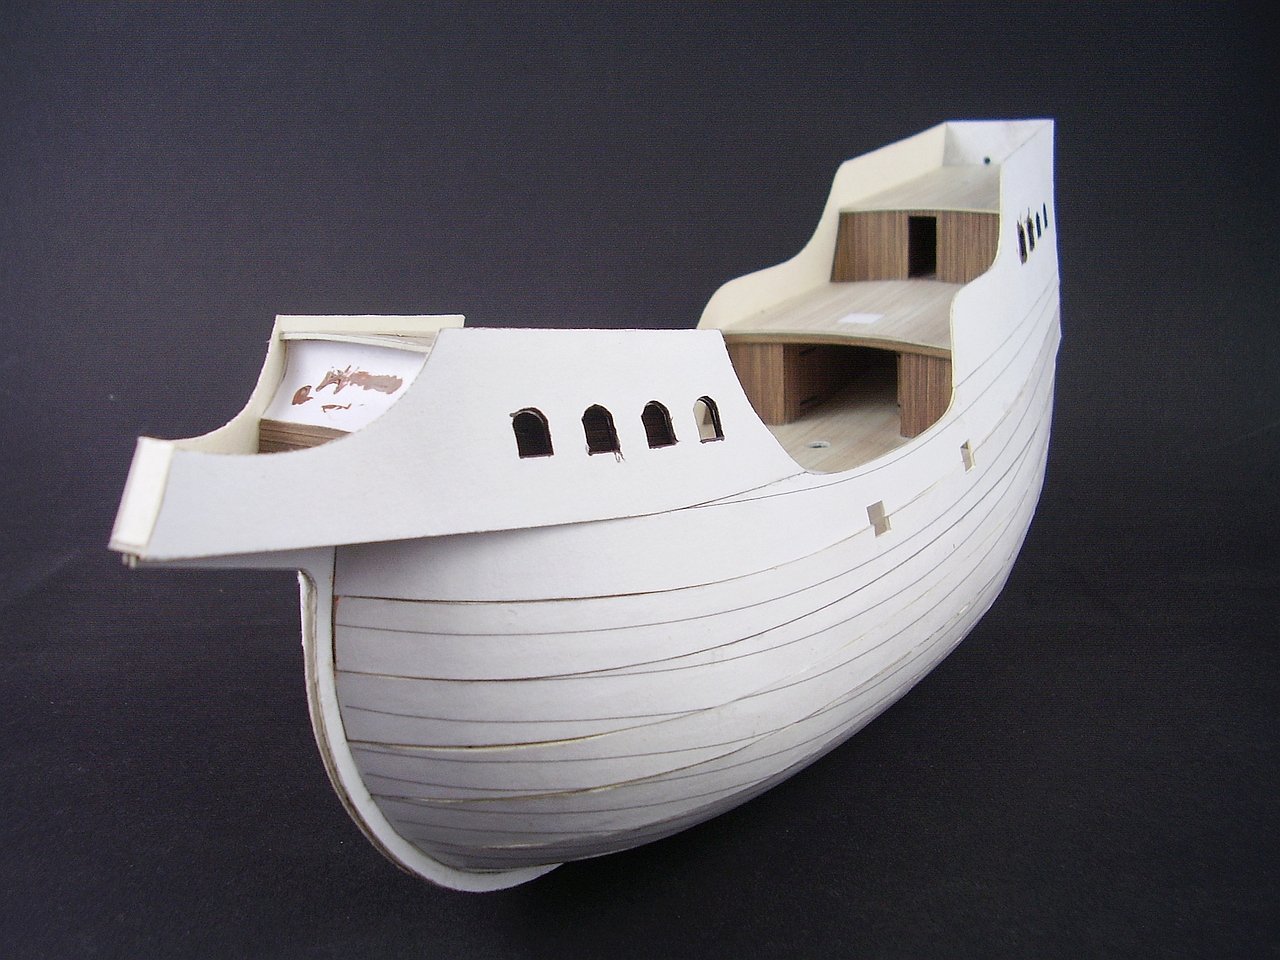
Because the model has a lot of windows in the stern part, I created some rooms there. Unfortunately, there are not many sources describing rooms in sailing ships from this period, so this is only my imagination.
Now I could "close" the whole with the upper decks.

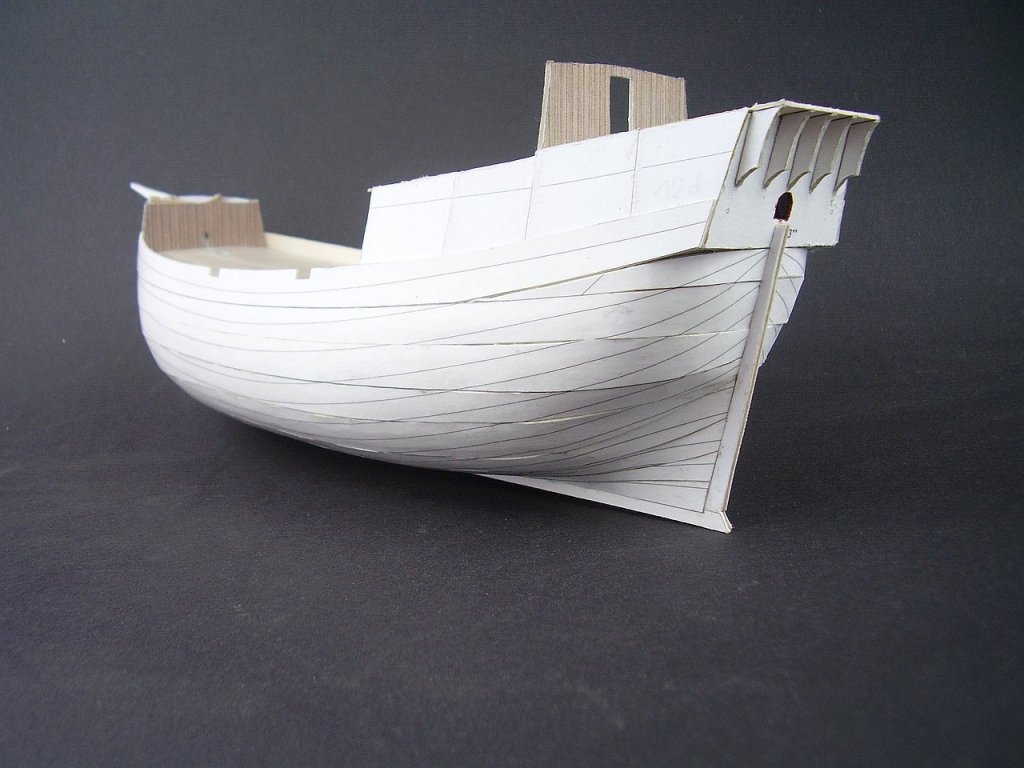
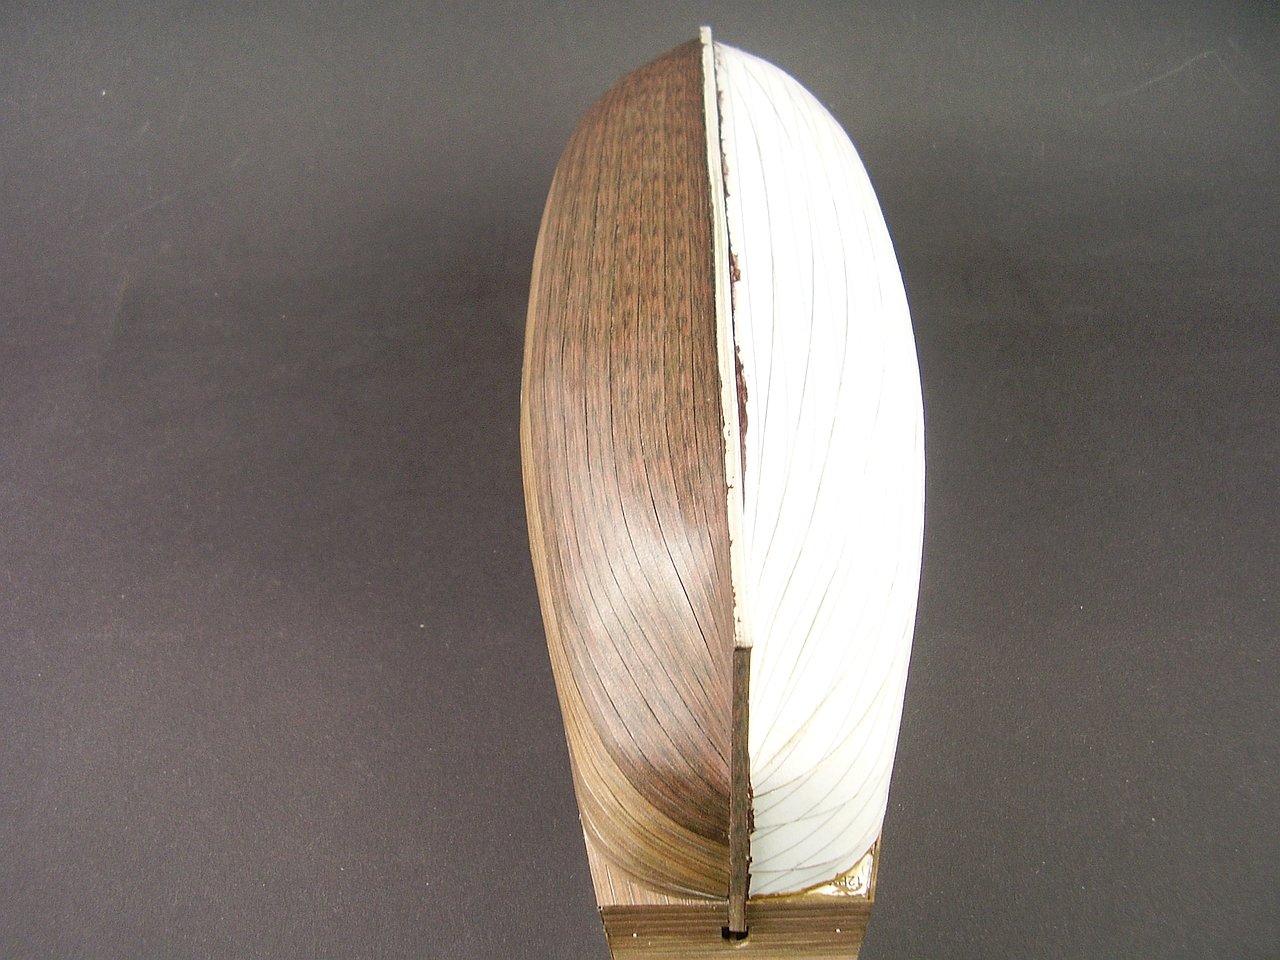
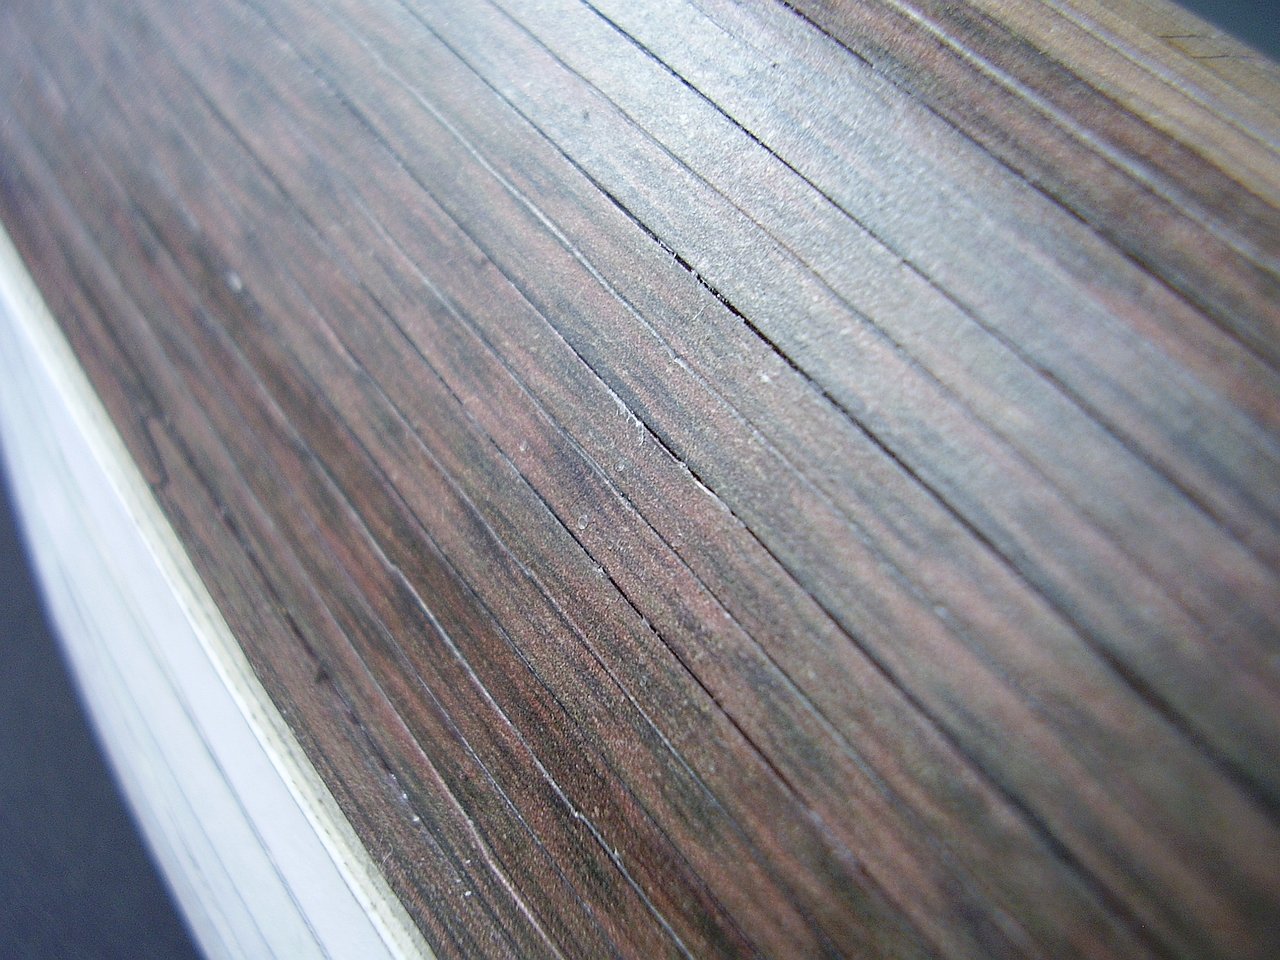
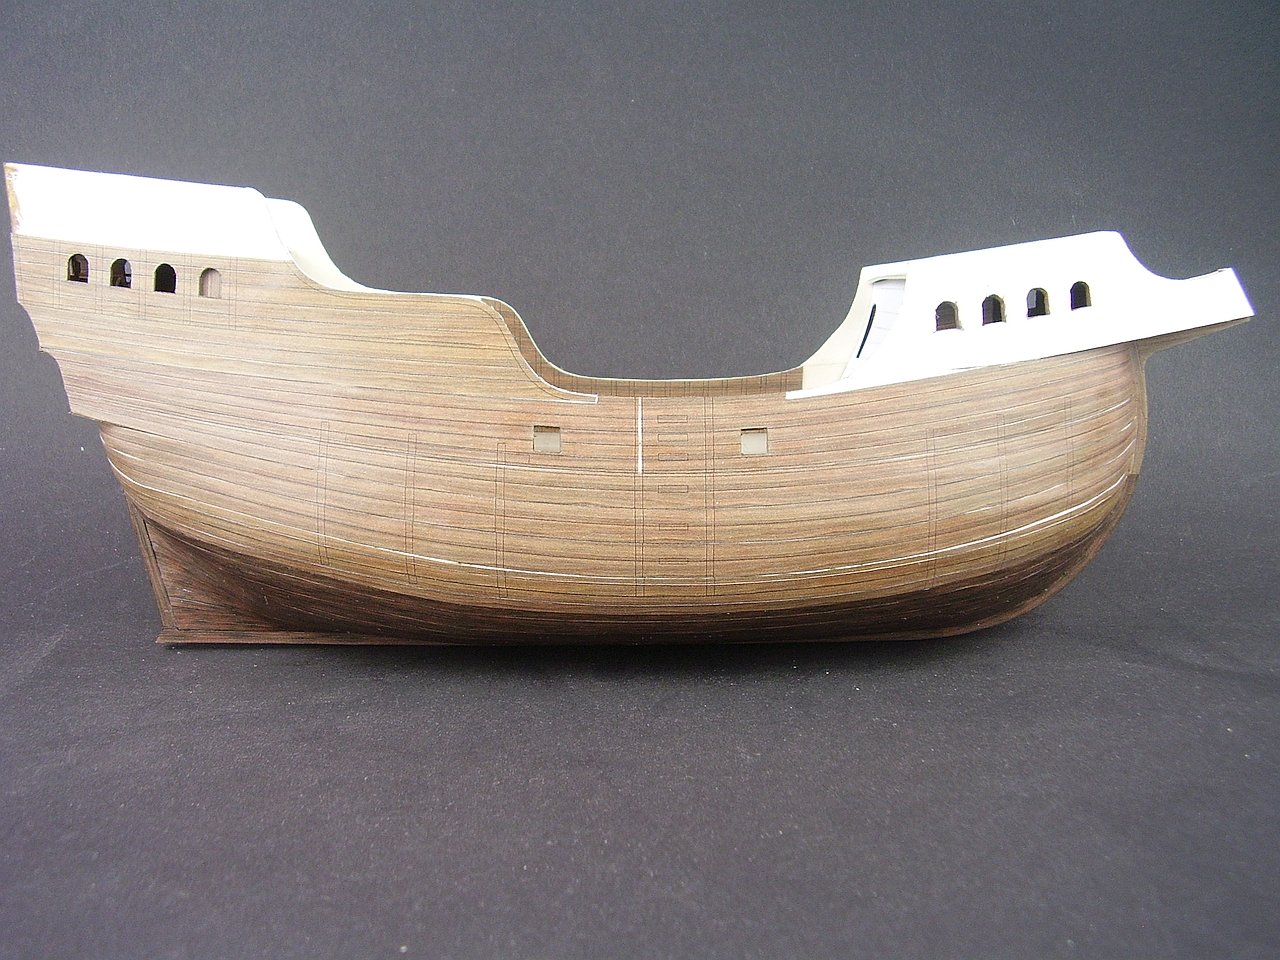
Before gluing the last layer, the whole hull was covered with wood glue, which made it stiffer. I smoothed the whole with sandpaper and started gluing the last layer. Each strip consists of two planks with a dividing line marked with the blunt needle.


Visible white gaps will be covered with wales, so at the end it will look OK.

Best
Tomek
Some time ago I started building Sao Gabriel based on the model in the museum in Lisbon. I do not have exact plans, but based on photos, dimensions and proportions of this type of vessels I managed to design a ship quite similar to the original one in Lisbon. The progress in the construction is enough to show the first photos.
The hull frames were made of 1 mm thick cardboard.

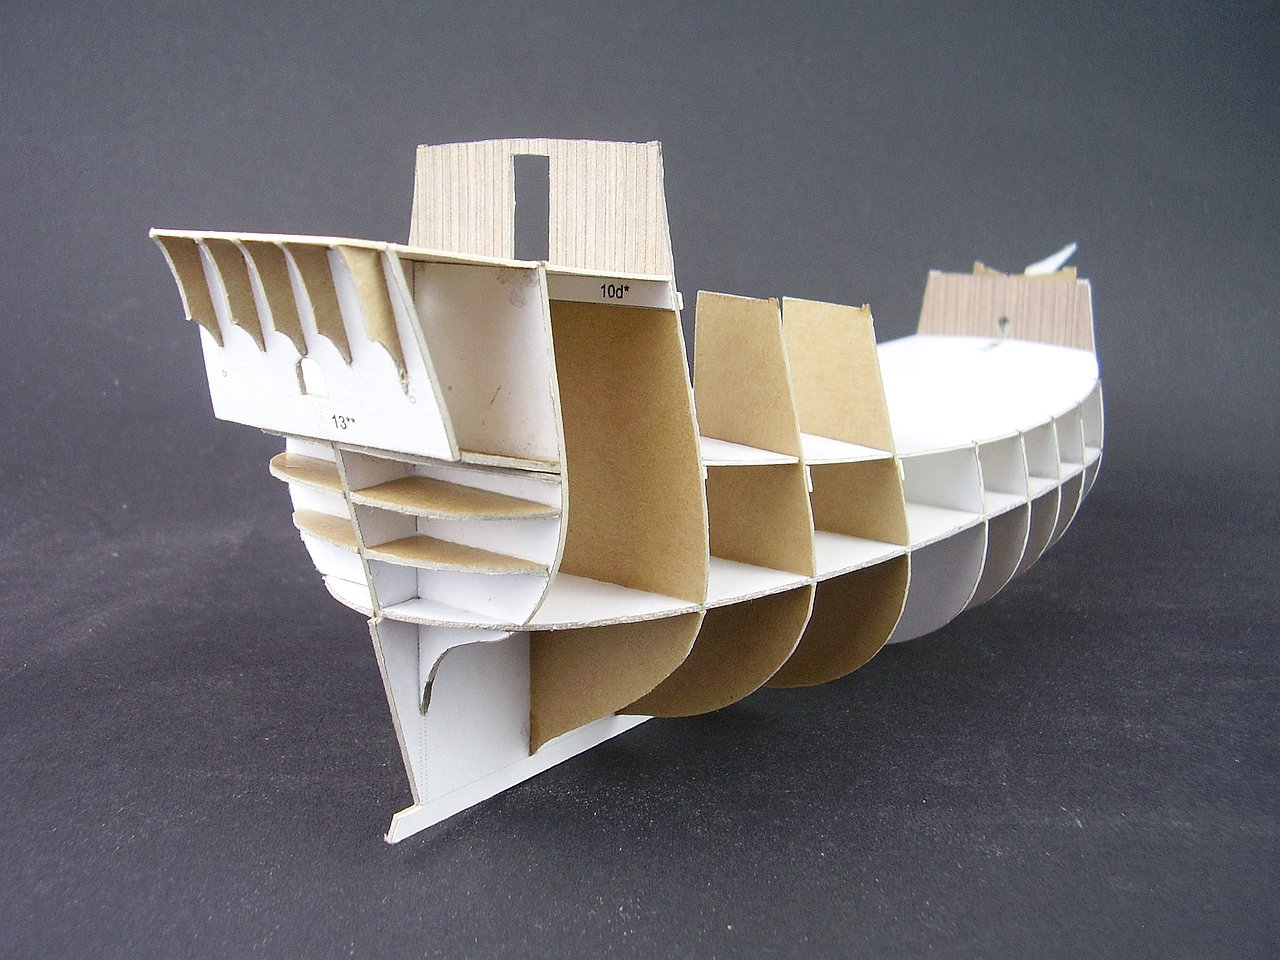
I have planned three layers of planking: the first vertical layer, which stabilizes the frames, the second longitudinal one on the cardboard 0.5 mm and the third one in color as the final planks. After gluing the first layer, I added some of the decks and evened the entire hull with sandpaper to remove adhesive residues and greater inaccuracies.
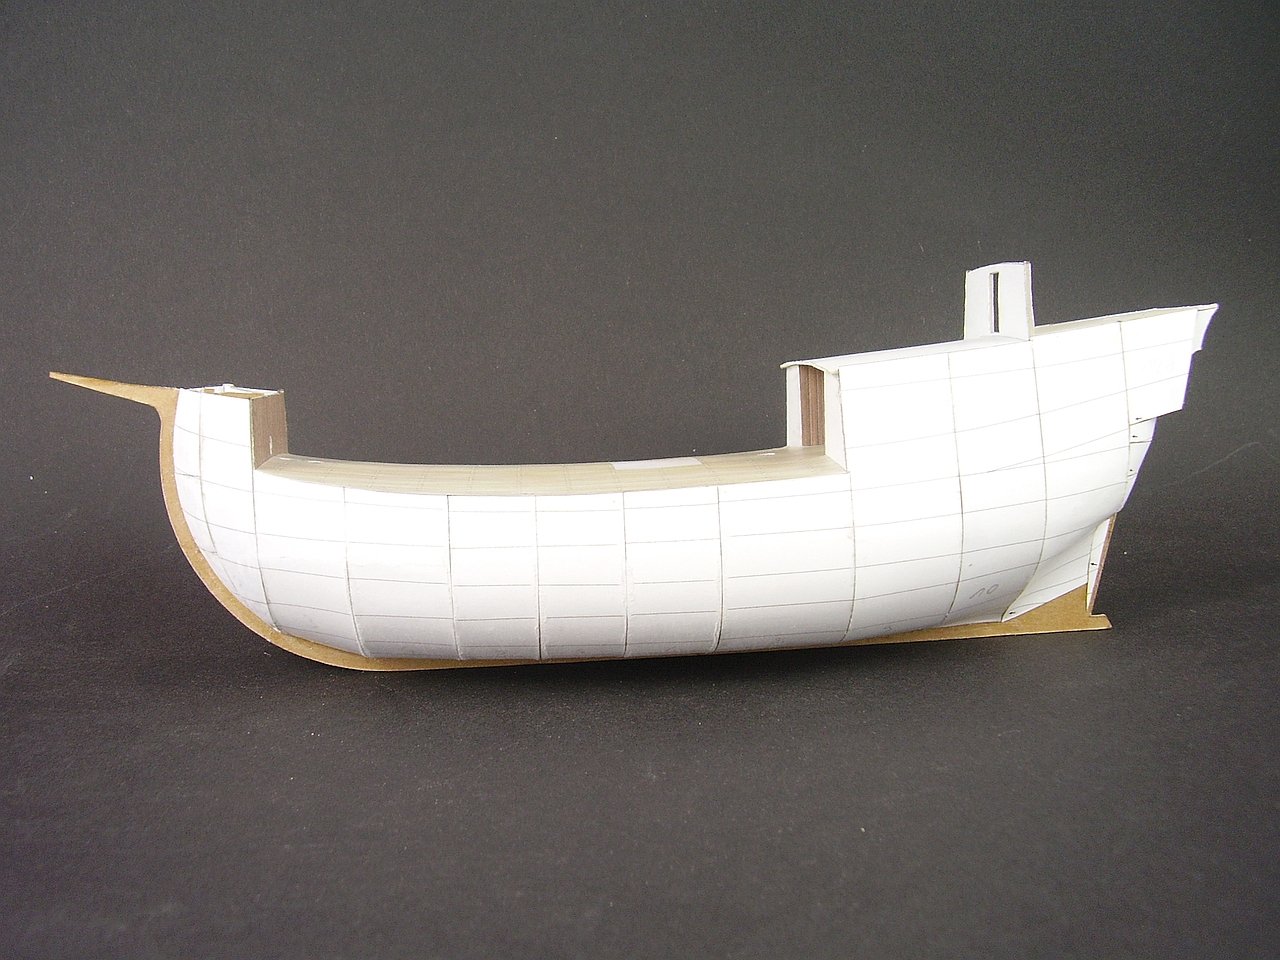


On the parts you can see lines according to which I will glue the next layer.
Before sticking the next decks, I had to make a few details, to which the later access would be very difficult.
Then I glued the second layer, so far only to the level of the main deck and then I built a part of the forecastle.


The construction of the forecastle...

Then, step by step, I added the next strips of the second layer and the next level in the forecastle.

Because the model has a lot of windows in the stern part, I created some rooms there. Unfortunately, there are not many sources describing rooms in sailing ships from this period, so this is only my imagination.

Now I could "close" the whole with the upper decks.

Before gluing the last layer, the whole hull was covered with wood glue, which made it stiffer. I smoothed the whole with sandpaper and started gluing the last layer. Each strip consists of two planks with a dividing line marked with the blunt needle.
Visible white gaps will be covered with wales, so at the end it will look OK.
Best
Tomek

")