• LUCZORAMA SHIPWRECK SCAVENGER HUNT GIVEAWAY. 4 Weeks of Fun • 1 Legendary Prize ((OcCre’s Fram Ship)) • Global Crew Welcome!
    **VIEW THREAD HERE**

School for Shipmodel Building School for model ship building

As a model shipwright you look at something like the stern and see it is built this way and that way by different builders and how they approached the build. The trick is finding your way. I have seen builders start with the stern post set the transom and proceed to build the entire stern. once built they add the fashion timbers and continue building the hull from that point. Personally, i found building the stern as a separate piece off the hull.

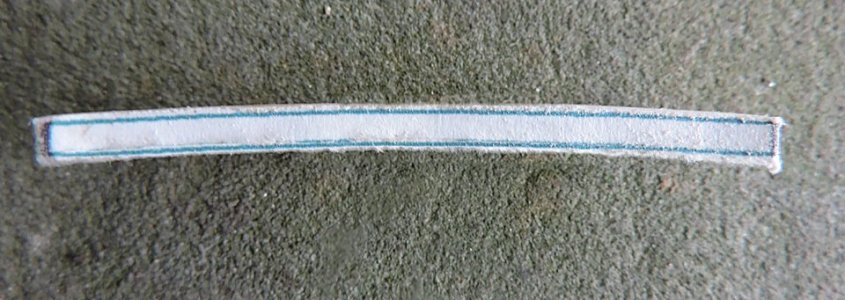
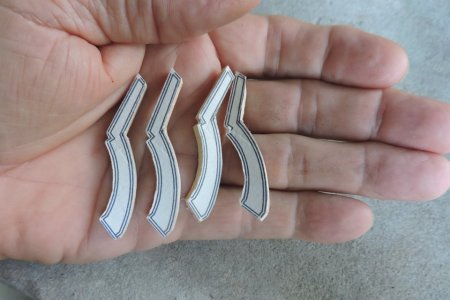
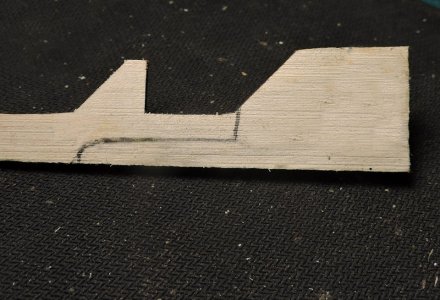
first i make a copy of the stern drawing and rubber cemented it to a piece of scrap wood. It is common for all the stern timbers to have a slant towards the center line. In this case only the end timbers slant.
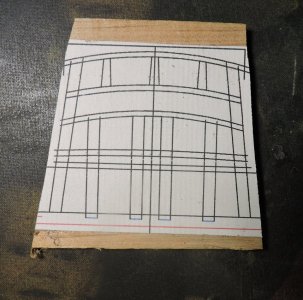
stern7.jpg


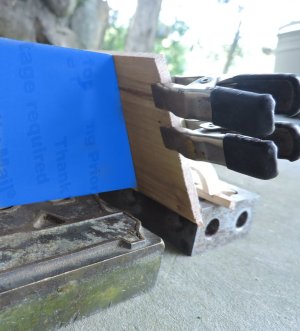
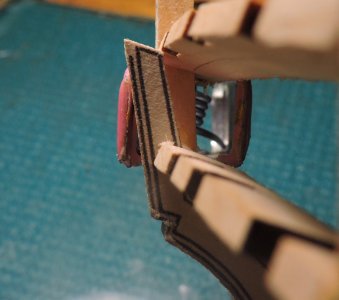
next step is to cut out the end stern timbers and clamp them too the drawing making sure the notch lines up with the molding. The top of the timber is a little long and runs over the cap rail. That will be trimmed later,
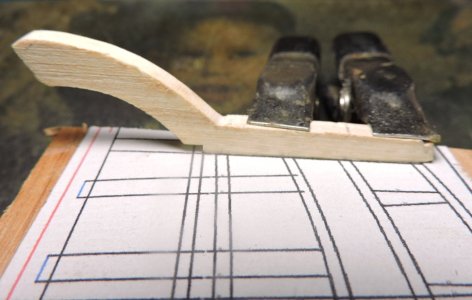
stern8.jpg

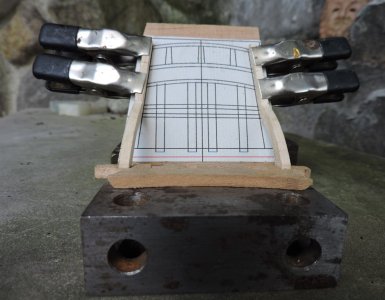
with both the outer timbers clamped to the drawing they are ready to glue to the transom.
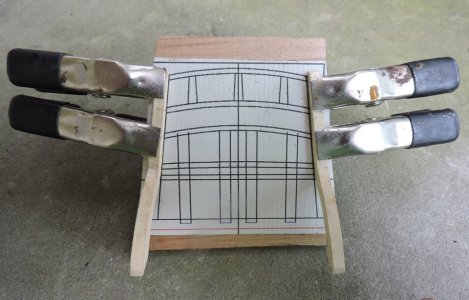
stern9.jpg

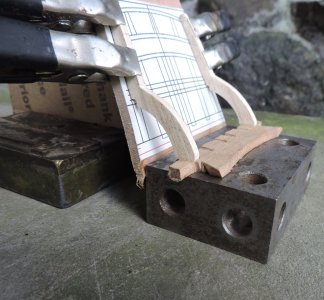
the notches cut into transom were taken off the plan so the timbers will set perfectly into the outer notches automatically setting the slant.
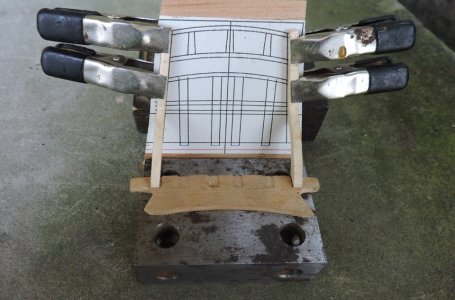
stern10.jpg

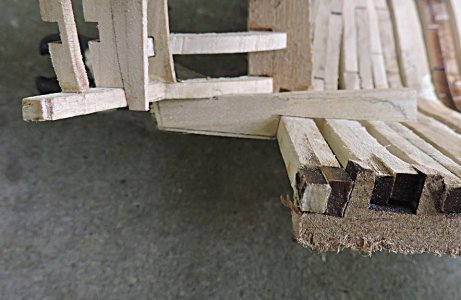
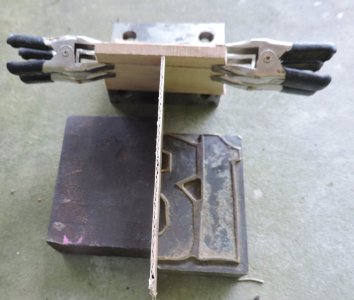
The foot of the timbers are quite small and i would not depend on them to set the backward slant of the stern. So what i did for the slant is to make a template from the plans for my stern plate to rest on held in place by a couple blocks.
stern12.jpg


from the side you can see the setup

stern11.jpg

Another view of the setup. I could have trimmed the bottom of the drawing and wood piece to the height of the transom. but what i did was move the block the transom sat on and let the stern fall free so the foot of the timbers sit in the transom notches.
stern13.jpg

with the outer timbers in place i will run a treenail up from the bottom of the transom and into the timber. It is a weak joint and the timbers will easily break away from the transom so a pin should help reinforce the joint.
stern14.jpg
 
DISCLAIMER: My humble opinion

only a very few possess an artistic talent, gift, or ability of building ships from scratch. Most of the on coming communities that want to even get into this wonderful hobby, first have to learn the ships nautical terms and body plans which takes a long time unless a person is gifted in such areas. Instead of the encouragement of Hahn, I see a disconnect and discouragement from common folk that want to pursue the hobby. To me, his doctrine and philosophy is too strict and almost borders a line of arrogance against those that are unable to understand the complexities of scratch building. Which there again has a propensity of weeding out those that want to pursue the hobby. In other words, unless a person can’t build a ship from scratch they are not worthy in his eyes.
However, I also applaud anyone willing to take on the task to educate the rest of us on how to scratch building.
I see both sides of this coin. The of completion of a scratch built model must be much more rewarding than that of a model kit. I, for one, enjoyed flying my planes that I restored a lot more than the ones I purchased. That said, I believe your endeavor at starting a ship modelers school is exactly what is needed for beginners and intermediate builders. Having someone to show/teach the techniques of making parts, etc. will take a lot of the frustration out of ship modeling. Otherwise, a lot of time is spent reinventing the wheel or correcting errors.
I salute your endeavor and look forward to following your classes
 
I respectfully observe little difference and distinction between the choice to pursue our hobby and shared interest from "scratch" building or from kits. Both pursuits are demanding and require inventiveness to achieve excellence and success.
I appreciate this effort to create a classroom for those interested in the processes necessary for scratch building a model. One does not preclude or devalue the other.
 
Ted, Pete gentlemen there are topics out in the public forum where this is debated as one verse the other which in my opinion there is no verse one against the other. Here in school, it is a chain reaction from kit building to kit bashing to semi scratch to scratch building.
Kit builders can learn how a ship is actually built, and it gives them a deeper understanding of the structure. and how it all comes together.
It is your personal journey and how far and how deep you go it entirety up to you. The school is to lay it all out from a simple weekend project to a build that takes years and requires accumulated skills and knowledge. If your satisfied gluing parts together no problem with that or if you challenge yourself to accomplishing scale wood joinery or trying to build a scale model representing the real ship there is nothing wrong with that either

so sit here in class and enjoy learning something or maybe get inspired to bash that kit or start a challenging build.

see you in class Saturday morning
 
a fine Saturday morning to you all, i was just over in the Design and fad classroom. So, to recap, Harold Hahn built his sterns while the hull was still in the jig. I decided to build the stern as a separate unit. I left off with gluing the two end timbers to the wing transom. Before i can continue with building the stern i need to shape the upper transom pieces. You may have wondered what the difference between building a kit and semi-scratch building. Well! this will demonstrate the difference. In a kit you get finished parts that you fit to the model. with semi-scratch you get the part but it is a blank that has to be shaped and fit first then fit it to the model. There is no picking up part A and glueing it to part B. There is no part A just a rough blank you have to make.

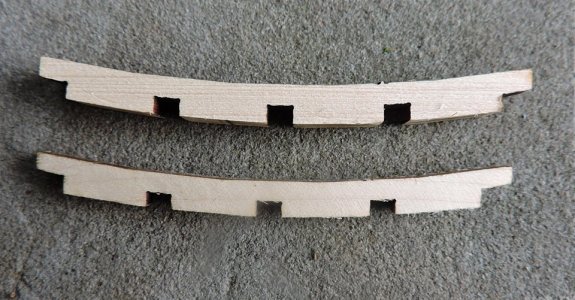
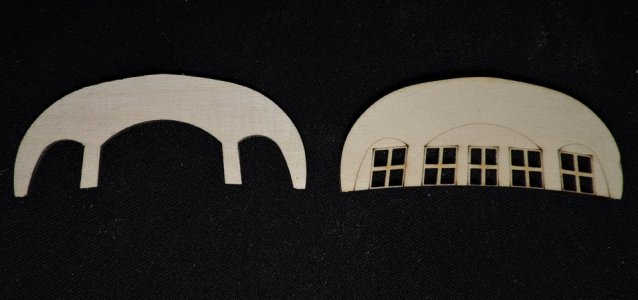
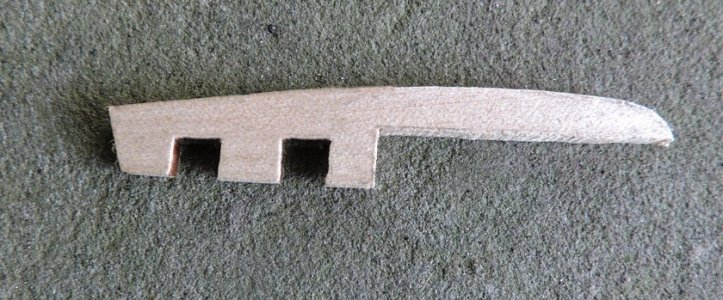
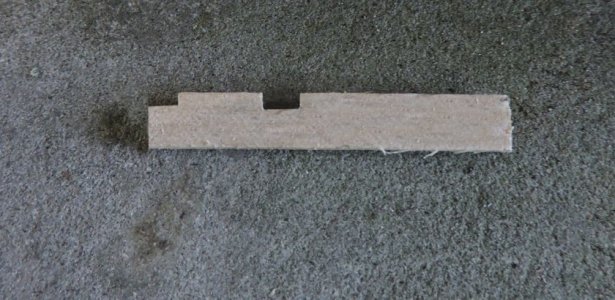
Here is a transom piece it is laser cut to the arc of the stern and precut notches

stern18.jpg

but it has to be shaped into an arc to fit the stern

stern15.jpg

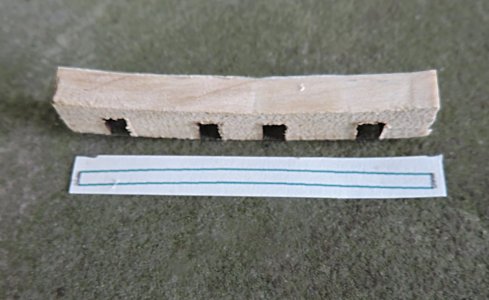
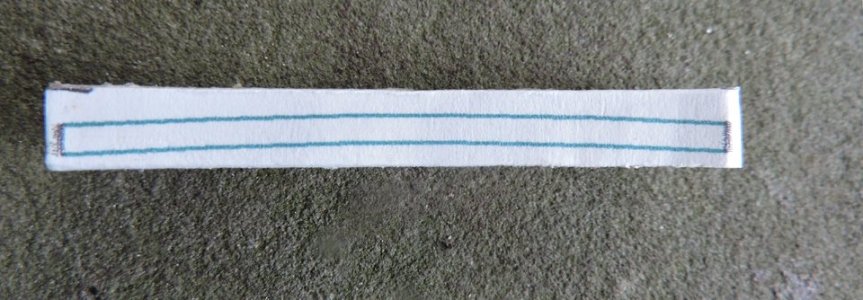
the pattern is taken from the drawing and rubber cemented to the edge of the transom


stern16.jpg

the shaped to the arc

stern17.jpg

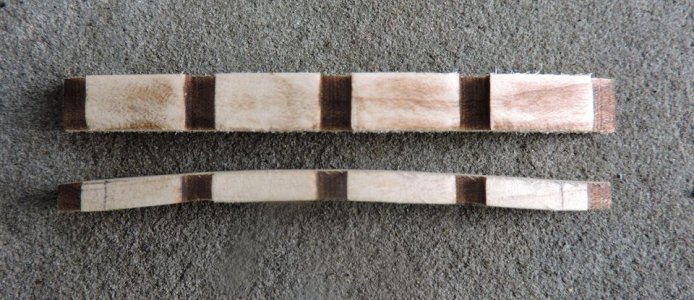
as you can see in the picture what you start with top piece and what you have to shape it into bottom piece

stern19.jpg

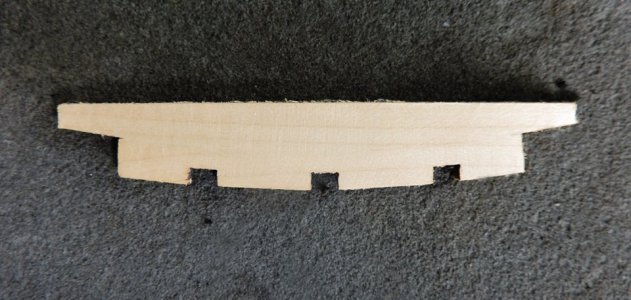
The transom pieces arch in two directions from top to bottom

stern21.jpg

and side to side

stern20.jpg
 
With the first transom shaped it is put into place

stern22.jpg

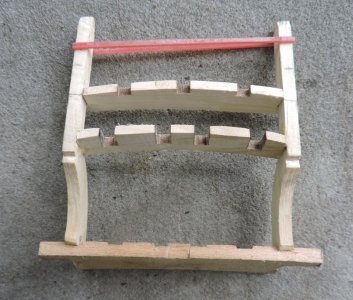
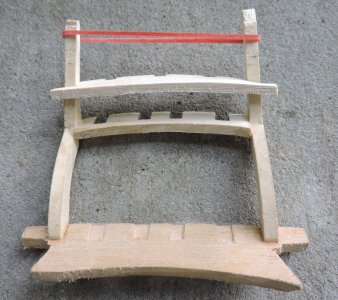
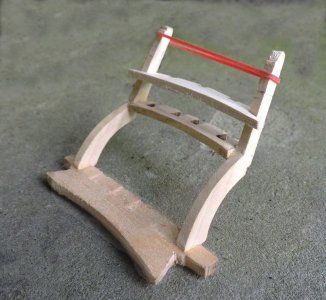
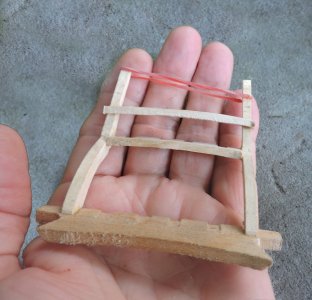
the second transom is shaped from the blank and set into the stern structure. I am using a rubber band to give a little tension on the end timbers to hold the transom in place

stern23.jpg

An inside view of the second transom shows the ends are notched around the outer timbers. This is because the deck planking rests on this transom piece which goes all the way out to the outer timbers.


stern24.jpg

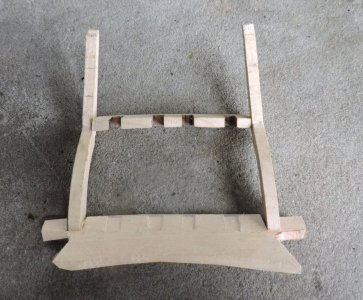
now the structure is a bit more stable.

stern25.jpg
 
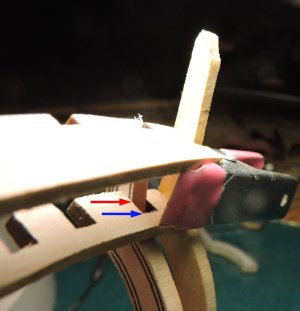
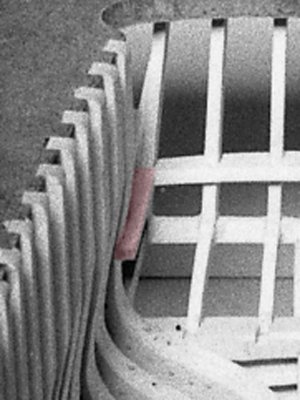
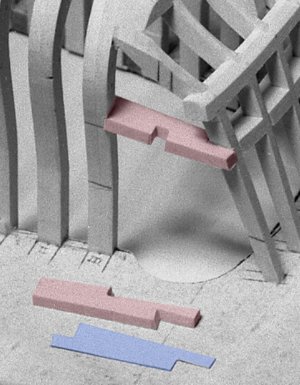
Fitting the remaining timbers requires a bit if fussing around to get a nice fit. First off, the timbers sit in the notches of the wing transom and under the first transom.

stern28.jpg


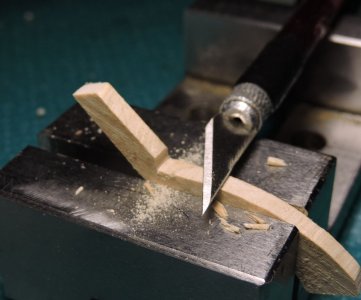
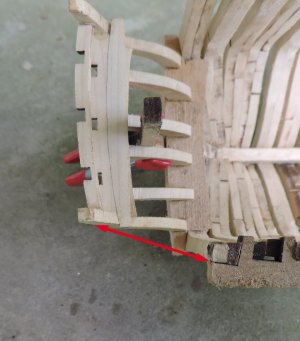
In order to get the timbers to fit you have to slide the timber into the transom notch, the red arrow has to slip to the blue arrow. What is stopping it is the end of the transom notch is at a 90 degree and it need to be at the same angle of the timber.

stern29.jpg

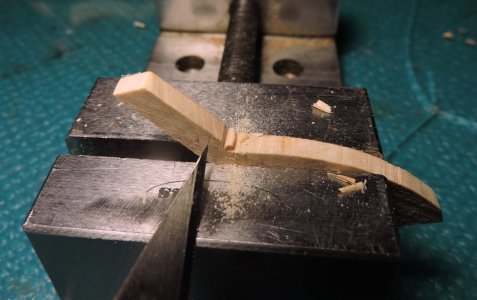
Now here is the difference between just gluing parts together and fitting parts. To begin the type of wood makes a big difference. You do not want something to soft, and you do not want a hard wood. Like Goldie Locks, not to hard and not to soft just right for carving super thin shavings. In the photo the wood is Red Maple also called Soft Maple which in reality is neither red or soft.

stern30.jpg

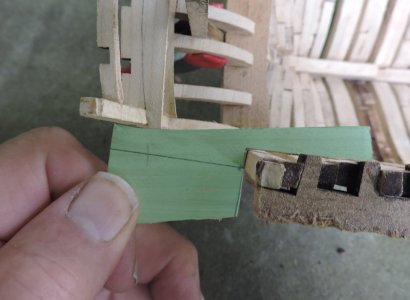
you want to angle the notch in the transom and cut a notch in the timber. One piece of equipment is a machinist vice. Such a vice comes in handy when hand cutting joinery.

stern31.jpg
 
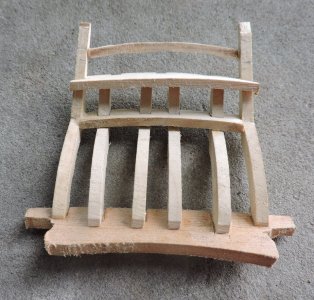
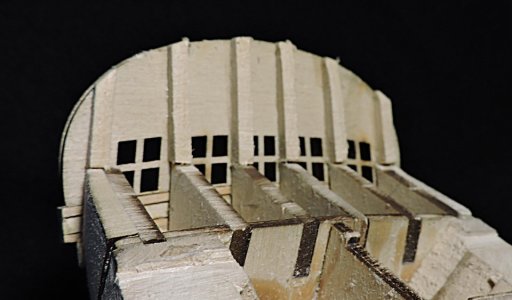
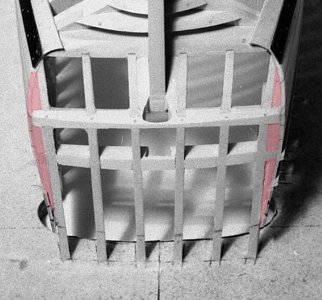
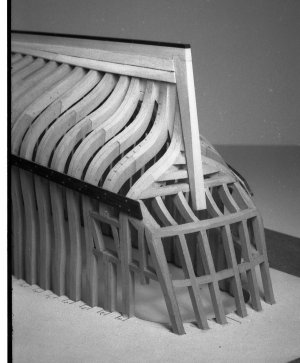
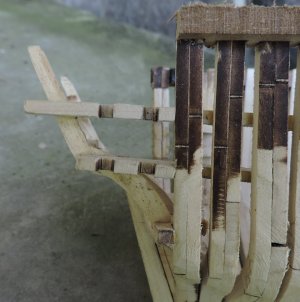
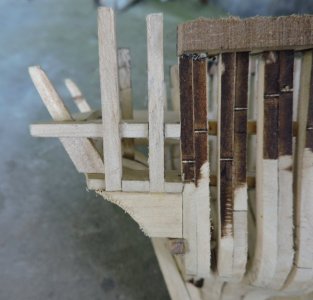
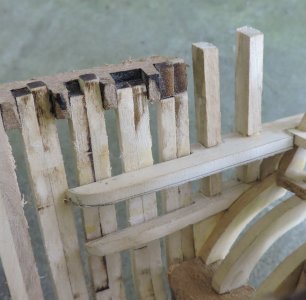
The stern is now finished except for the windows and the top timbers that hold up the cap rail.

stern35.jpg

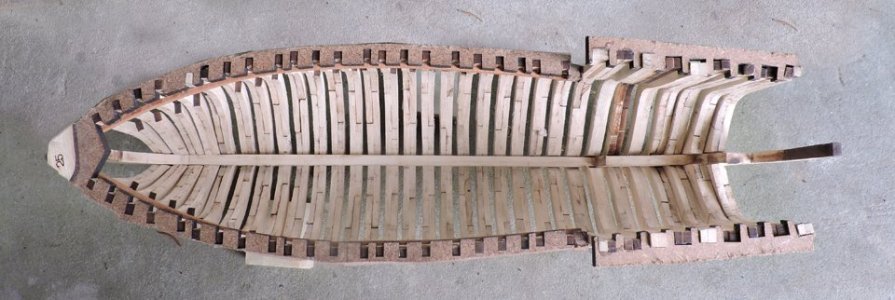
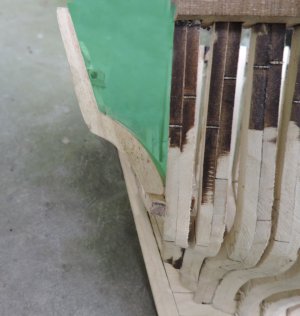
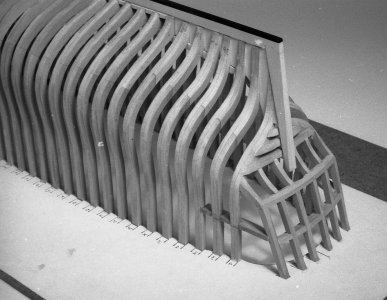
Like i said i scrapped the Hahn method of building a stern with the hull in a jig. It can be done and if you think that is the wy you wnt to do it then go for it. But i cut away the jig


stern32.jpgstern33.jpg

i still have part of the jig as a rim around the hull holding the frames in place.

stern34.jpg
 
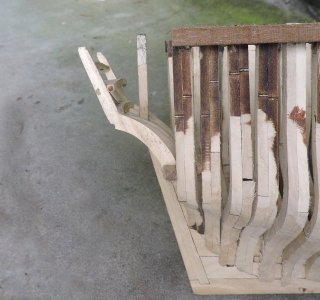
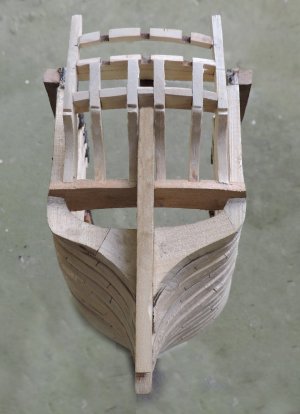
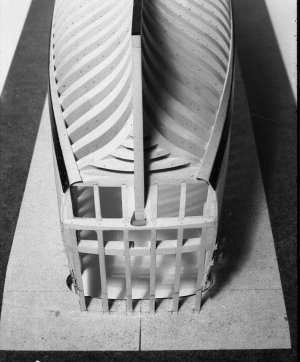
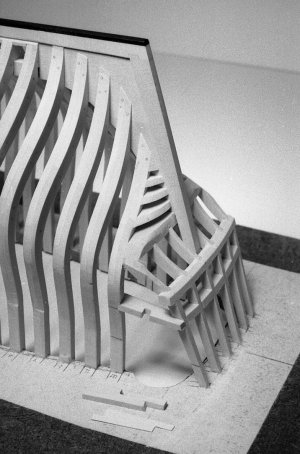
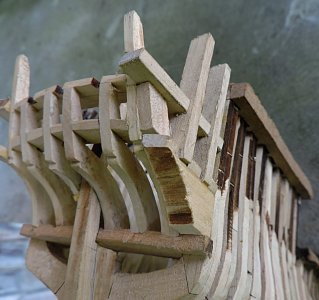
The final fitting of the stern to the hull. Don't jump to the conclusion it "done" not by a long shot there is still a lot of micro fitting and finishing. At this stage all that was done is setting in timbering.

stern36.jpg

stern37.jpg
 
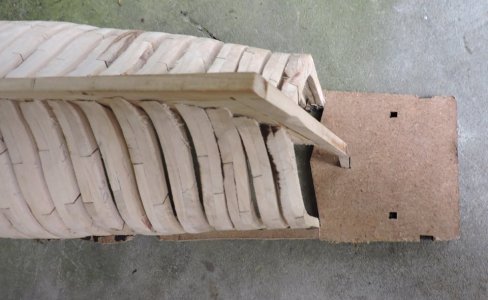
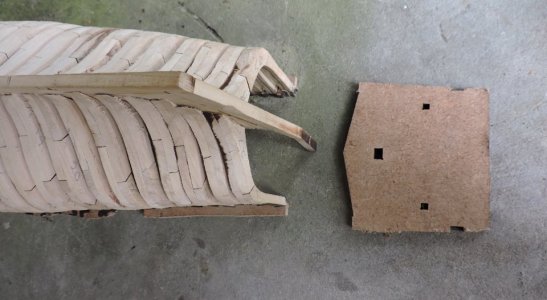
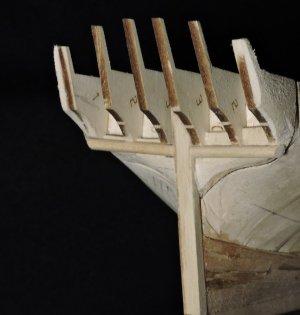
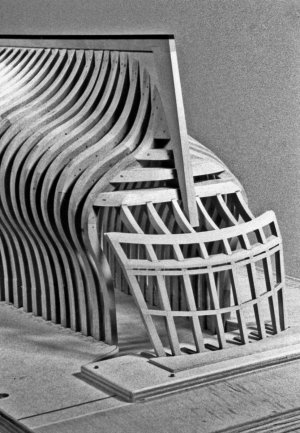
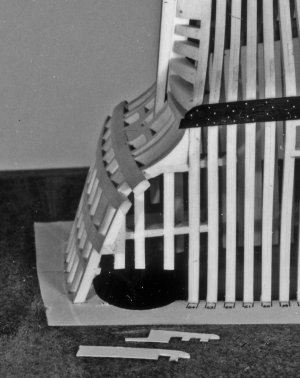
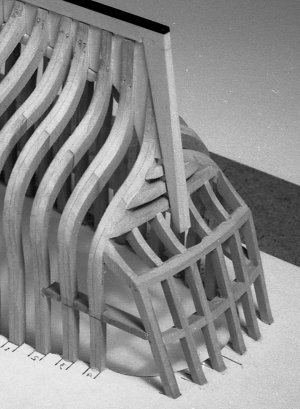
there is more than one way to build the model and avoid all the fussing and fitting of timbering. You can scratch build the same model using bulkheads. a bulkhead stern would be built like this example.

stern38.jpg

the bulkheads replace the stern timbers and transoms and cut out the stern and slap it on the hull like a billboard very little fuss about it


stern39.jpgstern40.jpg

ok then!

As Harold Hahn's philosophy goes your robbing yourself of the knowledge of how a ships stern is built and most of all the development of finer wood working skills. BUT! that is one man's approach to the art and not the final word on anything.
Thinking about it building a plank on bulkhead kit you are not building a ship structure or timbering or fine joinery of timbers. What you have is a simplified structure your just skinning over with planking.
Scratch building and kit building are the same just different approaches to the same art form. Each one is dynamic in nature there are many ways to scratch build and many ways to kit bash. It kind of all blends together into one art.

and that ends class today.
 
Back
Top