Scottish Maid, Aberdeen 1839, 1/50, Artesania Latina

Joined
Apr 30, 2021
Messages
13
Points
48

Hello!

This is the build log for my Scottish Maid from Artesania Latina. This is my first wooden ship build.
My intention was to someday build the (now discontinued) HMS Surprise in 1/48 from Artesania Latina so I figured buying a smaller model of the same brand that exposes me to planking and rigging is the way to go. I had no idea that this has been the choice of a first model for many people dating back decades.
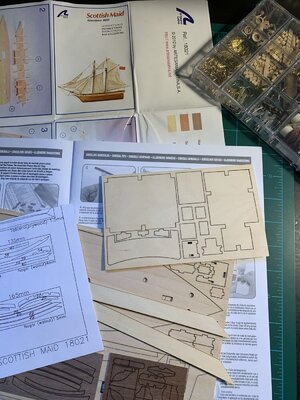
IMG_9870.jpg
I've had this model sitting around for maybe 5 years now and I finally I started building in around April 1st 2021. I had no idea how to start and felt like the information online is overwhelming so I just got started reading the instructions in the box.

tank.jpg
I built this tank last year and it was the first model I have built in about 30 years to see if I'd like to get back into the hobby. When it was time for the next model I was torn between a plastic Sonderkraftfahrzeug 251 or finally getting into the wooden ship side of the hobby. The only tools I had where those for this plastic model but I also bought a $10 rotary tool and attachments.
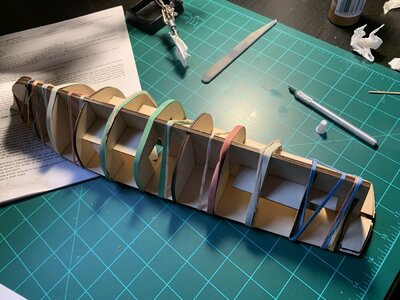
IMG_9893.jpg
Here we go, this part wasn't all that difficult.

IMG_9911.jpg
So far I've been using this glue exclusively. It dries clear but unfortunately seals the wood so I tried to be careful to remove excess as much as possible.

IMG_9895.jpg
Here is where the difference between wood and plastic models starts to become obvious, grinding things into shape.

IMG_9901.jpg
First time bending and mounting planks. I soaked them in water but couldn't figure out how to get them to stay bent so I just mounted them wet. With the tiny nails and a little glue it was easier than anticipated, but only as long as the bent is shallow.

IMG_9902.jpg
IMG_9907.jpg
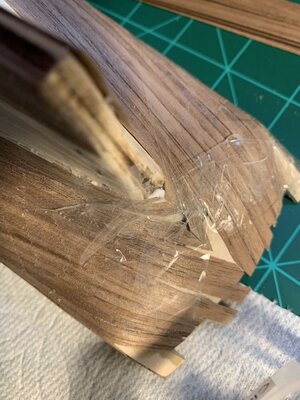
Here things started to go South and some planks started cracking at the stern. But trusting that there is another layer of planks and lots of filler to hide the issues I pressed on.

IMG_9917.jpg
Yay, first layer of planks done! April 12th '21 now.
 
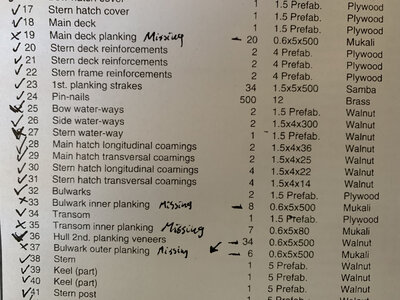
Time for the deck planks. Let's analyze all the included wood and planks and match them with the instructions to make sure I don't use the wrong parts.
Where are the deck planks?
0.6x5x500 Mukali ... nowhere to be found!

DISASTER !

IMG_0106.jpg
Did some digging online and found various model kit reviews mentioning this issue.
Looks like there is enough of the outer hull planks to replace what I need for the transom planking. The inner bulwark planks I decide to leave out and just paint the bulwarks on the inside instead, knowing it will be mostly covered anyway.

So off to Hobby Lobby and buying some cheap wood sticks.

IMG_9945.jpg
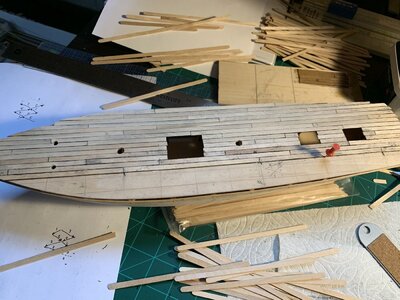
The wood sticks are pretty junky, all crooked and I have to pick and choose but I've got plenty. No idea what type of wood it is.
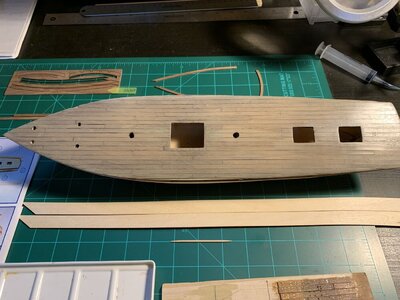
I am figuring out the pattern and am using charcoal to paint the edges black for the seams. Not the greatest idea as it comes off when sanding it down.

IMG_9948.jpg
It seemed ok after sanding but there were numerous unfortunate gaps because the sticks aren't straight. I also learned I have to be more careful with the sandpaper grit I am using. But it's great to see how mistakes can be corrected with a wood model.

IMG_9952.jpg
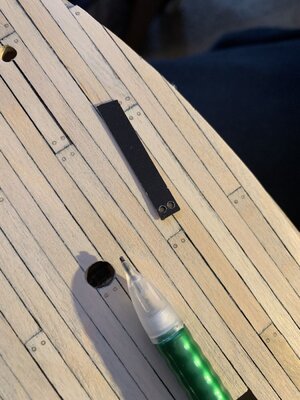
Experimented with ways to add fake tree nails. The gaps are obvious here and I don't really like the results.

IMG_9967.jpg
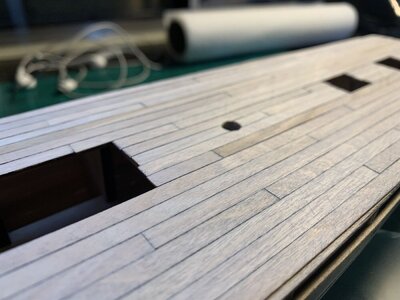
After various attempts of staining, polishing and filling I've had it and left it like this. It's difficult to decide where something looks used and weathered at scale or where it's just badly modeled.
 
Last edited:
You are off to a good start, and the first layer planking is done great. Remember, it is the foundation for your final planking ;)
 
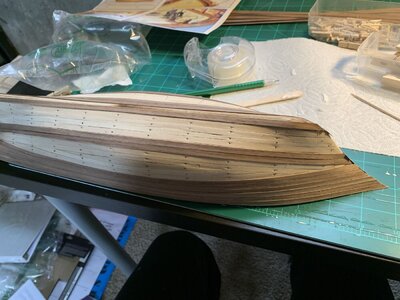
Finally working on the second layer of hull planks.

IMG_9971.jpg

IMG_9972.jpg
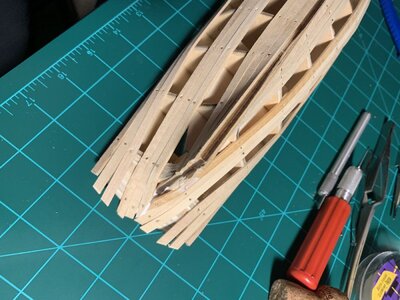
Yes, the cracked first layer planks are disappearing and it seems like there is hope for shaping the stern. I just wish I had known I should taper a little where the rudder gets attached. Using Scotch tapes to hold things in place.

IMG_9973.jpg
This wasn't so bad. Shaping the skinny pieces went pretty well.

Time to sand it smooth...

IMG_9980.jpg
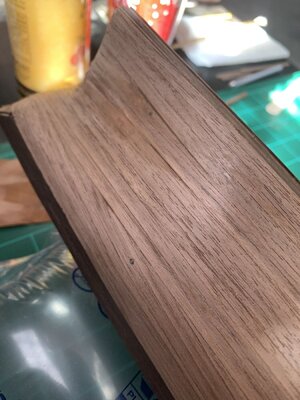
What's this? A branch in the wood?
No!

DISASTER !
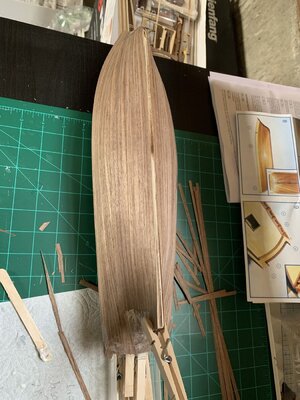
I over-sanded and some nail heads of the first layer are peeking through. This is by far the biggest regret I have so far on this build. I want to leave the lower hull unfinished and only gently stain the top part.
 
Last edited:
End of April '21. Attaching the bulwarks.
IMG_9970.jpg

IMG_9981.jpg
Moving on to the false keel and staining the upper hull.
This is where I was supposed to use the light Mukali planks that were missing and so I used the Walnut ones instead to plank all the way up.

IMG_9996.jpg
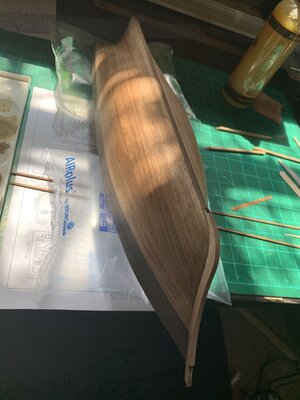
The inner bulwarks are stained with a lighter brown and I'm finally starting on the details. The rubbing strakes had also been attached but I took no photo of that process. They were difficult to glue and bend in multiple ways.
 
Final post for now, this is my actual state as of today, May 20th '21:

IMG_0095.jpg
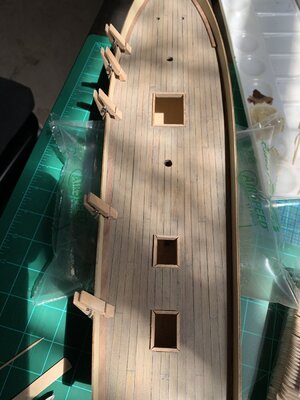
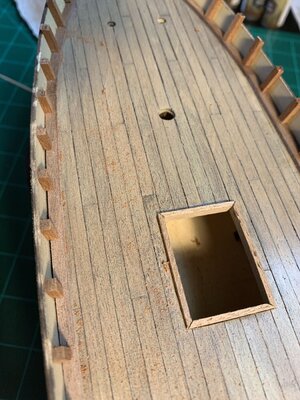
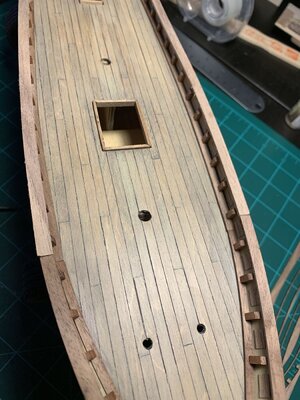
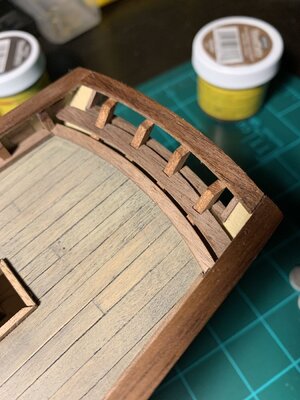
Adding the gunwales. The front ones are prefabs but the rear ones are 1x6mm which have to be bent along the wide edge, very difficult.
Soaked and used a hair dryer which made the wood very dry and brittle.

IMG_0101.jpg
Finished the open stern and waxed the gunwales.

IMG_0105.jpg
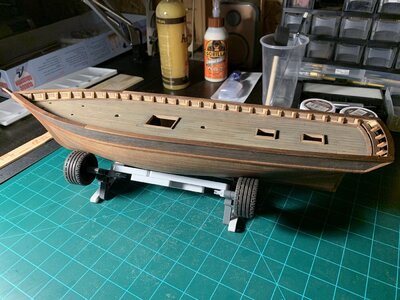
This is where I am at now. Looking forward to keep posting as I progress.
The special design Lego boat stand can be ordered for a bargain price of $1999.95 by emailing me via private chat. ;)
 
You are off to a good start, and the first layer planking is done great. Remember, it is the foundation for your final planking ;)
Looks like you jumped the gun while I was still catching up on my first build log here. One thing I know now is that the final planks are veeeery thin...
 
View attachment 234373
Experimented with ways to add fake tree nails. The gaps are obvious here and I don't really like the results.
What method(s) did you use for the fake tree nails. I'm trying to decide on a method I think I can live with. Looks like those might be drawn on with an oversize hole as a template but the pencil doesn't look sharp enough to do that.
 
What method(s) did you use for the fake tree nails. I'm trying to decide on a method I think I can live with. Looks like those might be drawn on with an oversize hole as a template but the pencil doesn't look sharp enough to do that.

As seen in the photo, I did use that pencil in the small holes of that black thing (which is a thick cardboard cut and drilled to the proper measurements).
But I didn't like the results, it didn't look right even when fading the 'nails' by painting over them.
I also tried different Sharpie colors and experimented with drilling small holes, but ended up getting rid of the fake tree nails altogether.
I think the toothpick way is probably the best, but I didn't have the patience for that.

For anybody wondering where this built is going, I didn't have time and patience over the summer due to job responsibilities.
My workshop is in the garage because my wife doesn't want the paint and glue smell in the house. And now it's too cold out there. :confused:
I was really hoping to get the masts up so I can start the rigging in winter, but it wasn't meant to be. I'm looking forward to continuing on this in the spring.
 
What you've got so far looks great, Matthias. Your build log is inspiring me to keep at it with my build and my own setbacks. Looking forward to seeing you pick this back up again in the Spring.

By the way, I love your Lego drydock. Brilliant!
 
Hello!
This is the build log for my Scottish Maid from Artesania Latina. This is my first wooden ship build.
My intention was to someday build the (now discontinued) HMS Surprise in 1/48 from Artesania Latina so I figured buying a smaller model of the same brand that exposes me to planking and rigging is the way to go. I had no idea that this has been the choice of a first model for many people dating back decades.
I've had this model sitting around for maybe 5 years now and I finally I started building in around April 1st 2021. I had no idea how to start and felt like the information online is overwhelming so I just got started reading the instructions in the box.
I built this tank last year and it was the first model I have built in about 30 years to see if I'd like to get back into the hobby. When it was time for the next model I was torn between a plastic Sonderkraftfahrzeug 251 or finally getting into the wooden ship side of the hobby. The only tools I had where those for this plastic model but I also bought a $10 rotary tool and attachments.
Here we go, this part wasn't all that difficult.
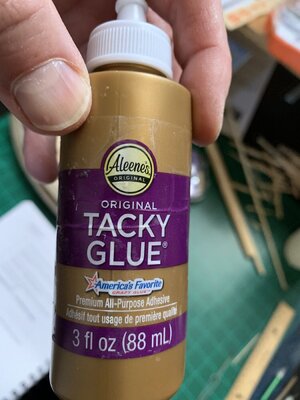
So far I've been using this glue exclusively. It dries clear but unfortunately seals the wood so I tried to be careful to remove excess as much as possible.
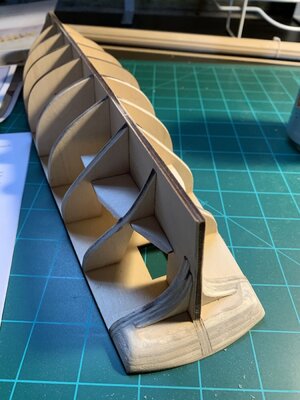
Here is where the difference between wood and plastic models starts to become obvious, grinding things into shape.
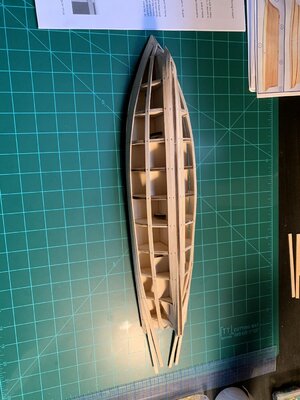
First time bending and mounting planks. I soaked them in water but couldn't figure out how to get them to stay bent so I just mounted them wet. With the tiny nails and a little glue it was easier than anticipated, but only as long as the bent is shallow.
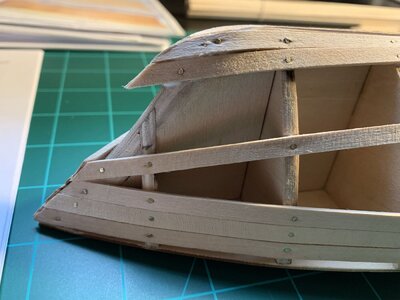
Here things started to go South and some planks started cracking at the stern. But trusting that there is another layer of planks and lots of filler to hide the issues I pressed on.
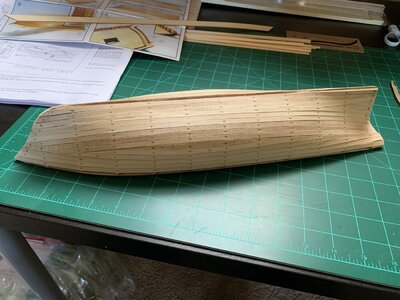
Yay, first layer of planks done! April 12th '21 now.
Hallo @Matthias1231
we wish you all the BEST and a Happy Birthday
Birthday-Cake
 
hopefully you didnt throw in the towel on this one. using your posts as inspiration because i too come from model cars and this is very very different. although i do dabble in wood working so maybe that will help?
 
hopefully you didnt throw in the towel on this one. using your posts as inspiration because i too come from model cars and this is very very different. although i do dabble in wood working so maybe that will help?
I have not given up, but I also have not continued this summer. I’ve been very busy with work and I needed something with a bit more instant gratification, so I finally finished my Sdkfz 251 and a Pak 40 from Tamiya. I’m also almost done with a Tamiya Yamaha YZF-R1M.
Thanks for the interest in the build, I’ll surely post a photo the day I continue working on it. :)
Post some images of ready models...we are curious to see
 
Back
Top