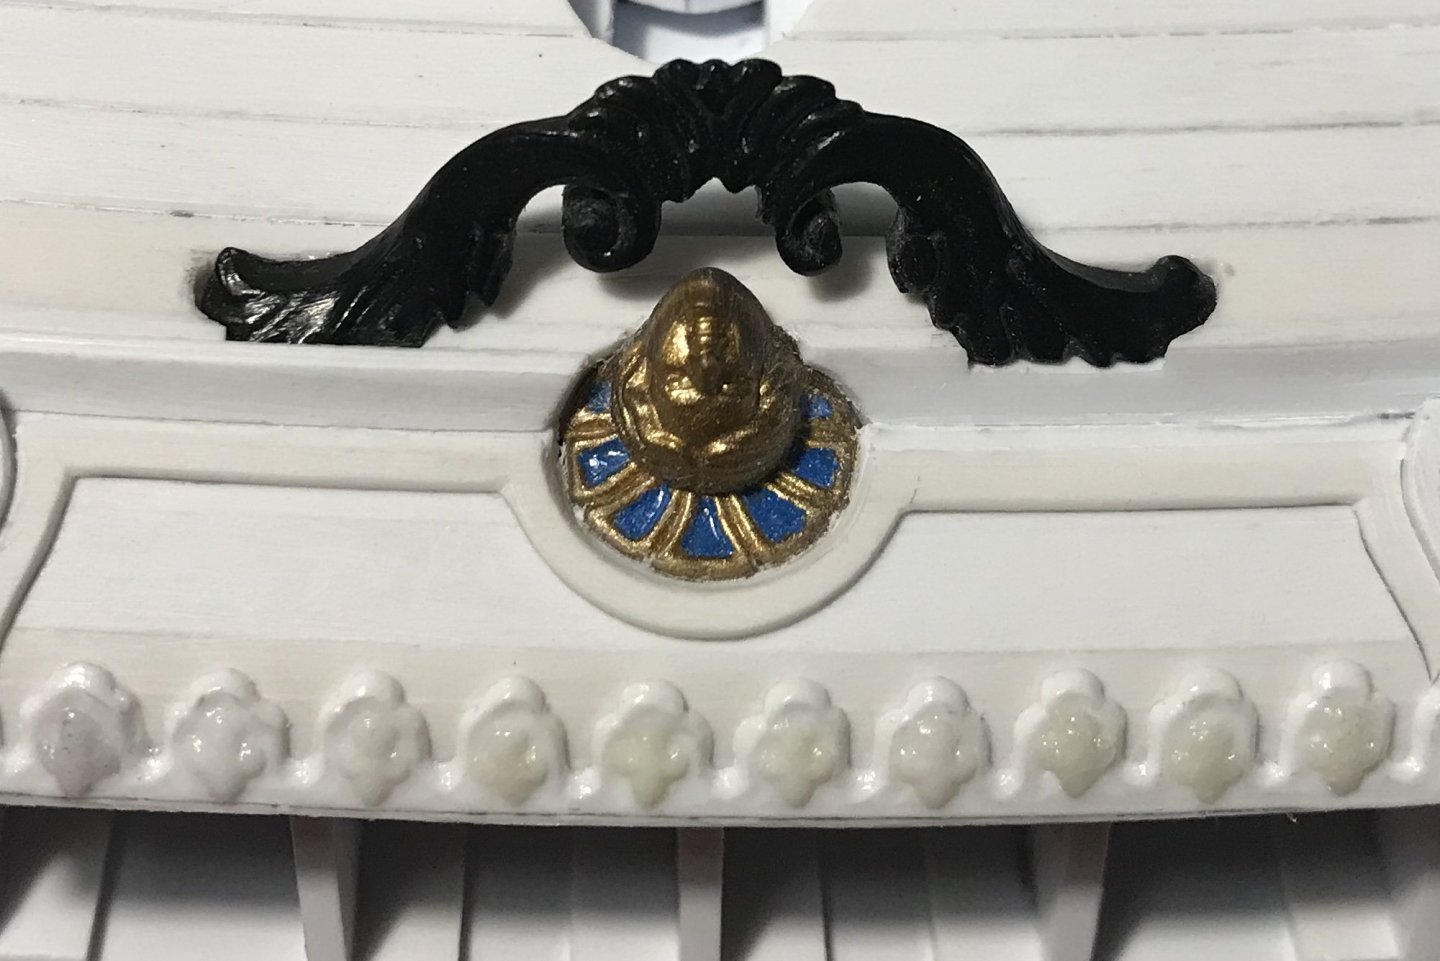
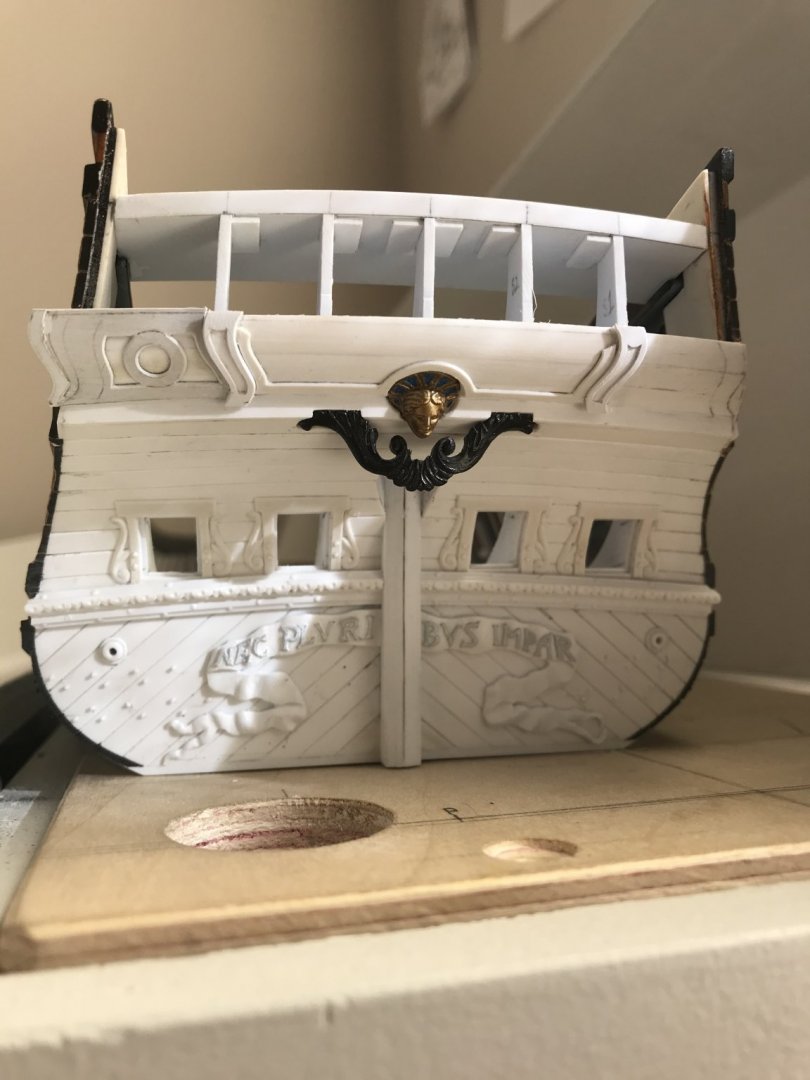
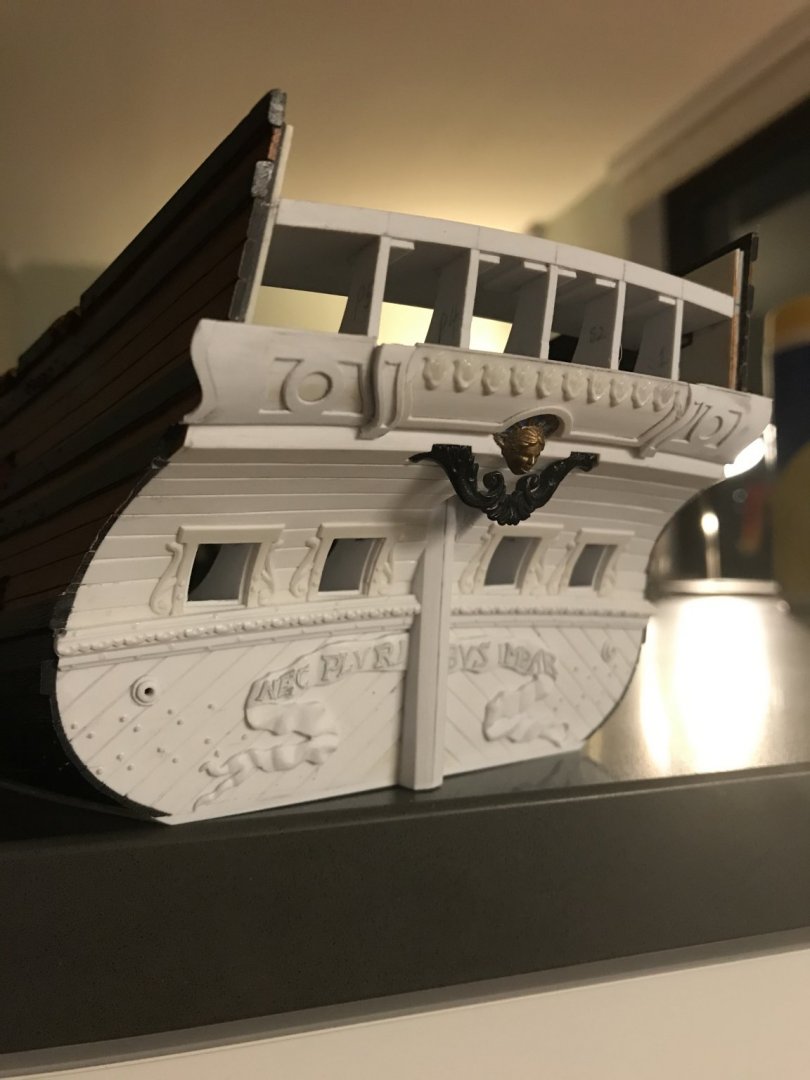
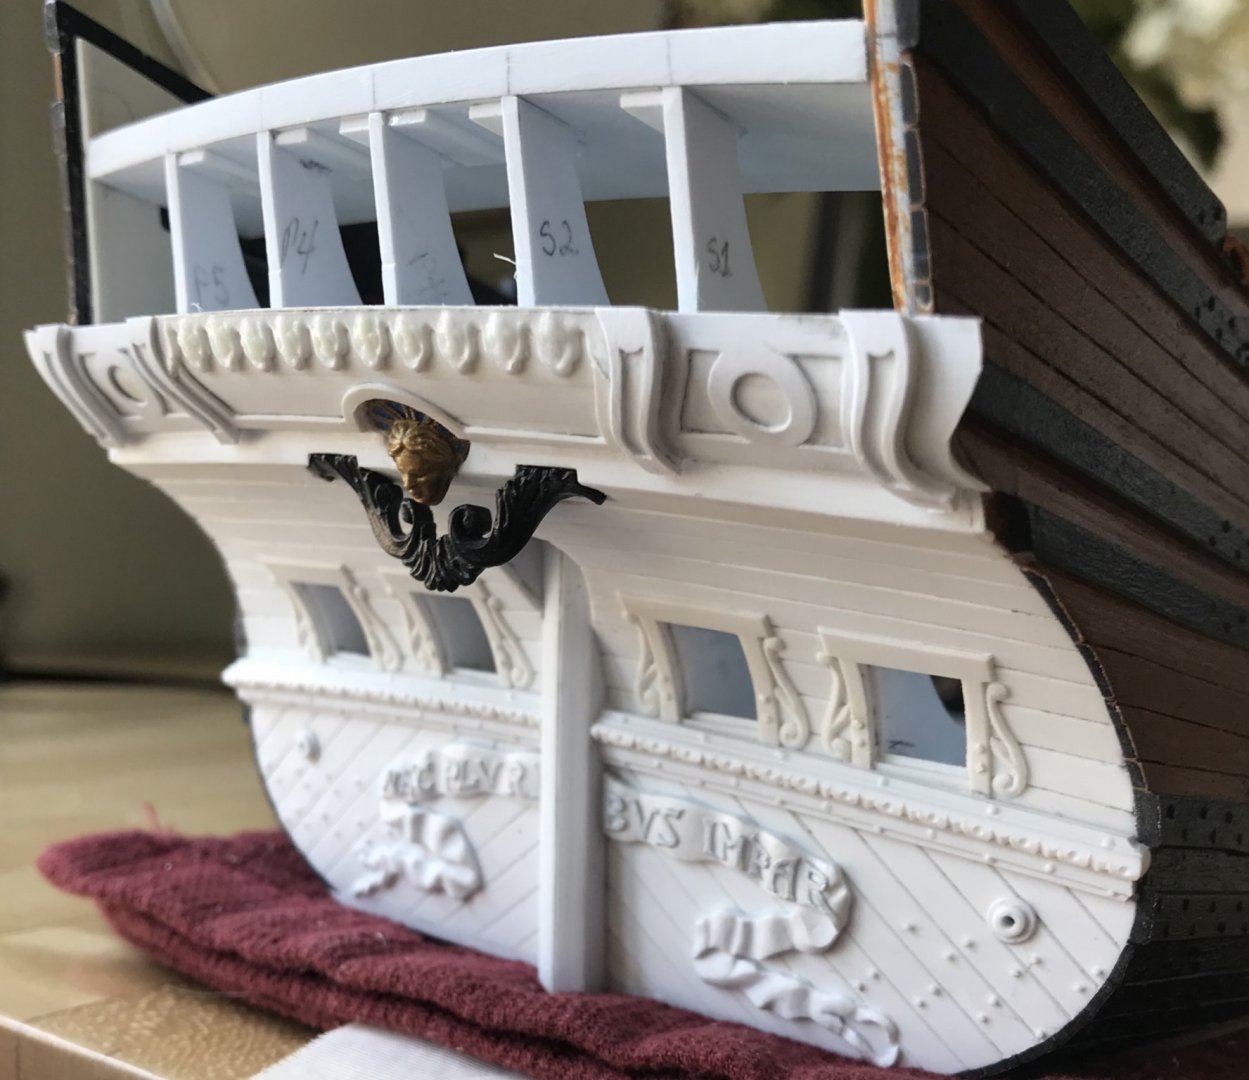
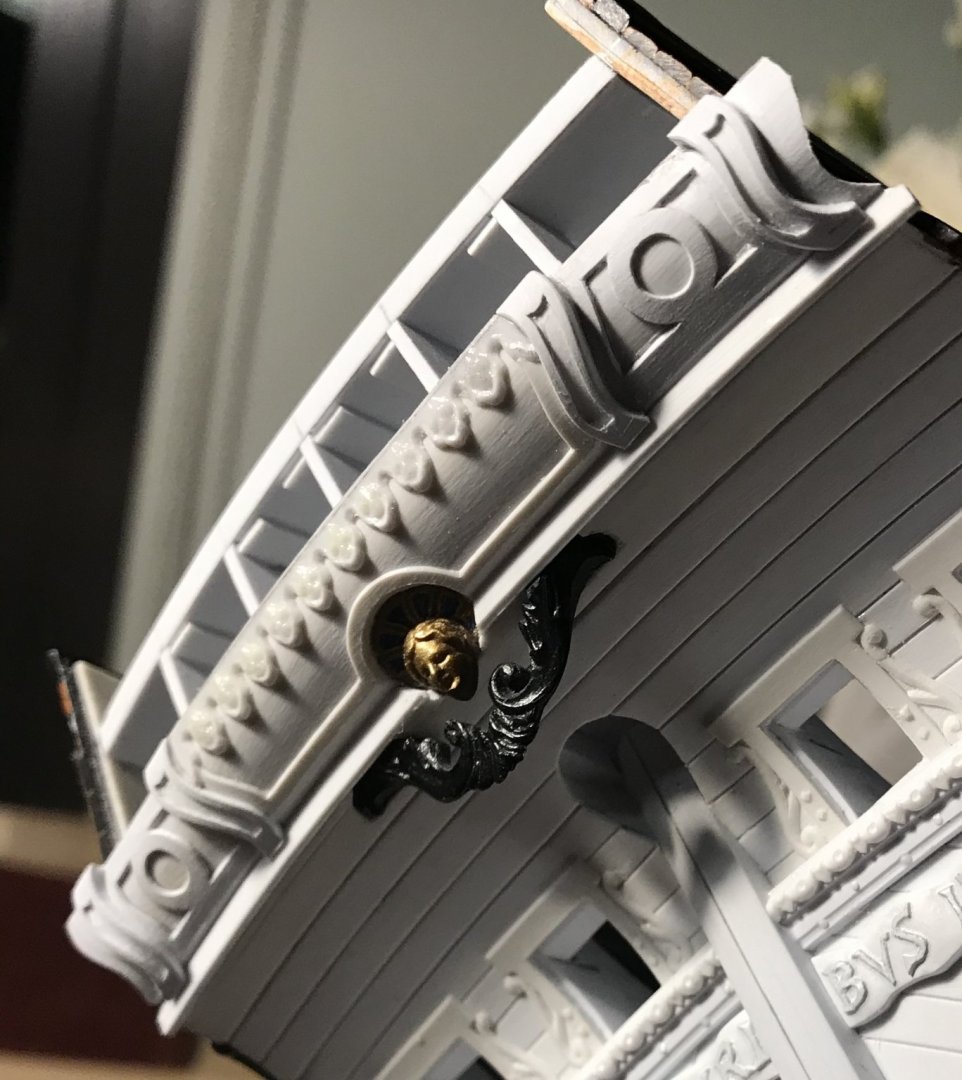
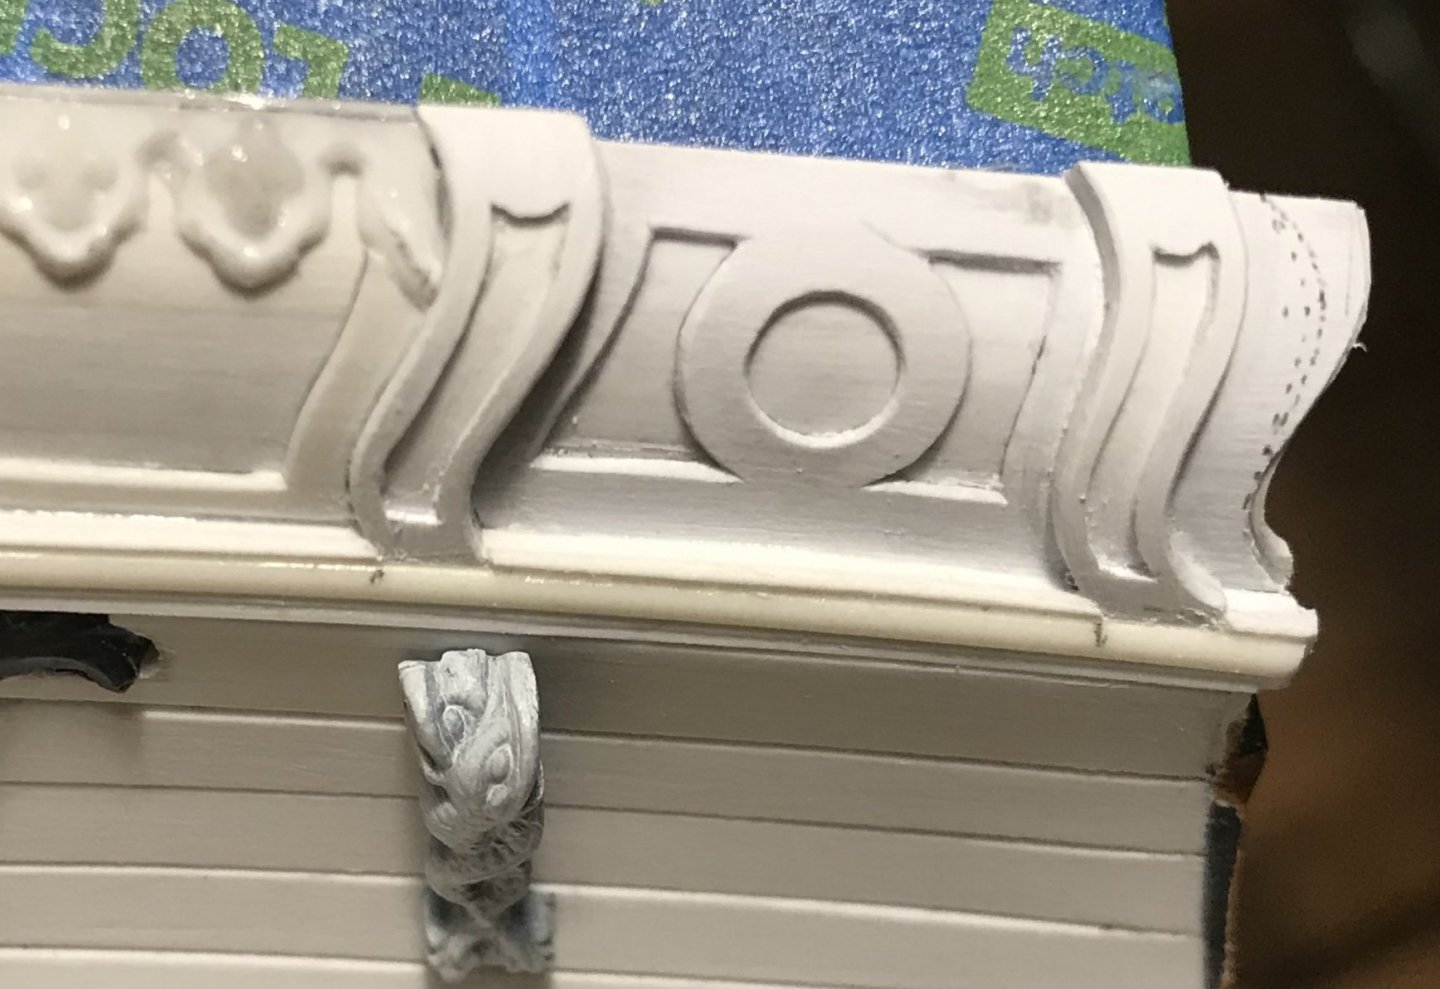
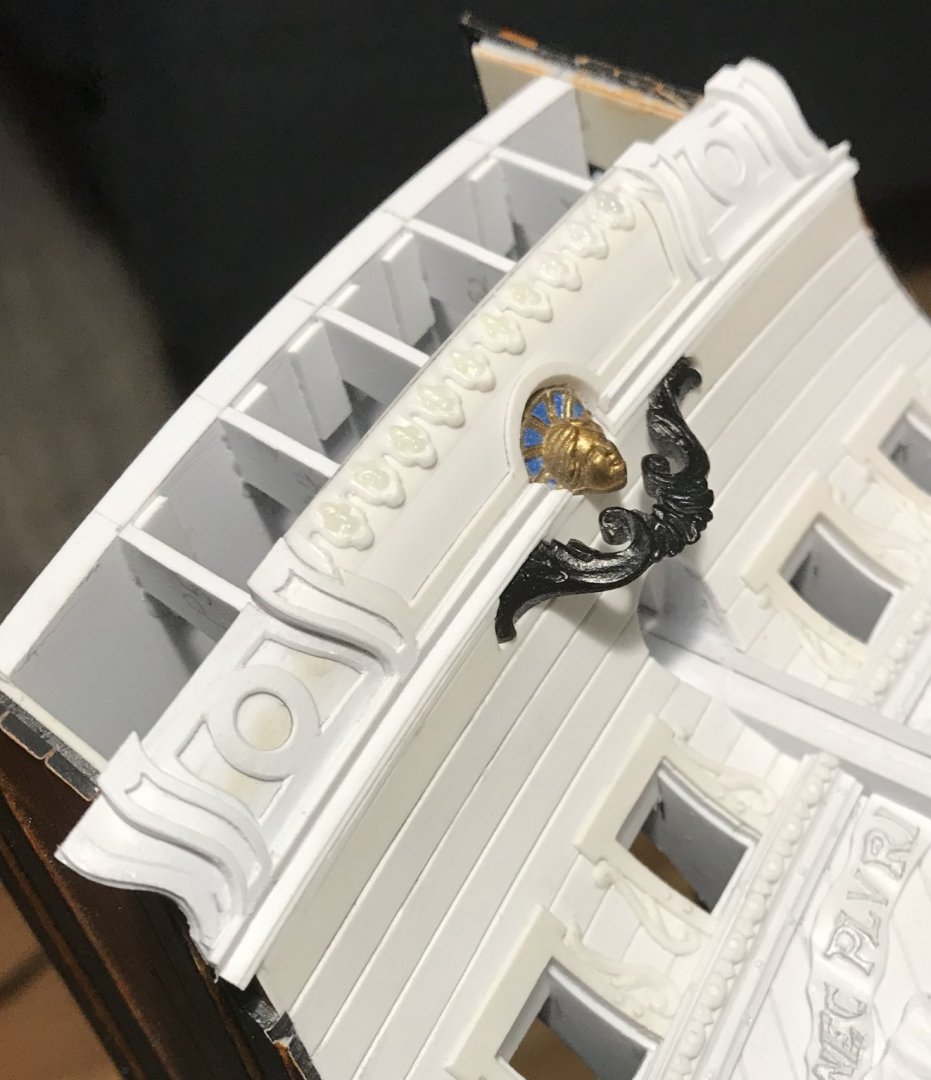
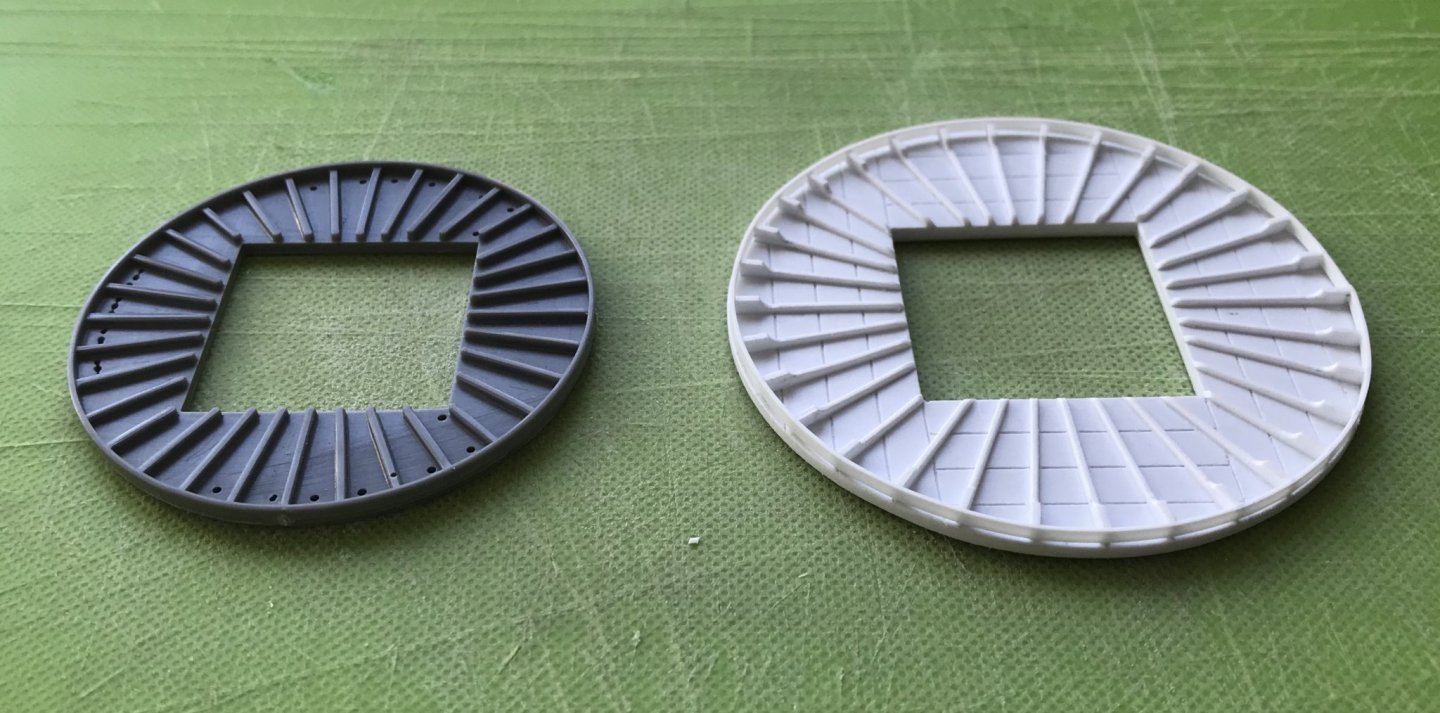
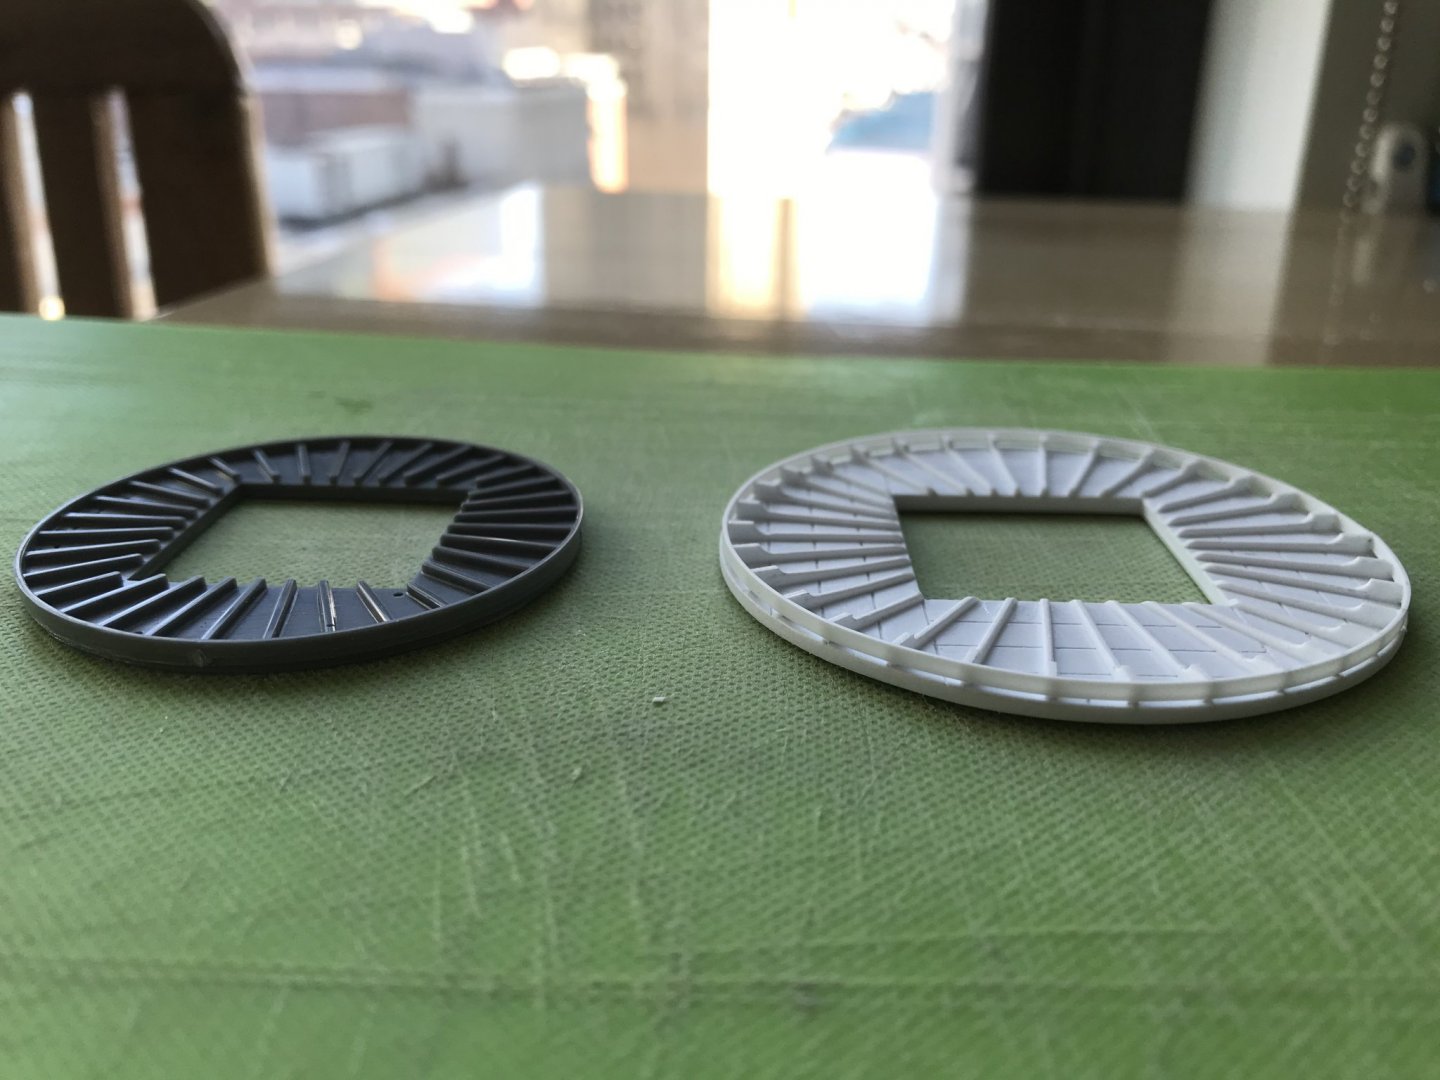
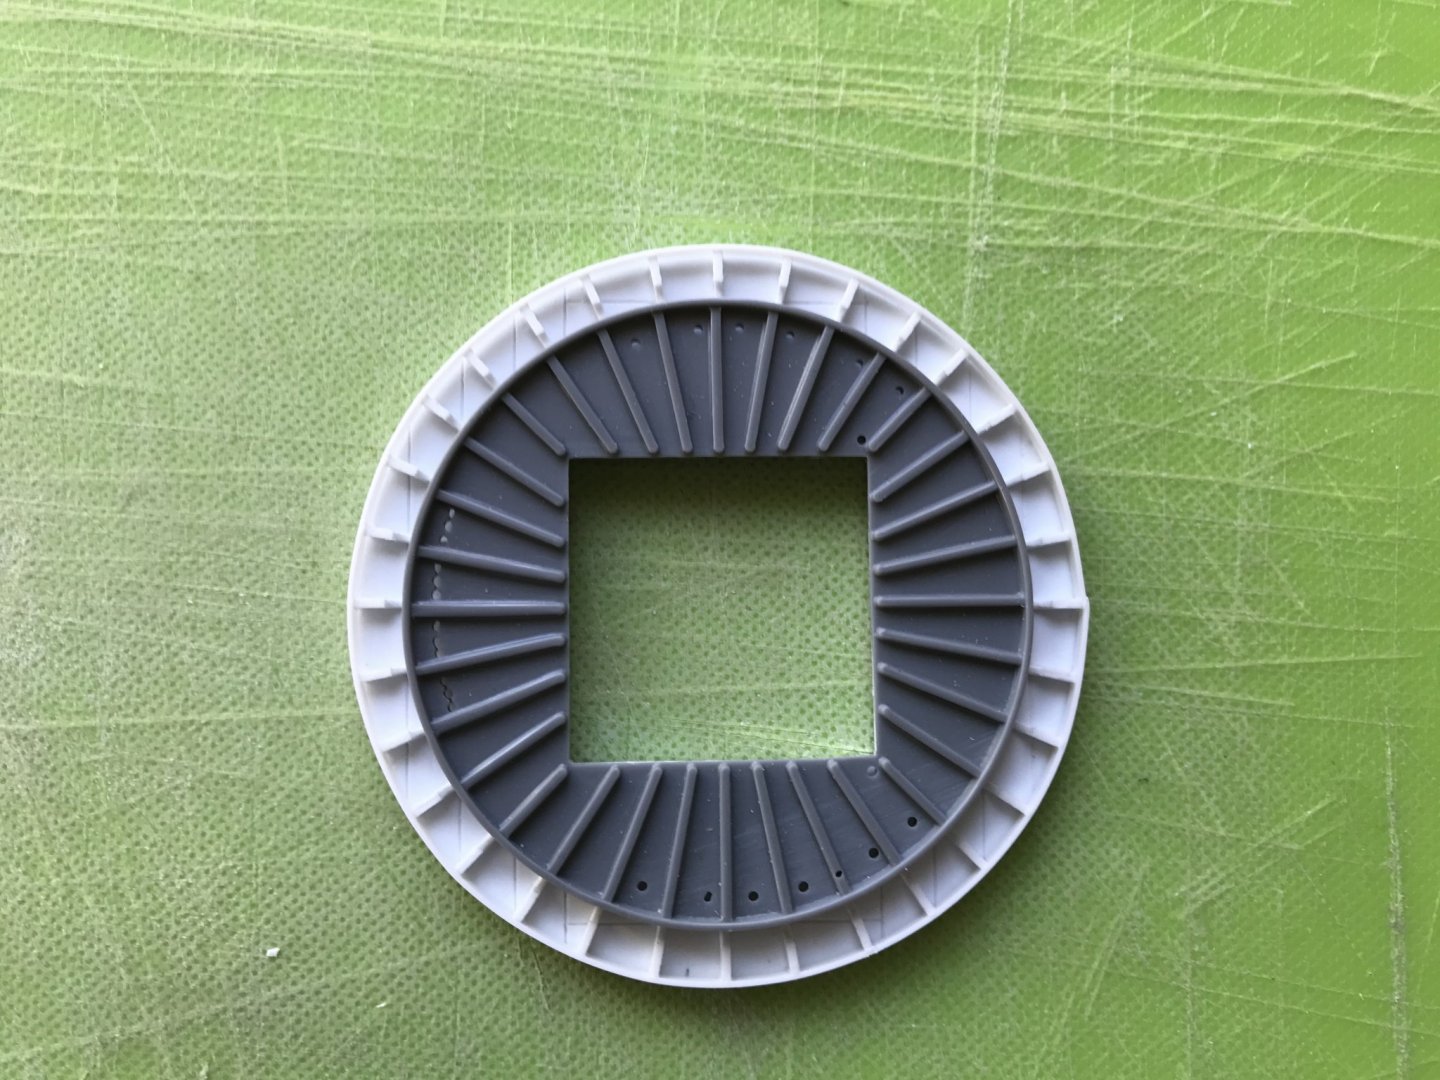
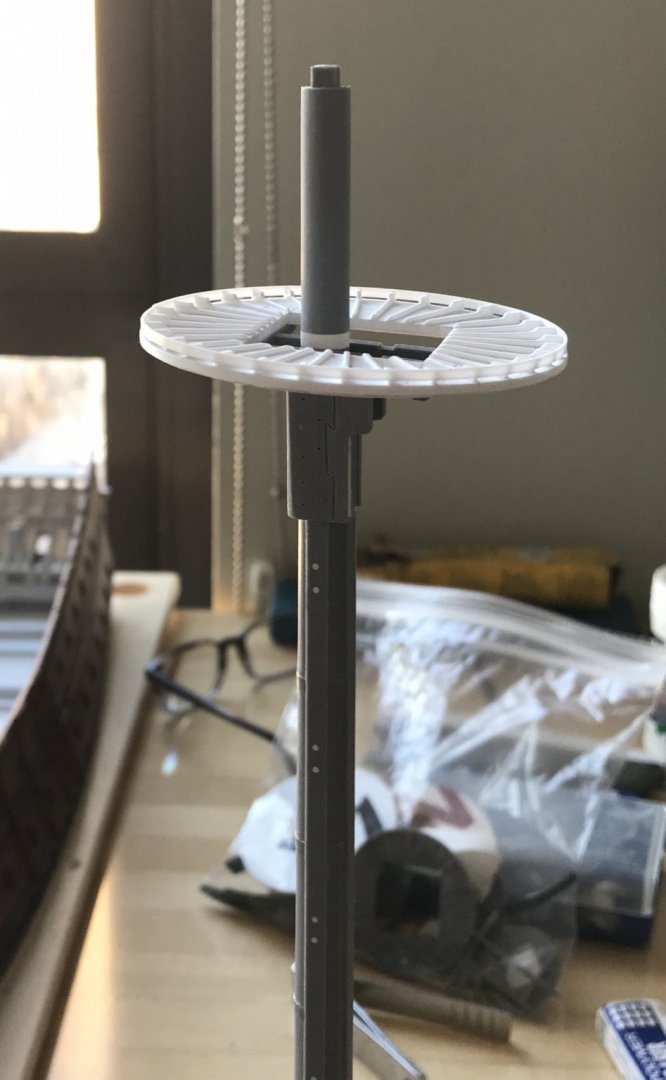
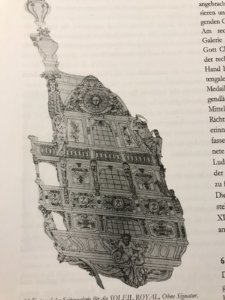
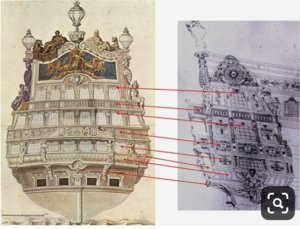
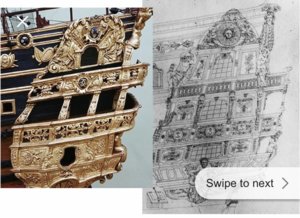
Soleil Royal by Heller - an Extensive Modification and Partial Scratch-Build by Hubac’s Historian

Because I am just an incredible conversationalist - not awkward at all ;) - I asked the dental tech at my last crown reconstruction whether he had hobbies, and if he had ever considered ship modeling, in particular.

He offered a friendly, if somewhat baffled “no.” And, I went on to explain why I would have asked that question; in a thoroughly engrossing way, of course!

In my mind - I thought I might have found a new recruit to The ShipCraft Guild of New York. Not on this particular visit, anyway. Despite his skill, he was not a hobbyist. Such a waste of latent talent in this world!

Anyhow, I would think that you could do quite a lot with the Mamoli Victory. Start a build-log, and I will happily sign-on.
 
Last edited:
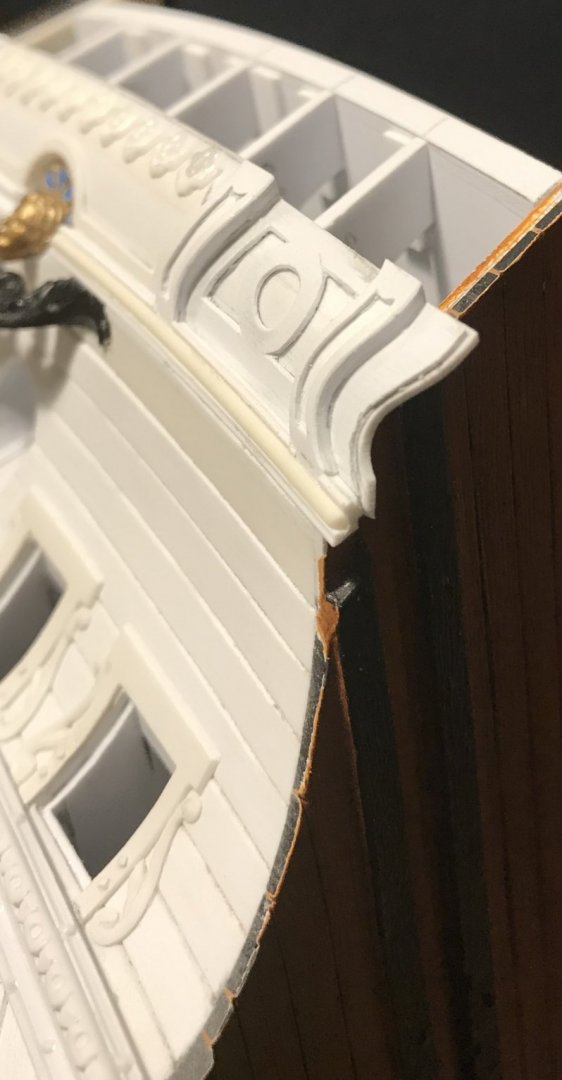
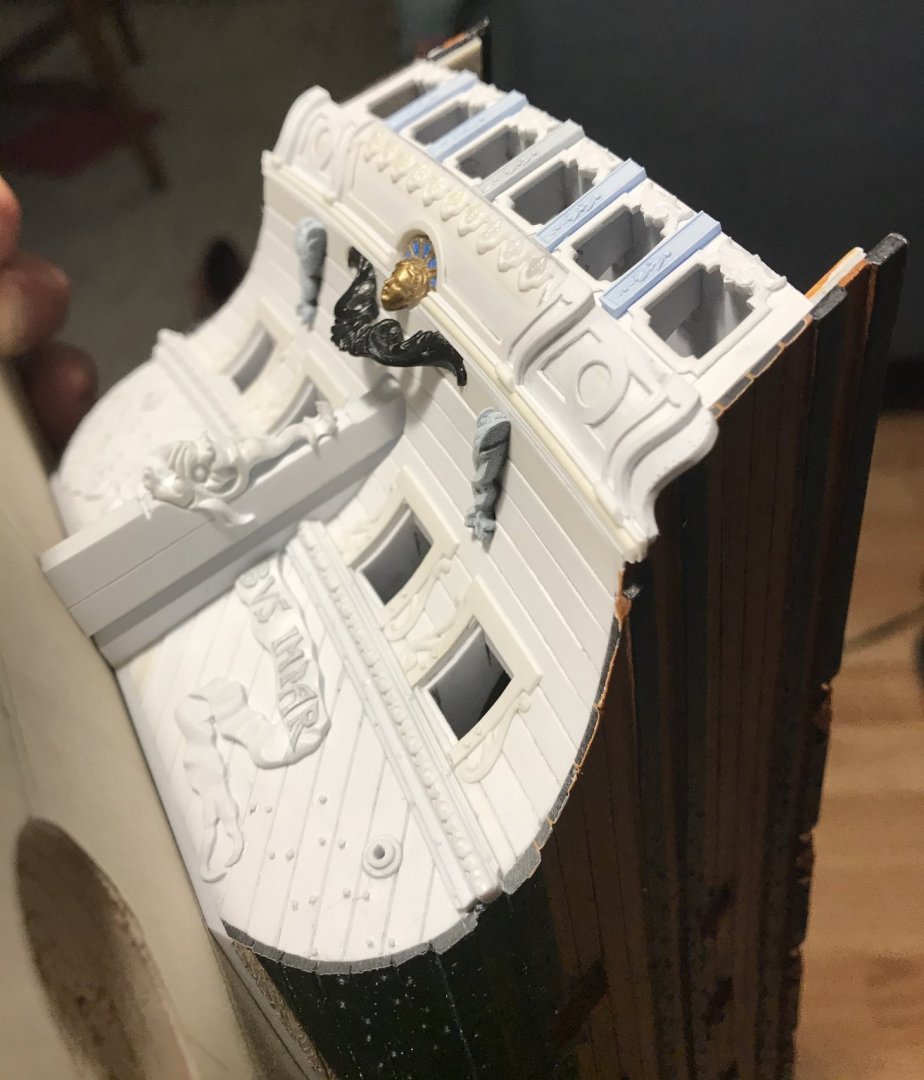
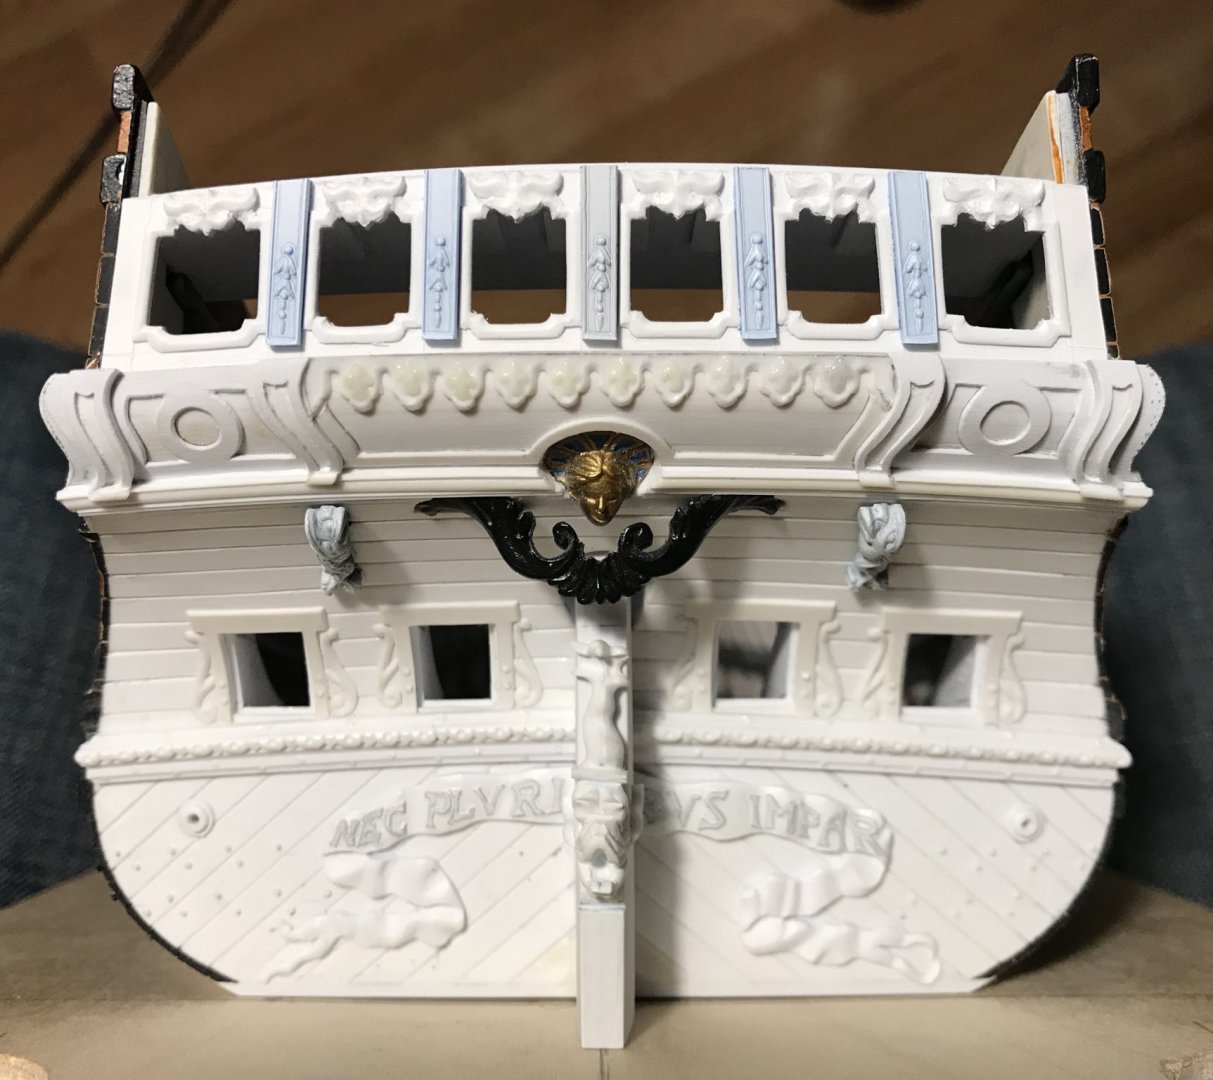
When considering something as complicated as Soleil Royal’s stern; that is, while trying to figure out how, exactly, to get from here (sheet plastic) to there, I have found it useful to consider the ensemble as a series of layers. There is a base layer of detail, a middle layer of detail, and a final fine layer of detail. And, in certain instances, there may even be a few additional, even finer layers.

In order to illustrate this build-up of layers, here is a more or less sequential montage of the process as it relates to the stern counter:

7D4611F6-1DA8-4AA5-A881-BF8130041E2B.thumb.jpeg.a6437de4b7a7a41e6c389a938a2240a8.jpeg

After each layer is set, be it planking or paneling, the surface is sanded fair and smooth, in order to eliminate any surface irregularities. Here and there a touch of squadron white was necessary to level surfaces - particularly, on the side sections where any unevenness in the ground would be glaring, as seen through the panel reveals. The edges of all the panel reveals are micro-beveled, in order to give them a more finished appearance.

007C23D9-6E12-4EE9-9B34-54A4DE8BDE9D.thumb.jpeg.06918dd41f7e4238a791f670c9eb8a02.jpeg
0E64704D-A82B-4C11-AF50-B976DDBDD446.thumb.jpeg.94d09d785e7d9cf61cd051c558444416.jpeg

I mentioned before that I would wait to define the concave bevel around the crown of the rudder head ornament. I was waiting until after this bottom moulding of the central panel was installed.

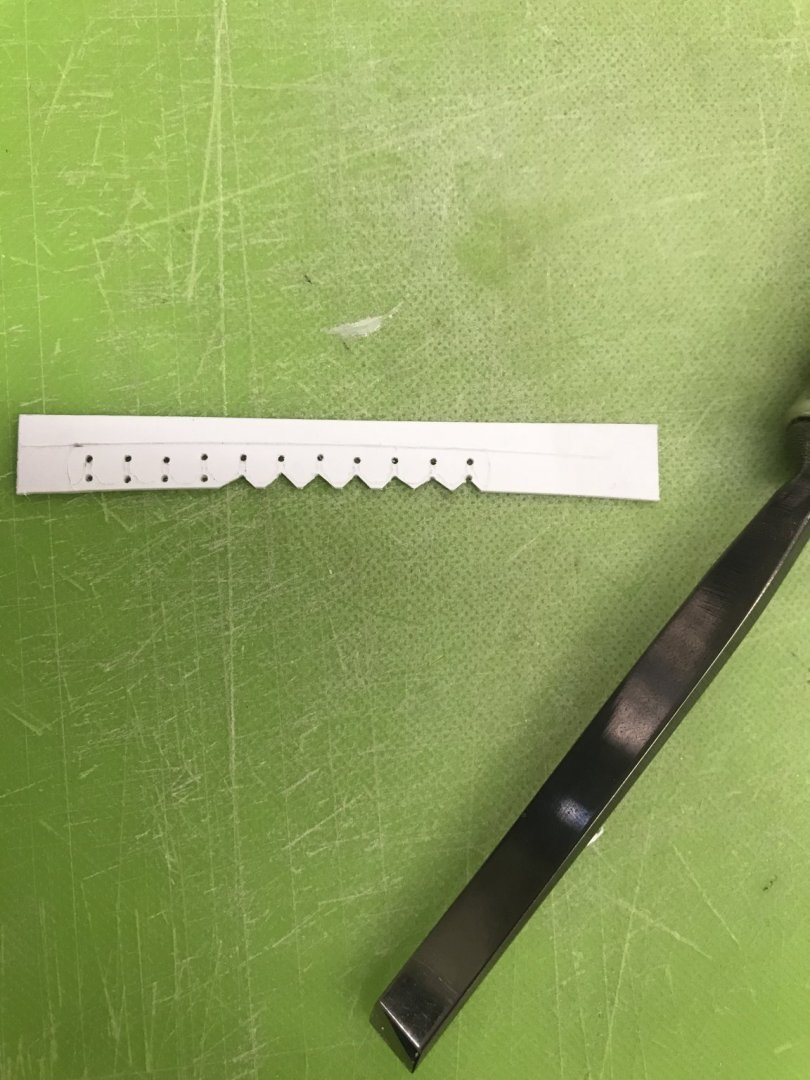
Making this moulding, as well as the blank for the lambrequin carving, was accomplished by pressing blue tape across the span and into the joints of the central pedestals so that I could highlight these parameters with graphite.

This process doesn’t always produce absolutely perfect patterns - it is sometimes difficult to tell whether the tape is absolutely all the way into the crease - but they are close enough, so that you can fine-tune the fit of parts, after leaving yourself a little margin around your pencil lines - say the additional thickness of a pencil line.

In the end, I am very satisfied with the impression that the crown is recessed into the counter. When I started this whole process, I really wasn’t sure how it was going to come out. This gives me renewed hope that the surgery I will attempt on the Four Seasons figures will work. Despite the challenges these plastic surgeries present, they are still an enormous time-savings, over making the carvings from scratch.

57840B6E-CA45-425F-8A6F-5CEB82B1F66B.thumb.jpeg.786033ef7d66b082370b1bb257eaad14.jpeg

433921C4-E42C-4312-9A0C-F19D396635A4.thumb.jpeg.a6fe533ec94e127eccb083ef26b44fc5.jpeg

D0698ACF-6A37-4883-B8AF-CD05B582A385.thumb.jpeg.3eb333b4ca9a0701e1f7162715edfb66.jpeg

Hopefully, these pictures provide a sense of the many layers involved in constructing this stern counter area. There is a lot going on, here, in a very limited space. In recognition of that fact, one must consider just how nitty into the gritty they are willing, or is even sensible for them to delve. At some point, there is an intersection of will and reason, and that is the place you are aiming for.

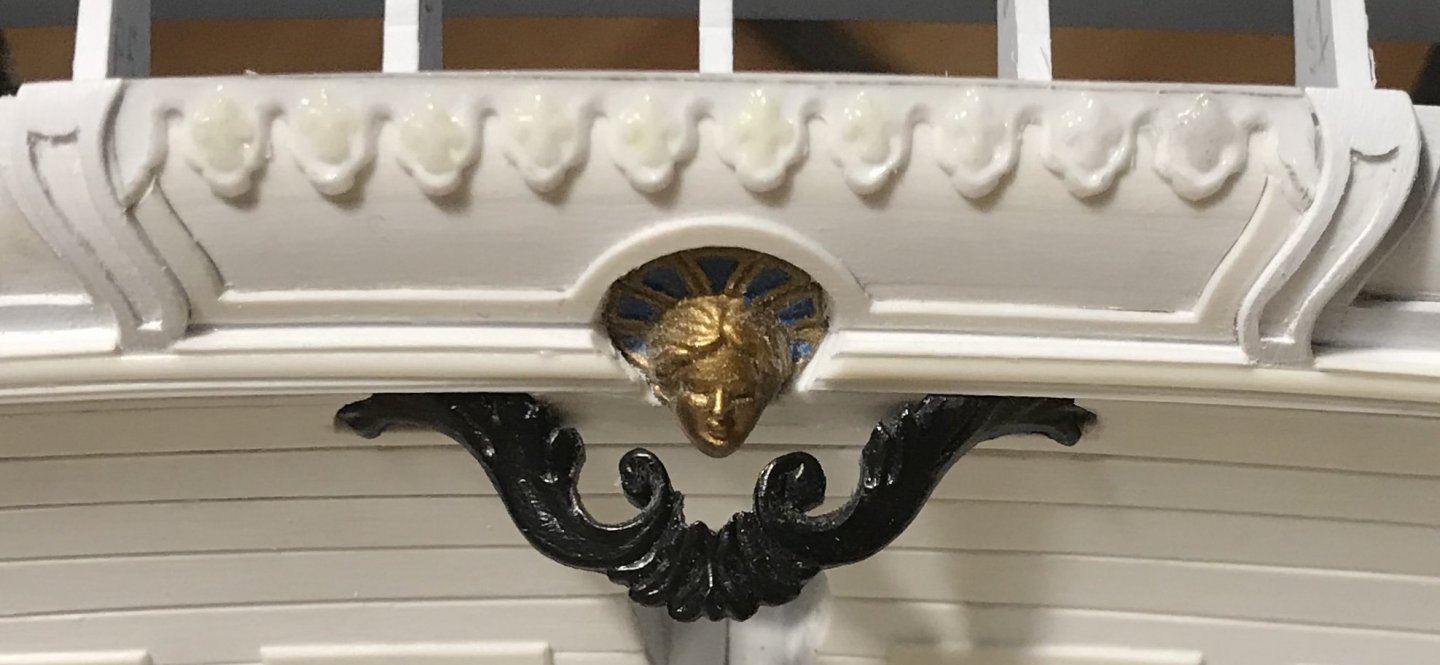
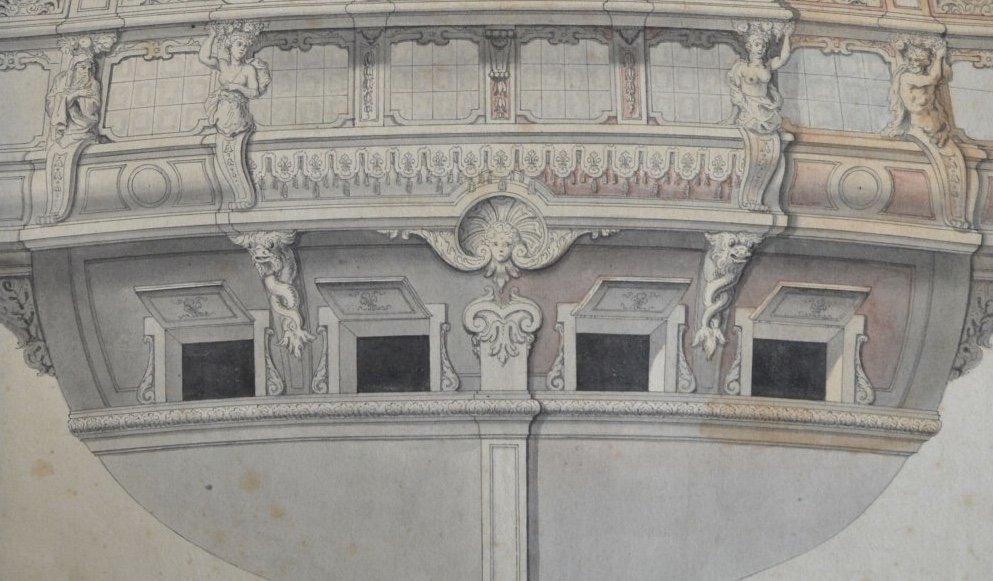
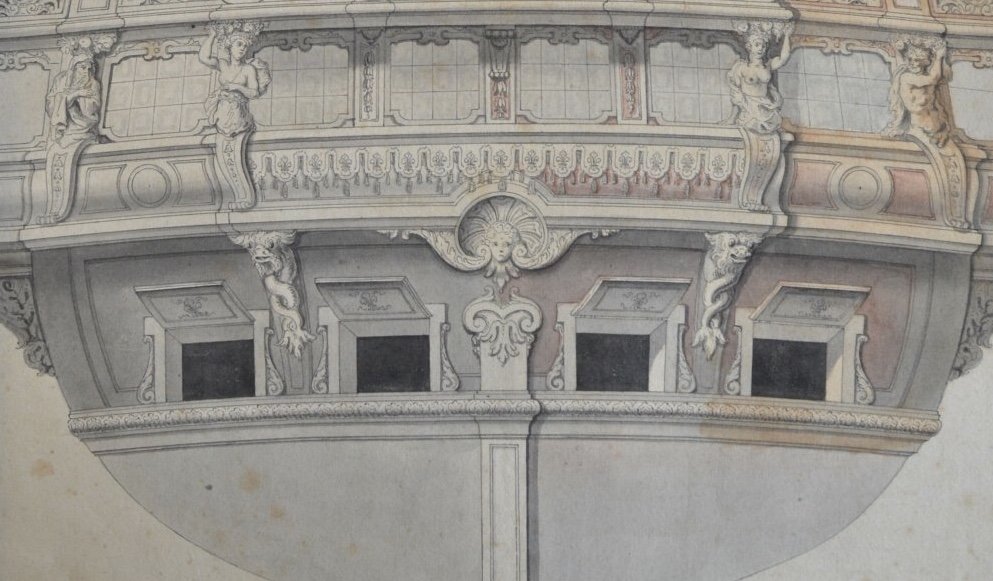
Take, for instance, the lambrequin carving, as it was drawn by Berain. He shows 15 full “petals” with half-petals at the ends. Each petal is adorned with a fleur-de-lis, and three pendant tassels hanging from their bottom edge.

Thinking back to my experience of carving mould-masters for the frieze fleurs, I estimate that it would be damn-near impossible to carve lambrequin fleurs in this scale. Theoretically, I could use something like Liquitex gel medium to paint on the fleurs, thus producing a light relief. I am not yet confident, though, that I could do this with any semblance of consistency. I will try to incorporate this technique a little later, when I represent the tasseling.
There is, on the other hand, at least one ready-made source of fleurs that would be perfect for this application; the stock fleurs that are moulded into the kit upper bulwarks! With these ornaments in mind, the lambrequin petals were scaled, accordingly, and I ended up with 10 full petals, bookended by half-petals.

Here is a brief montage showing the steps for creating the lambrequin carving:

D8B874E7-B3F1-45EF-BF9E-2D47BD120A55.thumb.jpeg.8da3035d860a08c001af631028f152f3.jpeg
8C128F65-BFF0-482B-B7C6-B4F6420C351D.thumb.jpeg.6a891888e8278c0989e3dff3c6f61eb0.jpeg

9B2F222F-65DE-4118-954A-432AB8793D87.thumb.jpeg.8e5a6b61b35ff11f47241908a9578bea.jpeg

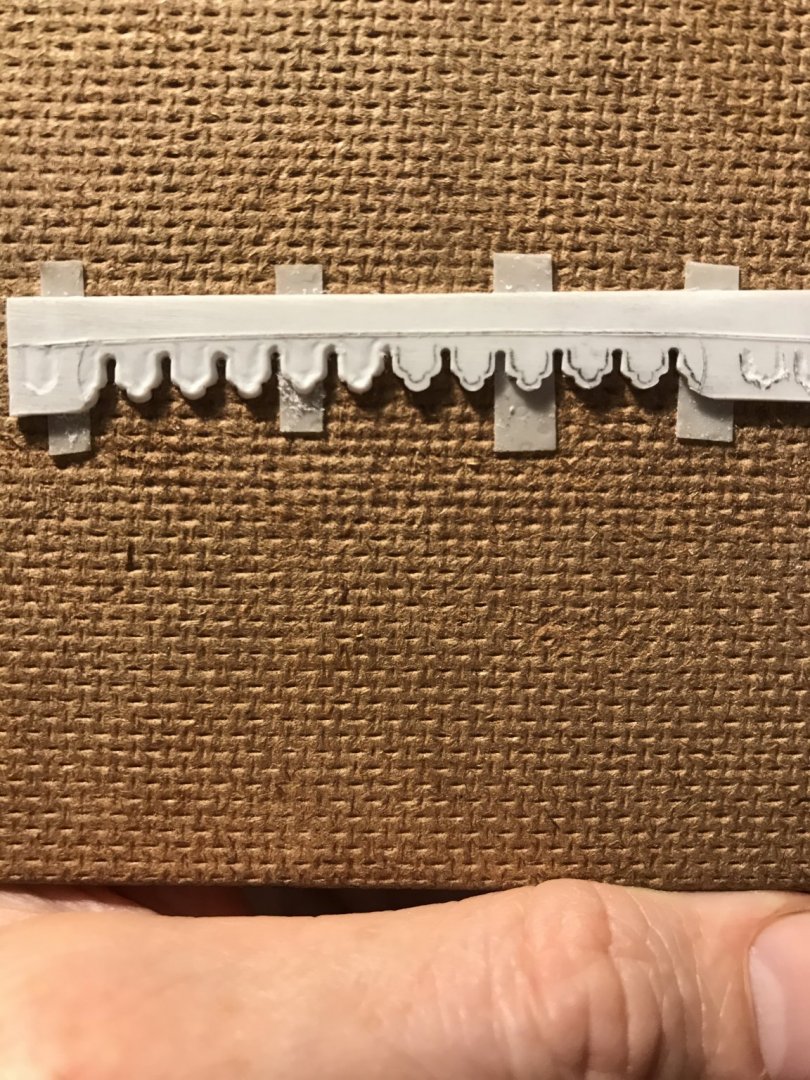
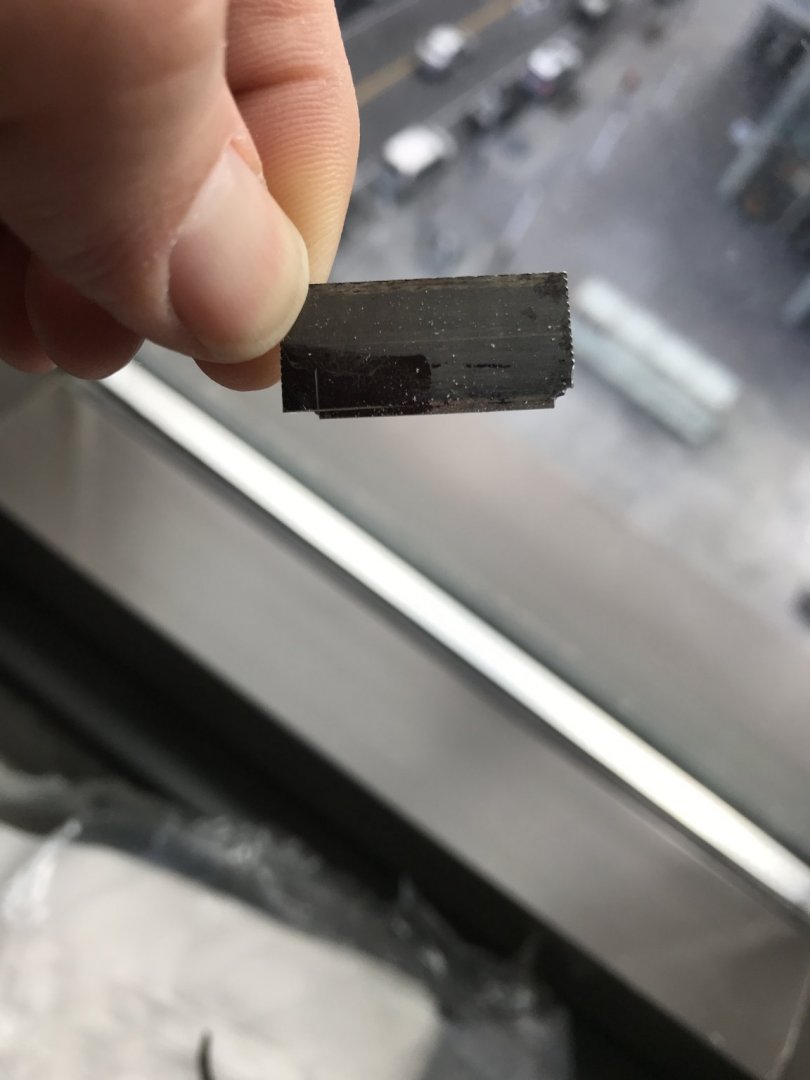
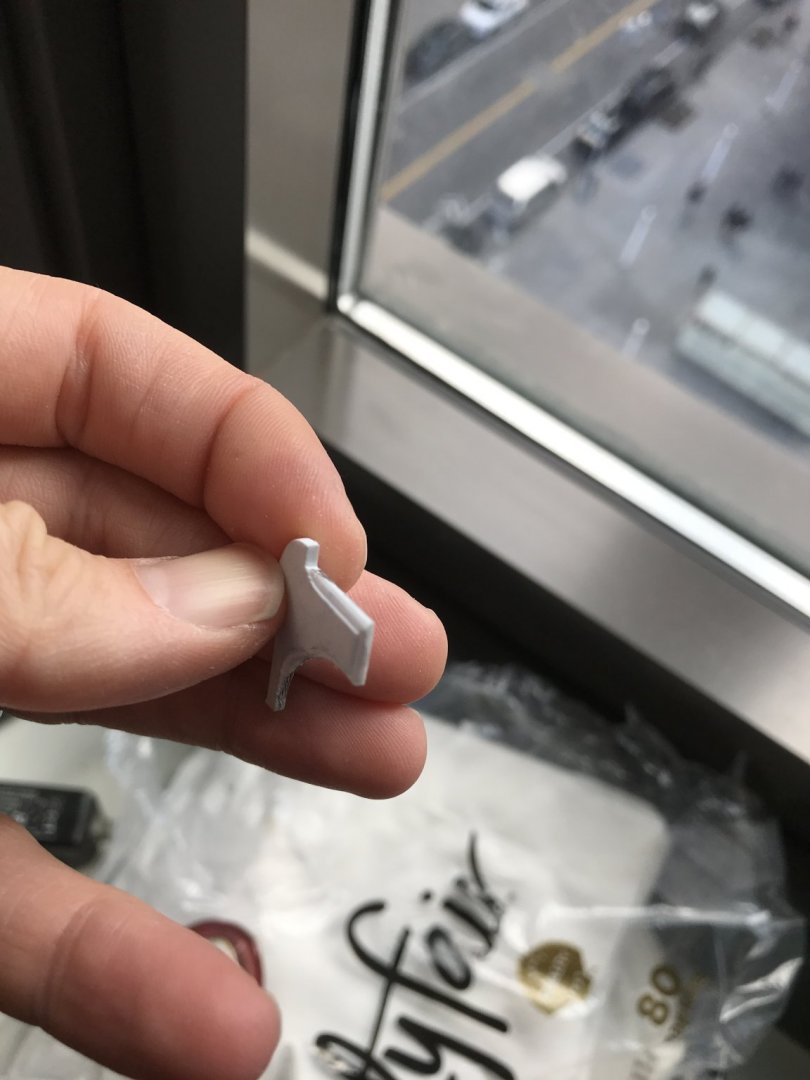
Using two-part latex mould medium, I made moulds directly from my spare upper bulwark pieces, and then cast the blanks in white resin. As opposed to the larger ornaments, for which you must laboriously grind away the excess backing material, these fleurs are so shallow that I could simply shave them off with a honed single edge razor. With just a little extra cleanup, using a #11 blade, they were ready for mounting.

B9EE8166-6B62-4378-9669-6D60B800DE6C.thumb.jpeg.87d3630ceea85aab5312df78f71f77e3.jpeg

Once tacked in place with liquid cyano, I brushed the whole lambrequin carving with liquid cyano to ensure total adhesion and to smooth over any surface irregularities of the carving. The back of the lambrequin carving had to be coved with a rubber profile sanding block so that it would cup neatly to the counter. I think the scale and overall aspect of the carving harmonizes nicely with the rest of the counter.

EF64E603-3FF2-4152-8283-D2B5BF3ECFC2.thumb.jpeg.5dad678c91bcc78d722253ff451cea6e.jpeg

7644118D-CF01-4155-8EF0-09F1E0FC0336.thumb.jpeg.c7e812d4e01dfb502975740688581794.jpeg

Now that I know the full projection of all of these layers, I could begin to make the bottom and top mouldings that frame-in the counter.
I had great success with constructing a stacked moulding for the transom moulding, so I decided to take the same approach for the bottom counter moulding.

First, I pared away enough of the pedestals, at their base, so that I could pass the first layer of the moulding behind them. This layer has a tiny coved reveal, and it’s primary purpose is to conceal the inletting of the acanthus bases of the jaumier ornament:

012ADE94-9C0F-40B2-9169-6FA23DE787B5.thumb.jpeg.d9b350f09d6be3827f0633d9cbc51765.jpeg

The overhang, at the ship’s sides is exaggerated, for now, but it will soon be backed with a thicker piece of styrene sheet (for a better sense of depth), and then trimmed to the pencil line. This way, the outboard profile of the counter won’t interfere with the paneling of the quarter gallery, but will instead, help to define it.

61DCDAB3-4284-48C7-B04D-73EC514DBC4B.thumb.jpeg.e2831dd98bbab2b61917024f96ae004d.jpeg

The next layer of moulding is a heavier piece with a more pronounced cove moulding. This is fitted between the pedestals:

6A57B41C-976F-489C-897B-1C09DC2C4378.thumb.jpeg.9068b03132104b05eb5185ddc73e9a7f.jpeg

The trick, with the above layer of moulding was to fair back it’s bottom edge, in order to create an even reveal for the final component of this triple-stack moulding. I was hoping to preserve the tiny cove reveal at the bottom of this assembly; as you will see, the results aren’t absolutely perfect, but it still looks good, IMO.

So, finally, pre-shaped ¼-round Evergreen moulding runs straight across all of the pedestal base bottoms, leaving just enough space for the scrolled foot appliques that are shaped from half-round Evergreen moulding:

0E45A4A7-6733-4F0F-884C-820E0038F0A4.thumb.jpeg.9c3416c4a1b1453c82556079468e670e.jpeg

Now that the pedestals are located and the bottom counter moulding is in place, I could finally place the caryatid carvings, which I had previously separated from their base:

0BEDFDD1-01DF-4EE3-83B0-DFCBF2B364CC.thumb.jpeg.d46895beac192739ebdbd60483190909.jpeg

Next, I will lay out and fabricate the top counter moulding. You can see that the projection of the counter/false gallery is quite significant. This is actually a good thing, as it creates a deep enough shelf for the four seasons figures to sit upon:

CFD1351B-7362-4482-BAA0-9E7239B6E084.thumb.jpeg.75e43dcc5ac778adb9891b9d990e03e5.jpeg
980E25E4-5127-4EF6-A3F2-BD05444C3010.thumb.jpeg.b61d20af50839e4a98c3535cb7d44499.jpeg

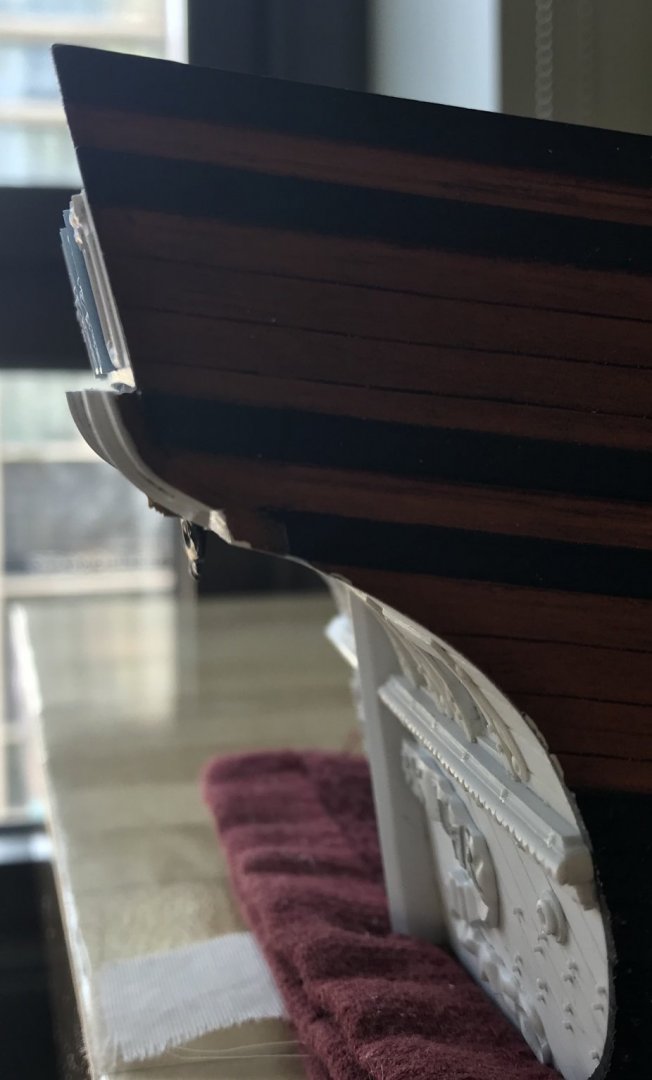
Lastly, early in my conversations with various scholars of the epoch, almost all of them commented on the apparent exaggerated projection of the pedestal that supports the figure of Autumn:

8F2A1AA5-A3BA-43A1-830C-814A6DDFE4BC.jpeg.9c4f535767807b803d31fcf083155a60.jpeg


Now, granted, as it’s drawn the pedestal only appears to be supporting Autumn, without any indication that you might also be seeing a portion of the inner pedestal that supports Summer.
Nevertheless, an interesting thing happened, once all pedestals were in place, at their full projection:

DB2AB81B-D4E1-4CB0-A331-AB6DEB0A9702.thumb.jpeg.2bdef99f47867a6042ee6ab893ee8acd.jpeg

While I’m more or less eyeballing all of this, in terms of how thick the layers should be and how that might impact the final depth of the counter, I do think it is reasonable to say that the central projection of the counter would likely produce a similar side view, in full-scale practice. I’m not positive whether this is architecturally right or wrong, but it is interesting, nonetheless.

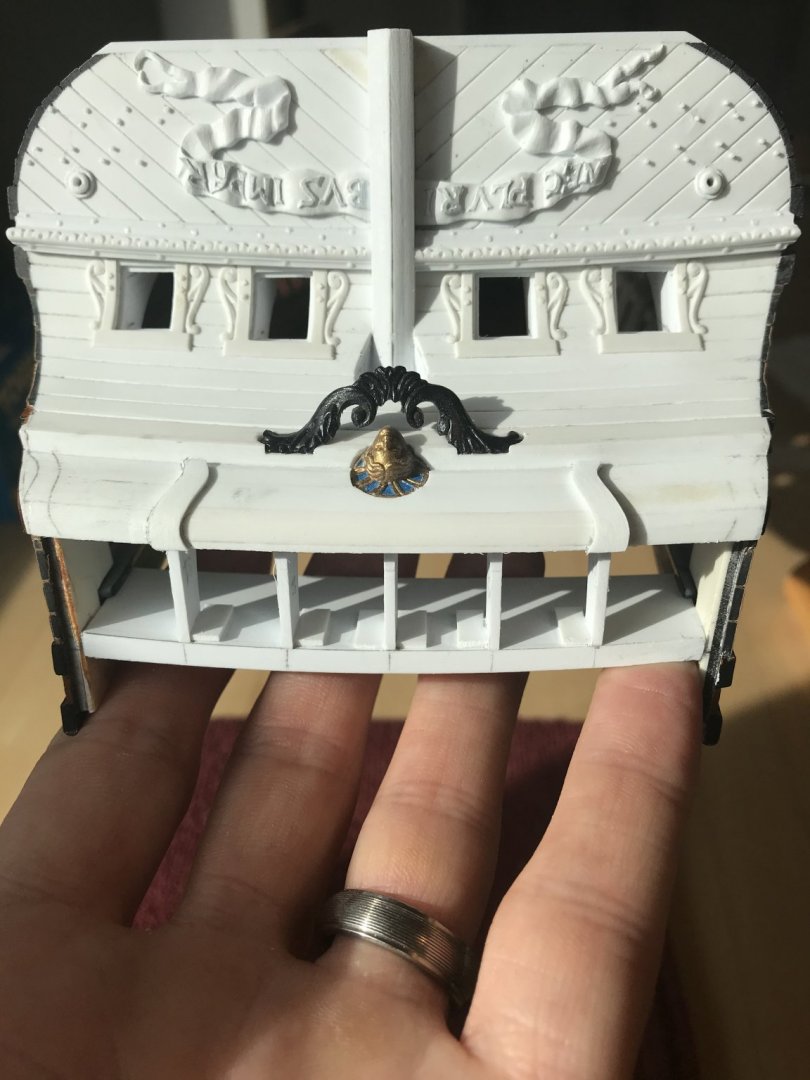
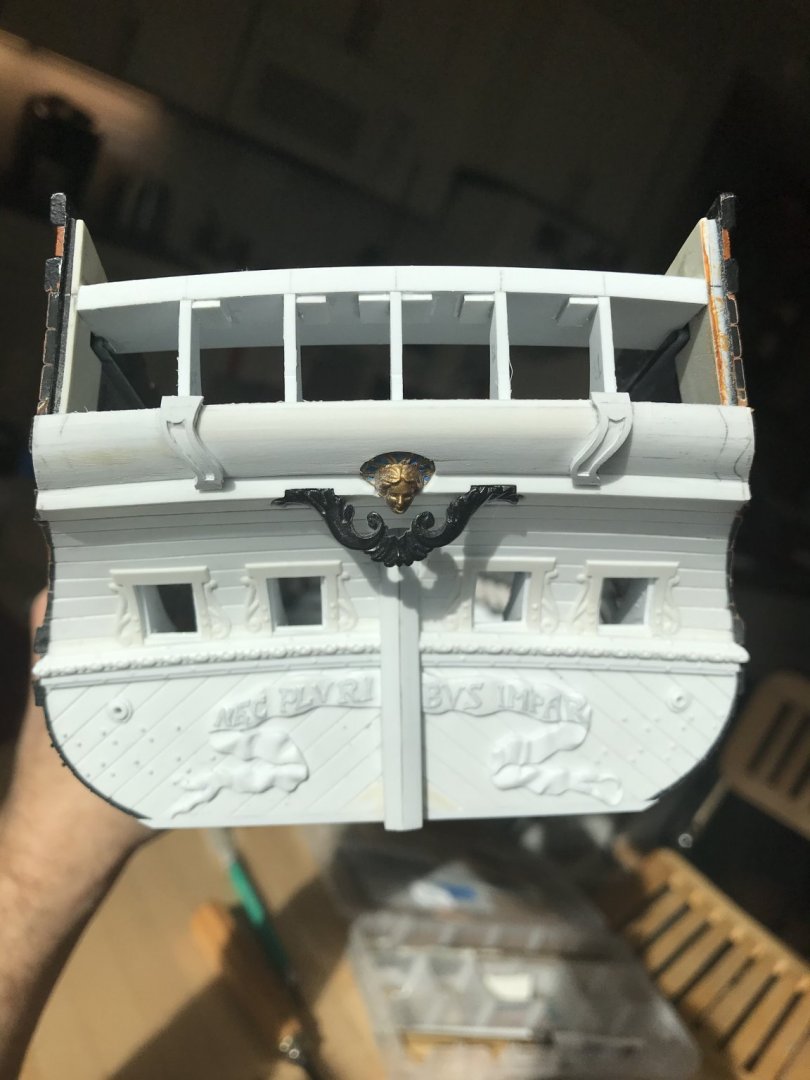
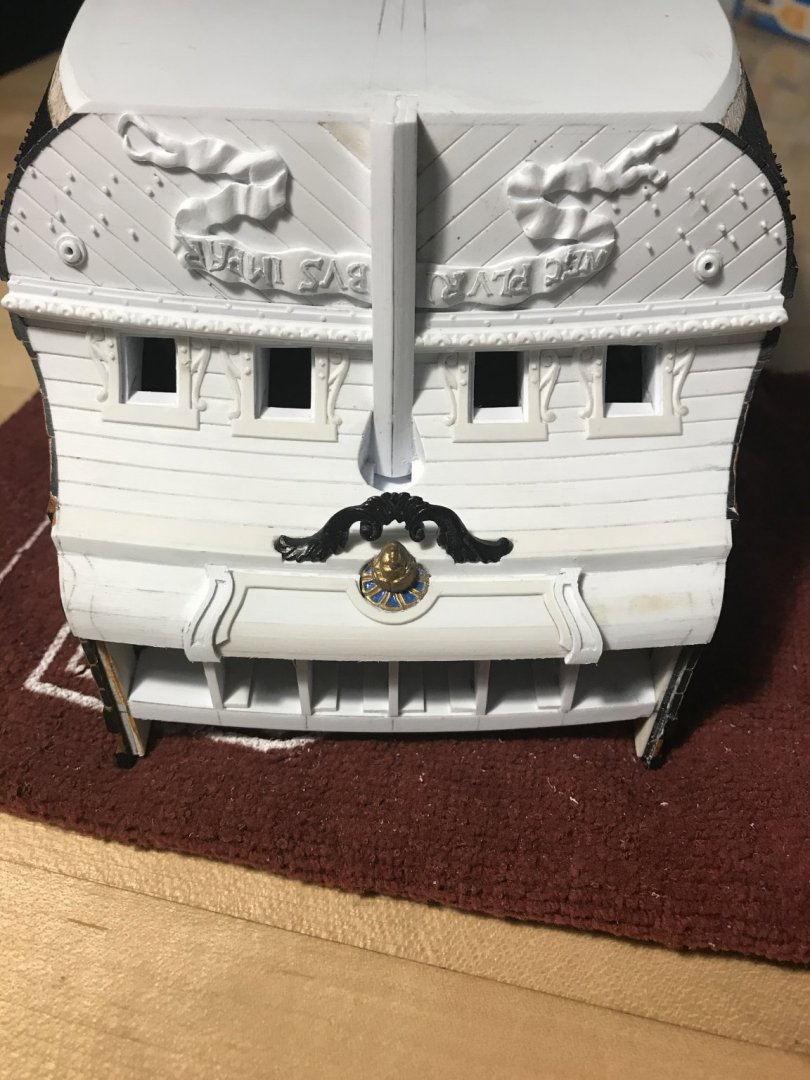
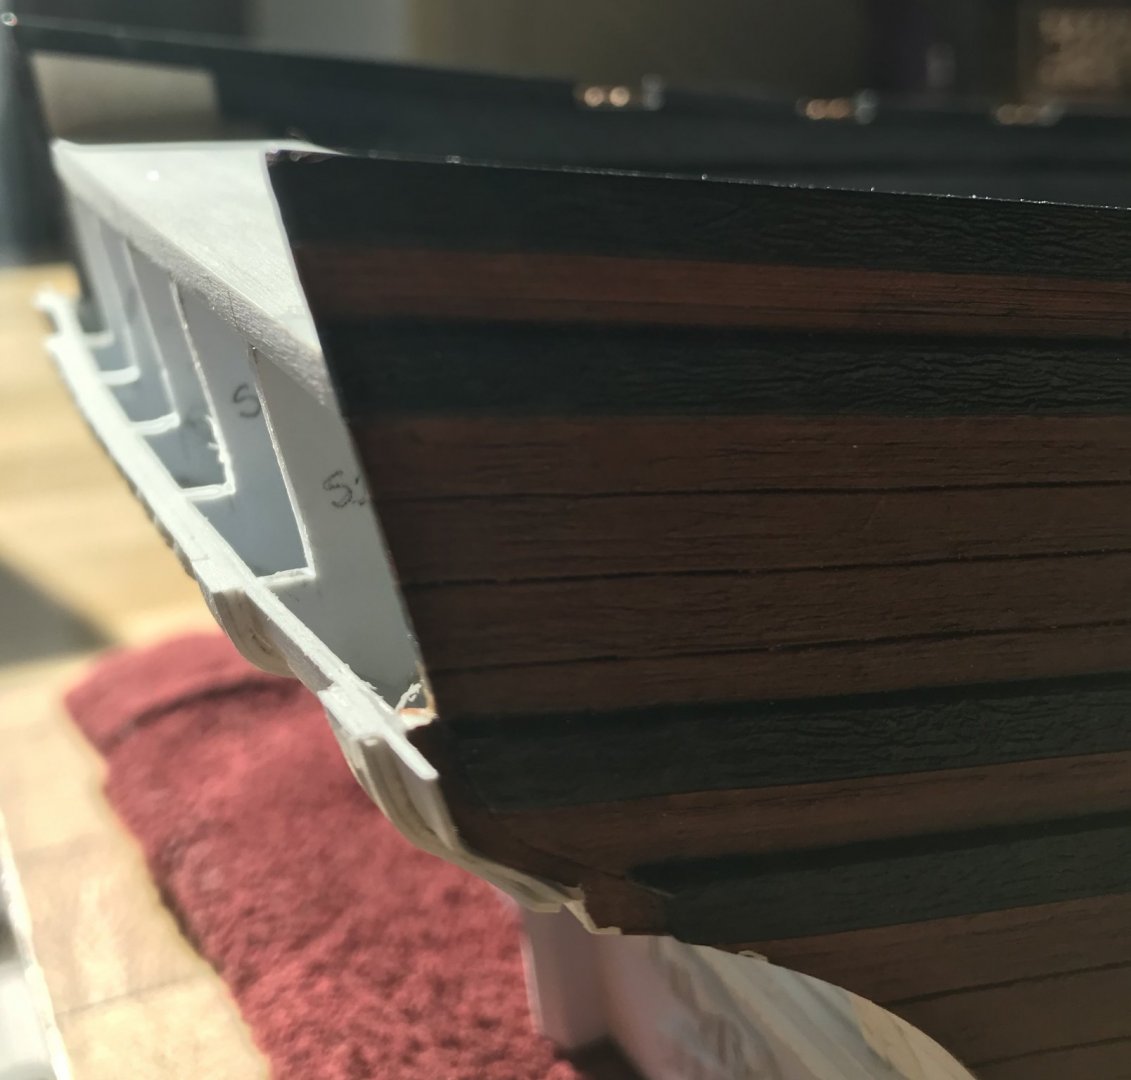
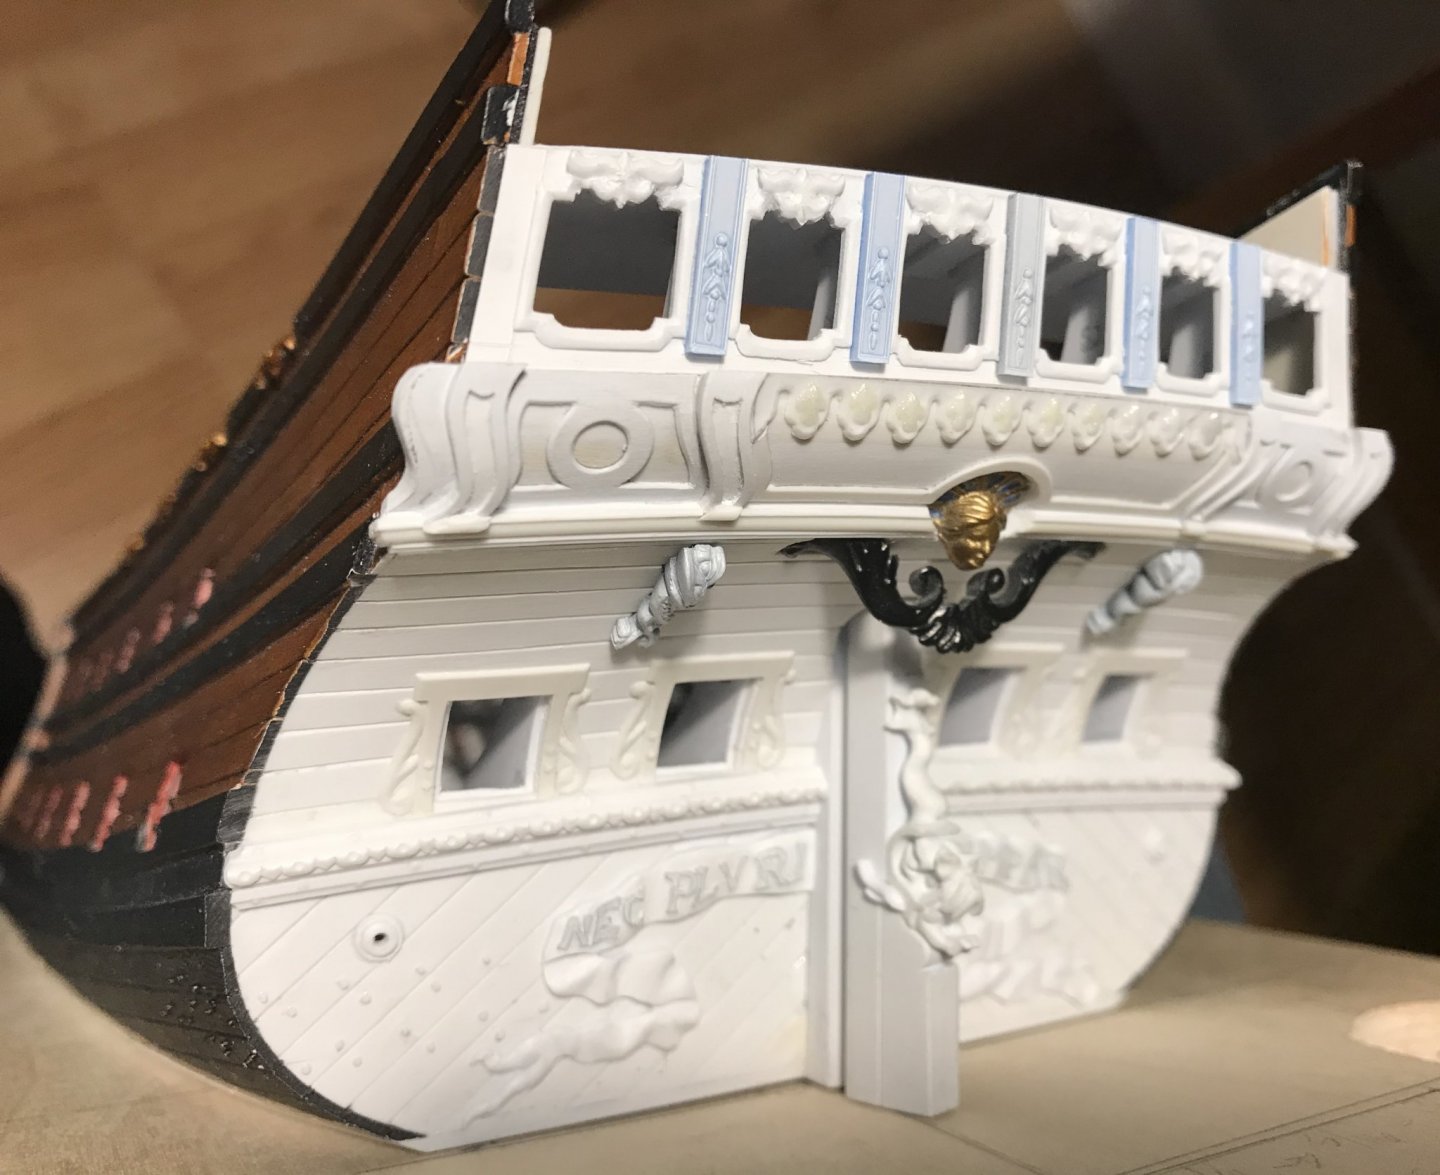
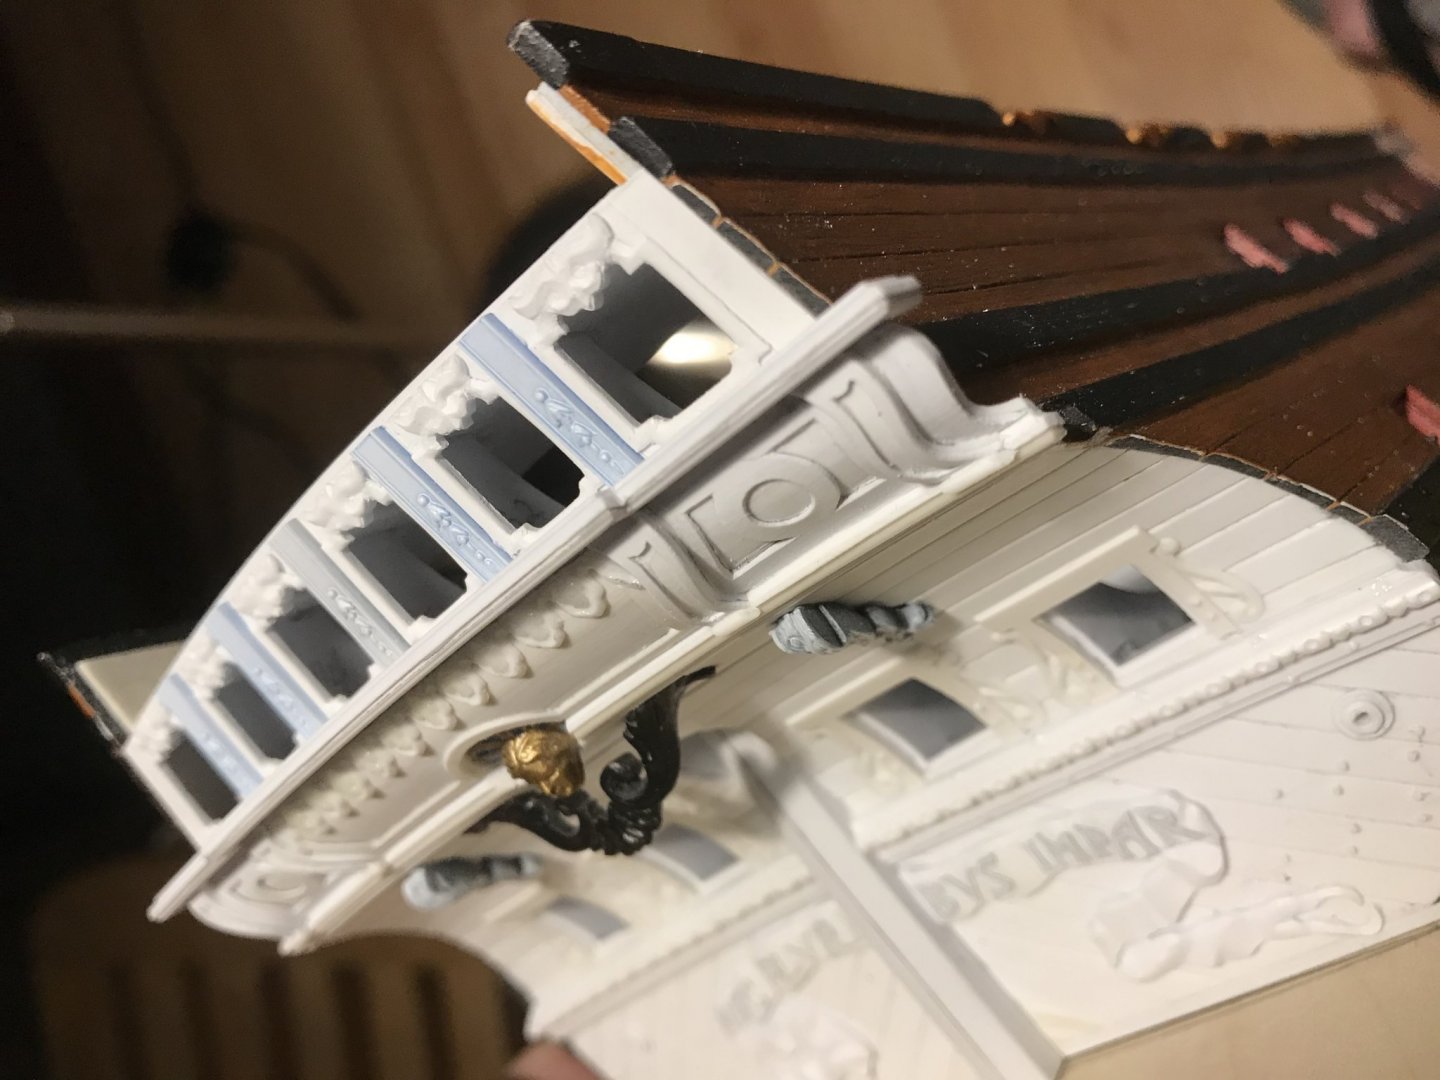
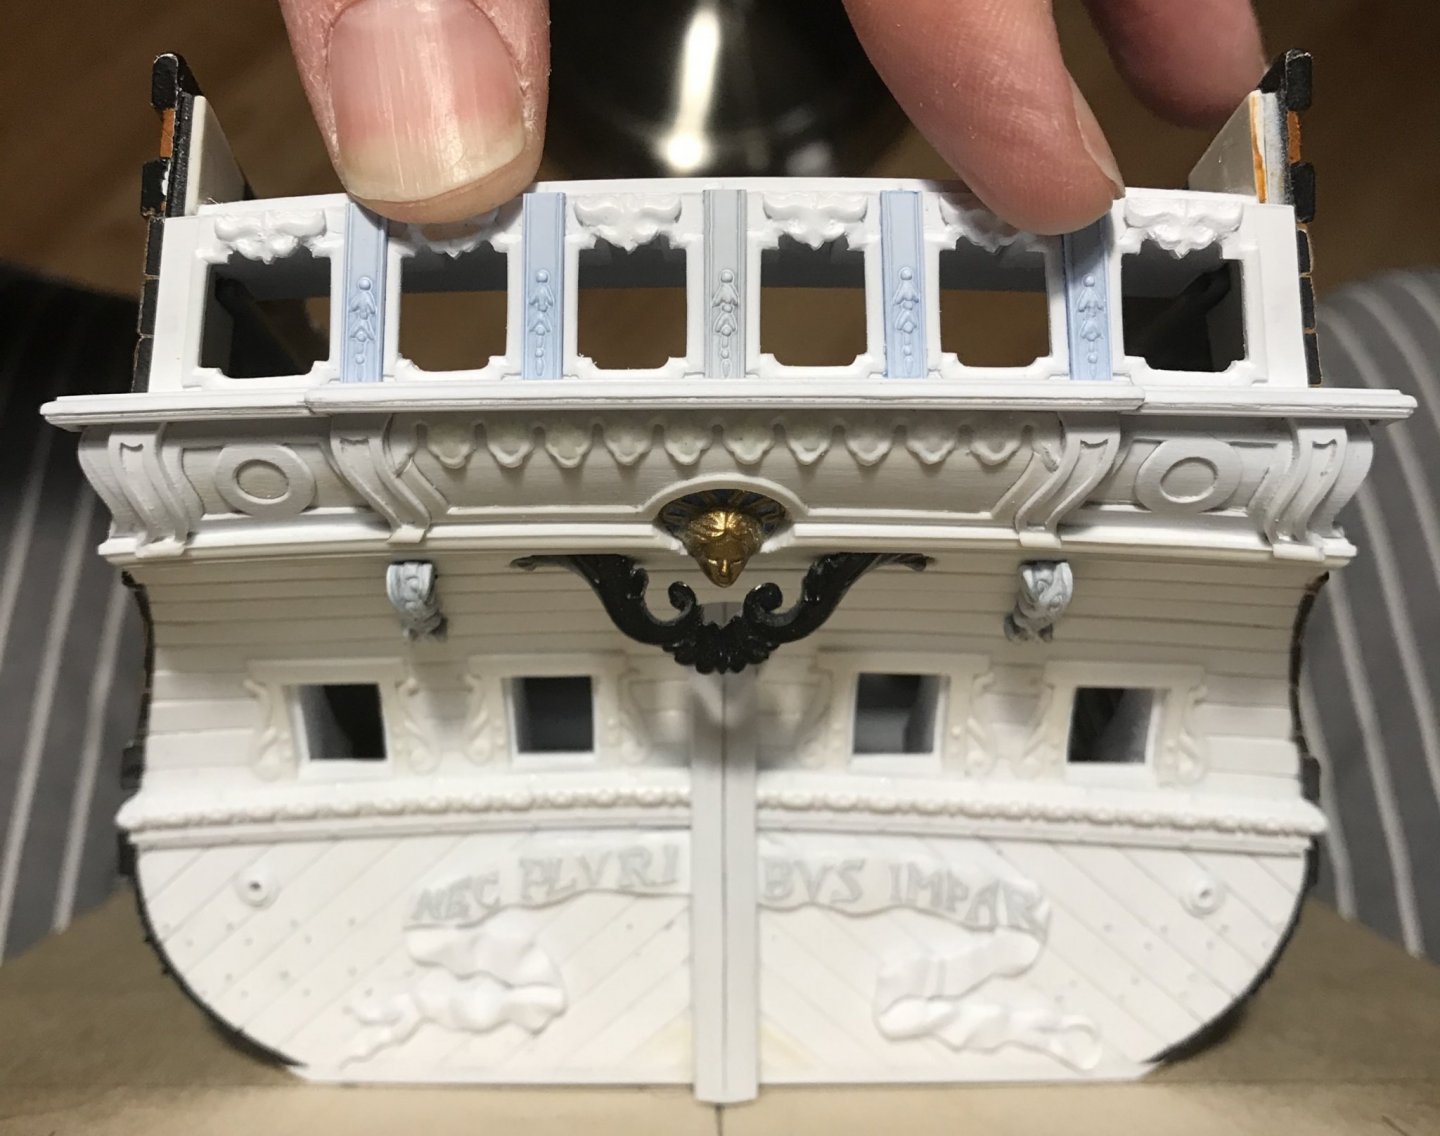
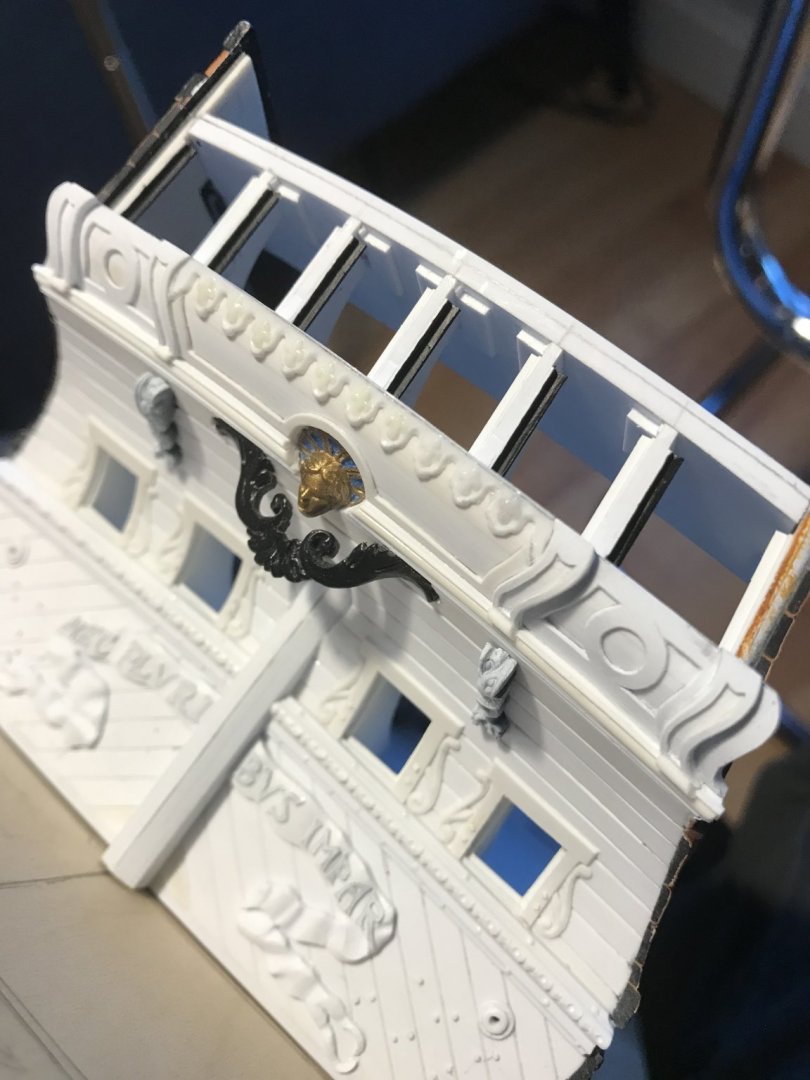
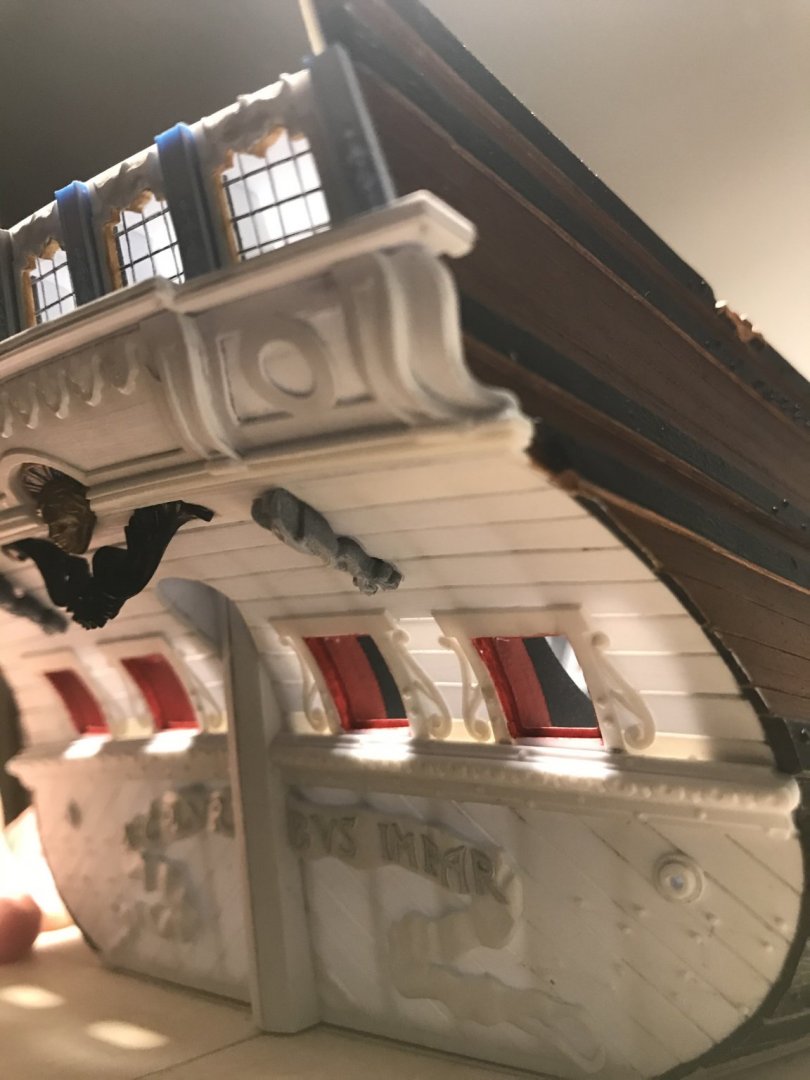
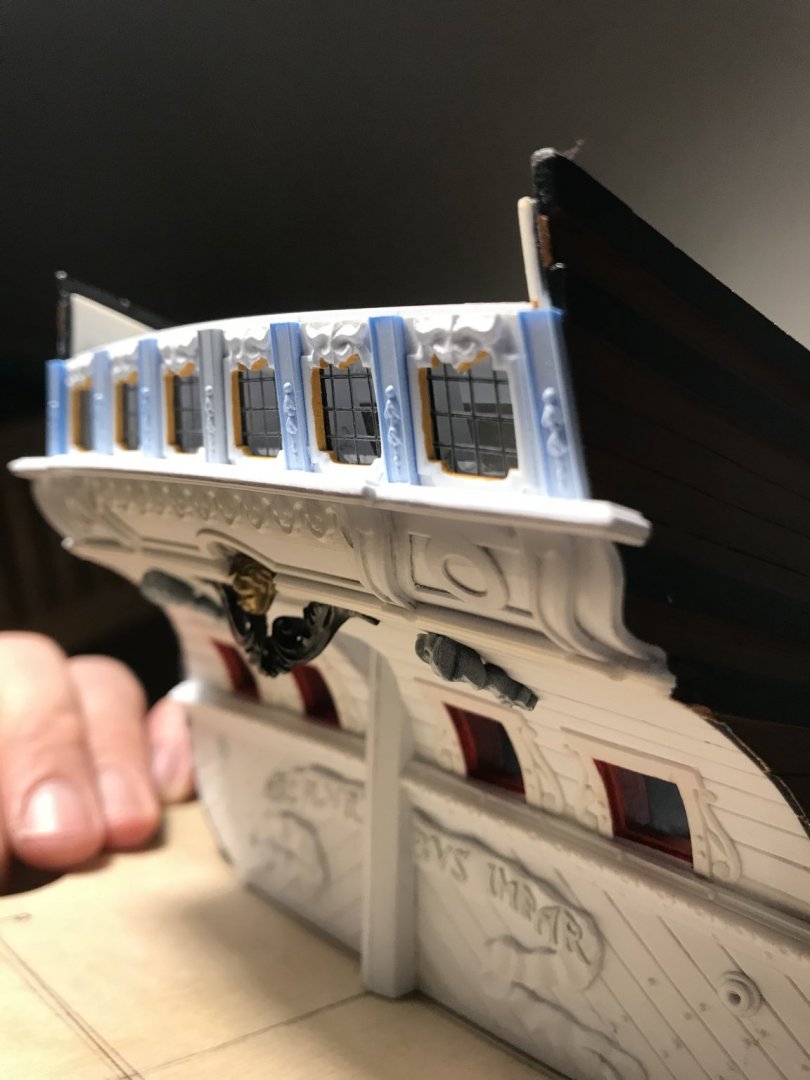
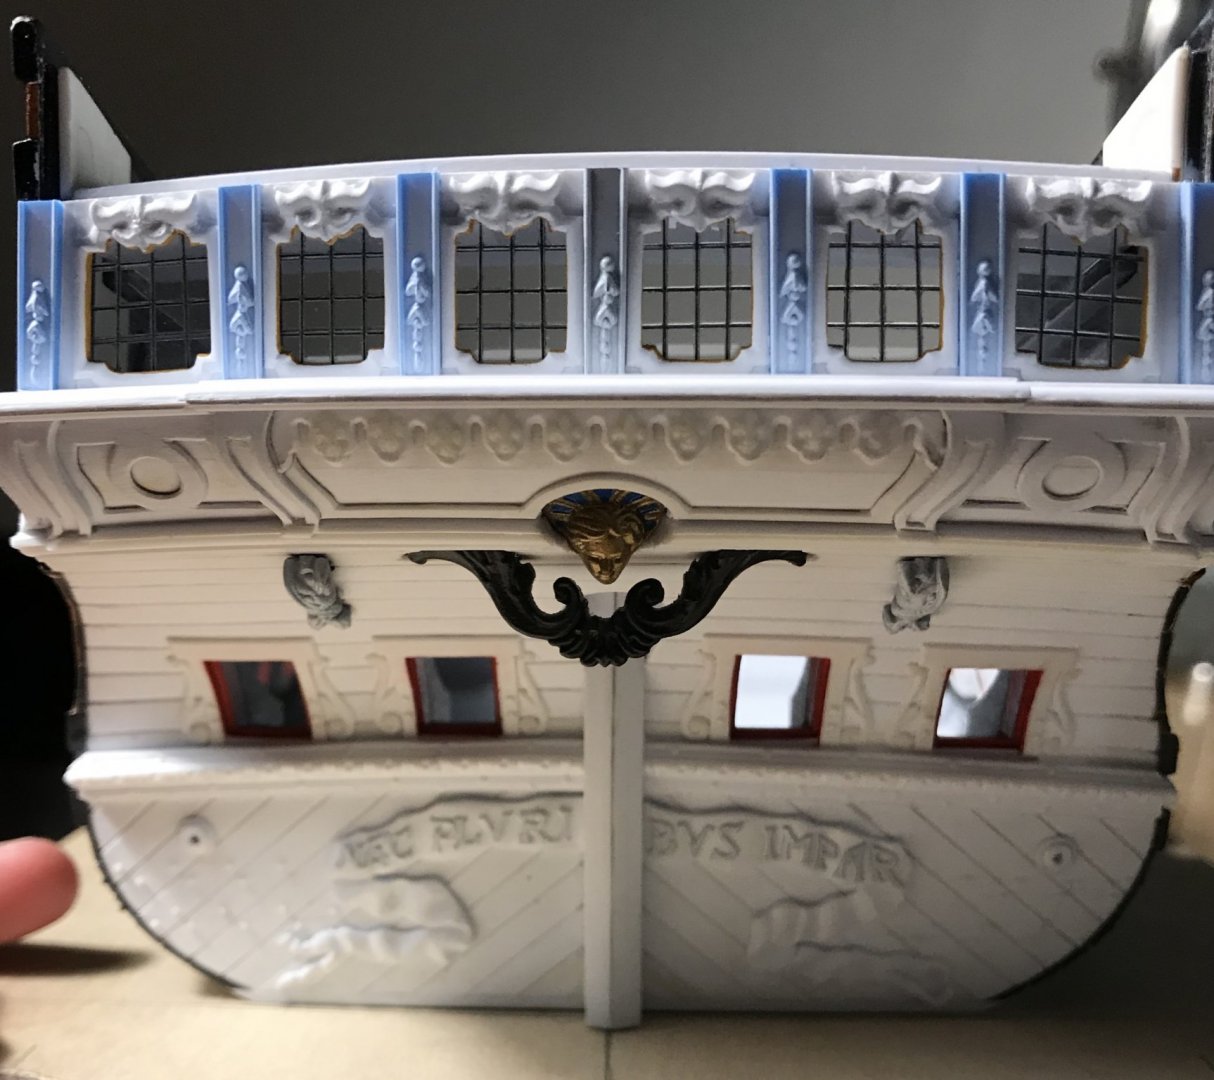
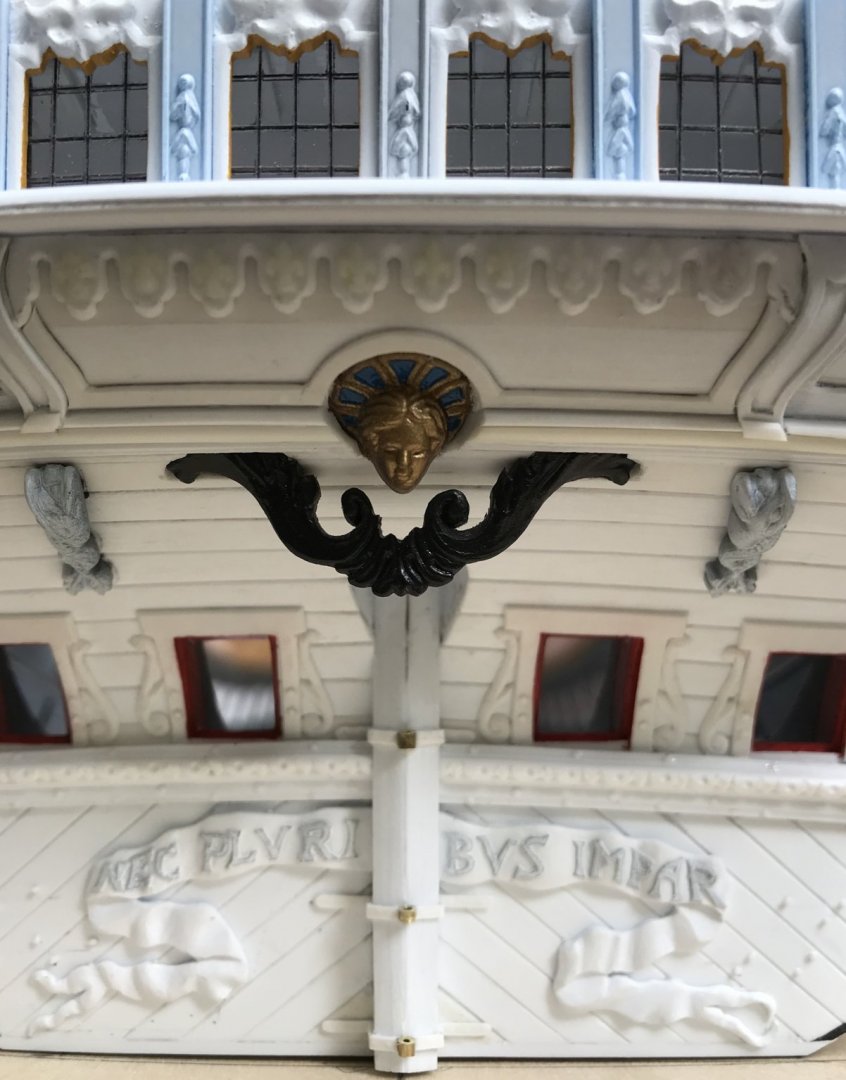
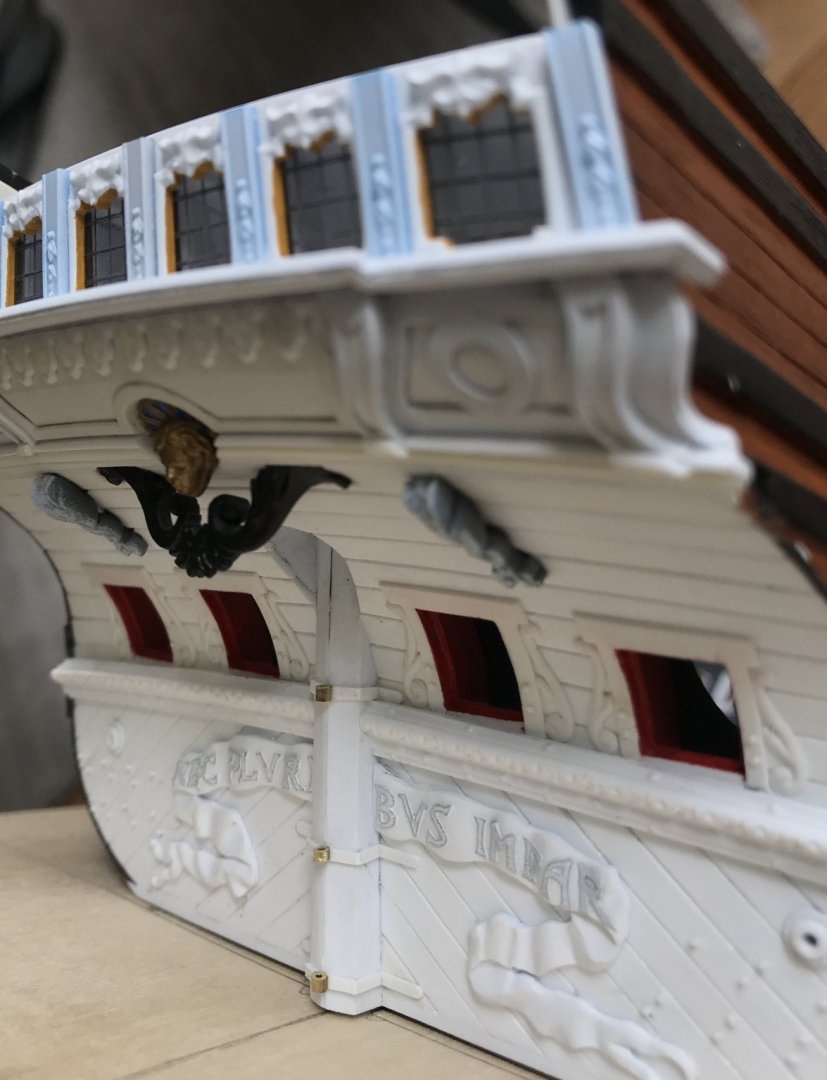
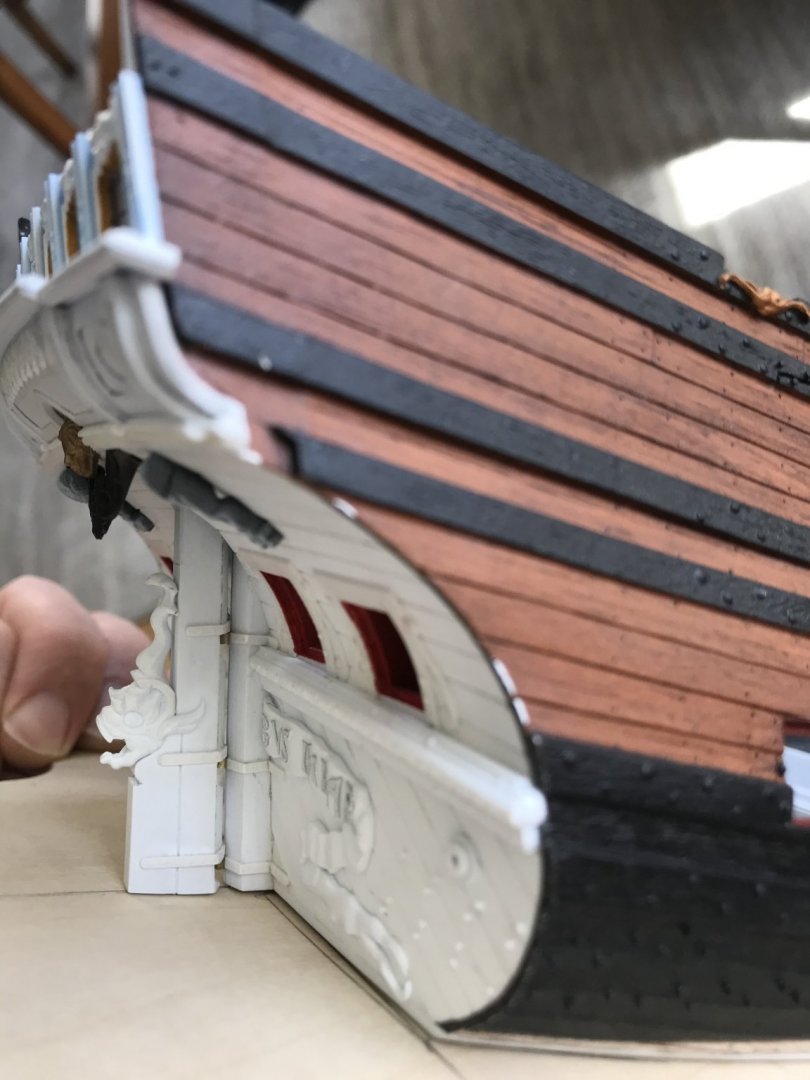
In closing, just a few perspective shots showing all of the work on the stern, to date:

E50689EB-714E-48FF-99F7-40CEAE95A929.jpeg.5661414b44443afca8ec94e709bc7733.jpeg


4A015EEF-2E16-49EE-8769-0150B2544DC8.thumb.jpeg.2280a19b4eebb4b777d14ce68b169a9a.jpeg

This is not a perfect, or exact recreation. The execution is not flawless. Overall, though, the impression and resemblance is quite good. That is what all of these successive layers of detail make possible, and there remain a few small details (rudder hinges, lambrequin tassels, etc), before this section of the model is complete.

More to come…. Thank you for your likes, your comments and for looking in!

CEA157DA-364E-4748-84DA-0BB4071DEA7D.jpeg
 
Last edited:
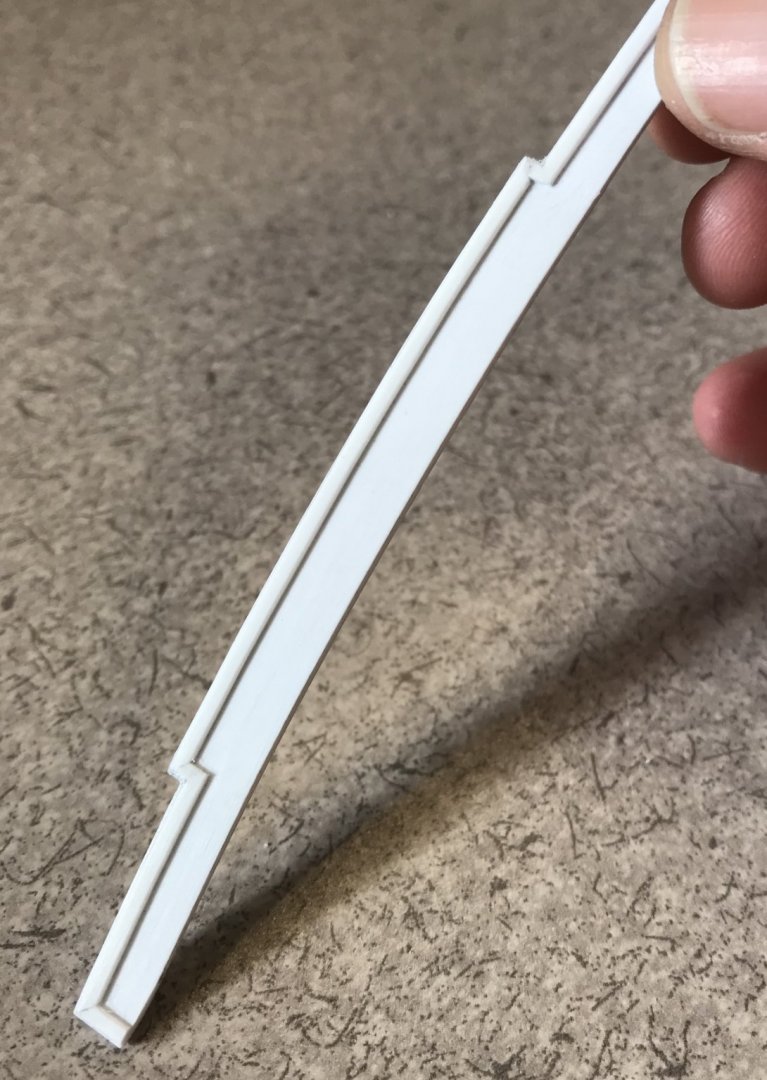
In designing the upper counter moulding/shelf, I began by scribing a piece of styrene to neatly fit the round-up, against the window plate, and I then traced the outline of the counter onto the bottom of this blank.

Ultimately, I settled on an overhang of a light 3/32”, all around. At first, I thought the outline of the shelf should follow the ins and outs of the pilaster bases:

B5372042-D906-4B2E-8280-ECF2451E6DF9.thumb.jpeg.c111721fa0f6e47a84e1479c3df21607.jpeg

But this seemed rather busy, the negative spaces between projections too small, and the overall design seemed to betray Berain’s intent. So, for the outline, I settled upon this:

D7A63F3B-7A20-42FC-9184-7E6F1D144A40.thumb.jpeg.d9151626d41770943b6daf74038b889b.jpeg

After trimming to my lines, I made sure to make a duplicate tracing - just in case I screwed up the moulding process:

05246B65-8094-4A8E-9C0C-2031E924A692.thumb.jpeg.f10ee8ed271900266a2b0f15b6abeb4b.jpeg
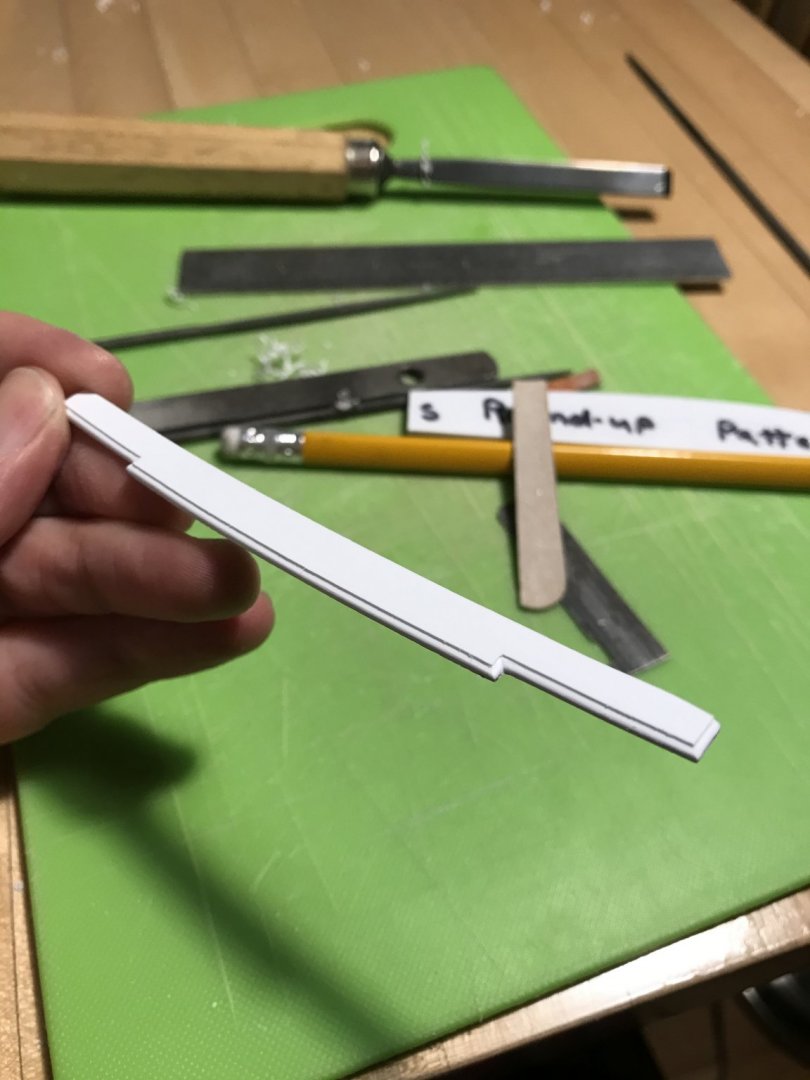
I made a pair of hacksaw profile scrapers; one for the shelf, and one for the secondary lamination, beneath the shelf:

image.thumb.jpg.4b21bef74ef5bc3edb7bc1504d6a7b86.jpg
My first attempt for the shelf scraper produced a profile that was too deep and too flat looking, as seen on this piece of scrap:

image.thumb.jpg.daf677bcad38c20f16af7a2695aee3fa.jpg

So, I reground the profile, and ended up with this:

BAD8BEF0-2635-4C7A-9375-52DF0DD0C798.thumb.jpeg.35bcc605d37c41cbab6f903e4d0c4e5e.jpeg

The scraper gets pretty close into the corners, but you still need to define them with a chisel, afterwards.

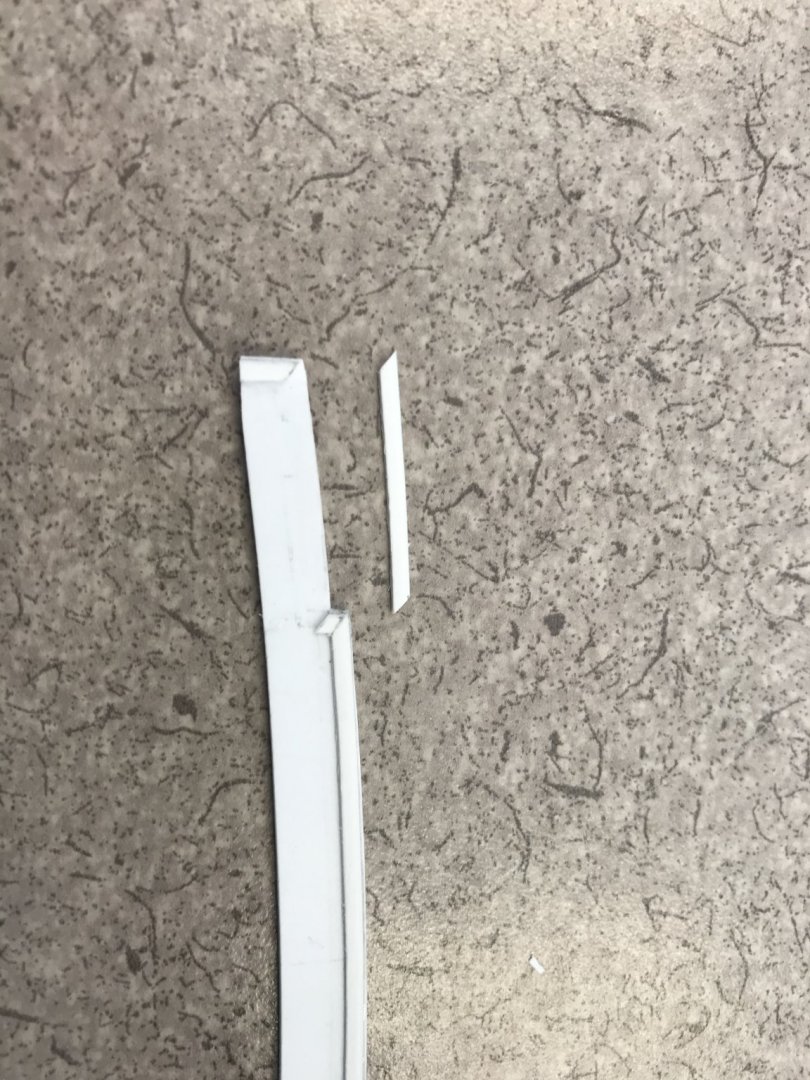
The under-moulding is very narrow, so I first scraped the cove into the straight edge of a larger sheet, and then I “ripped” off the 1/16” that I needed.

Just as I would with full-scale trim, everything is mitered. When dealing with parts so small, I find it easier to tack in the short pieces, over-long, and then fit the long pieces to them.
Miters are first cut into the long pieces and then traced directly onto the shorts for perfectly mating joints:

5EAE7DC5-2670-4634-8BA1-0297DBB665D2.thumb.jpeg.ab4789e43af3e591a419c7f87ef8641d.jpeg

31699412-9668-4813-9C6B-67926DB5A14F.thumb.jpeg.175b8c84aa76b97b42c2156d4b20e72b.jpeg

47ECDF0E-E52C-4DDD-A4E0-2E5CEEABFCAE.thumb.jpeg.061edebfd83691b827bba293fc38b35e.jpeg

CD1859CD-82C3-43B3-86CA-7FD02A4B7A08.thumb.jpeg.c55833b5ddb17c137a3d7df2f983b954.jpeg
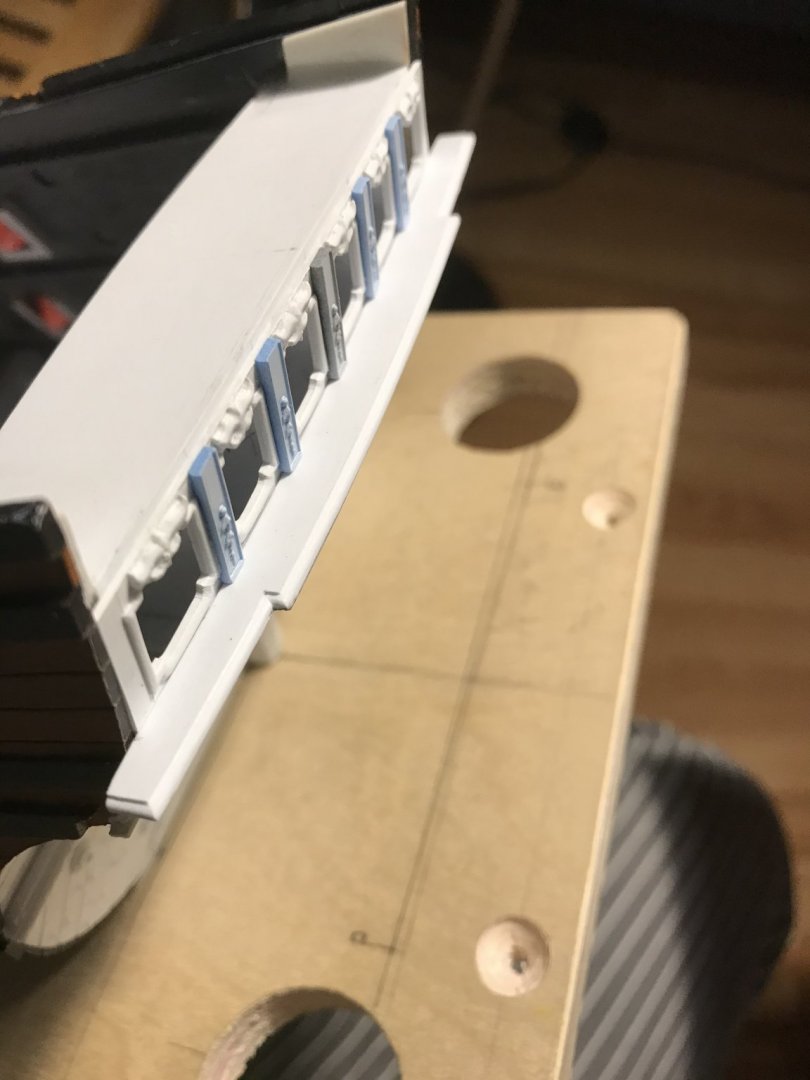
Here is how that looks on the model, from a variety of angles:

1F13C116-3EA5-49DD-8C89-6632C274F88C.thumb.jpeg.a3b39ed4e38ab6e04dd36711a2a1a170.jpeg

748D4CB2-6D8F-4B99-8519-4C278B81BB57.thumb.jpeg.ff93422465b8721d2def67c77df7370b.jpeg

DA39A99F-0C35-4C70-AD8E-1F719B2D4351.thumb.jpeg.f52b91afe4d7d441e894ac12b21662f3.jpeg

2C48987F-D21D-4196-89F3-266A61F188C1.thumb.jpeg.b709730ba4ef4093d0fa733fa619f561.jpeg

B1C22A2C-F7B0-4230-8321-138764A0D381.thumb.jpeg.1c655ae87f42a6eff52bbbe99fc3f9eb.jpeg

To answer EJ’s question from an earlier post, I can now see that there will be ample air space behind even the side figures, so I will definitely be including the pilasters.

At the moment, I am working out the fixation of the window panes, so that I can paint the window openings yellow ocher, and then secure the window plate and upper transom moulding in place.

Thank you all for your interest!
 
Thank you Jim, and Ziggy!

Scrapers are something I just learned from Dan Pariser. It is surprisingly easy to do with Dremel grinding wheels, and even the mediocre needle files I possess.

I have tried, in the past, to upload phone video to Model Ship World, with zero success. I could not seem to reduce the file size, so that they would load. Not even breaking the 10 minute video down into two minute segments seemed to work.

I’ve noticed that Andre Kudin seems to post his content on YouTube, with a hot-button link. Maybe that’s the answer.

I could do a photo tutorial worth thousands of words, but video would be worth millions of words. I have to make a number of additional profile scrapers for this project, so there will be ample opportunity for a tutorial.

If anyone out there has advice on posting video content, I’d sure like to hear it.
Hello Mark, Andrey posted just a hyperlink to his uploaded Youtube videos. If you have already in possession youtube Videos is just a matter of posting a link (see below tutorial)


However, if you don't have video in-hand, no worries. A picture tutorial will definitely do, we will absolutely appreciate it! Many thanks in advance!
 
So, as I try to close this chapter of the build, I got busy tying up a few if the loose ends.

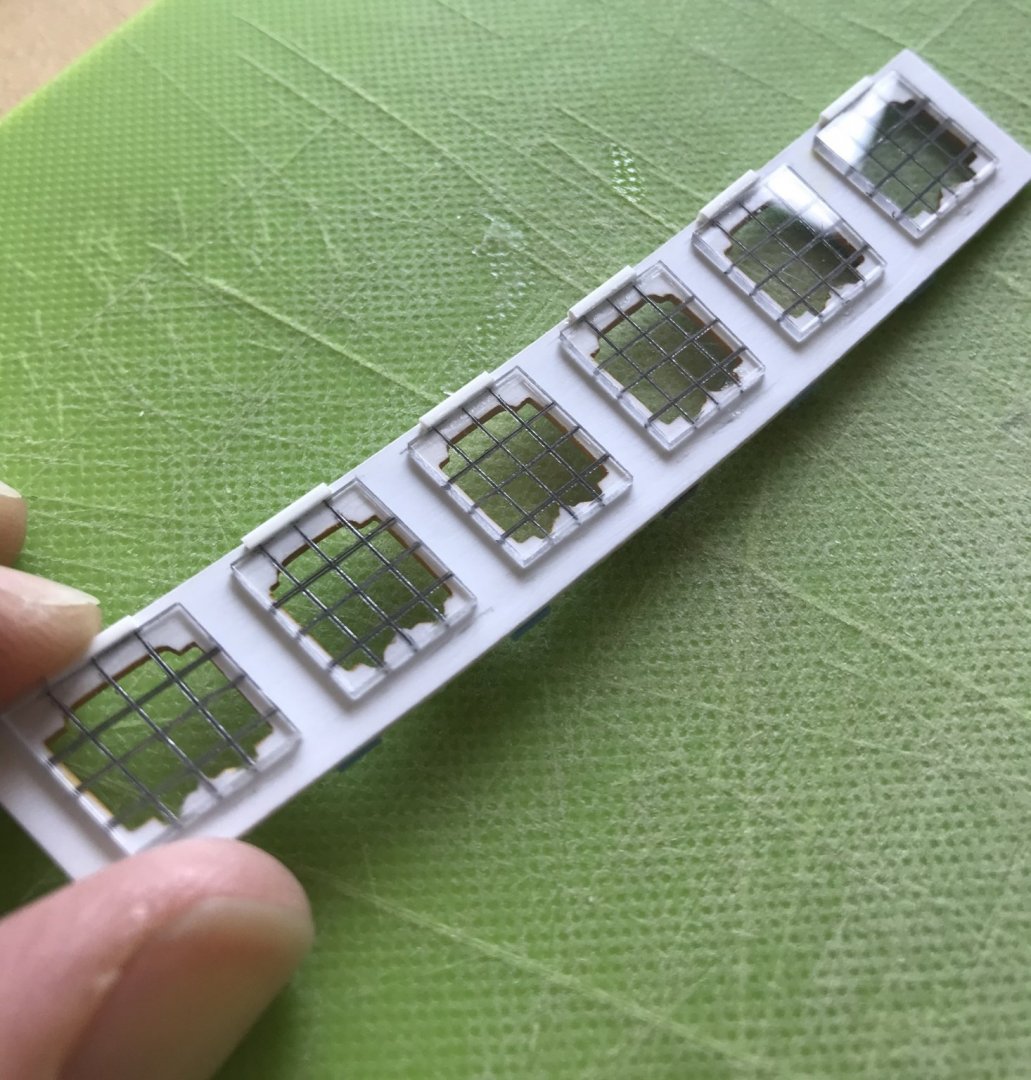
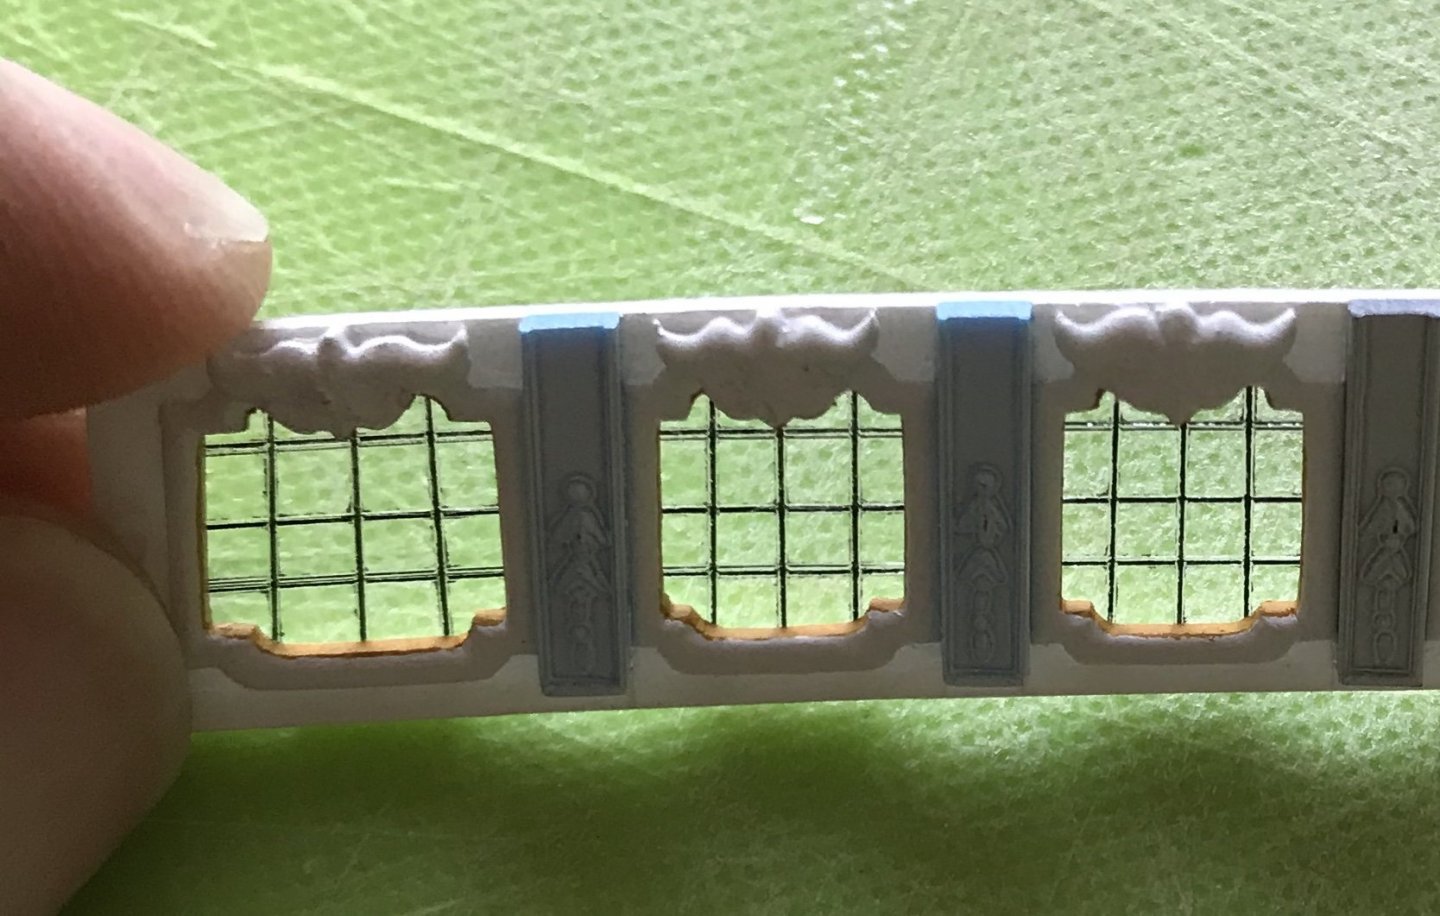
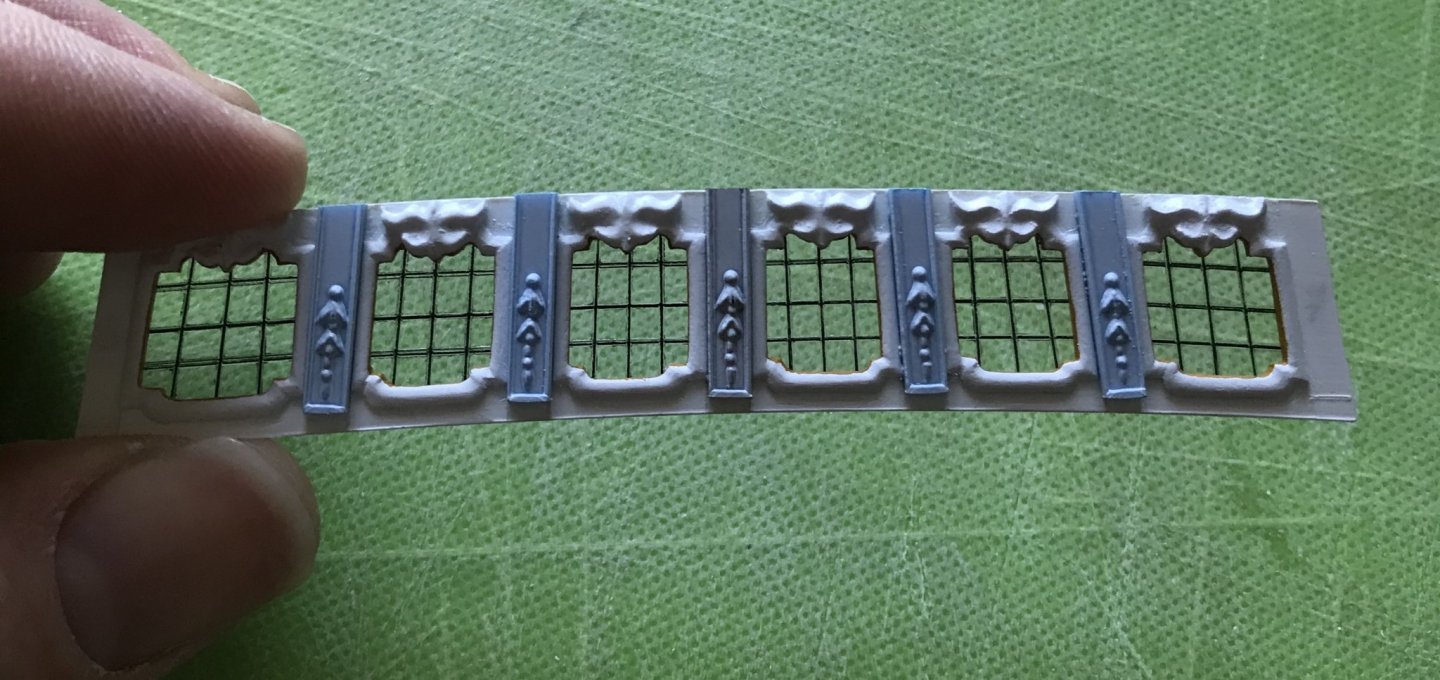
In preparation for securing the window plate, I thought it would be helpful to do a few things, in advance. Rather than attempt to paint the inner lip of the window frames with the glass in place, I pre-painted this inner reveal.

I have come to realize that the artists’ acrylics I used for the deadworks are exceedingly fragile, and so - going forward, I will use purpose-made model acrylics wherever possible.

To that end, I mixed a Tamiya primary yellow with a medium brown Tamiya shade until I was satisfied with my resulting yellow ocher color. I mixed brown, drop by drop, into the yellow bottle, so that I will have enough ocher to paint everything on the model, without having to re-mix and try and match shades.

Following Druxey’s advice, acetate sheet was scribed with a sharp knife and medium-grey acrylic was wiped into the lines. This was all reasonably straight-forward, and produced excellent results.

My initial plan was to glue-in L-angle styrene strip, to the vertical bulkheads, and a ledge strip to the inner bottom edge of the window plate, so that the individual panes would be housed and well supported, but floating. I quickly realized, though, that the positioning of the mullions, relative to the window opening will not always be ideal, if the loose pane shifts from side to side.

With that in mind, I took a spare test pane (one of the QG side lights that I botched during the engraving process), and test-tacked it to styrene strip, with medium viscosity CA. It did not result in the dreaded cyano blush.

With the success of that experiment, I decided to apply CA along the inner crease of the bottom ledge and one small tack dot of CA in the top center of each pane (behind what is the ornamental cartouche, on the exterior). This all worked out neatly enough:

F9FA95CE-11DE-48C4-9E1A-C3FDDF1544F3.thumb.jpeg.c8e1939c53362b1c910e96757bc03cfd.jpeg

78C2A7C2-80FC-4BB0-8C0E-32B45F99838D.thumb.jpeg.af11b777ebaccb6b053dace64160a1b4.jpeg

B4020287-8964-4785-8428-B666C10F191B.thumb.jpeg.f0f53857d4f022ca8cb3fa5629a046bd.jpeg

In hindsight, because the vertical bulkheads are relatively deep, it would have been beneficial if I had painted their sides flat black before fitting them to the model.

Unfortunately, I did not do so, and the perfectionist in me refuses to make a gloppy mess of black paint work, after the bulkheads were fixed in place; access, here, is severely limited.

In compromise, I decided to blacken the visible surfaces of the L-Angle, since there would not be any glue applied there. In the following picture, I have blacked-in half of the supports:

B9E812BB-563E-4CD7-9AC2-5B51C72F79B9.thumb.jpeg.4228d82bc6d9f78a31f5c65e8de43f3d.jpeg

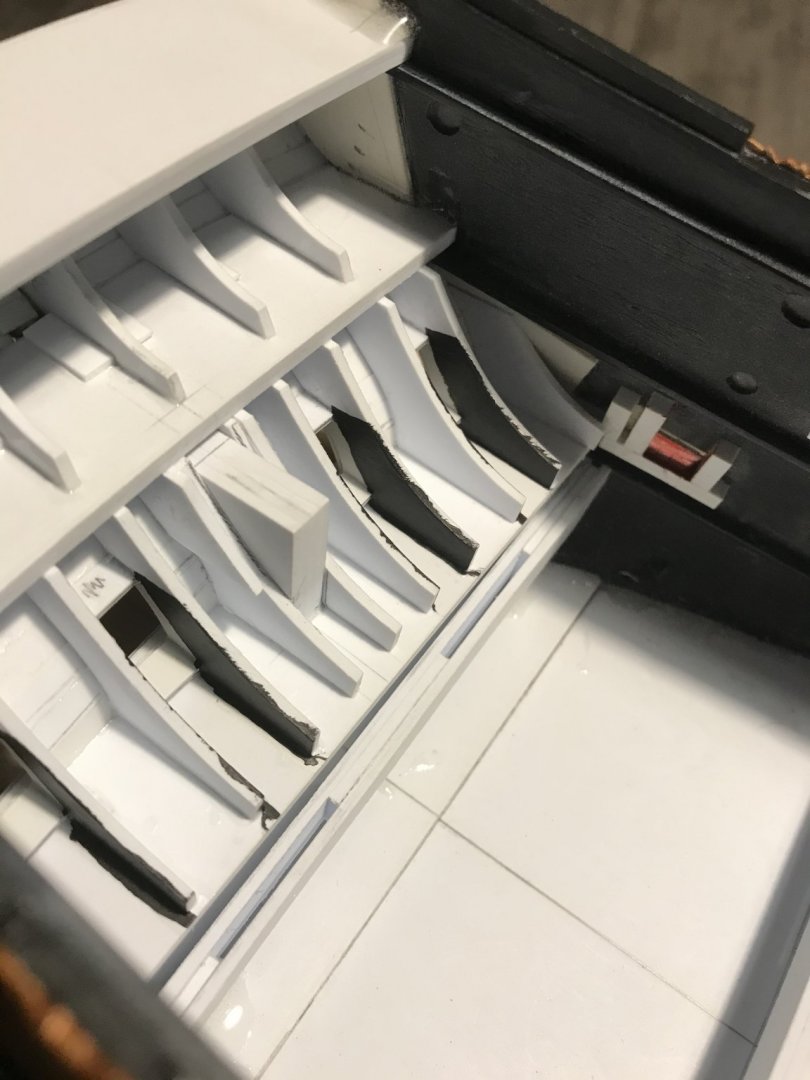
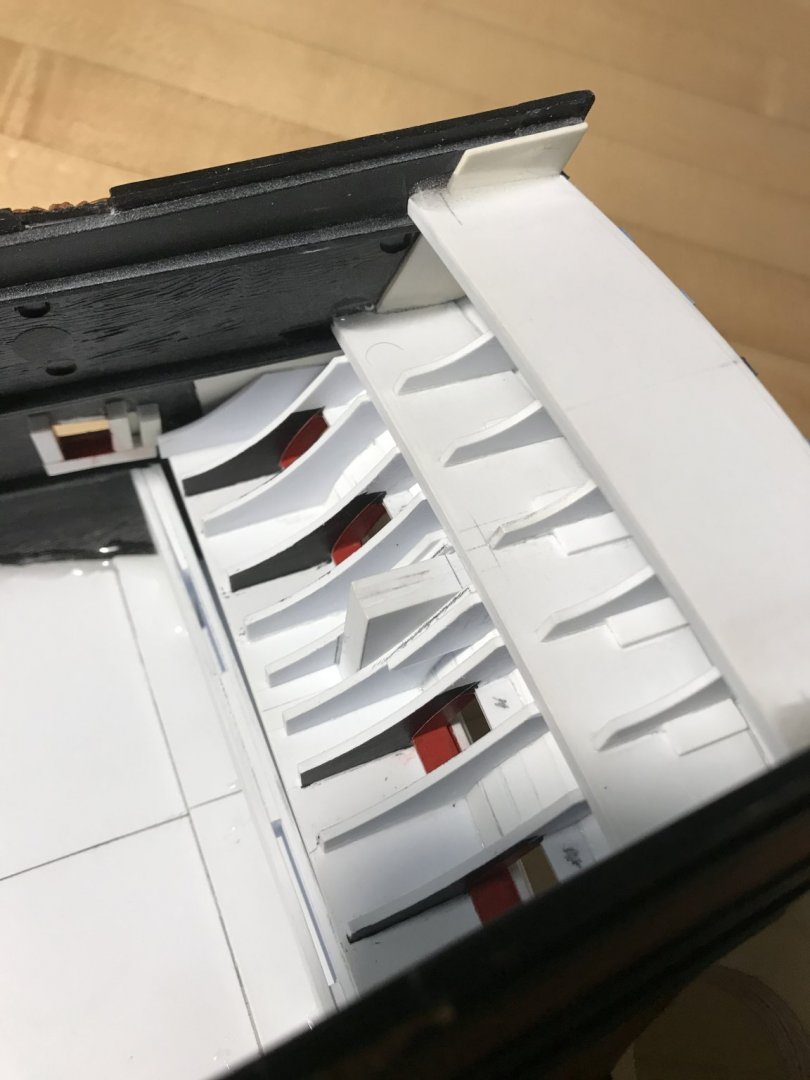
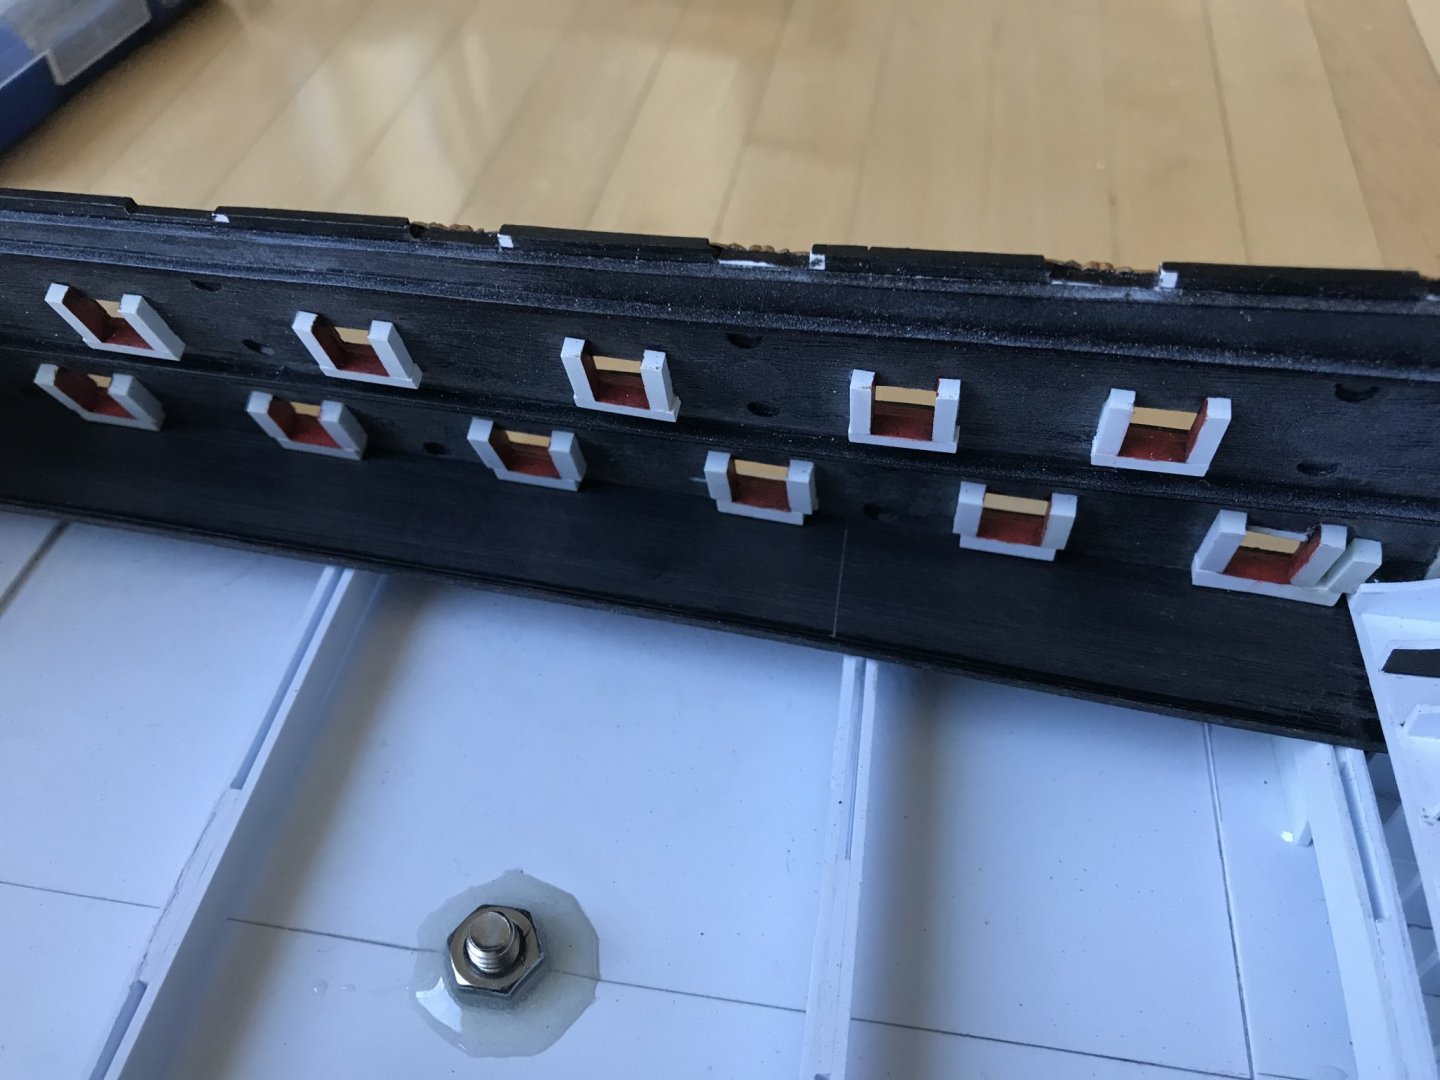
On the other hand, I refused to compromise on simulating with paint, the impression of hull depth for the stern chase ports. Access, here, is limited, but a little better.

After brush priming this area, as well as the port linings with ModelMaster flat white - which laid-down beautifully, BTW, and allayed my concerns about brush-priming the stern - I blacked-in the inner bulkhead surfaces, but not completely. I left most of what I wanted to show as red-ocher, in primer white. The blacking was merely approximate and done by eye.

AB4EB842-44B2-4A50-A814-08C9458F1B2D.thumb.jpeg.6c95c0e86e90c397ad13aeeadddee1d4.jpeg

Knowing that I would be doing this, I had saved the bulkhead pattern and now used it to cut four sets of opposed masks that created a parallel line with the profile of the transom.

This was very fiddly and could only be accomplished with tweezers and a palate knife to finesse the tape into position. Once satisfied and the tape edges burnished, I applied some clear dull-coat to the seam, in order to prevent any annoying bleed into the black.

In hindsight, I could have made these reveals a little thinner, but the impression is still good, and at least the depth is consistent from one port to the next:

D1D8EF53-3695-4835-AB8E-B1BAFE89DDD9.thumb.jpeg.512faa59d83fb538a02673aa7a269d69.jpeg

41962357-3E56-49CD-BC1B-A5050E2667BB.thumb.jpeg.5d9a4ff7d06efe7feca6cfd8c9fbd03e.jpeg

I scraped away any ugly black paint over-brushing, just to quiet the voices in my head.

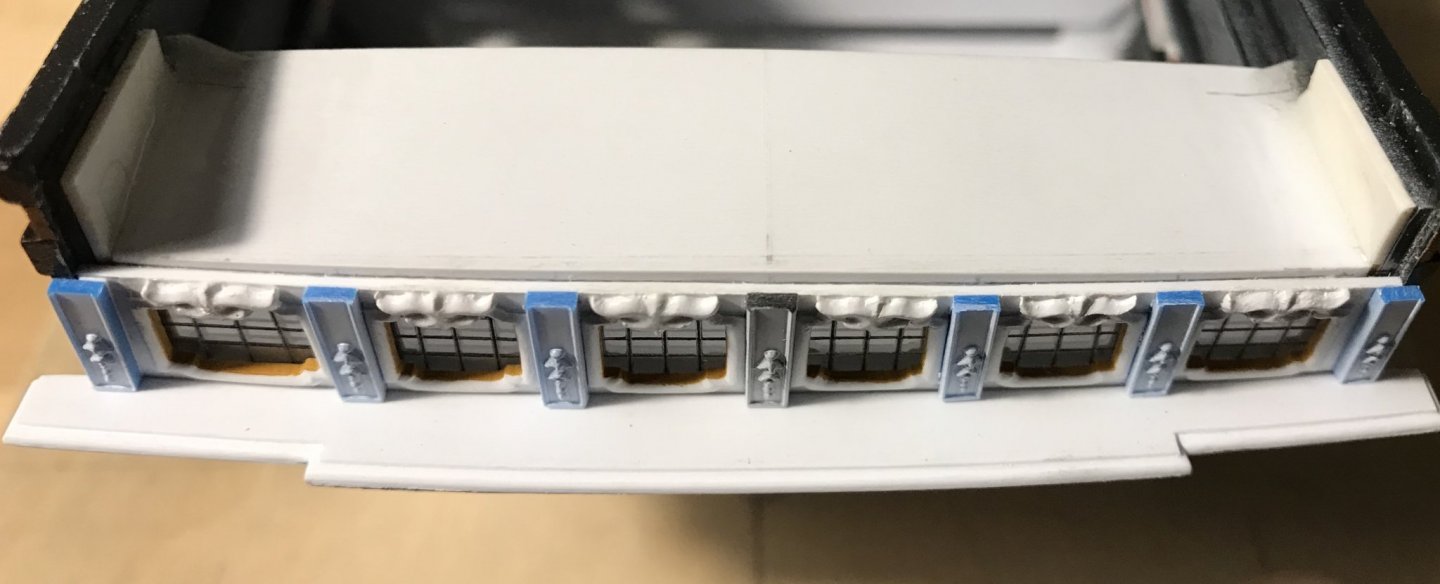
And, finally, I glued in the window plate, the top transom moulding and the side pilasters:

5F0EA333-A01E-40C5-A445-641BDCCC72F1.thumb.jpeg.5b1b4928f81ca83d6a01ef52014cd749.jpeg

DD2842F7-CEB7-487A-9F54-8A17BD8E8F8F.thumb.jpeg.66d3f132391d94012546d24abb5383aa.jpeg

E6481B4C-4DAF-41FF-B351-470D5FEBD811.thumb.jpeg.6a3e142f71c7b0beb102d80b32c9cdd4.jpeg

I discovered, after doing so, that I had made a mistake in trimming the pilaster tops flush with the window plate; the mistake is that I had failed to accommodate the raking angle of the stern, so I will eventually have to fill a gap between each of the pilaster tops and the wrapping stern balcony above them. This, of course, is the beauty of plastic - I can make this edit fairly easily by splicing-in plastic shims.
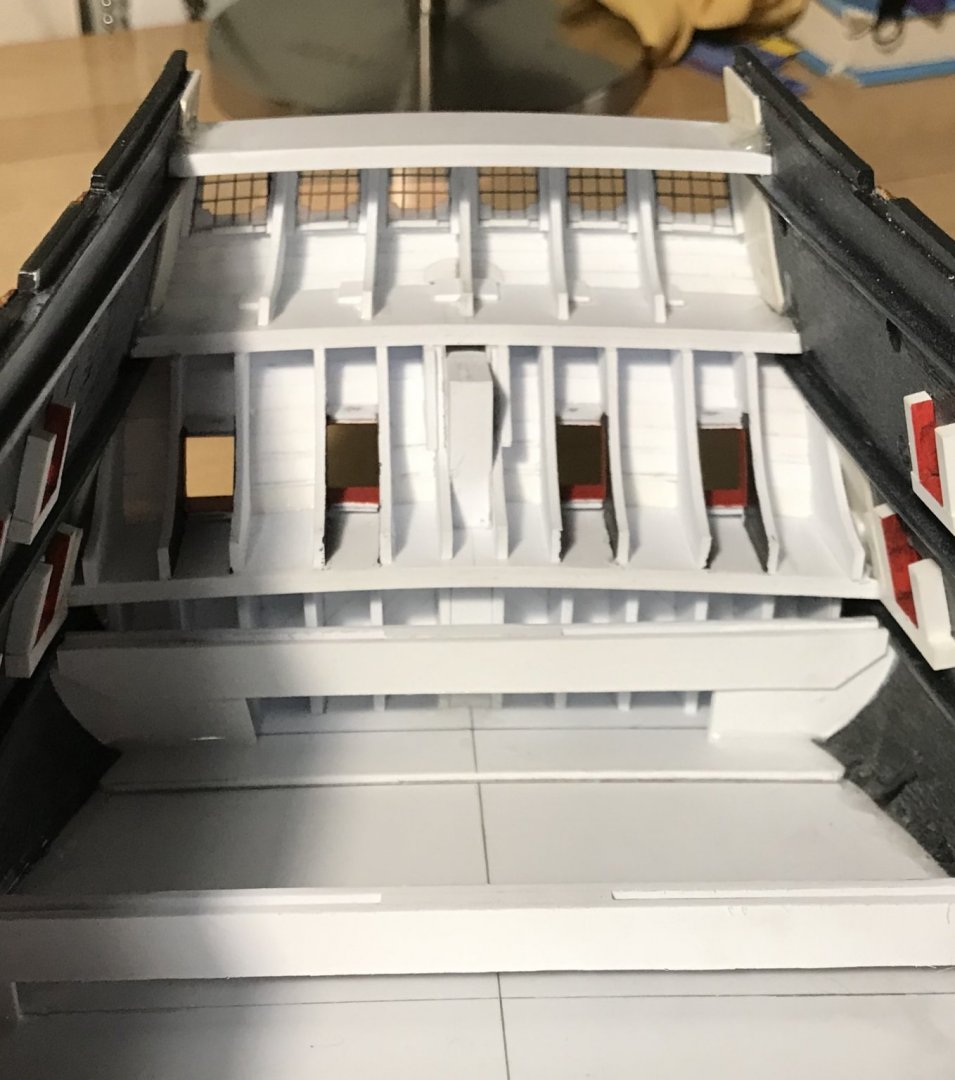
One last shot of the transom interior, showing all of the interior structure:

9853B845-542A-45C9-B375-9339FE7789AB.thumb.jpeg.4d7e36127882fff93378660de021e225.jpeg

I gave the model a good dusting, as I will bring it to our club meeting tonight; I was astonished at how much plastic dust had accumulated, so far. I’ll have to be more mindful of that, now, as these windows will soon be completely inaccessible.

As ever, thank you for looking in, your likes and your comments. It is all very much appreciated.
 
Wonderful Work - just amazing what you are able to produce with styrene - magic Thumbsup
BTW: I know in principle this kind of material - when I was a student I made architecture-models out of this material in order to earn money....... but definitely not comparable to your amazing work
 
It seems as though the smallest of details have been taking the longest time to get in order. The only benefit of the Pandemic has been time, and I have been using a lot of that time to create rudder hinges.
I thought I had done a better job of photographing this whole process, but I did not. So, somewhat out of sequence, I will try to illustrate what I did.

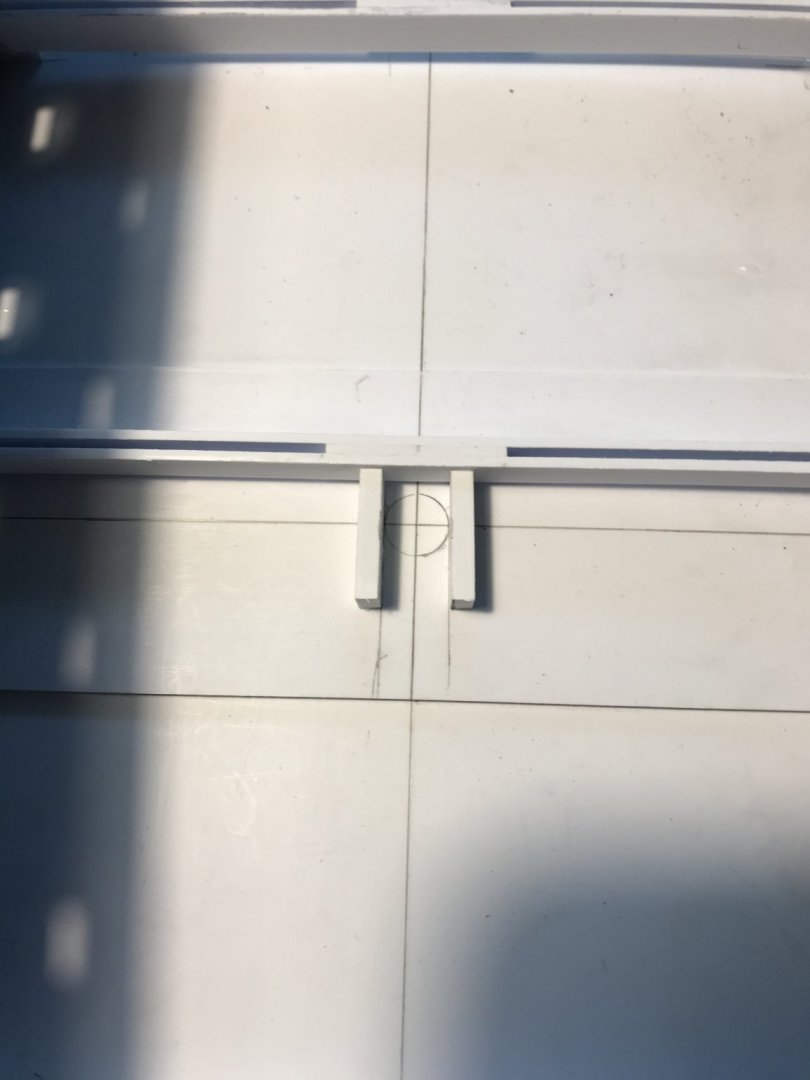
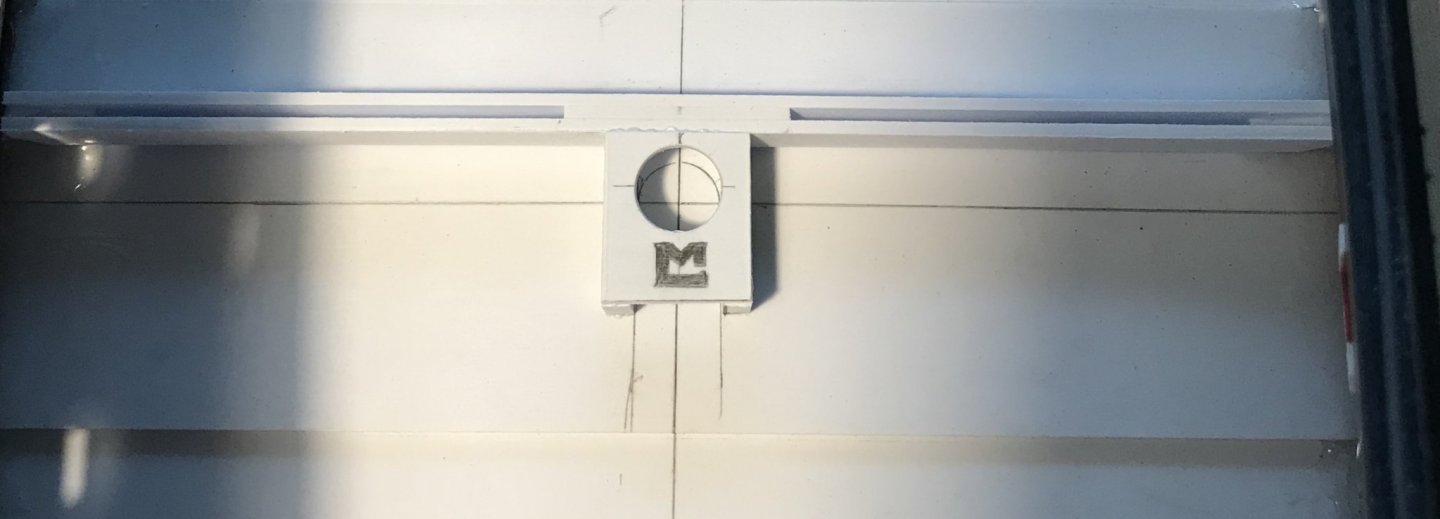
The layout for the hinges is determined by the reasonable available spaces on the lower transom. The best contemporary portraits and models I can find, show 3-4 hinges above the waterline. Here is a picture that shows the layout I arrived at, albeit a little further along in the process:
45E215BD-D175-4D7F-AED2-4D245706F92E.thumb.jpeg.a45476e68ab51fa4267c7709f1ebdf9f.jpeg

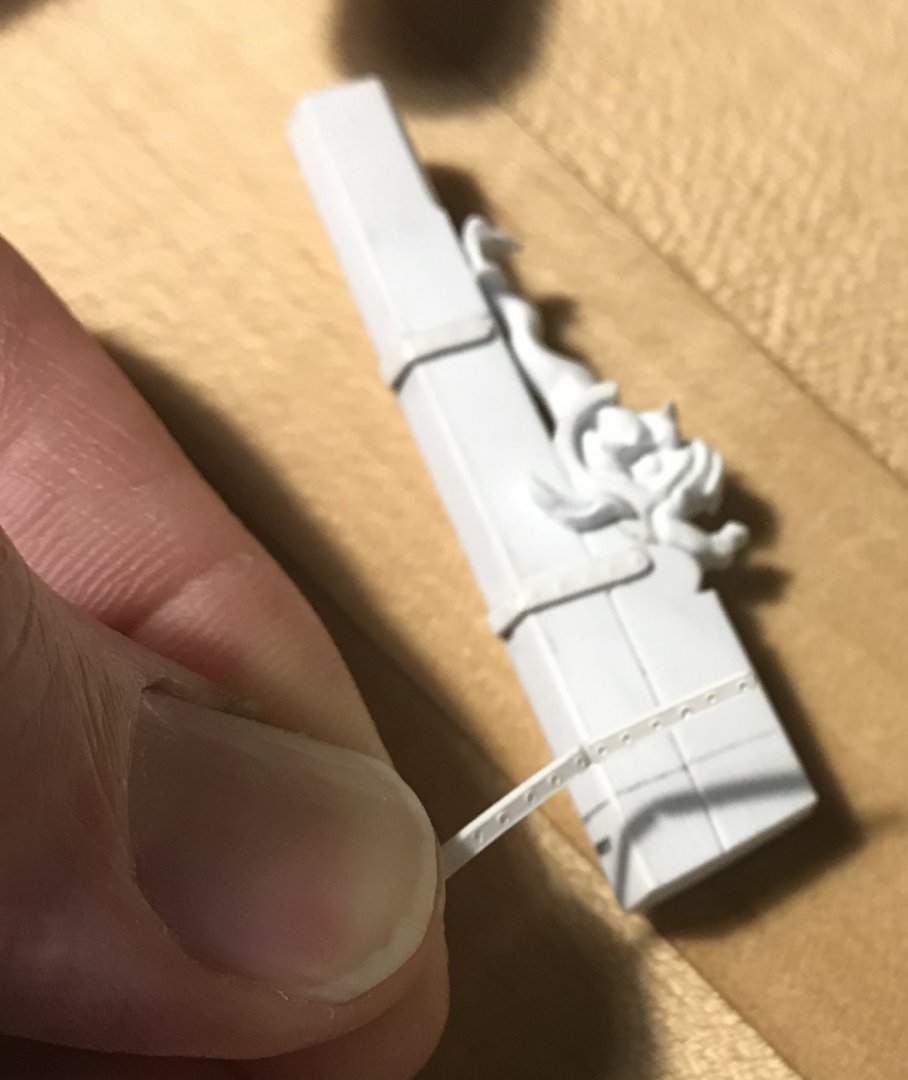
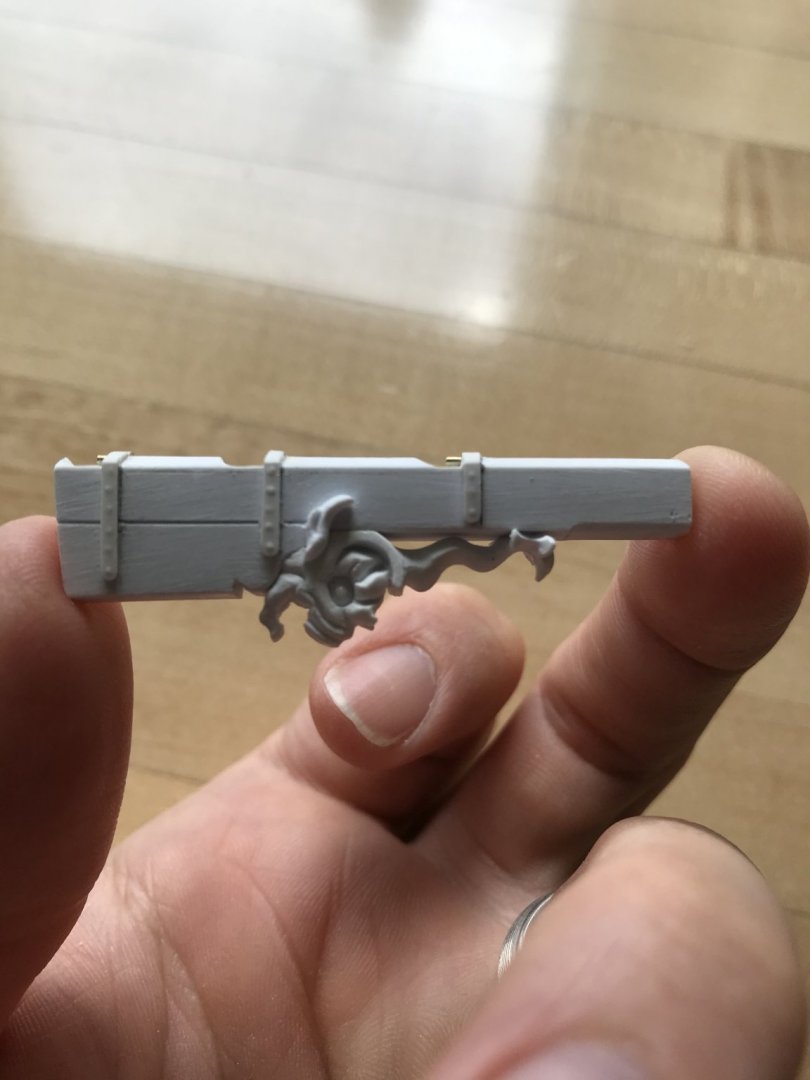
What I failed to take pictures of was the marking out and making of pin impressions into the back of 3/64” wide styrene strip that make up the strap stock for the hinges. The strips are first scored, but not cut through; because they remain attached to the bigger styrene sheet, it is much easier to make your pin impressions, while using a steel ruler as your guide for spacing. Once you are satisfied with the outside appearance of nail heads, you can cut through the strip. It’s a good idea to true the styrene sheet edge with a file, before making the next strip, as the pin impression process sometimes deforms the edge.

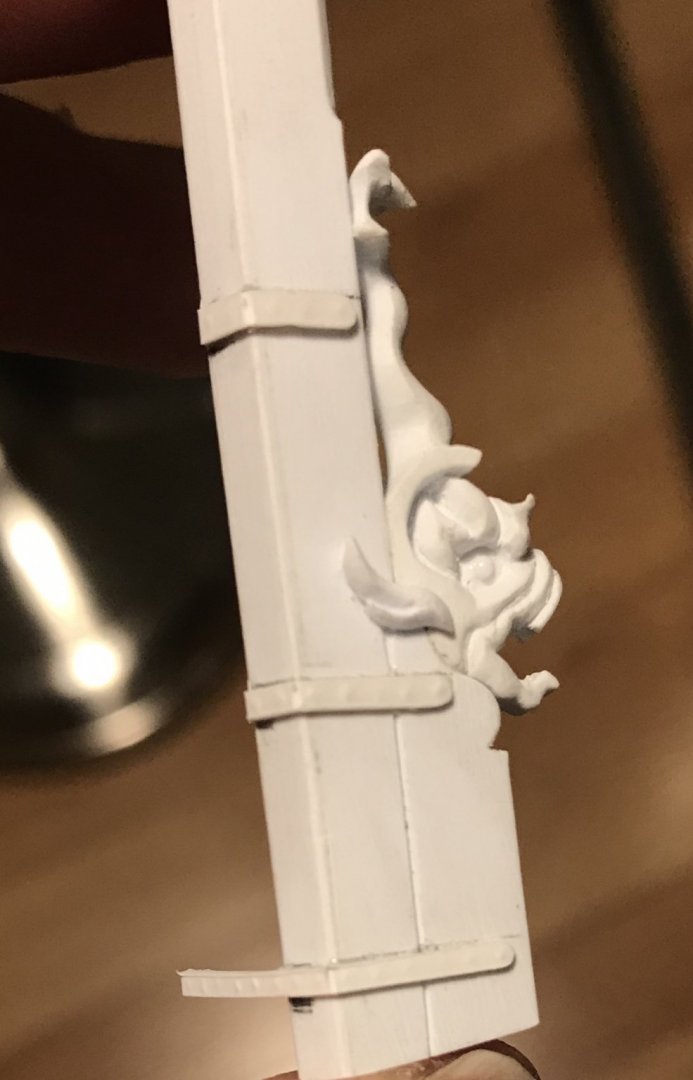
On the lower transom, these straps had to be applied in two segments to either side of the stern post; I couldn’t make a 90 degree bend without snapping the thin strap stock. So short strap ends were first glued to the transom surface, taking care to round the ends into a pleasing shape.

The segment that joins the first and wraps around the stern post, toward the stern post centerline was eased around the corner after first filing a V-notch into the back of the strapping material. Here’s a shot of that same process to the rudder head:

86E8ACDE-FAB0-4051-8714-5F0E5D9D58E5.thumb.jpeg.5884d81432e82f1d8c2ed58cebcaca07.jpeg

A4DCB6A6-DFEE-4DCB-B771-67F1A40C6FAB.thumb.jpeg.ad410e8b19c61afd72b7ad9286005c1a.jpeg

I then filed semi-circular accommodations, at the very center of the stern post for the gudgeons. These were cut from 1/16” brass tubing that BLICK art supply sells as a bag of random odds and ends of mostly brass, but some aluminum.

While my execution of the following didn’t turn out absolutely perfectly, I thought the easiest way to make such small hinge knuckles would be the following.

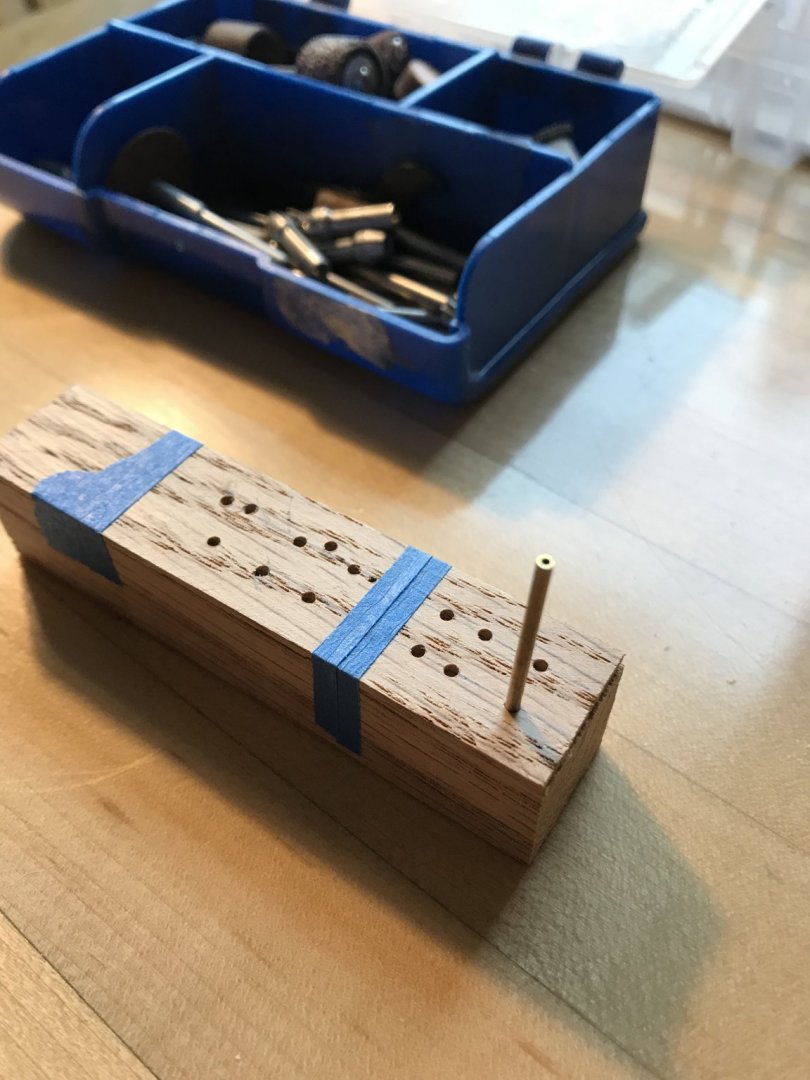
Because it is what I had at hand, I ripped some red oak into a 1/16” veneer and a backing block.
I then drilled 1/16” holes in a straight line, through to the backing block. Oak is not ideal for this because the open grain has a tendency to pull the bit off-track. So, I drilled plenty of holes, until I had 6 that were satisfactory. Maple or birch would be ideal.

8141D066-693C-4896-9519-5CFBDE5FBB93.thumb.jpeg.aec17b87cffa861044b26d702bf2ea64.jpeg

E69BF670-C4FA-44E3-9F10-73A1C4B236DD.thumb.jpeg.d35607ebce8166ab31b9a04be2b5ade4.jpeg

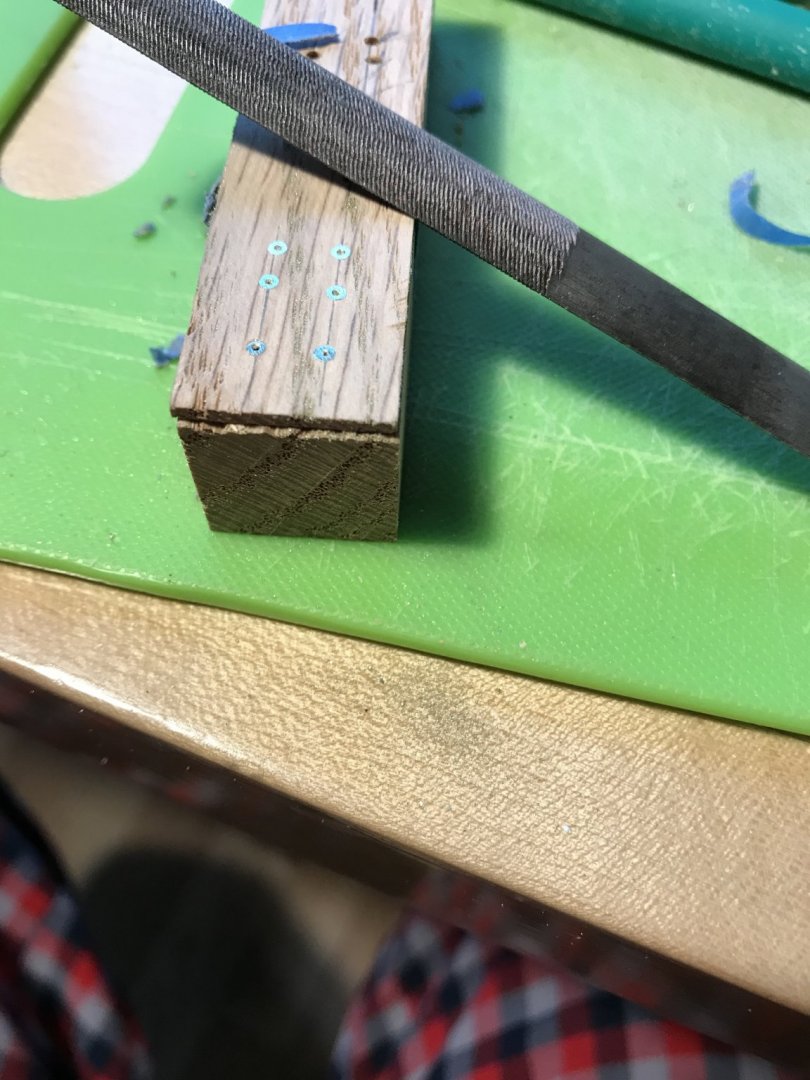
I then inserted my brass tubing into a hole and used a DREMEL grinding wheel to cut just above the wood surface.

I then used a file to make them flush with the wood surface (hardwood a plus here), and uniform. If I were to do it over again, I would ensure that I had definitely seated the brass rod against the wooden backer block before trimming; as it happens, what I used for the middle hinge knuckle was a shy 1/64” thinner than the others because the rod hung up in the hole, while filing. I ended up using it, anyway, because I wasn’t going to insert a pintle into the middle knuckle. Doing so would have made aligning the whole assembly unnecessarily complicated. From the angle this detail could possibly be viewed, the small gap is invisible.

Making of the pintles should have been relatively straight-forward. The basic plan was to cyano appropriate brass rod into two of the remaining three knuckle segments. I could have made my life easier, if I had fitted the completed pintle assembly to the rudder head before applying the straps. The reason I did not do that was because I wanted to be absolutely certain of where to mark and cut into the rudder for the pintle reliefs. With the straps in place, though, I was compelled to bore-out circular openings for the pintles that would he housed by the straps. Access for doing so is limited by the shape of the pintle reliefs. I hope that makes sense.

Here are some pictures:

098BFD29-163C-4848-AFAC-FC9177F5A864.thumb.jpeg.b29a7e8cabad8b3ad7c0751cf9c98fb3.jpeg
9EB7EC1E-AB99-4A52-A716-60FC23438D10.thumb.jpeg.339261373ee4359967f4d01123acb8b3.jpeg

09E5D0CD-9510-4674-8774-3CB4A1DEC63B.thumb.jpeg.e8f8571622f17ede2acd03036bad0c9d.jpeg

the rudder is actually somewhat functional; it’s port-to-starboard arc is restricted, somewhat, by the jaumier opening. This is a static display model, however, so I am happy enough that everything lines up.

In other news, I’ve been experimenting with Liquitex Extra Heavy gel medium to brush in the tassel reliefs for the lambrequin carving:

DAACECED-AF0F-4487-BE59-A476B6B83588.jpeg.30fb74324a572368e30da05ac6231b43.jpeg


Liquitex is definitely the right medium for this sort of very low relief, however, my current stable of brushes is not fine enough, or up to the task. I will continue my experiments with other brushes.

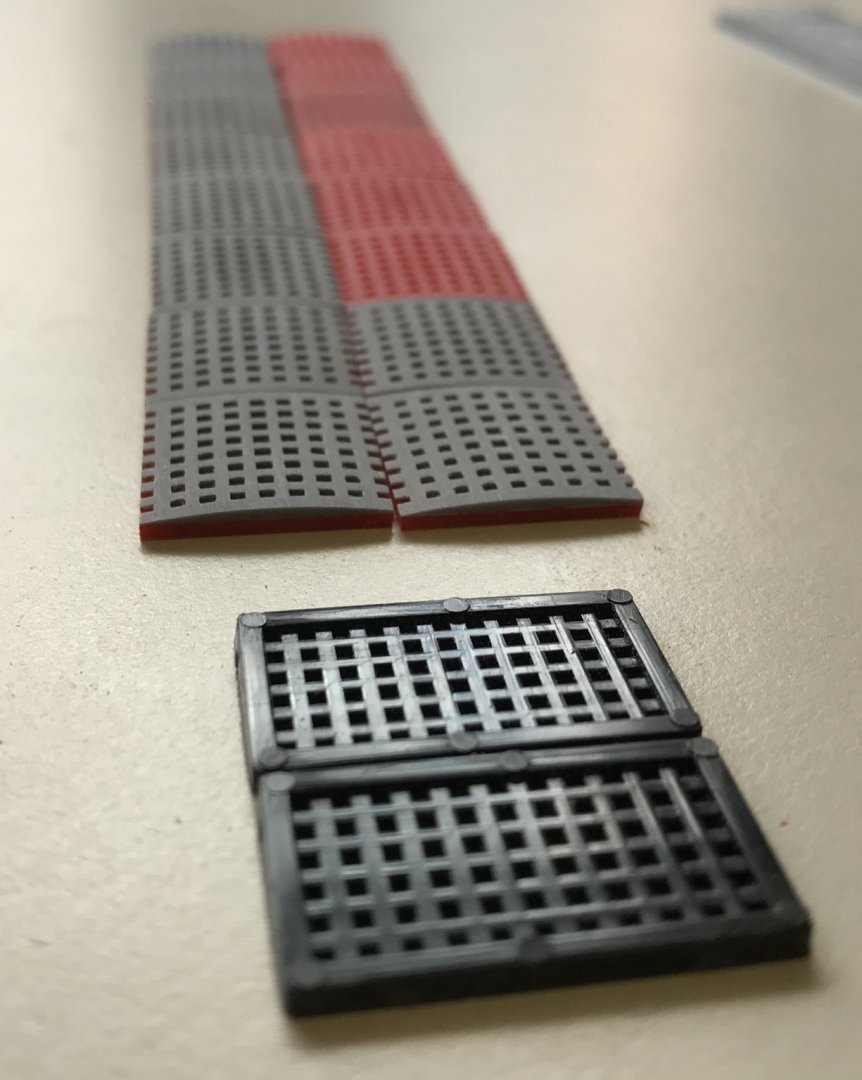
Work on the gratings continues, and eventually Henry’s extras will complete the complement.
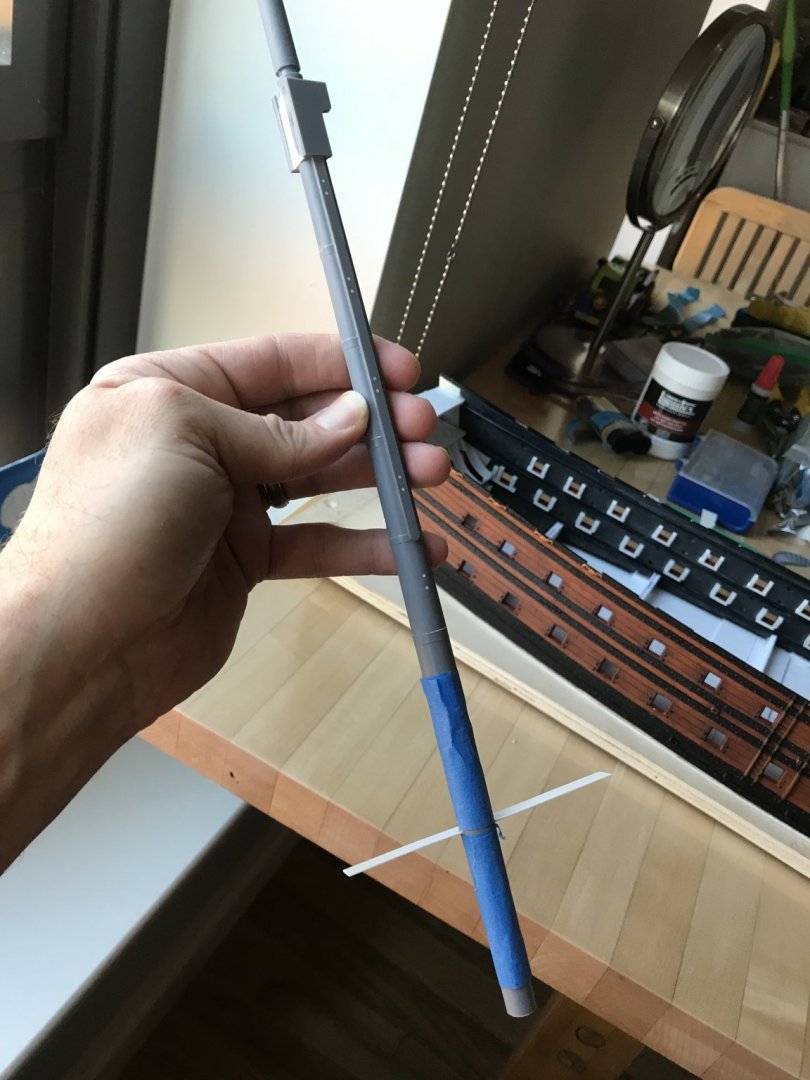
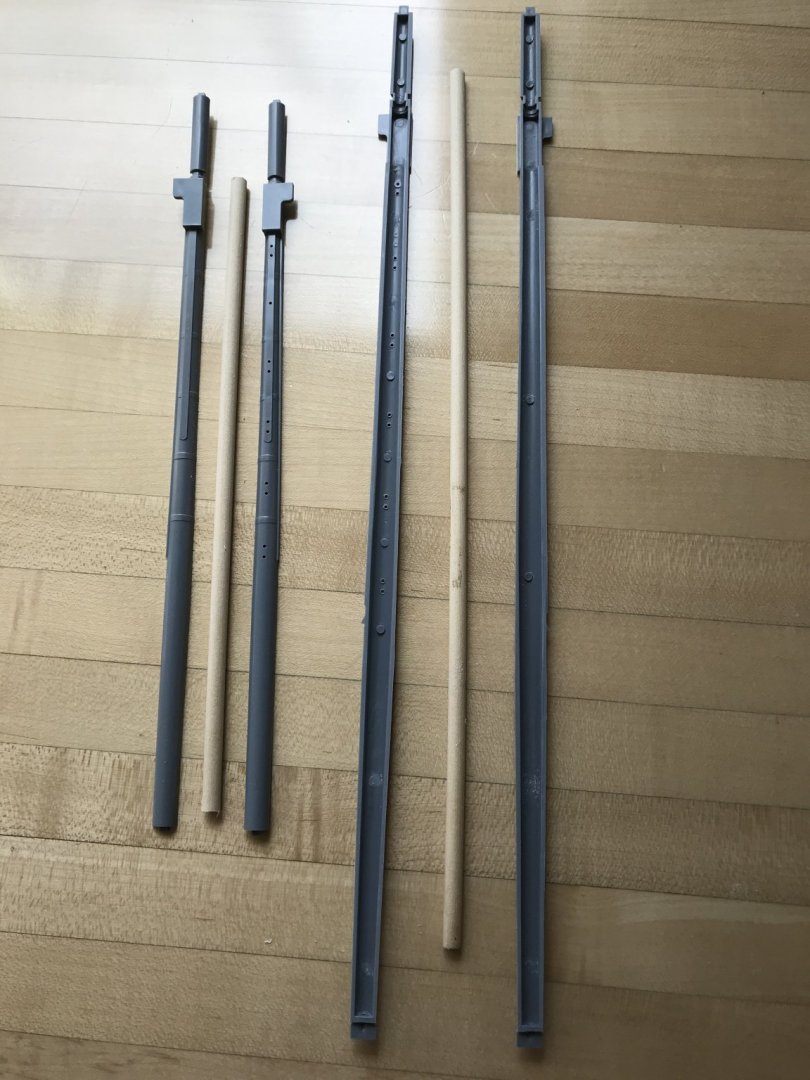
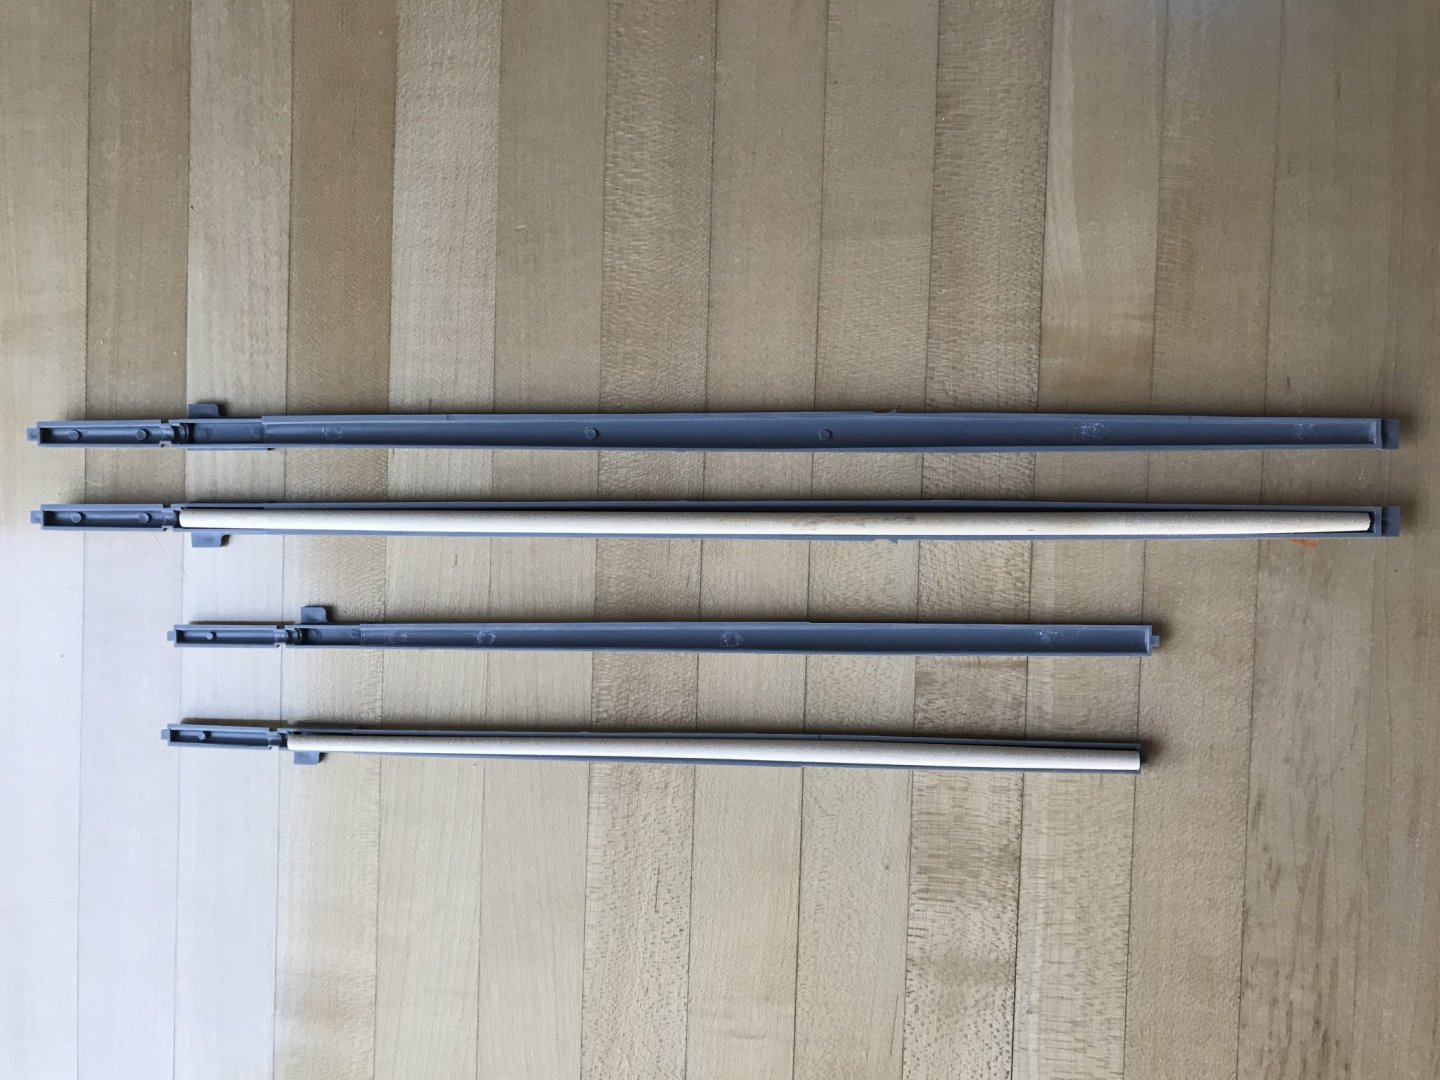
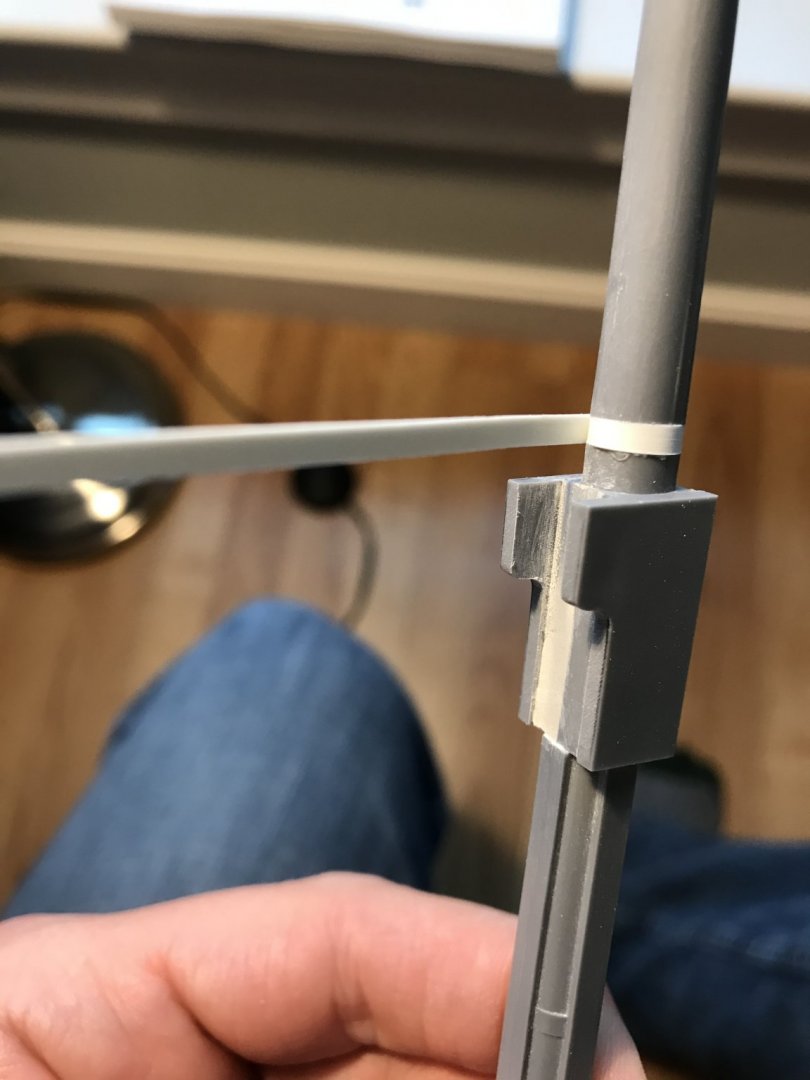
I also started to prepare the fore and main-mast, lower sections with reinforcing dowels that are drill-tapered to fit snuggly along their length:

D4C602C6-1B0F-467A-A7D6-2CE9D3DAEFD1.thumb.jpeg.0786cb8892364f42b515837b370de1a0.jpeg

Before tapering, above. And after tapering, below:

52BCA042-79AB-4504-B34E-E3AC52A644F1.thumb.jpeg.10f33fe69cb961529777c0f7e6b20a88.jpeg

I definitely want to use styrene adhesive to join the mast halves, but am currently unsure about whether to bed the dowels in the masts with some combination of epoxy and cyano, or one versus the other. Any insight, here, would be greatly appreciated.

Once the lower masts are assembled, I can cut the lower main mast down a bit, to accommodate the diorama set-up, while also accounting for my desire to raise the main top by about 3/8” to 1/2”. Ultimately, this will make better sense of the stock kit topmast dimensions (which will be scratch-made from wood, anyway), and the extra height there, will be cut from the t’gallent masts which are too tall. The main flagstaff, though, will be lengthened.

So, that’s where things stand for now. I hope all are well and taking good care of themselves and family. We will all get through this difficult time. Thank God for the art and craft of ship modeling!
 
I continue to distract myself from the pandemic and my isolation from my family with work on the model.

As you know, I’ve been experimenting with Liquitex Extra Heavy Gel medium. At first, I was trying to brush it in place, but I lack a fine enough brush, and all art stores are closed for the foreseeable future.

But then, I happened upon this build video on YouTube, and I was fascinated by his use of common toothpicks to paint in the fine statuary on this Revell 1:150 kit of the Vasa:
This inspired me to sharpen the end of a toothpick and try that as an application method.

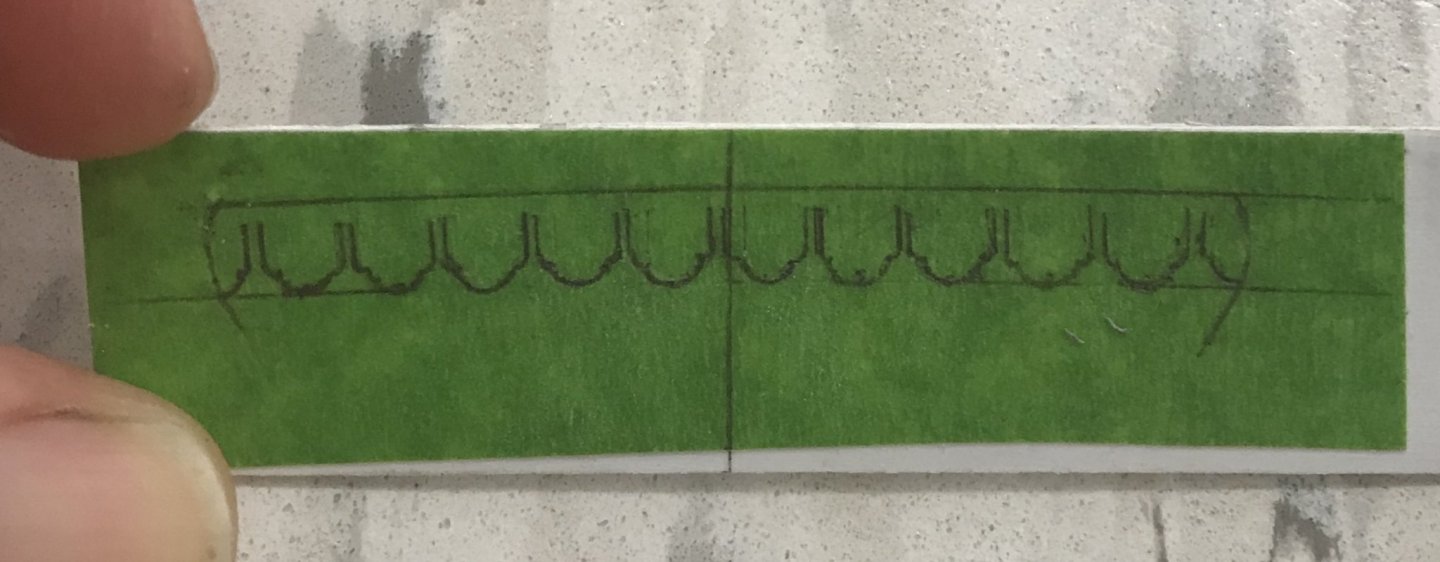
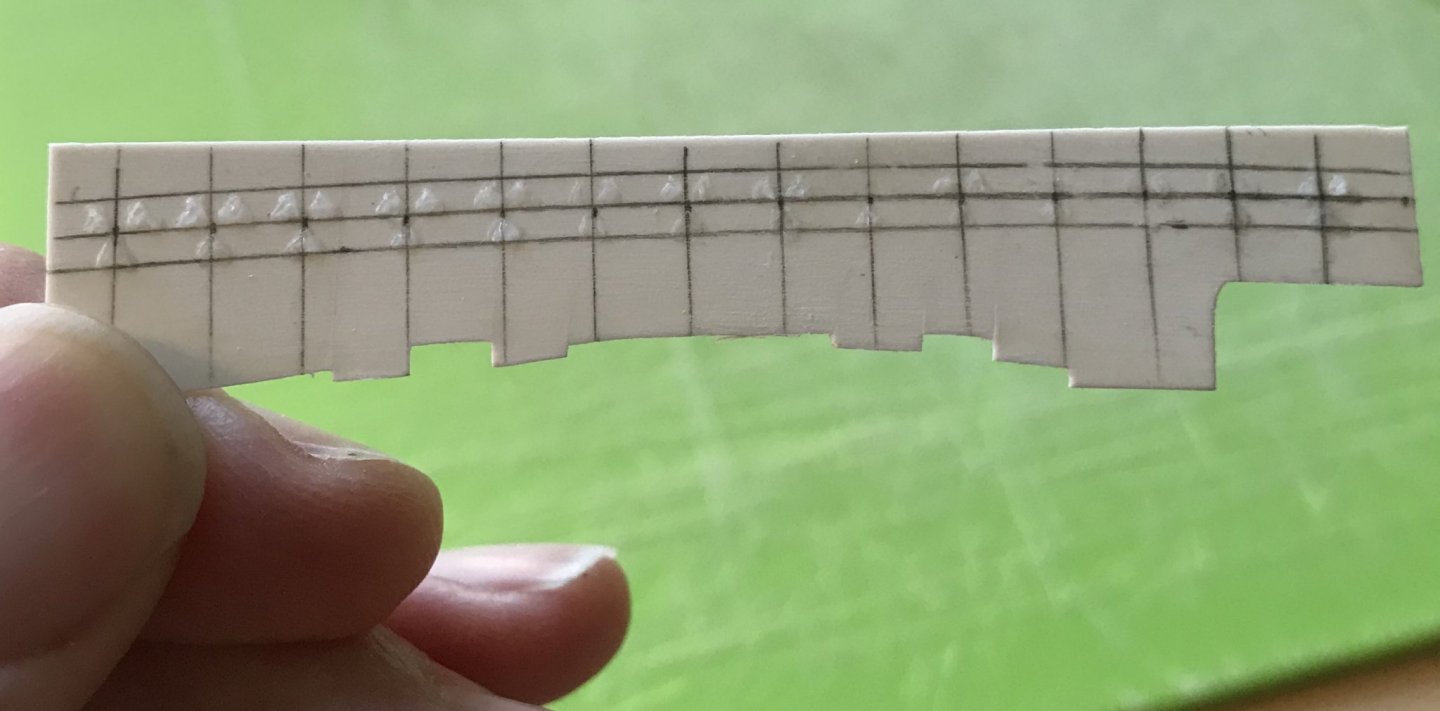
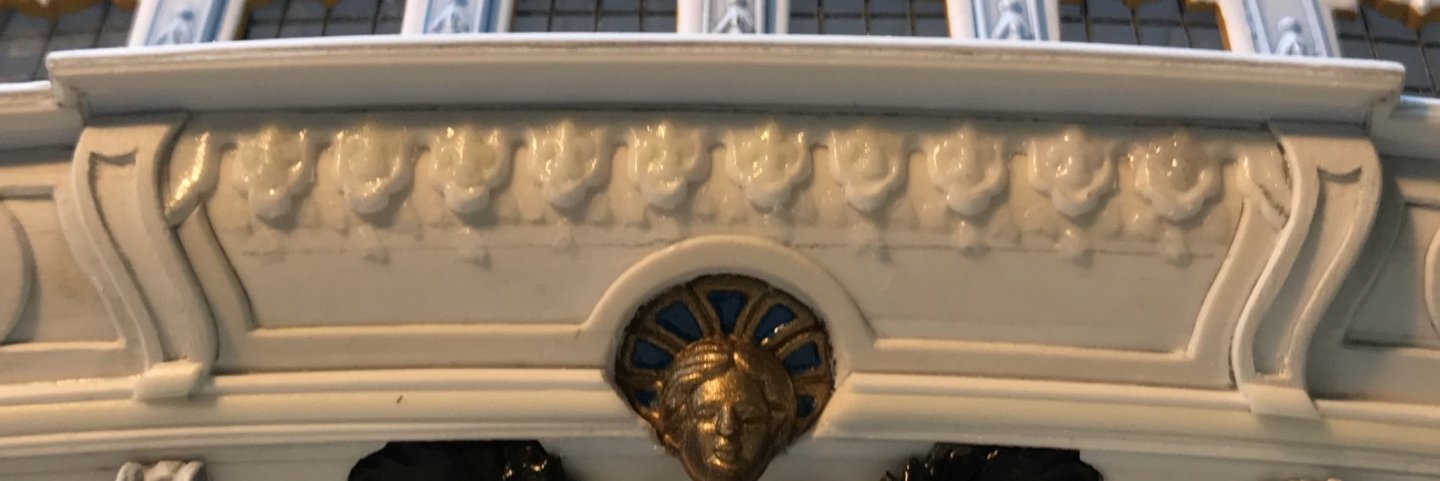
First, I made up a piece of scrap that gave me the spacing I need for the tasseling:
EBBCFA74-A03B-4DE6-AC4C-072CC4B39A90.thumb.jpeg.dd6ddce1802f1f38d5048c6eebf6e573.jpeg
The Liquitex is an interesting product. It has the consistency of thick moisturizing cream, and I found that the dime-sized dollops that I would dole-out onto a paper towel, would skin-over within a few minutes. It was necessary to “stir” the dollop every few minutes, in order to apply the product with ease. After a few stirrings, a new dollop would be necessary, but there is an entire lifetime of product in one small jar, so it is not a big deal.

What I was aiming for was a sort of Hershey Kiss, triangular shape. I found that three applications gave enough depth of relief that I will not have trouble picking the tassels out with a brush, or maybe a toothpick
8929D07E-390F-47D0-88BA-19E2DEFCD6D4.thumb.jpeg.fd307c01e366e4a1cc1dcd0ef1e98175.jpeg
I found that the cured gel medium could be scraped away from my sample strip, without too much effort, using your finger nail. The counter area on the model, however, is more coarsely sanded and should provide a better mechanical bond. That being said, I will probably paint over the finished tassels with thin cyano, just for the added insurance that provides. I am sure the eventual paint film would he sufficient, but this cyano treatment is fast becoming part of my process.

So, at this stage, I became free to focus on building up the lower gun deck. Before I can do that, I needed to cut the lower main mast to height, and create a boxed footing for the mast.

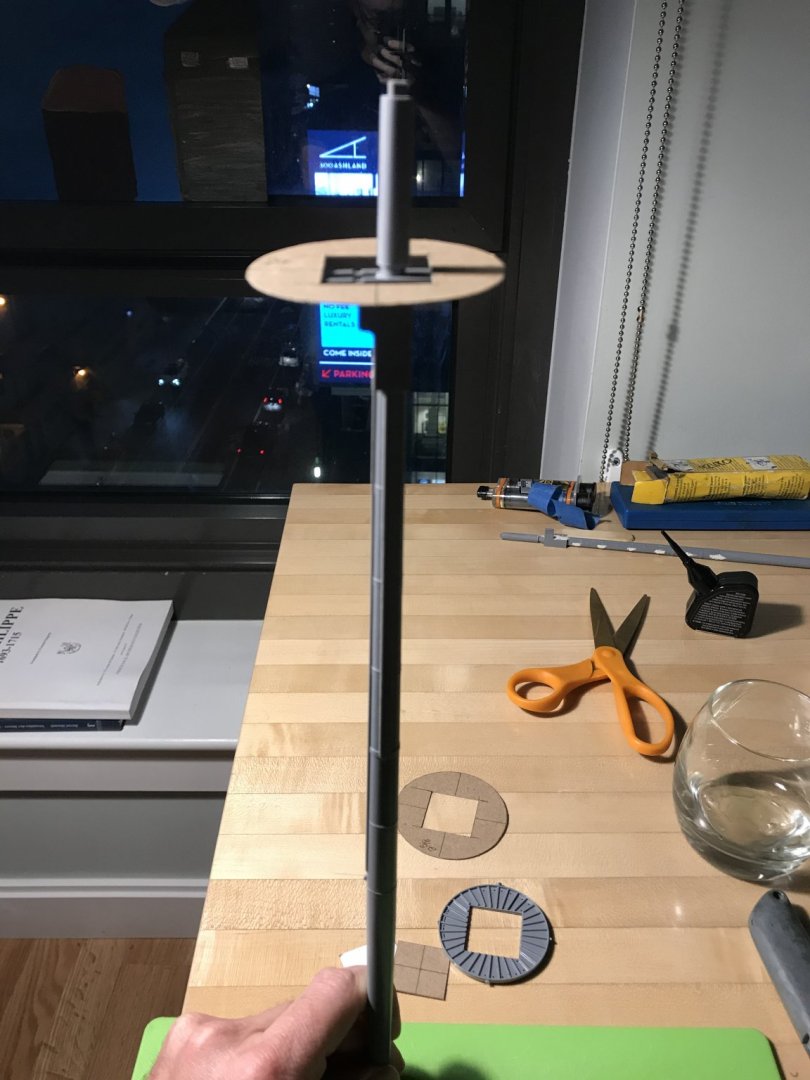
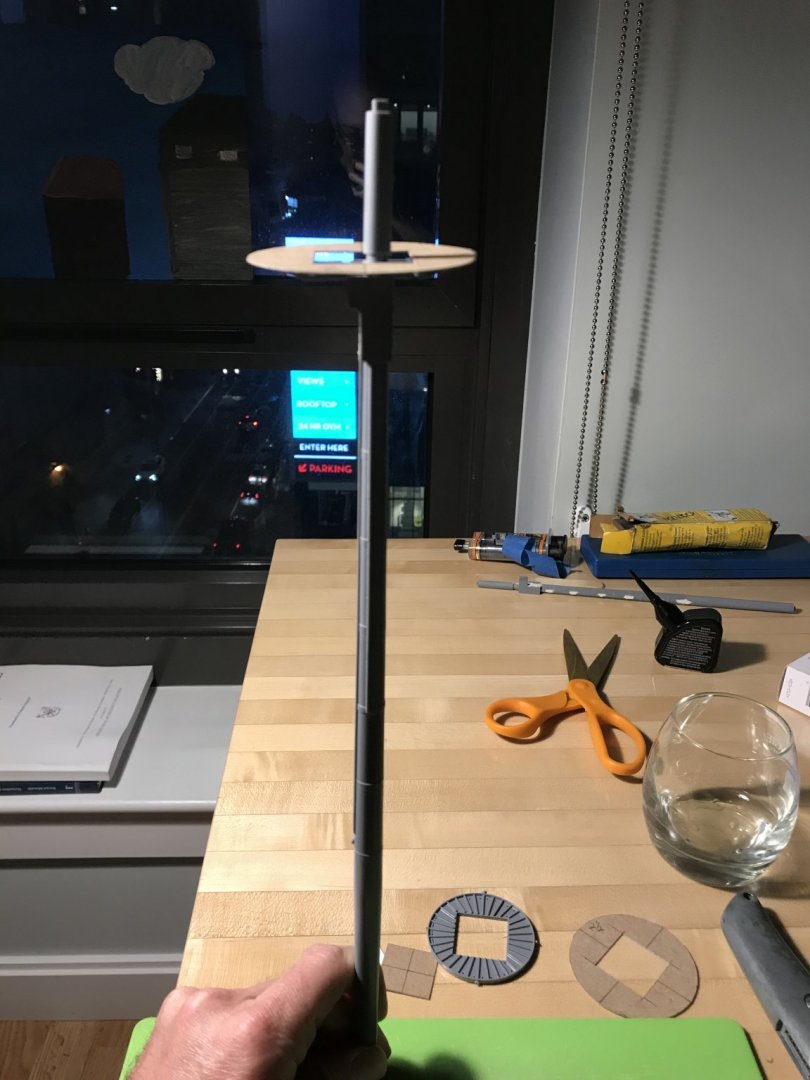
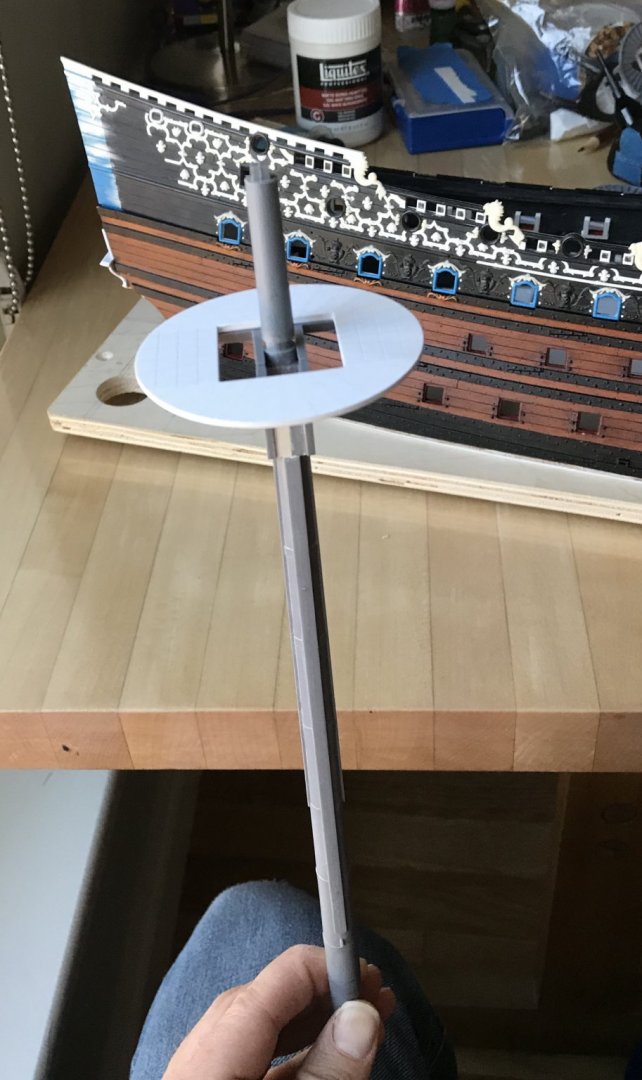
I also wanted to mock up, and then make the larger diameter main top, in order to get a sense for what the slightly increased height above deck needs to be.

If you are new to this log and wondering why I am increasing the main top diameter, I will ask you to consider that my addition of 5/8” to the breadth of the hull makes the stock tops seem even more in-adequate than they were to begin with. The other consideration is that I hope to improve the spread of the topmast shrouds; on the stock kit, the slope is negligible.

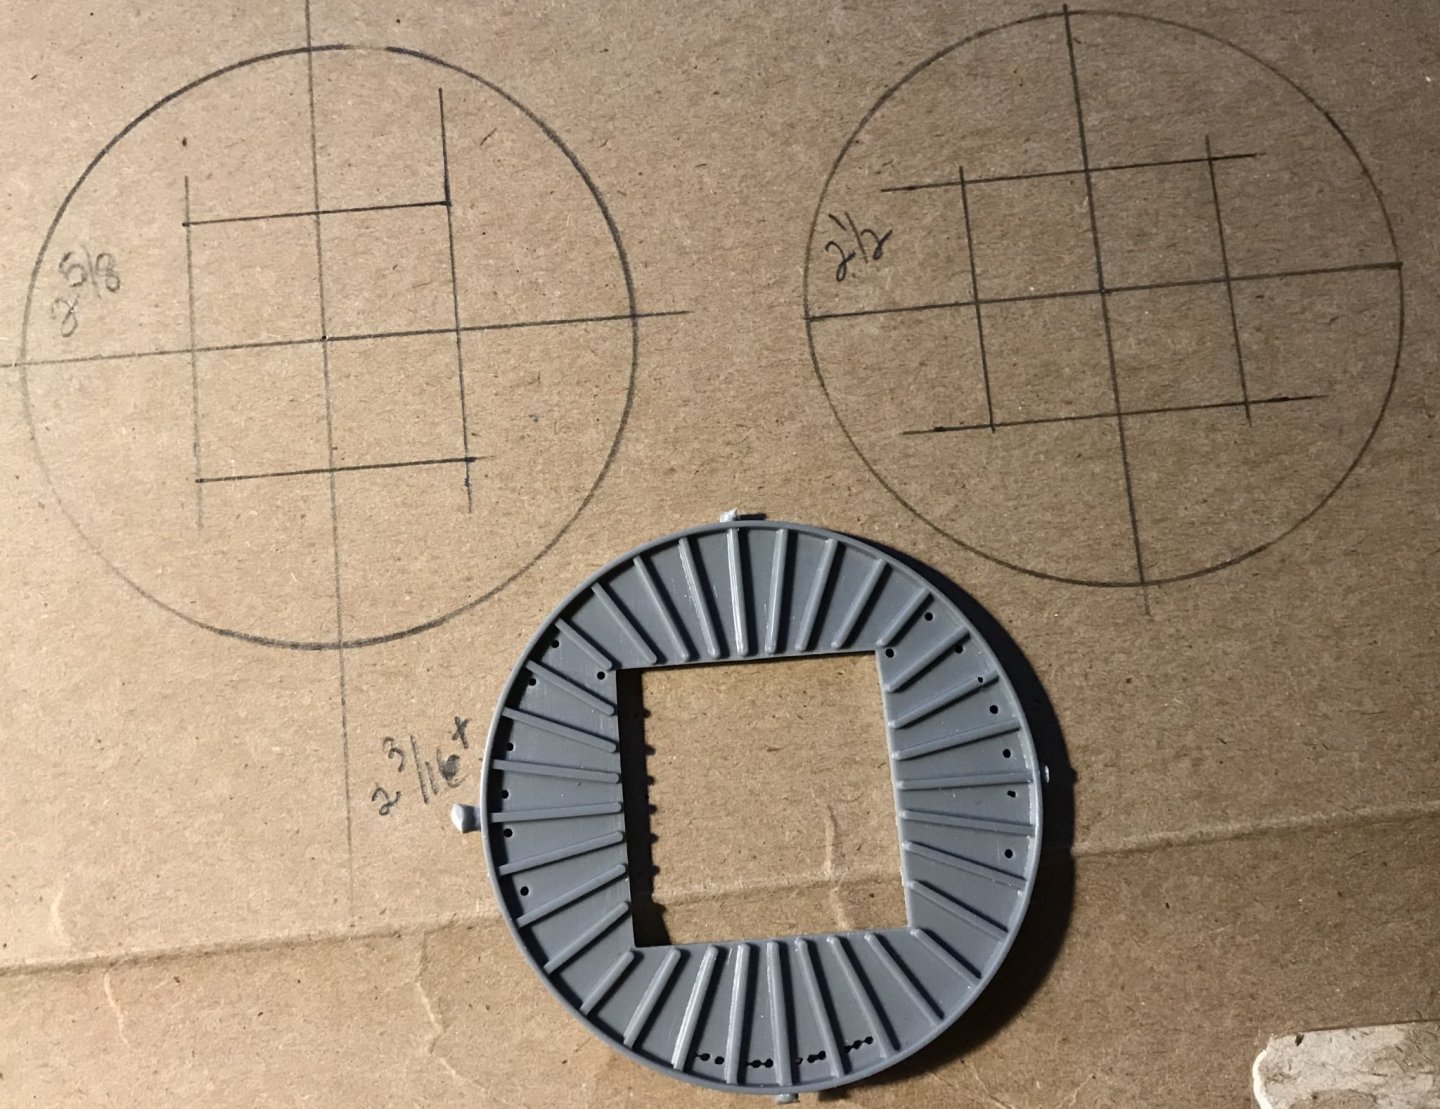
I began by drawing a few different diameters onto a scrap of cardboard:
6EC4B32B-AC3E-4A1A-8C9A-37177C7488DC.thumb.jpeg.58bf46fade41f951c22b7c1283c52c8b.jpeg
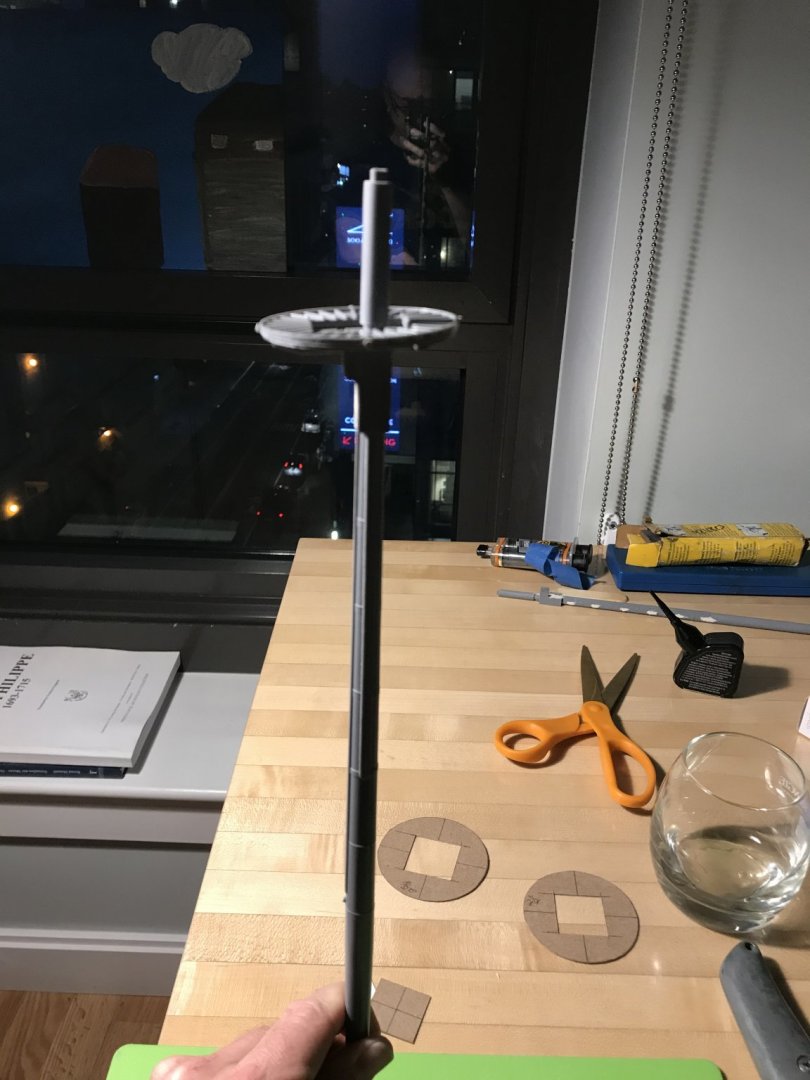
The stock main top is 2 3/16”. As you see, I went up from there to 2 5/8”. Then, I took each size and placed them on the stock cross trees:
EADC6EDA-D4F6-477C-8076-A5D489F0F429.thumb.jpeg.a5433c2d50d7ecfde5bd26cea1fd535c.jpeg
Then, 2 1/2”:
2207C75B-FE9B-4CB0-97C5-F53CAD71974C.thumb.jpeg.10e04d9a4af80a8e76ddbc5912371a95.jpeg
Then, 2 5/8”:
883BDF29-09C5-428B-A7D3-942BA4473473.thumb.jpeg.fd6f014325c8d0146059f2c1e98def15.jpeg
This may seem to be a big jump in diameter, but not so much when you consider the height of the masthead, above the top, and the scale of the cheeks, supporting it.

Now, I know that purists may be appalled that I am not referencing known tables for correct dimensions relative to the height and breadth of the main mast, etc and so forth. On this go-around, though, that is not the kind of rigidly accurate model that I am building.

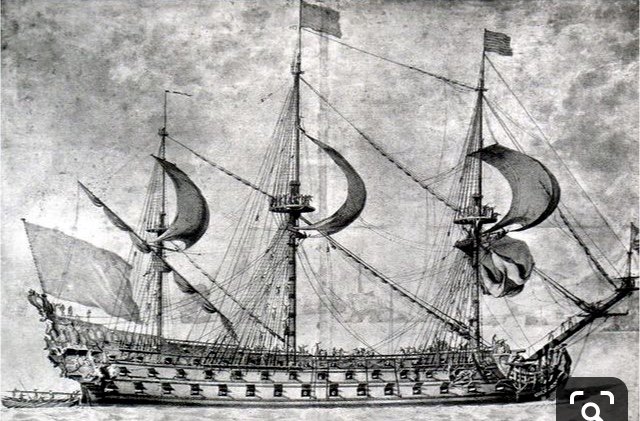
In many ways, this is an artistic and impressionistic model, in which I am trusting my eye and sense for the proportion of these things to arrive at a better overall impression. With specific regard to the tops, what I am going for is what you see in this Puget portrait of what I believe is the Royal Louis of 1692:
400CD59D-AD61-48FB-AB05-079ABE18671A.jpeg.05e75db5bb4b691d4ff0299b154491e4.jpeg

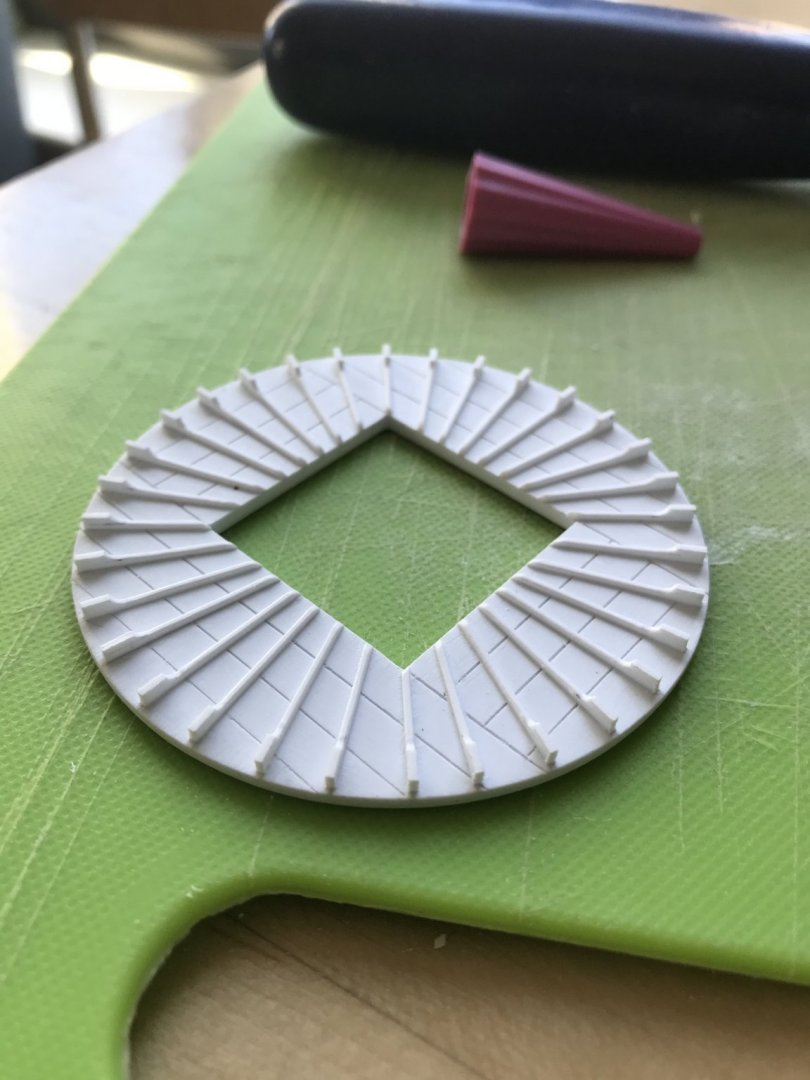
Ultimately, I decided to go ahead and pattern the largest top in styrene. The tops are not difficult to make, but they present an opportunity to incorporate a wealth of detail that is missing from the stock tops.

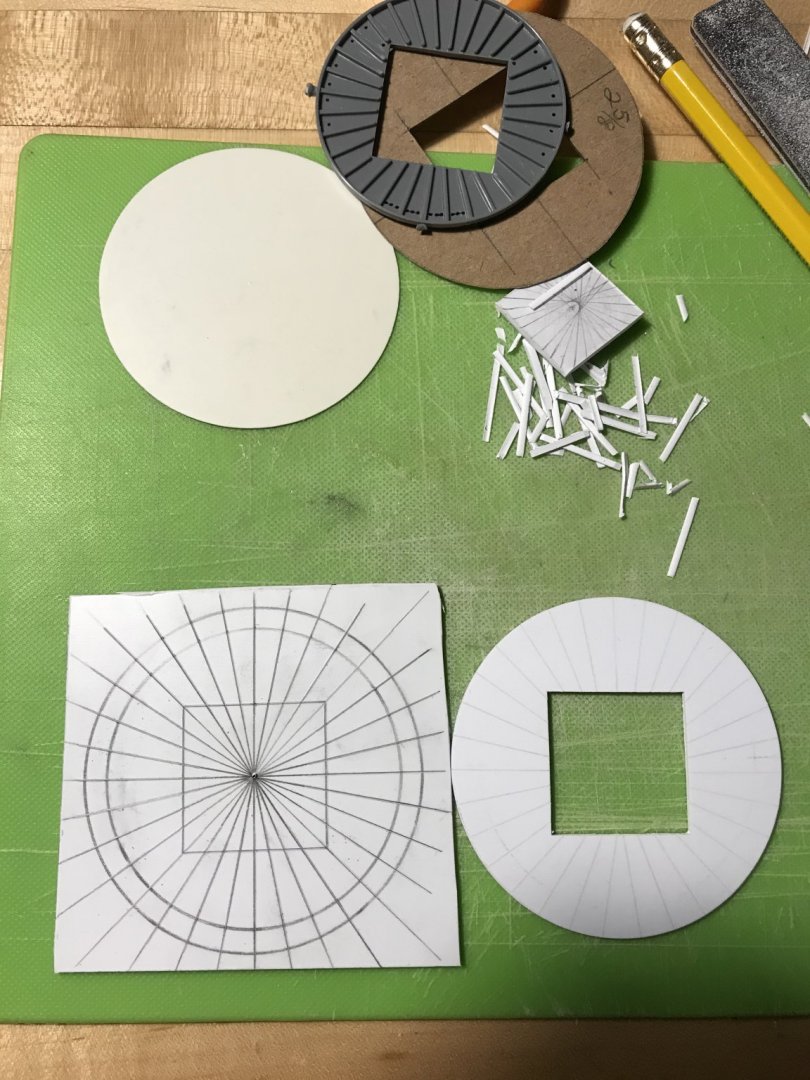
My first attempt at laying out the ribs wasn’t quite right, though:
1CB9FDF2-CCBC-4A44-8720-0CB5D7936F81.thumb.jpeg.018fd53c50326013e5197437e4d84728.jpeg
On the right, you can see that the rib layout is slightly off-center; there should be a rib radiating from each corner of the lubber hole. Rather than expend all of that effort to carefully make and glue all of those ribs to a wrong layout, I decided to just make a new top (on the left)

Each top will have a lower, base layer of thinner styrene, that is of a slightly smaller diameter than the main layer.

The main layer is of 1/16” styrene. I’ll have to rip strip stock from 1/32” styrene sheet for the ribs, and I would like to use 1/2-round moulding for the banding that runs around the perimeter of the ribs.

I will also, eventually, make a lantern for the main top, but I haven’t figured out how I want to approach that, just yet.

So, here is the top as it stands, now, with the lower and main layers glued together, as well as the rib and planking lines engraved into the plastic:
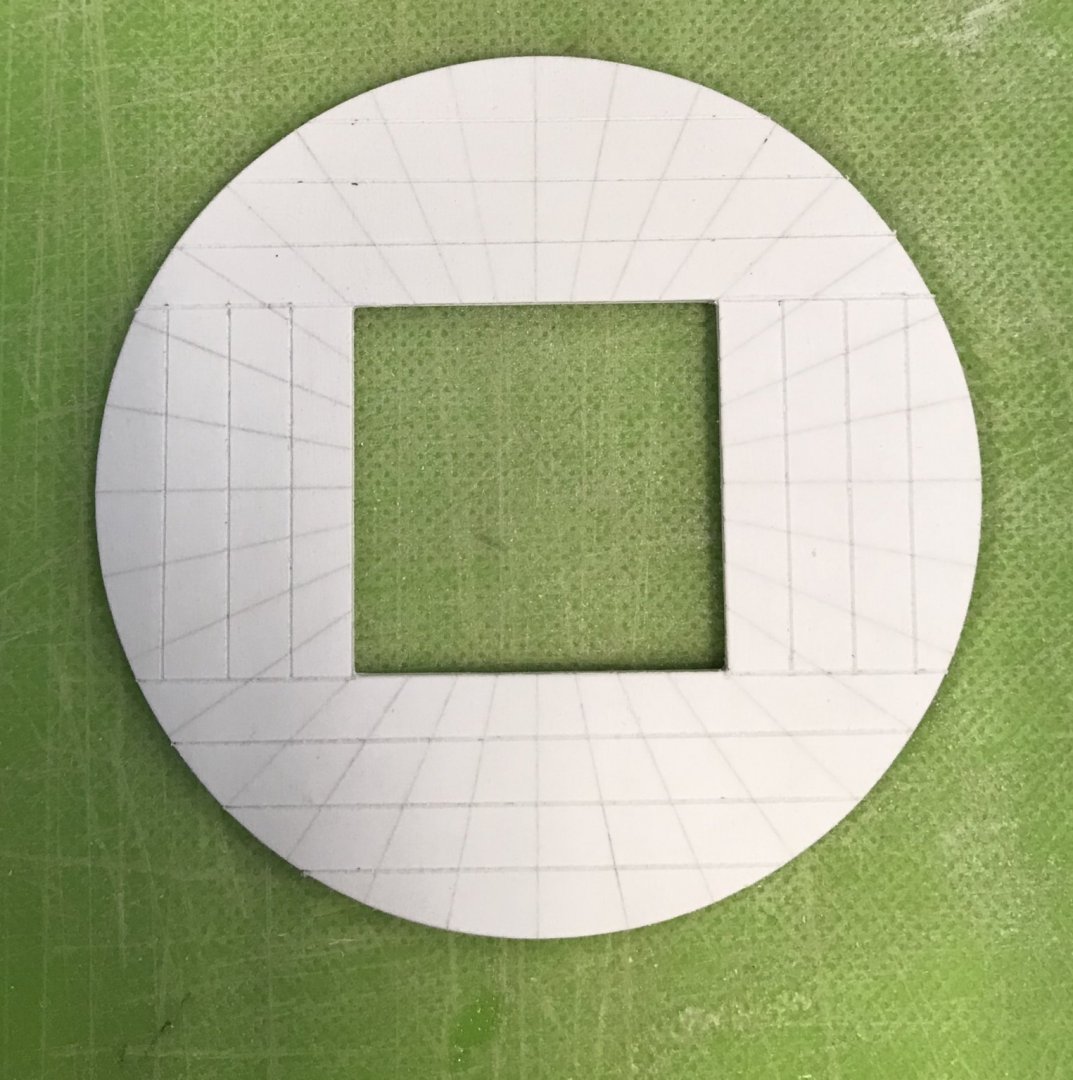
51012945-CE5F-401E-81CF-922EDFC8DBCF.thumb.jpeg.834ffc9b9f86b62cf34c36b4b0e84601.jpeg
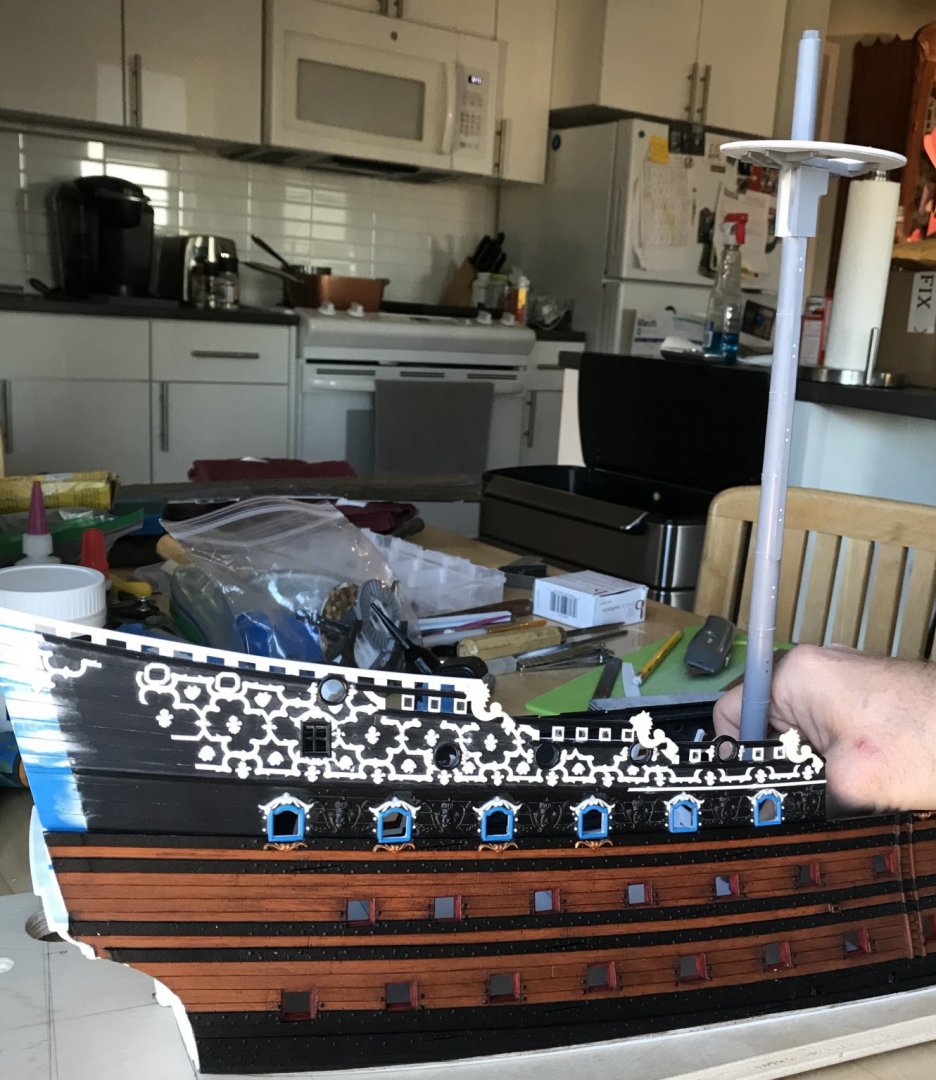
For a sense of scale, here is the top at the main deck level:
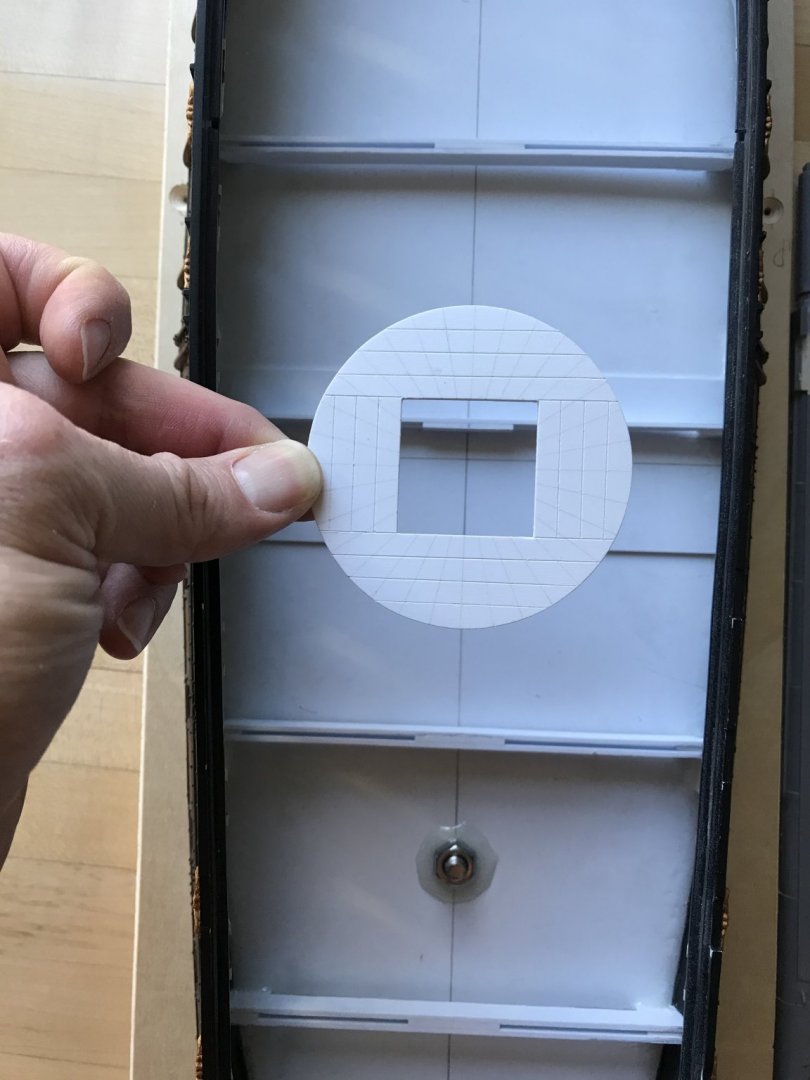
1A3AE310-F823-432D-825D-6ECB770509FA.thumb.jpeg.2bc534bbb71734384b56b0716d159c12.jpeg
And here is the top on the masthead:
ECCFF5FE-AA2C-439D-9DF9-002C42E701CE.thumb.jpeg.e8bd657c7b3b2b86376113a1aaf8a4f2.jpeg
So, next, I was attempting to determine what the new height above the main deck should be.

On the stock main mast, there is a subtle transition where the mast tapers from it’s widest diameter to the narrowing of its foot. That place is where my thumb is in the picture above.

I was considering a 1/4”, 3/8” or 1/2” increase in height above the main deck.

using a straight edge, spanning the main deck ledges (clamps), in the location of the main mast, I determined that there was 2 3/8” to account for from the top of the deck to the plinth base if the model. This dimension includes both the thickness of the deck material, and the camber at the ship’s centerline.

So, to begin with, I measured a 1/2” below where the mast tapers down to its footing, and then I measured down a further 2 3/8” from there. This was to be my first cut-down.

I attempted to account for the rake of the mast top in my cut of the footing. I also placed the starboard upper bulwark, so that I could get a truer sense of proportion:
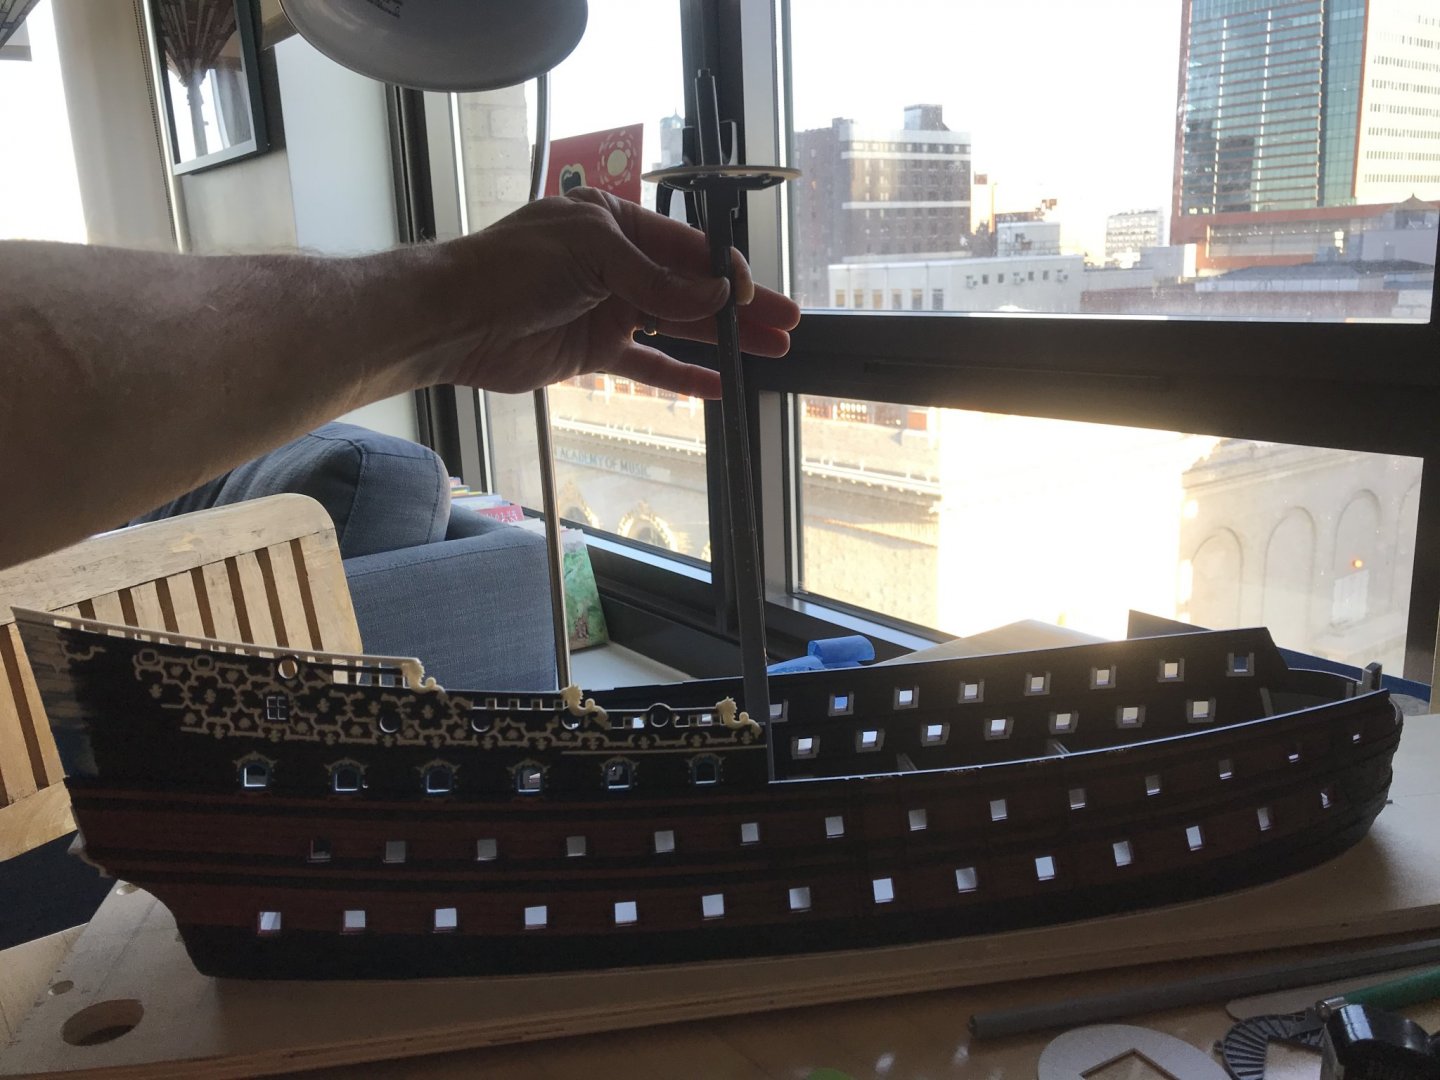
BB8D036A-F0FD-4D5A-BCF2-AC5960F1A797.thumb.jpeg.ecb3880b07f9c3fe3361806b6cf82ea3.jpeg
I liked this. This looked good to my eye. I decided, though, to cut down an additional 1/8”, and I will explain why in a moment. Here’s what 3/8” looks like in better light, after the second cut:
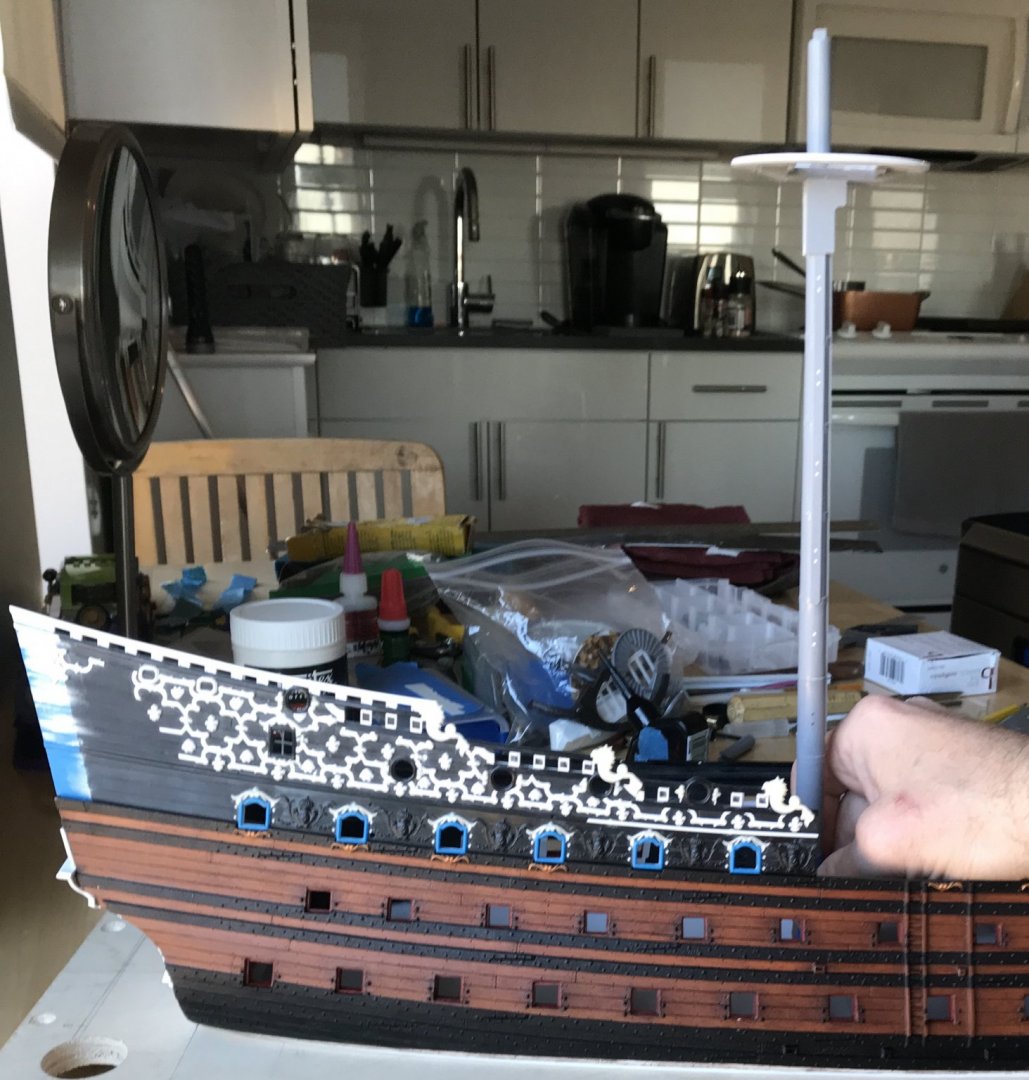
DD875965-48D8-45B6-B649-19BFB1F06F03.thumb.jpeg.c839c5d773b9339e55139e732aaa2c0e.jpeg
9840D0DA-9246-4A61-9658-7EECBE5A1BE5.thumb.jpeg.9f485dfee07629e6bd1ed66c5359c2a5.jpeg
This is what my main mast height will be, and I will use this dimension to establish the relative heights of the fore and mizzen mast tops.

Now, here is why I cut a little further. Bear in mind that I love the comedian Patton Oswalt, and I have recently discovered that Siri will play any stand-up I can think of in an endless loop, almost without repeats; this really helps me keep my mind off of the dreariness of what-all is going on.

I was listening to Patton and laughing away, as I distractedly taped off my first cut. Unfortunately, I was a little past halfway through the mast when I realized that I had taped off the location where the mast rises above the deck, and not the footing! ‍:eek::eek::eek::eek::eek:
B3F8C270-ECE2-4D58-A89D-A98C59B838F7.thumb.jpeg.64c8aec1bfe8ee2b099054f719bd17b6.jpeg
Well, that is a BUMMER! I was so angry with myself for falling asleep at the saw, so to speak. I didn’t cut completely through the dowel, on the inside; there is maybe a 1/3 of that diameter still intact.

My initial solution was to pack the kerf with medium viscosity cyano and then fill the kerf with perfectly mating styrene sheet. After trimming and fairing the surface, the repair looks well enough. It will be un-detectable, anyway, because it will now sit below the deck surface (the reason for that extra 1/8” cut), and the repair seems strong:
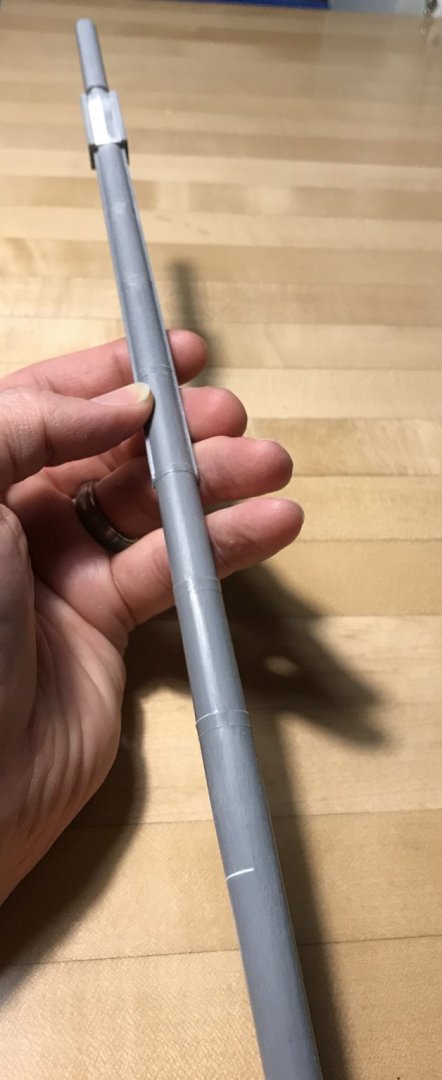
0780B8BD-8FF8-4498-96CC-BA8EB55C591E.thumb.jpeg.48a9a37321441a2a55433abffda36b65.jpeg
Me being me, though, I wish to ensure that it is extra strong. My first thought was to attempt to drill up through the end of the birch dowel, and into the repaired area, so that I could epoxy in a length of either 3/32” or 1/8” brass tubing:
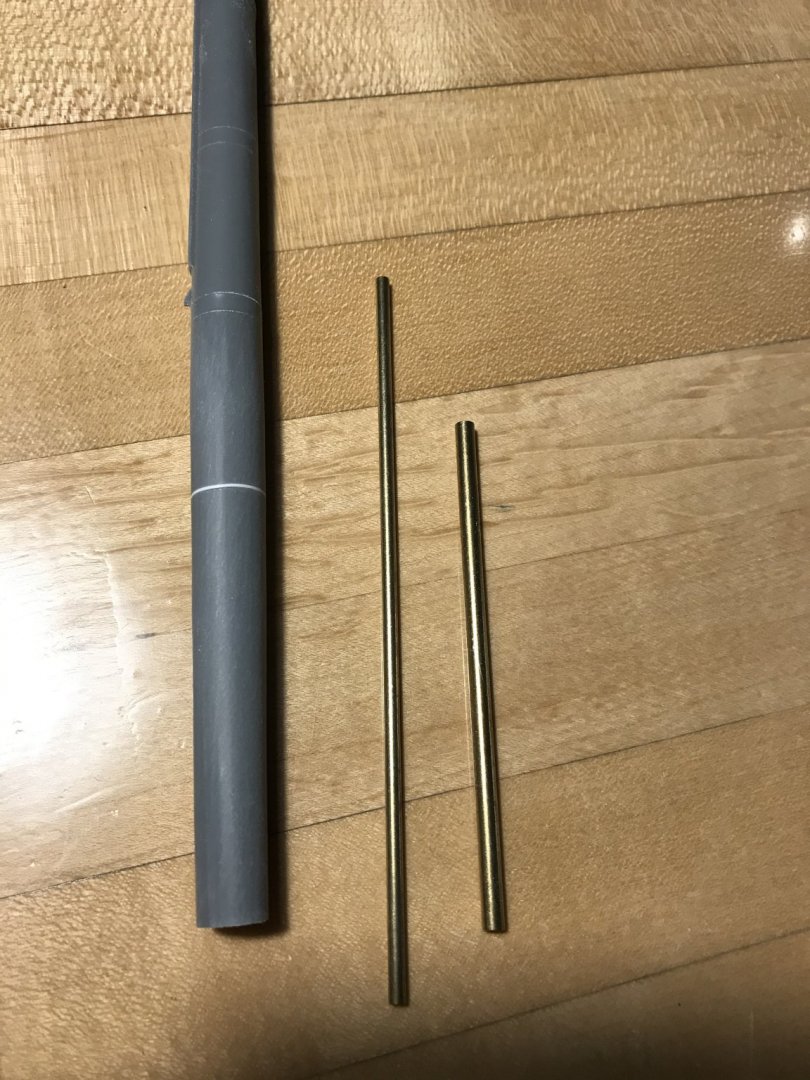
19BECCDA-5307-40CA-B749-3FC800BCBA7B.thumb.jpeg.4dfd5c9dcbf0416c80118978ad3f0473.jpeg
I am skeptical, though, that even if I work through a progression of bits - that I will be able to keep a drill bit on-track through that expanse of end-grain.

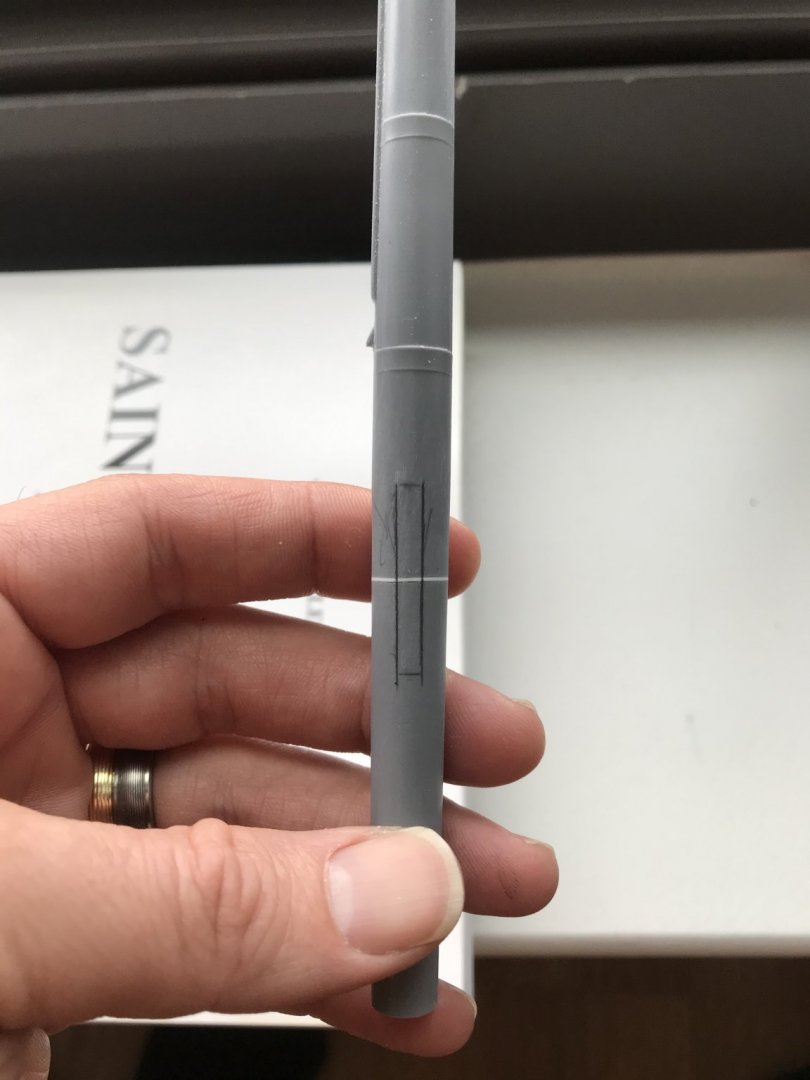
My woodworking background, on the other hand, has given me another, I think, safer idea. Much as you would to stop an end-check in a solid wood table top, for example, I can let-in a key (maybe dovetail, but considering the size, probably not) that crosses the repaired kerf. The goal is to get deep enough in the dowel to increase glueing surface area and unify the whole construction:
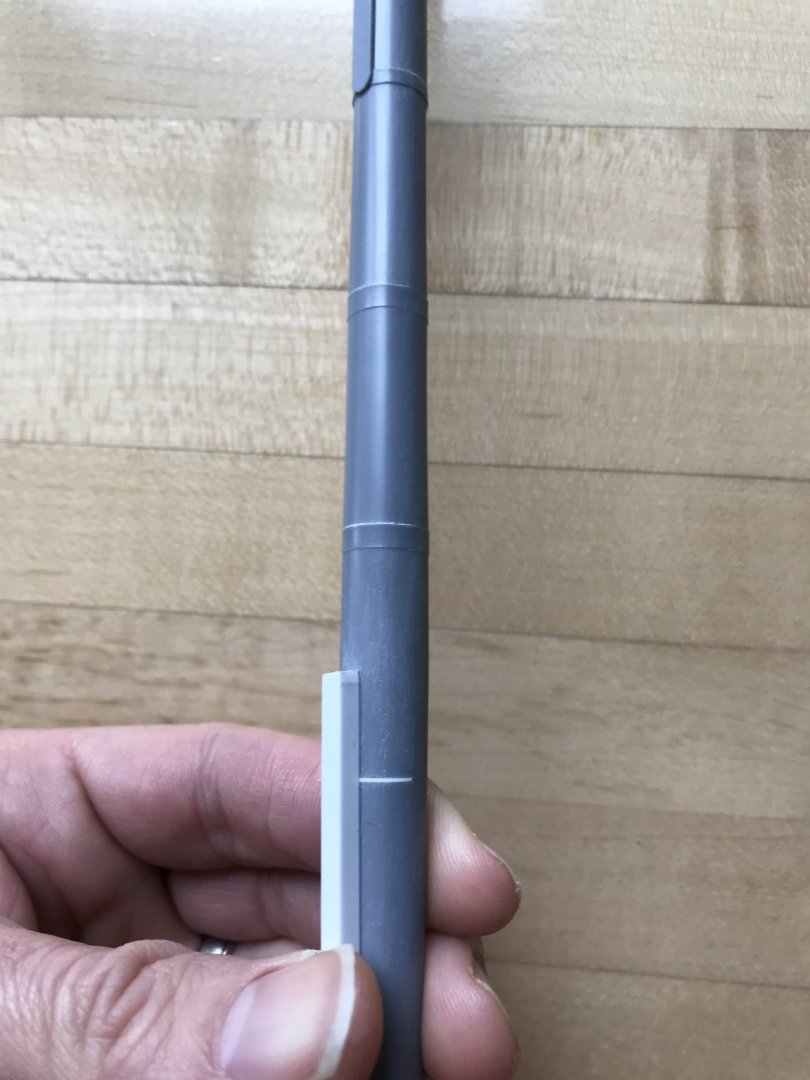
image.thumb.jpg.e4302fa95d6ec086c2ca1414d330a219.jpg
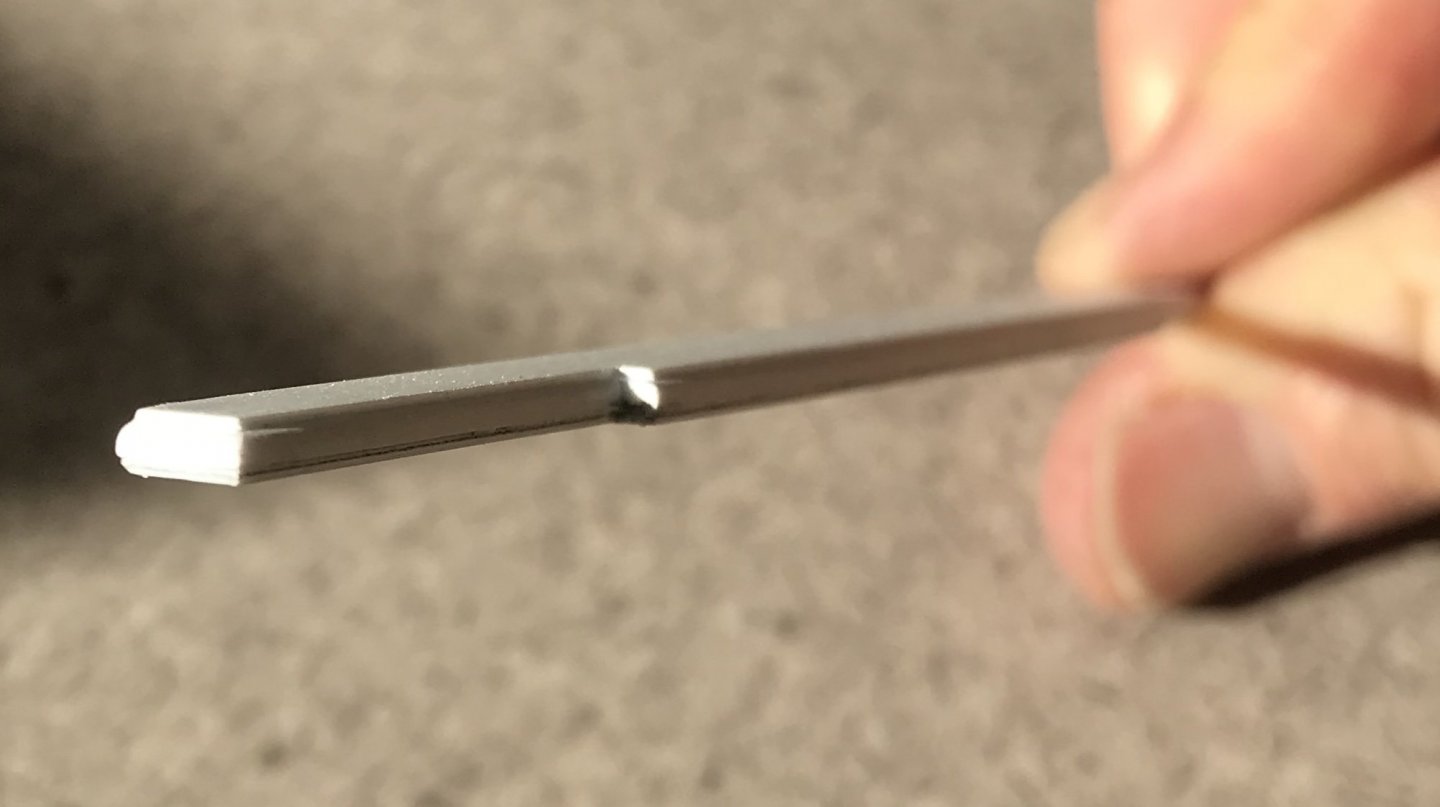
This 1/8” styrene extrusion should be up to the task, and it matches my smallest woodworking chisel. A half inch above and below the kerf will be more than enough, and my repair will never be in danger of failing. If I don’t do a perfect job of inletting, the gel cyano will pick up the slack, and this reinforcement will also be undetectable.

So, a Dremeling we will go! And with much greater care, this time ;)
 
Last edited:
It’s a little annoying that I spent all of today’s allotted model time fixing this problem, but I am happy enough with the outcome, and have restored faith in the integrity of the mast:

2B45A3DC-6970-43FB-A40C-A5AAD500382B.thumb.jpeg.d31236f28cc26f2c06f13e431015f6f2.jpeg
B41C4246-F0AB-496A-904F-5AC08B037969.thumb.jpeg.0980526acbaf3c14970cb40316073db2.jpeg

The dowel, in this section, apparently favored the un-cut half of the mast, so it appears that about half the dowel was still intact.

0AB77821-5FB6-4B56-8C66-2A207E73E69E.thumb.jpeg.837dc09dc18772bed37cef21918fc70c.jpeg

F240859D-9A56-49C4-8C1B-88C4EB0AD9FA.thumb.jpeg.29d81764a980136e9f03436886efcef5.jpeg

4EA4B470-BA7D-41BB-B122-03C88FB1B244.thumb.jpeg.9488a31c53680934a62fd8df21b100dc.jpeg
Thanks for looking in
 
And, so, work on Soleil Royal continues.

Thanks to Henry, I was able to finish modifying my gratings. Here’s a shot of the new cambered gratings as compared with the stock, flat gratings:

55CC9149-5626-4F0C-9F21-75E26B6539DC.thumb.jpeg.89dcb2141592e2de5b1974f83350db18.jpeg

I will be making new combings for these when it comes time to install them.

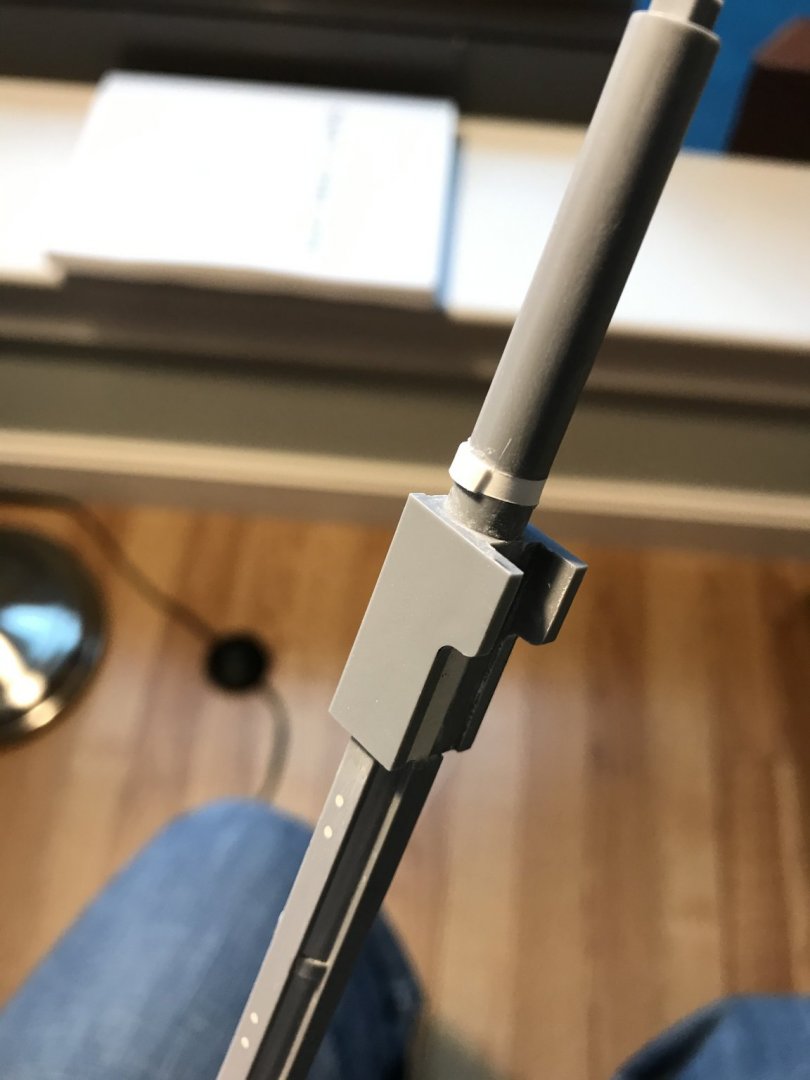
I also wanted to finish detailing the fore and main masts. One of the peculiarities of the Heller kit is this groove that they let into the masthead, for the shrouds to pass over. It is unnecessary, though, and creates a weak-point in the mast. Borrowing a page from Dafi’s Victory log, I decided to fill it in with a strip of thin styrene and medium viscosity cyano:

4934A8D2-3299-4354-B695-581F76EE0D3C.thumb.jpeg.c244863eab4440f6b4030446216bd15a.jpeg

C48CBC2D-1961-4BCC-8F18-4BB2C58ED277.thumb.jpeg.a023951cf41ba9a4755a7933d219bb7c.jpeg

F1F40EC0-0868-4294-B2FD-92EB7EF0EF1D.thumb.jpeg.f47db25d05cdd0db68f1470d3dcf8788.jpeg

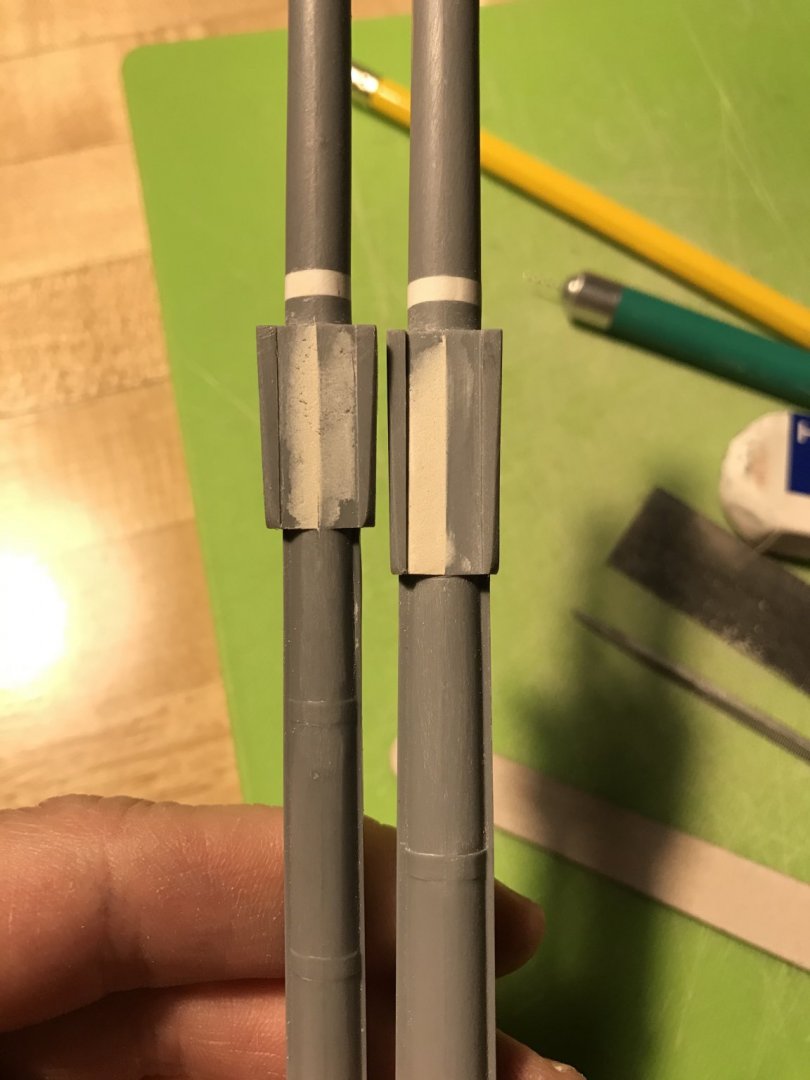
Next, I wanted to file-in a tapered profile to the hounds, which are parallel-sided on the kit:

3B0F2AB0-C469-45FF-B604-530C9B8904FD.thumb.jpeg.307b3ebb9043b285b28472131da42b3b.jpeg

This alteration is more evident on the foremast, as seen above left.

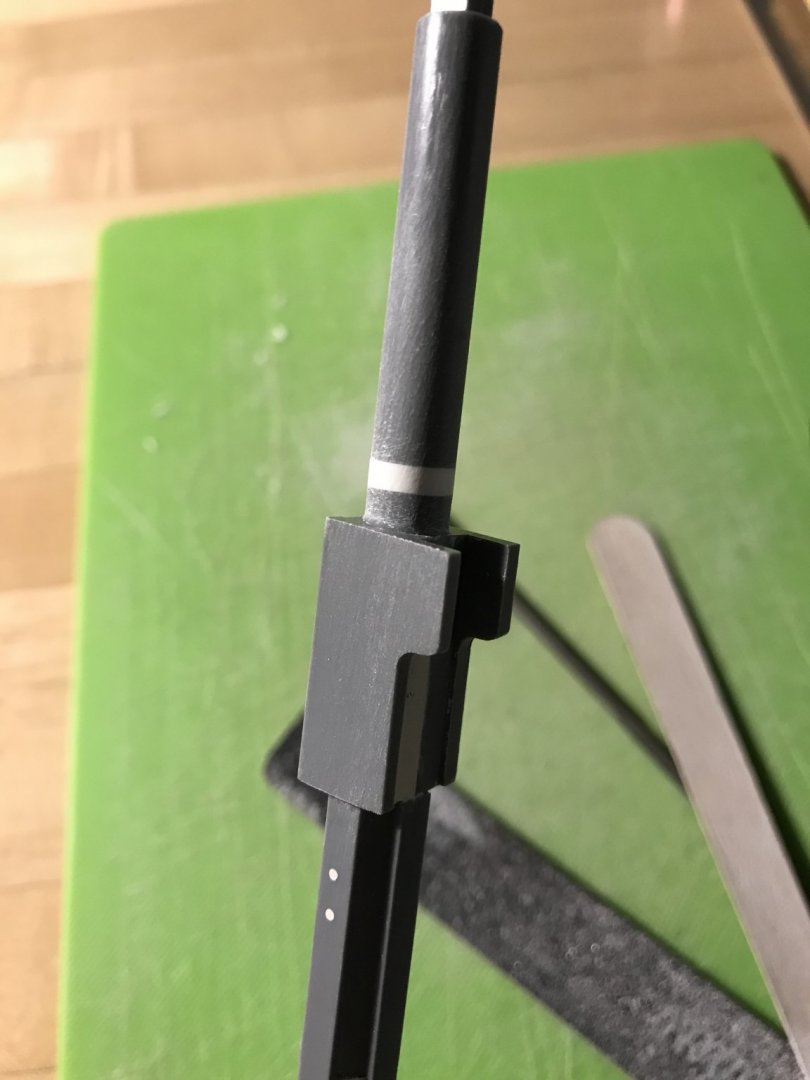
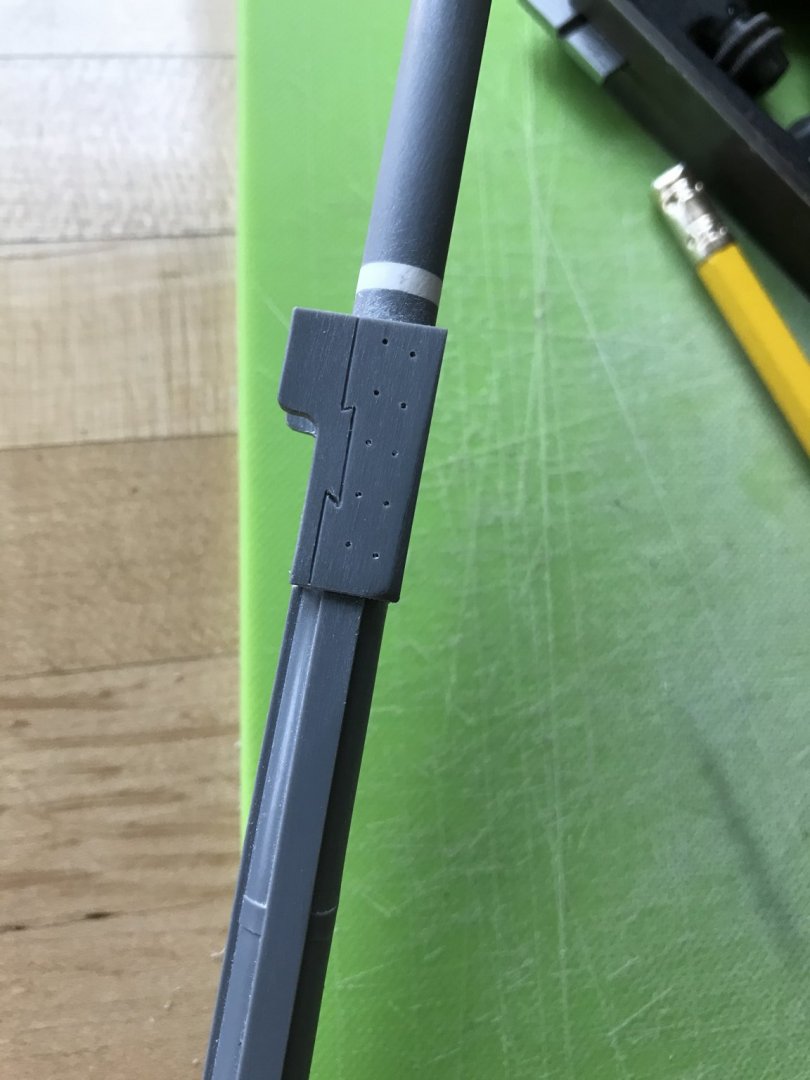
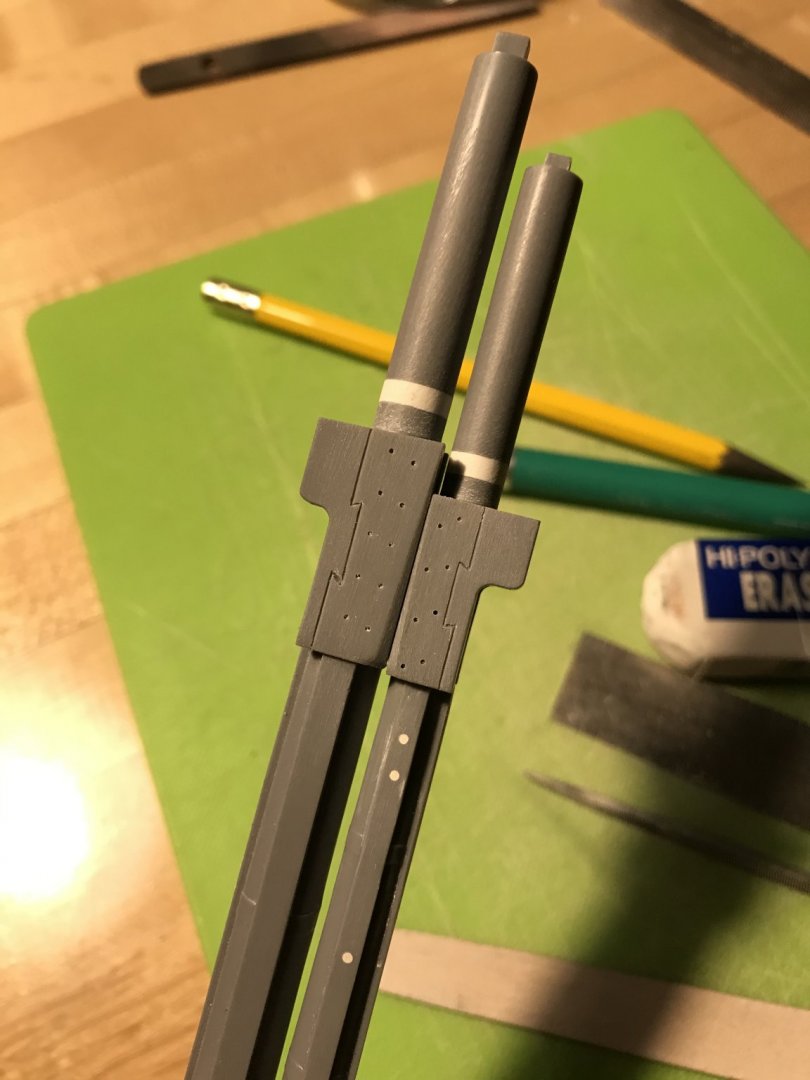
Then, I could define the bibs as distinct from the hounds:

E41C0471-82A4-4B32-A33C-A65AE181B75A.thumb.jpeg.5a96fd100729b39727a5a2428b17481d.jpeg

I added in the nailing of the hounds, and I also filed a slight taper to their aft edge, to give them a little extra shape:

4DF12FF9-7F5D-4E25-85B9-ACF9A88A1A9C.thumb.jpeg.337c809de52f81aed4084eef9d9491ca.jpeg

Satisfied with the lower masts, I also wanted to complete my main top, just to get a sense of that process, since I need to make three more of them.

After marking out my ribs, and separating them into rough blanks, I used a simple two-step jig to cut the long, bottom edge to it’s still oversize width, and then the short top edge to height:

8DF6518F-3442-468F-A88E-D0E16F071085.thumb.jpeg.c52a89c2a3e596e56dfbde774dda20f9.jpeg

As a note for the future, I would be wise to really hone my 1” chisel back to a razor-edge, before doing this again. The slightly dull edge caused the plastic to cleave, rather than cut cleanly, and I was left with many ribs that had skewed bottom edges.

In the next step, that necessitated filing them square before gluing them in place:

7EC69DA7-121B-4E22-9D5F-F2300A80C248.thumb.jpeg.efb5daf6ab5f4af54fbd78d08df2a123.jpeg

5BCE09F6-8C84-41A0-BC90-CE6A0AFB70CE.thumb.jpeg.3ec74a50f0603d7737013318f2b4ee39.jpeg
Finally, with the ribband strake circling the top, here are a few comparison shots with the stock main top:

7987C955-50D5-4D02-8429-697B30566F9F.thumb.jpeg.d81b150c96117a6993db037a92c4c751.jpeg

DAA97C66-D8CB-4F65-BDEE-5C56B0DD312A.thumb.jpeg.62d1acfb275206d6f48fd31079ec9263.jpeg

275F0AE5-0D67-47CF-B0C1-EE3C95146104.thumb.jpeg.362bcf9cb9aea502a684ae2da4f48c8f.jpeg

My version is significantly bigger, but it will now give a better spread to the topmast shrouds. And, here’s the top on the masthead:

A51B6350-9575-4CB7-A4F9-6BC34523F335.thumb.jpeg.6006ad570541447af9dcec27da1017a3.jpeg

All-in-all, this was a significant amount of work, but the improved scale and detailing make the process well worth it. I can tweak the rib process a little to speed it up, so the others shouldn’t be as time-consuming.

Next, I boxed-in a footing for the main mast:

24DA9927-B798-4626-B67F-D9C56C4D2236.thumb.jpeg.694259f8a9bc50c312973e9352f3b11b.jpeg

A89CA3B8-9CE6-4B1E-BC9C-EA1B68108ECA.thumb.jpeg.c04b6784be0859b729edd4959a0ab347.jpeg

And, then I got to re-scribing the gun platforms to the inner hull. As a reminder, I had taken the stock lower decks and separated each deck half into an inner and outer component. This way I could re-cycle AND accommodate the increased width of the hull.

9F381A51-D6FD-4DEB-8EBB-32228903C860.thumb.jpeg.01b3525c9d92f35ca1b87dda1bc432fb.jpeg

It was surprising to me just how much scribing I had to do to get a good fit against the hull. Evidently, cutting away the lower hull relaxed what was left above, into a somewhat flatter-sided ship.

It wasn’t strictly necessary to achieve a close scribe, here, but I want maximum connection for extra strength and rigidity.

That’s all for today. Thank you all for your likes and interest. Stay safe, everyone.
 
Last edited:
Thank you very much, Bill. Your continued interest and support really mean a lot to me!

At the moment, I’m installing the lower gun deck in sections, prepping the dummy gun blocks, and creating the next level of support for the middle deck.

I’ve encountered a few interesting circumstances that I did not anticipate when I made the dummy carriages, but I have found work-arounds.

More to follow. Thank you everyone for your likes and for looking in.

All the best,

Marc
 
Marc,

I especially like your cambered gratings. I love all of your work, but these really stand out to me.

I do have a theory about this kit. Being strongly based on Tanneron's model in the Musee de la Marine. As you know, there were three ships of the line named Le Soleil Royal. The original of 1668 was Laurent Hubac, who has been referenced strongly in this thread. The second ship of 1693 was built by Hubac's son, Etienne Hubac. She was originally planned as a two decker but was redesigned as a First-Rate three decker of 104 guns. The third ship was a two decker.

Given that Tanneron's model does not look like Jean Berain's drawings, which were clearly based on the first. I'm wondering about the possibility that Tanneron's model was supposed to represent the second ship. That would explain a lot of the differences found between the drawings and the model. I'd like your thoughts.

Bill
 
I am glad that you like the gratings. Like a number of modifications I have made on this model (everything to do with the guns and port lids, for example), the gratings were time-consuming, but the alteration will pay huge dividends on the finished model.

Well, Bill, I have a number of thoughts on the subject of the Heller kit as it relates to Tanneron’s model.

The Heller kit is a direct take-off of Tanneron’s model, and Heller made some attempt to reconcile the incomplete elements of Tanneron’s model.

The kit creators realized that it would be incongruous with the 17th C.French style to leave the upper bulwarks as devoid of ornamentation.

So, it appears to me, they did two main things: they adapted the Berain/Vary upper bulwark frieze of shells and fleur-de-lis into a simplified form between the drift rails; it is approximate, but the inspiration is clear.
Secondly, they took their cue for the repeating Royal monogram of crossed L’s, between the main deck guns, from the Louis Quinze model, which has its origin at the end of the 17th C., and can be viewed as a representative model for a First Rate of the Second Marine.

While Heller markets their kit as being an original representation of the ship in 1669, the architecture of the head, the quarters and the stern do not really reflect what that reality would be.

As for Tanneron, it seems that nobody can say with any certainty what his precise sources for the model were, however, it seems apparent to me that it is a reconciliation of several primary sources.

Tanneron models the quarter galleries as being open, with a walkable lower stern balcony; these traits are hallmarks of ships of the early First Marine building plan, however, their structural arrangement and representation on Tanneron’s model has more in common with ships built after 1693.

This well known drawing that I exhaustively argue is actually of the Monarque and not the Royal Louis of 1668, is characteristic of the early style and structure of First Marine Sterns:

0C7DF755-035D-4E29-8D32-59BBA392F46B.jpeg
What Heller modeled, vis-a-vis Tanneron, has much more in common with this:
73A44A51-365F-4ECA-A548-11B87681851F.jpeg
This quarter gallery is shown as being fully closed in, which is characteristic of the building directives that were finally enacted from the Second Marine building program, in 1693, and thereafter.
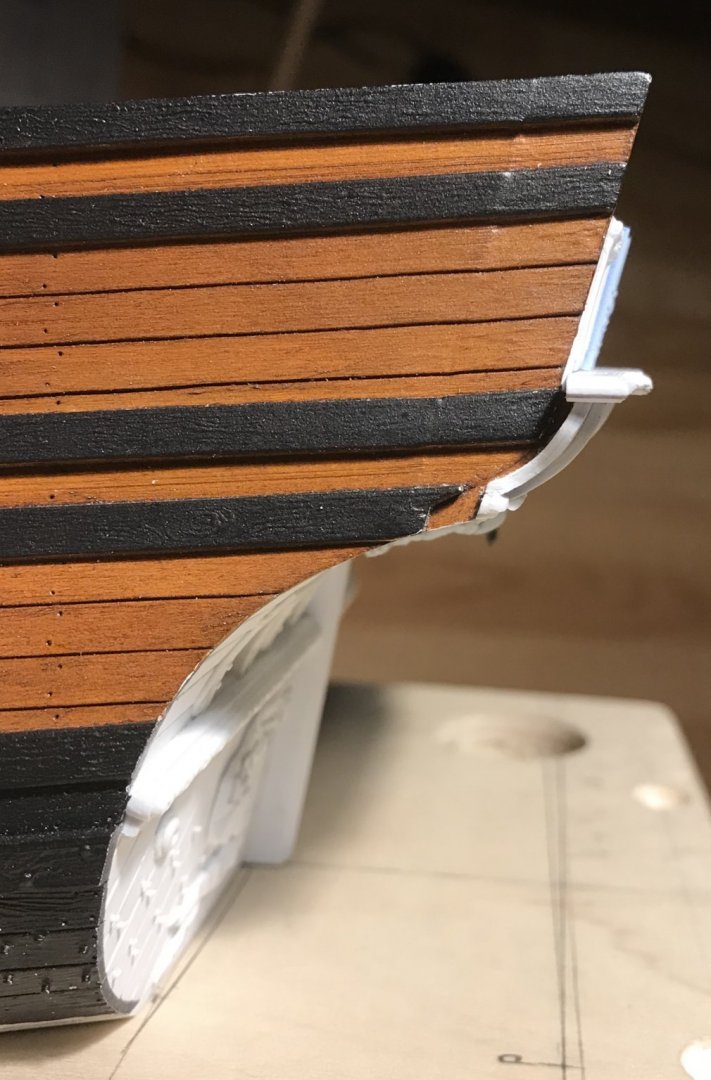
This quarter gallery corresponds directly, in every way, with Berain’s stern drawing, for which it is known that Etienne Hubac re-created this ornamentation for the second Soleil Royal in 1693:
06DB06D3-E68D-4D8C-9A29-E9FD019AF3A7.jpeg
It is notable to me that the upper bulwark frieze is much simplified, as compared with the earlier Berain/Vary frieze, which I believe is the re-build ornamentation of 1689.
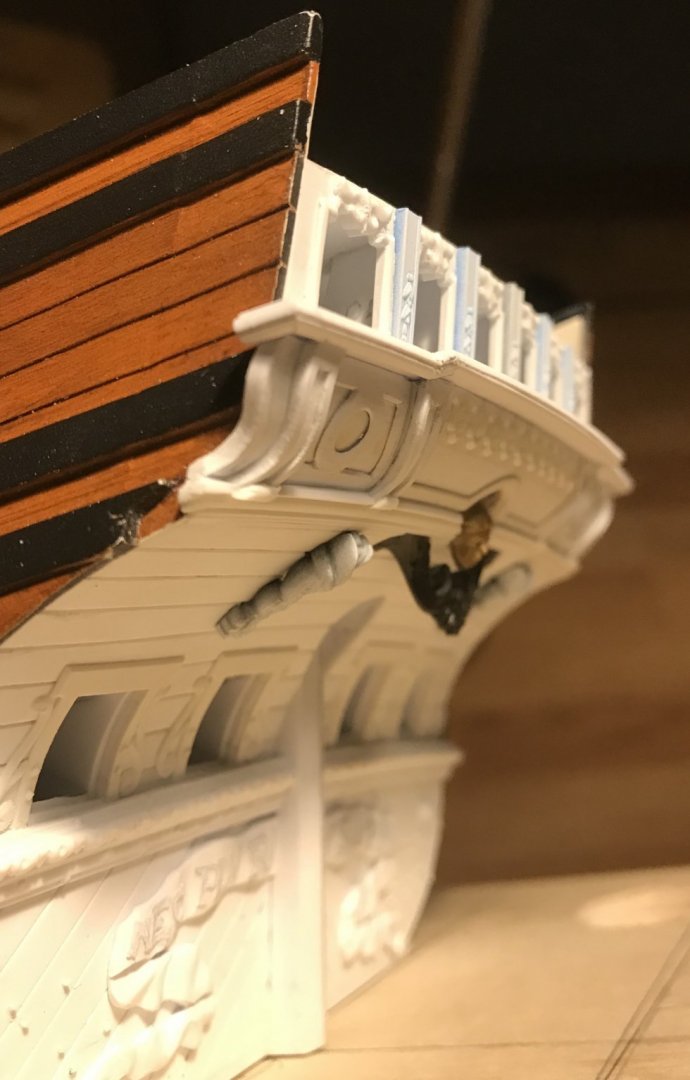
By the time the Second Marine comes into existence, there was a concrete shift toward reduction of ornamentation, even on a principal ship like Soleil Royal.

So, in summary, I believe that Tanneron was primarily using the Louis Quinze model for structural cues, but he was also attempting to represent the earliest incarnation of Soleil Royal with her taller sheer, her open quarters and her three walkable stern balconies:
BC48F1FE-0CBA-4816-A4DE-4CB94F6A96CF.jpeg
Nobody I have read or spoken with can definitively say why Tanneron’s representation of Berain’s stern is divergent in so many important ways; chief among these differences is the representation of five stern lights, as opposed to six.

This is curious, but not uncharacteristic for Tanneron who also made similar divergent choices in his stern representations of Le Brillant and L’Agreable - models which originate from signed and dated drawing sets that are absolutely known to correspond with each other. My analysis of all of these differences is exhaustive and can be found on the main build-log of MSW, although I believe I also copied and pasted that same discussion on the first few pages of this SOS log.
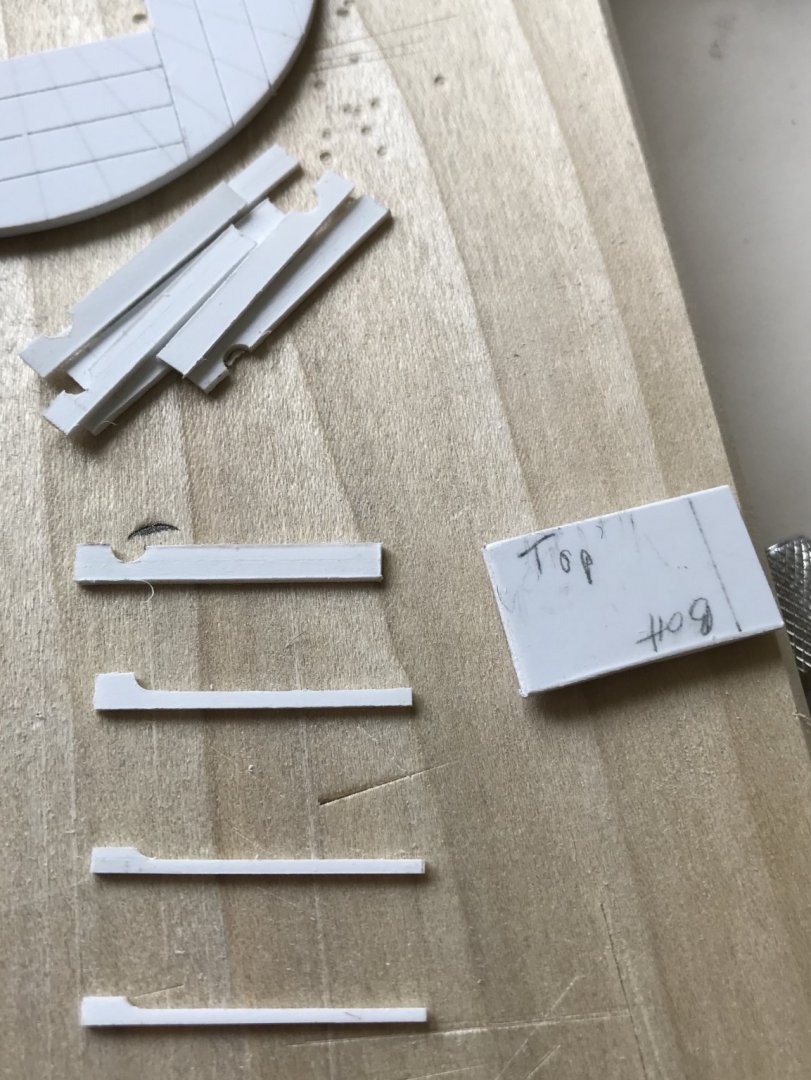
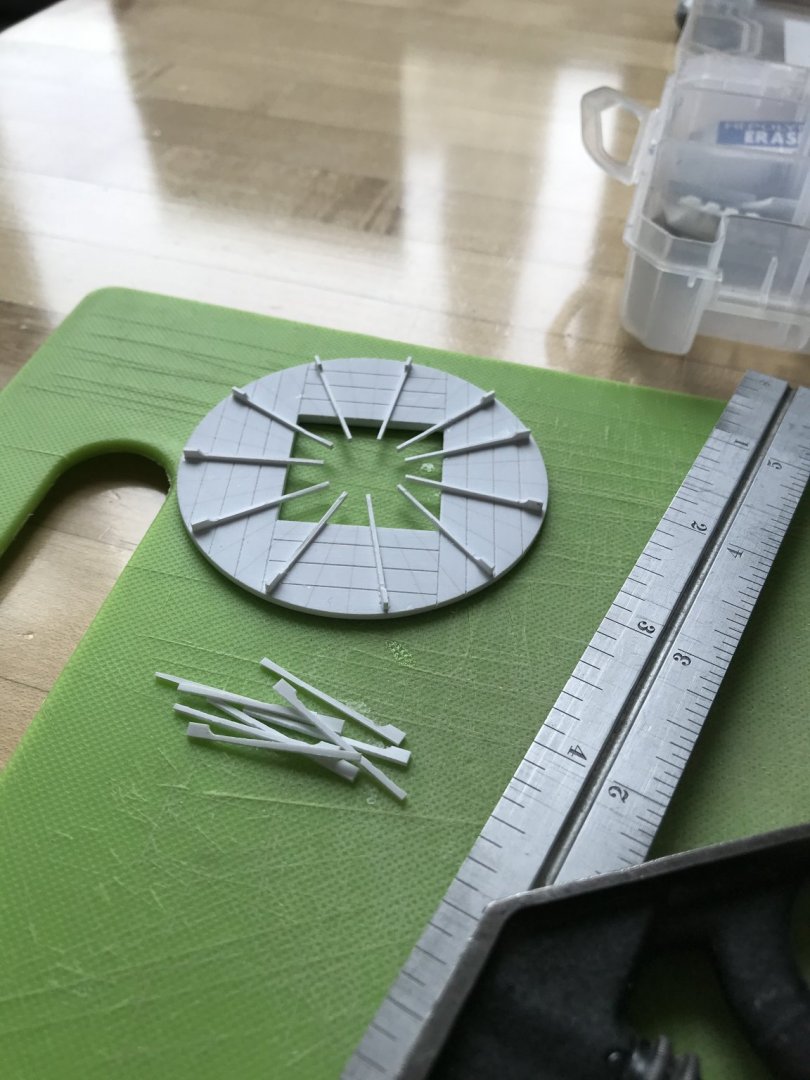
Simply stated, Mr. Tanneron appeared to make divergent choices that aren’t easily understood - especially in the absence of any controversy as to what quarter drawing corresponds with Berain’s stern, at any given point in SR’s history.

All models of Soleil Royal are necessarily a reconciliation of the available sources. What I am attempting to do, within the confines of the pre-established Heller kit architecture, is to provide a more representative view of a French First-Rate in 1689, as understood through representations of her better documented contemporaries. I call it a “forensic reconstruction,” but it is really a reconcilliation of construction trends that I’ve been mapping across the progression of the French 17th Century.

My model is an amalgamation of compromises that I would prefer not to make, ideally, and yet it is slowly transforming into something much more interesting than the sum of its parts.

A number of people disagree with what I am doing, and that is, of course, their prerogative. I suspect that some of those people, though, may be somewhat surprised when they can eventually, finally see what I see, as the model rounds into form.

It’s all a process, and we will get there eventually. Thank you for looking in.
 
Last edited:
Back
Top