In this second installment, I’ll discuss the initial planning and approach that goes into modeling the carving, while introducing the tools that I use the most, and discussing the techniques that have given me good results.
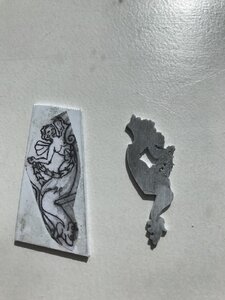
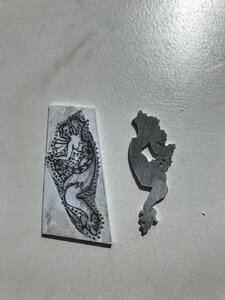
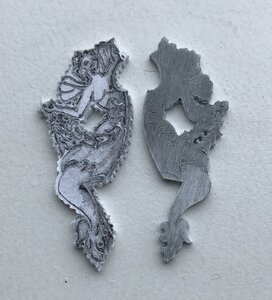
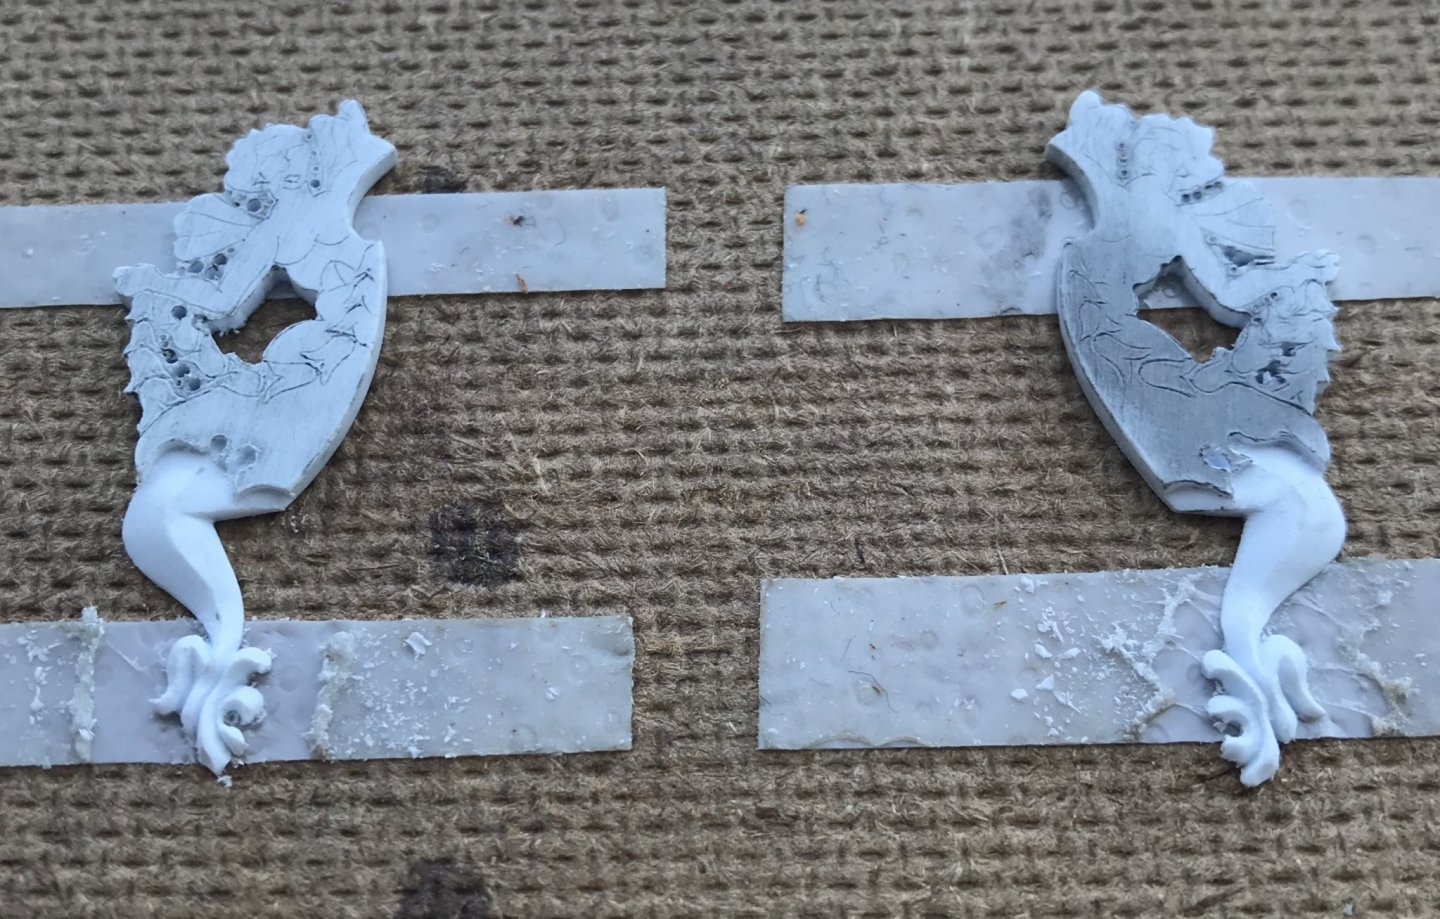
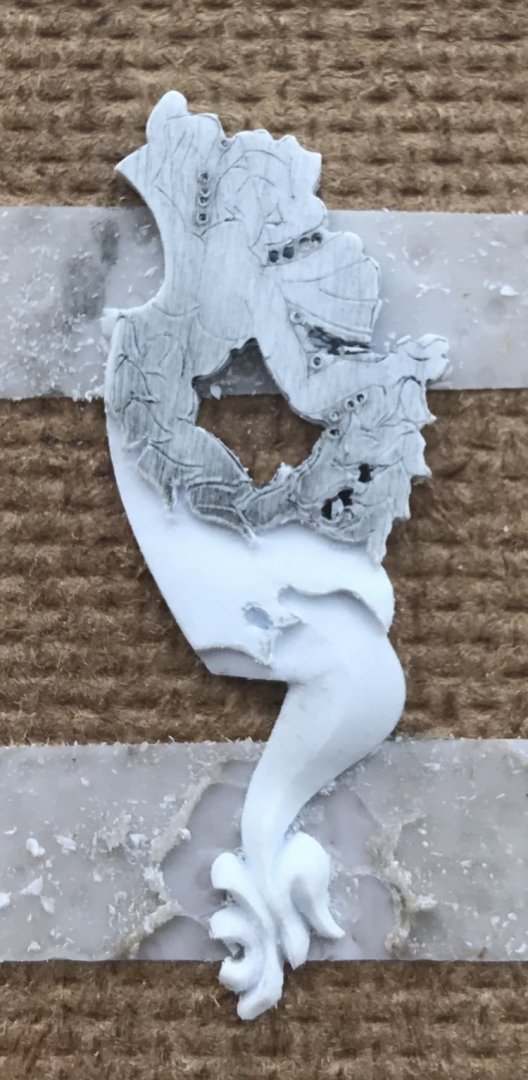
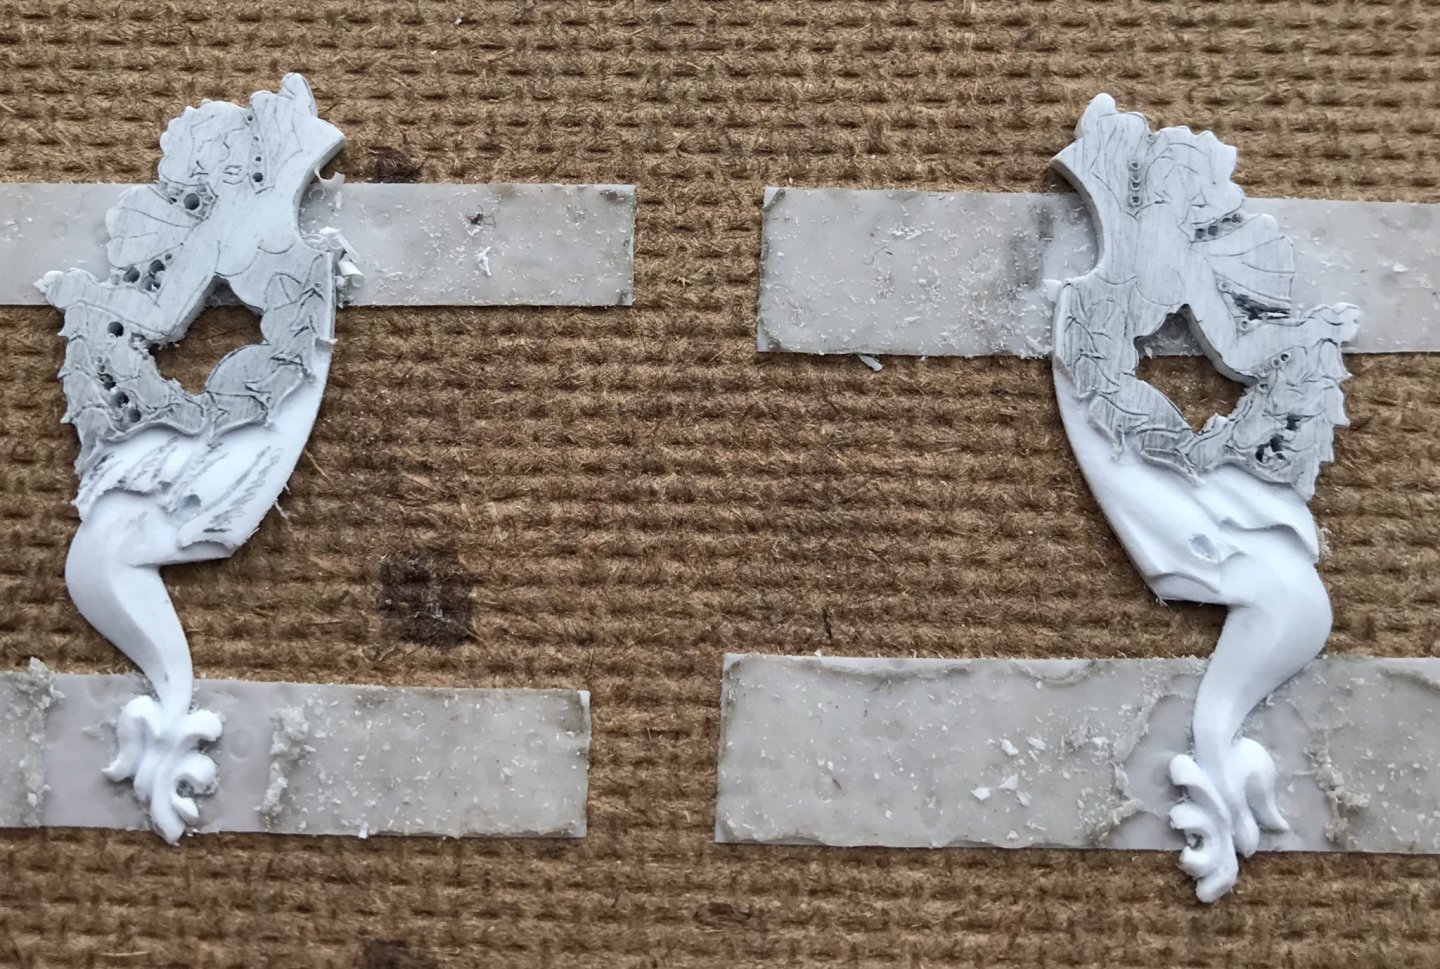
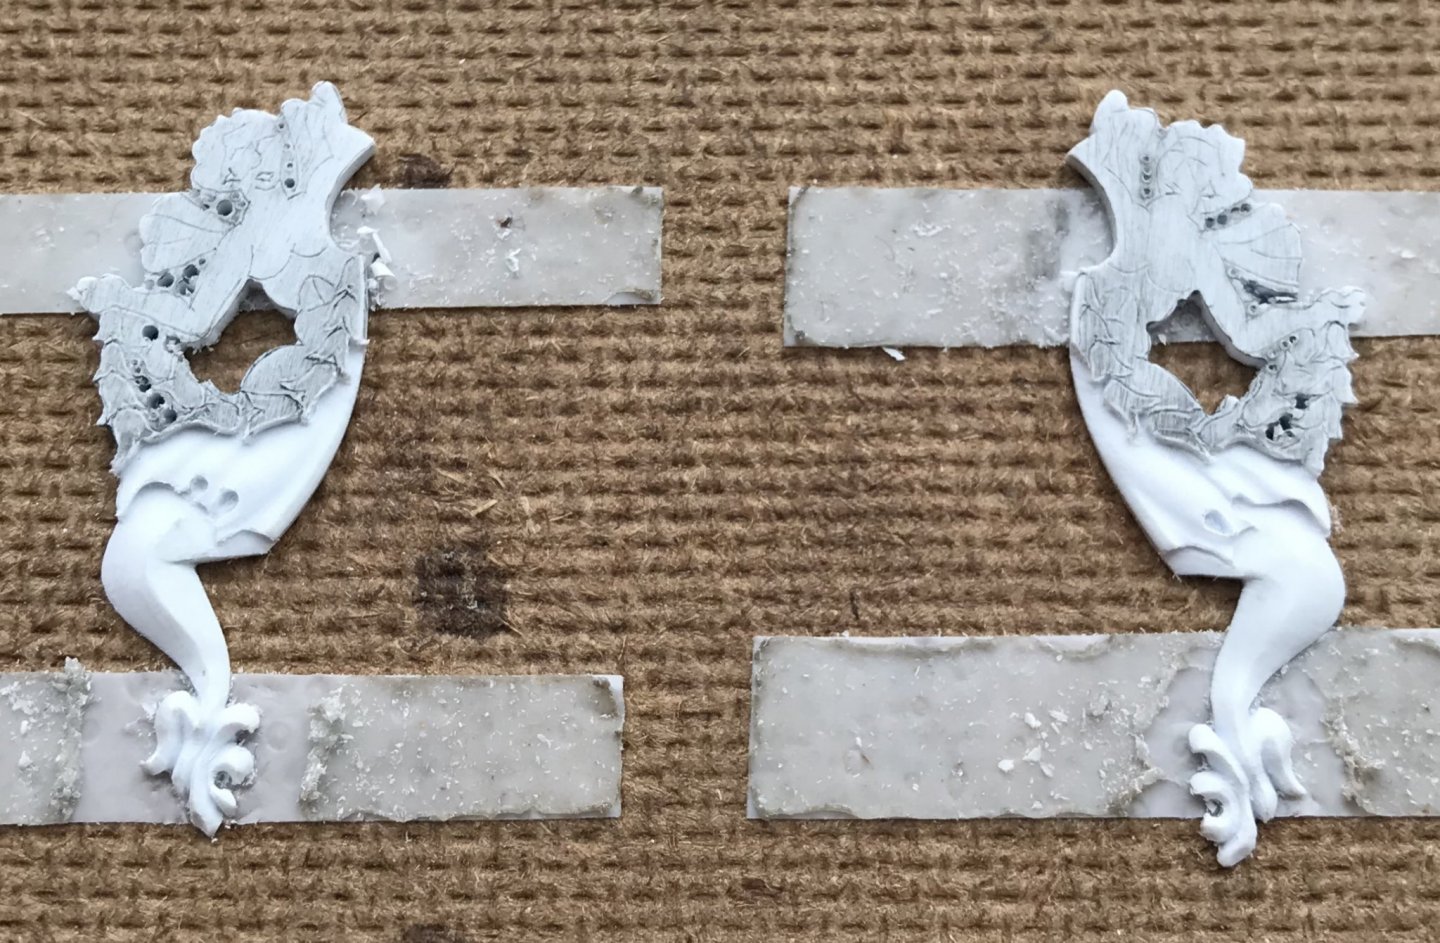
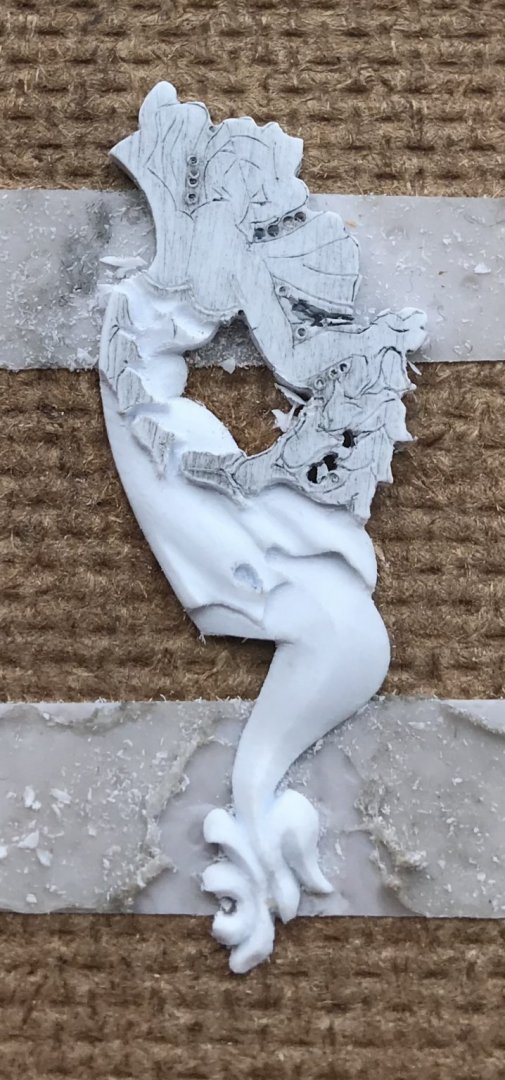
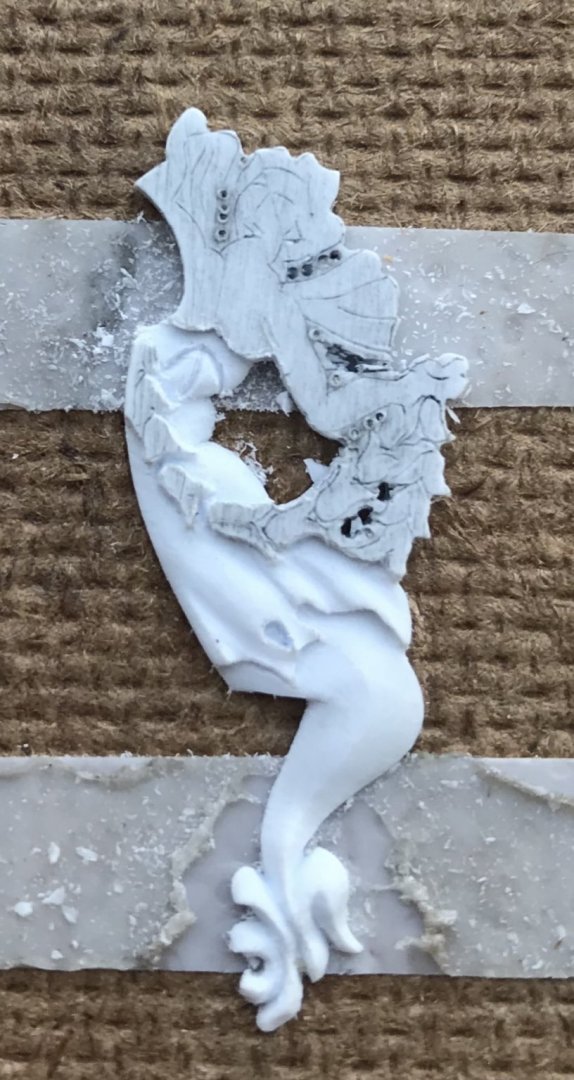
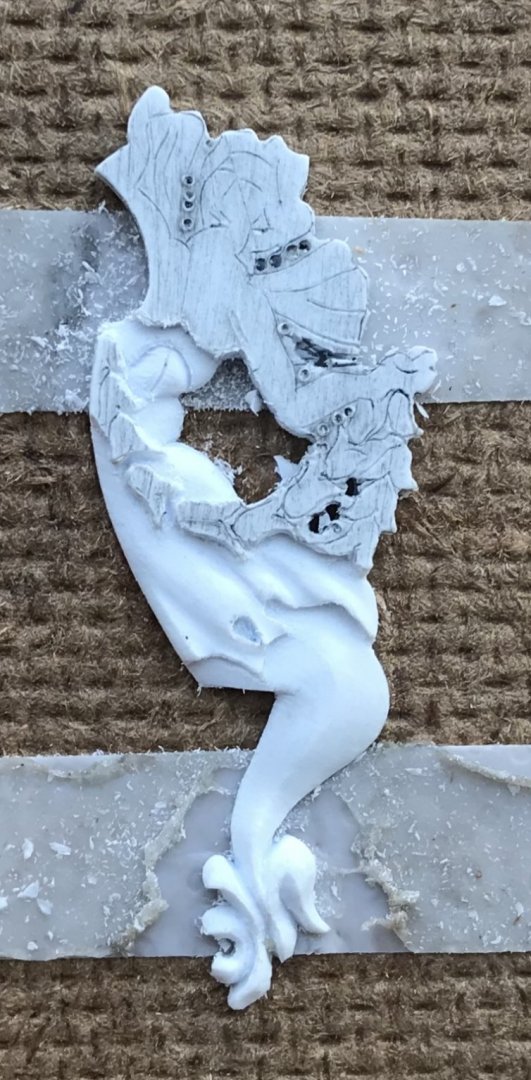
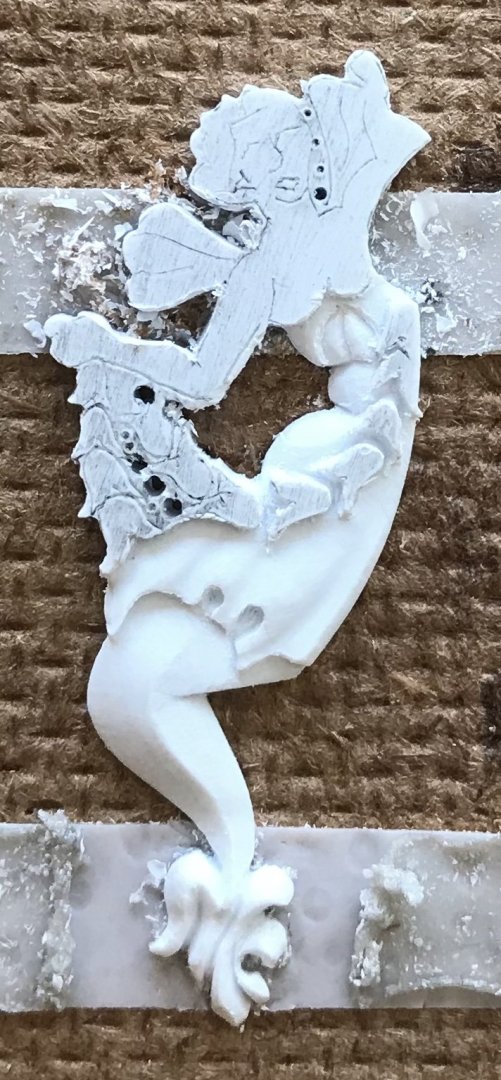
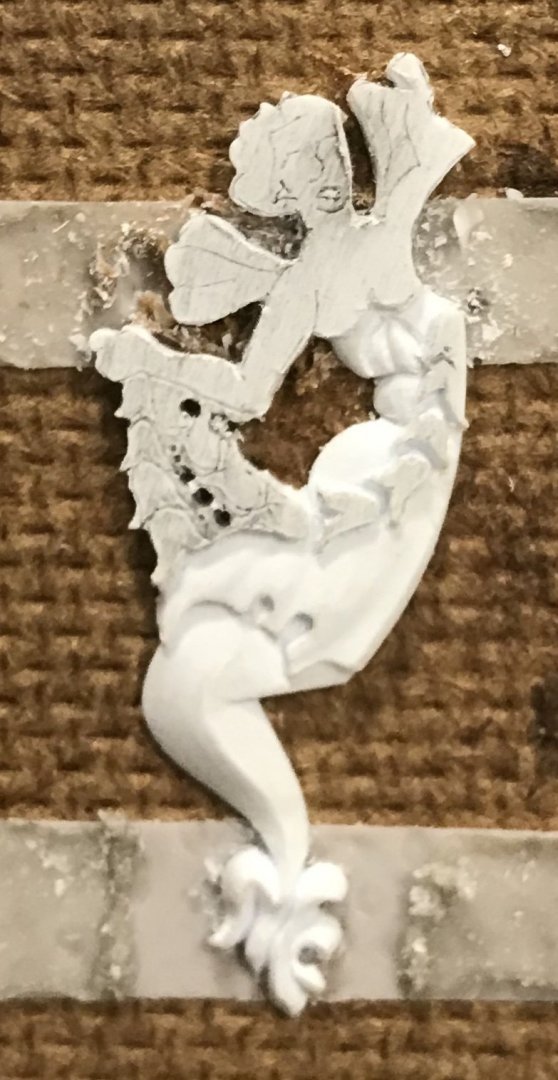
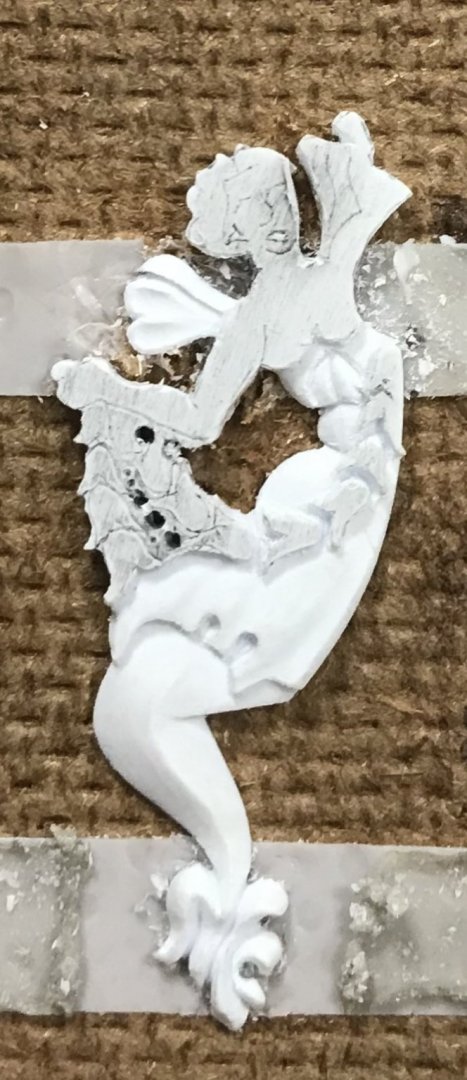
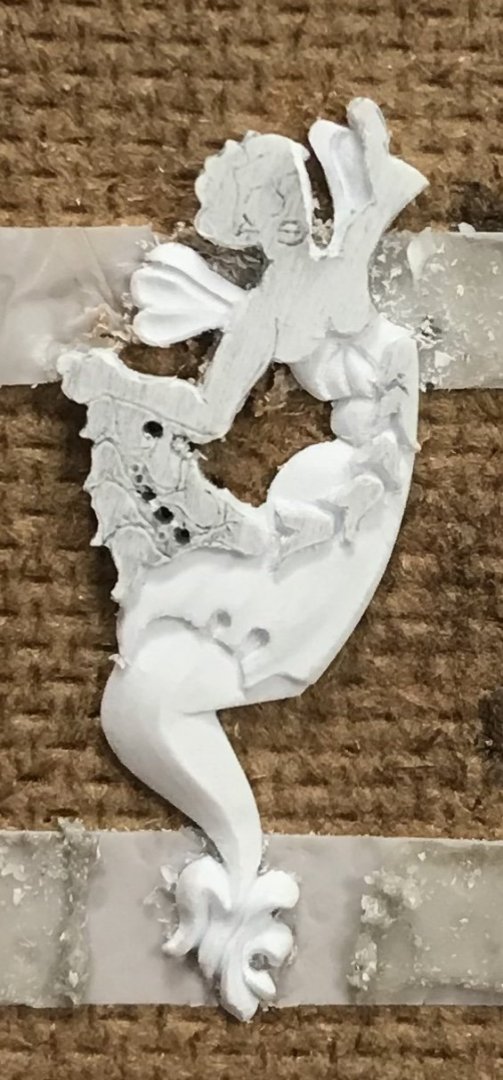
At the stage pictured, below, I’ve invested about four hours cleaning to my outlines on each carving. I’ve used the smallest diameter drill bit I have - roughly 1/64” - to get in-between the head, wings and arms. Doing so, even to this minimal degree will greatly ease the cutting-in later. The carving blanks have good symmetry. I made one small drilling error in the bell-flower garland, near the hand, on the left blank. In the end, this small mistake won’t be noticeable, and certainly it does not necessitate a redo of the blank.
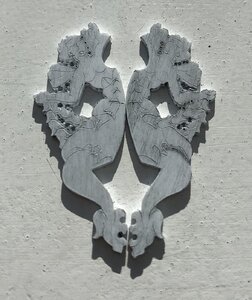
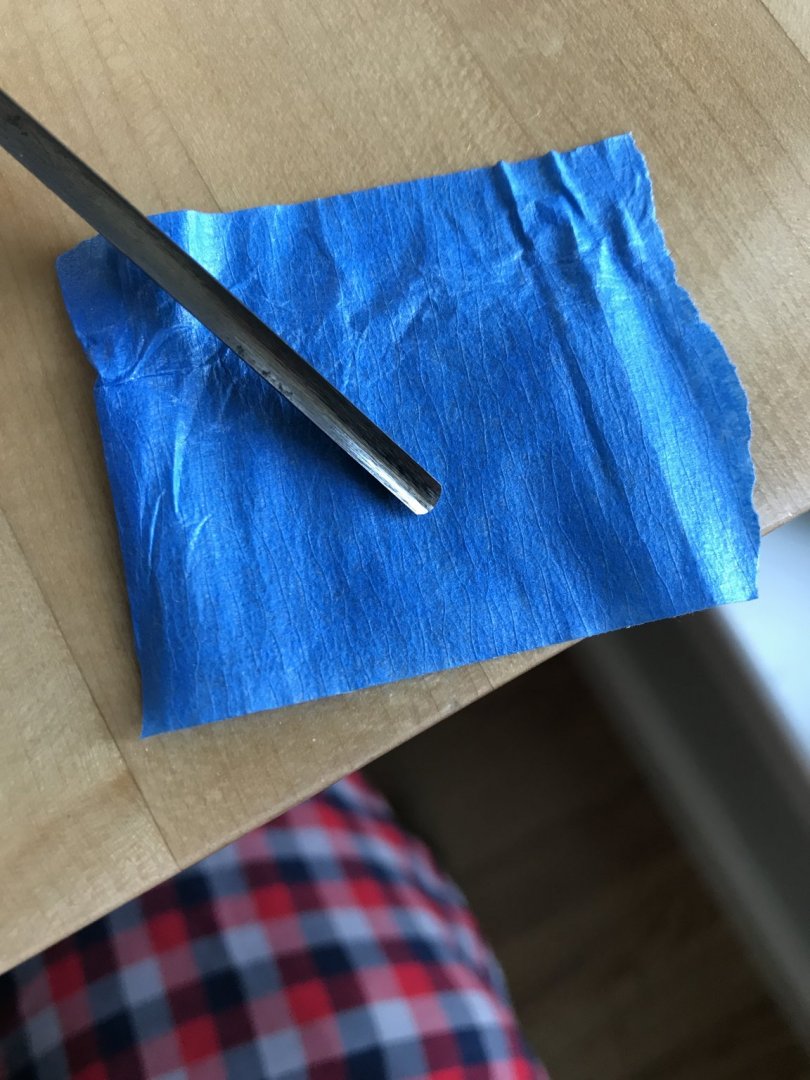
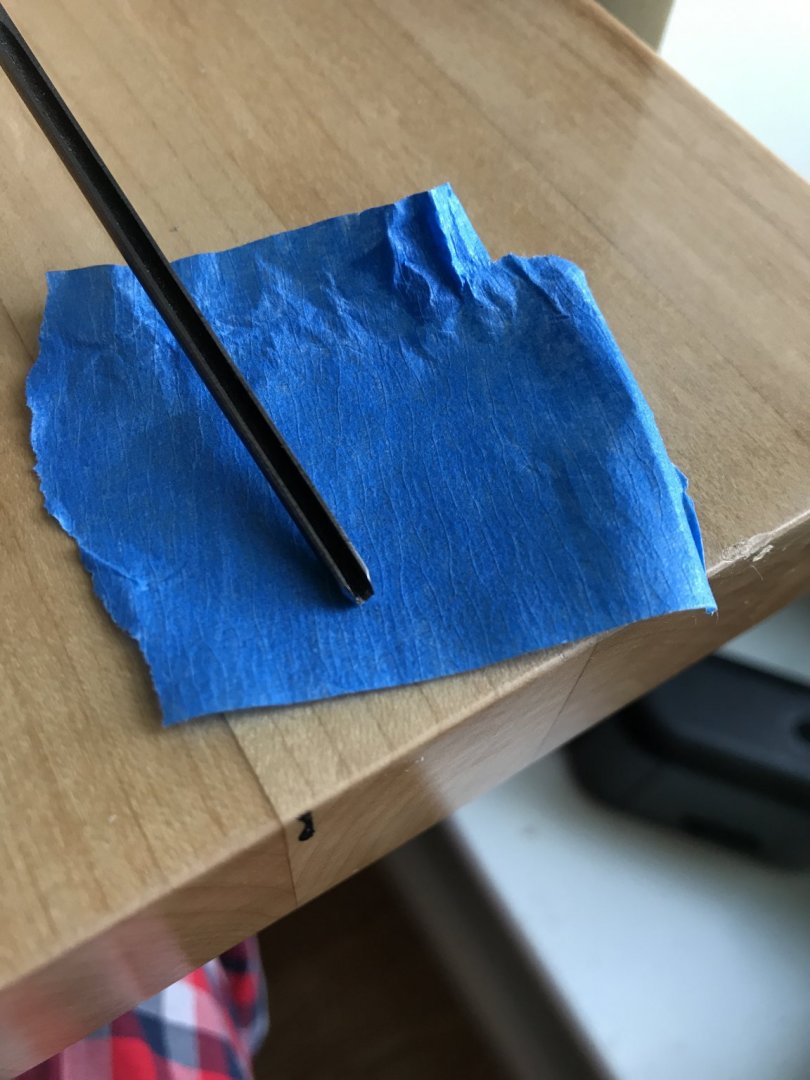
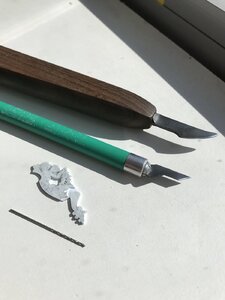
Below are the primary tools that I used, today, to begin carving the tail. With the exception of a few Dremel burrs that I use to do some of the initial wasting, most of the cutting-in and sculpting I do happens with my EXACTO (for deepening lines of demarcation), and my hooked BEEBE knife for paring, digging and scraping.
This hooked knife, in particular, is invaluable throughout the sculpting process because its versatility enables you to achieve fine results without an arsenal of carving tools.
The occasional drill bit also comes in handy when you need to define a small radius within the work - as, here, along the flowing hem of the figure’s blousy skirt.
So - even though, at this point, I have made a number of similar sculptures for this project, every carving is unique and demands that you think your approach through before you begin.
While not a fully rounded figure, this carving is, nonetheless, fairly involved, with the area around the head and wings providing the greatest challenge.
Personally, I like to begin a carving in an area that is a little less daunting until I find my confidence, again, and the resulting momentum allows me to work through the carving by increasing degrees of difficulty.
In this instance, I have decided that the tail is the best starting point because, while contoured, it is a shape that I fully understand, right now. Unfortunately, the line of demarcation, here, is the blousy skirt that has a somewhat involved hemline that one must clearly define, first.
Bear in mind that the blank, in this case, starts out as 1/16” thick. As a general rule, I will reduce to 1/2 thickness along lines of demarcation, in order to convey a sense of depth. In this case, that means that the skirt steps down, roughly, 1/32” to the tail.
In order to begin cutting in this line of demarcation (on the tail side of the line) I like to take the smallest round burr I have and run it in the Dremel at the next to lowest speed; because this is plastic, you don’t want to generate too much heat, thus making a molten mess of your waste.
The absolute key to “relief” carving is to relieve an area for the waste to pare away easily, without having to apply too much pressure on the blade. To facilitate this, I run my Dremel burr along the line, but not on it. You want to get to within 1/32”, or so, of your line so that you can gently pare to the line with your knives. For the most part, I like to use my EXACTO to pare to lines, and the BEEBE to pare and scrape the surface down smoothly.
Although it isn’t so evident in the picture below, I’m plunging the tail lower at the sides, than in the middle because, ultimately, I want the tail to take on a domed appearance. In the finished carving, it is this very slight rounding of a surface that creates the play of light and shadow that gives the carving a sense of depth.

The other thing to be aware of is that, as you sculpt down through some of your reference lines, you will occasionally need to pencil-in a few guidelines as a reminder of where you are going. In the example below, I’ve penciled-in a crease line that ever so slightly favors one side of the tail, towards the top, but centers at the bottom, where it meets the foliate flipper.
I have found that, sometimes, working just off-center enhances the dynamic “movement” of a carving. Also - however subtle they may be, hard crease lines define shadow and light in a way that benefits the finished carving. Developing a sense for this is simply in the doing of it, but it is useful to at least be aware of that, as you begin sculpting.

Another design trick for creating a greater sense of movement and vitality is to create undulations or “waves” of varying depth. Some examples of where I have previously done this on this model are the motto banner and the rudder dolphin’s tail.
Initially, it’s just a simple matter of using a Dremel side cutting, straight burr to create these waves:
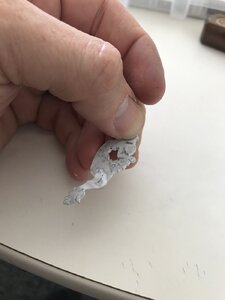
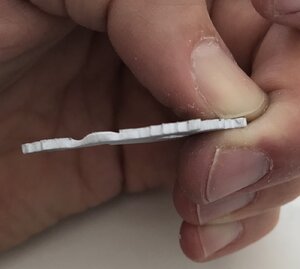
Note that the angle at which you introduce these undulations matters; it can either affirm natural movement or run contrary to our intuitive expectations of how tails behave.
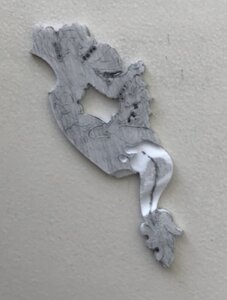
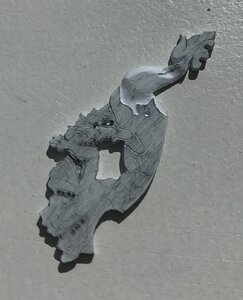
Once that’s established, you can begin really contouring the tail. Usually, I’ll begin a rough paring with the BEEBE. Then, I’ll smooth the surface and try to define my crease with the triangular And round needle files - so far as I can without cutting into adjacent sections of the work. Finally, I will scrape micro-facets with the BEEBE - particularly around the perimeter. This helps me achieve the soft rounding.
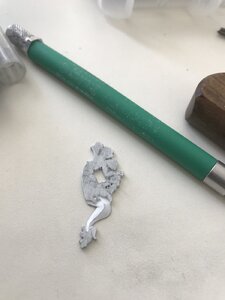
The foliate tail “flipper” represents a small increase In degree of difficulty. Before I begin sculpting the leafy tail fronds, I want to achieve a sloping taper from the head of the flipper to its tip. This is easily achieved with an emory board.
Next, I want to introduce a similar sense of movement with waving undulations, just as we did before with the tail body:
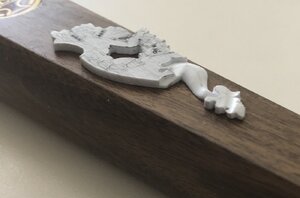
Sculpting of the flipper fronds, themselves, begins by re-scoring the outline of each frond with your EXACTO blade. I like to “draw” a very light line with the blade, on the first pass. Then, I’ll make a few deeper, scoring cuts along this line.
Finally, I’ll flip the blade and drag it through my score cut, with the spine of the blade leading the direction of the cut. In this fashion, the blade tip essentially engraves a successively deeper line into the plastic. As described, this same technique works essentially the same way on wood - particularly, across the grain. The more parallel your cut runs with wood grain, the more you will have to alternate your direction of cut
Any time I’m trying to sculpt something small and leafy like this, I basically try to scrape two facets along a centerline, for each frond. Mainly, I use the BEEBE for this.
I also like, where appropriate, to introduce concave hollows around round openings. There’s a small shallow gouge that I use for this, but I didn’t have that with me today. I’ll be discussing that more in the next installment.
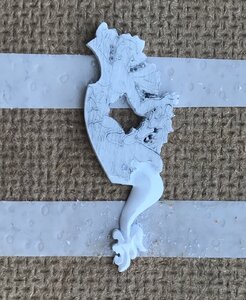
Basically, these few techniques will enable you to methodically work your way through any carving. I probably won’t do detailed updates of every step in the process, but I likely will discuss the bell-flower garland, as well as the head and wings, in some depth.
Until then, be well and enjoy this extended American weekend!


