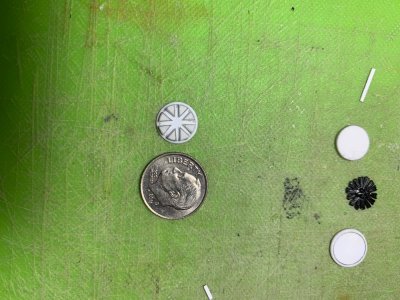
• Win a Free Custom Engraved Brass Coin!!!
    As a way to introduce our brass coins to the community, we will raffle off a free coin during the month of August. Follow link ABOVE for instructions for entering.

Soleil Royal by Heller - an Extensive Modification and Partial Scratch-Build by Hubac’s Historian

Gentlemen, I am so sorry for being so late in reply. A hearty THANK YOU to all for your kind birthday wishes!

I don’t even get email notifications for my own log, unless I’ve checked-in recently, which I haven’t since the last posting. I only made this realization while sifting through the “new posts” section on the main browser. I hope none of you will think me rude or harbor any bad feelings :)

It ended up being a very nice 52nd birthday. While we’ve been popping around to various locales for summer vacation, in recent weeks, I find myself at home alone, for the next week, while my family enjoys their last vacation in Sag Harbor. The Italy trip ate up most if my available vacation time.

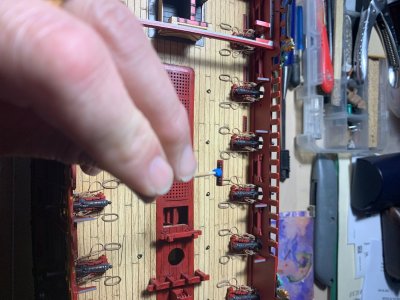
I plan to make use of the free time, though. I’m almost ready to install all of these main deck gunnery accoutrements, and the free-standing bitts that I’ve forgotten the proper name for.

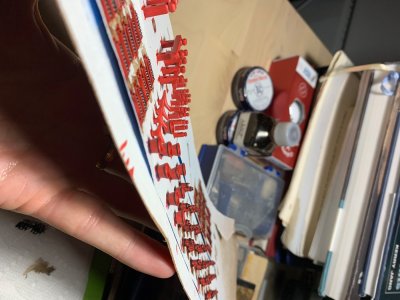
All of these parts after their walnut ink distress wash:

IMG_8429.jpeg

I will try, also, to catch up with all of your logs this week. Paul, I was just on your SP build, and that framing is sublime!
 
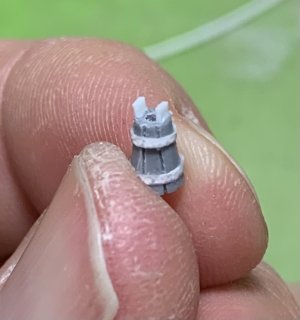
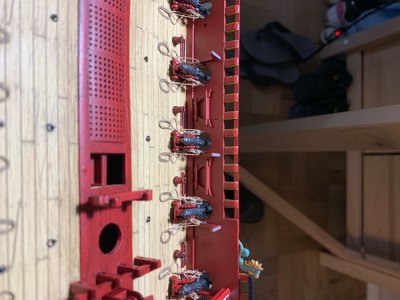
So, I’ve managed to make some progress. I finished painting the deck hardware. On the one hand, the degree of detailing I put into the lin-stock tubs may seem like overkill for something so small, that is largely overshadowed by the waist gangways. However, I truly enjoyed the process of engraving them, boring them out, banding them, painting/weathering them, and making ears and annealed wire handles for them. It gave me the sense, once again, that I was engaged with the project, in the limited time I had available.
IMG_7682.jpeg
IMG_8517.jpeg
IMG_8492.jpeg

(honestly - not sure why so many of these images are importing vertically, when they are horizontal in my photos)

For placing these tiny items where clumsy fingers fear to tread, I found that wall-tack putty rolled around the end of a toothpick enabled me to place these items precisely, in the limited time before the CA sets.

I did make one shot-rack placement error, but it will be completely concealed beneath the f’ocsle deck. It wasn’t worth creating a paint repair problem.

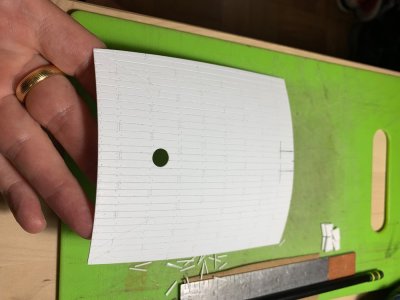
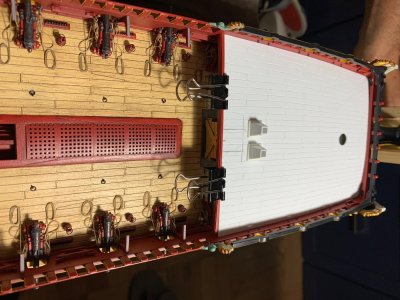
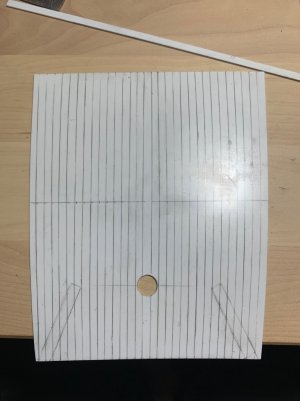
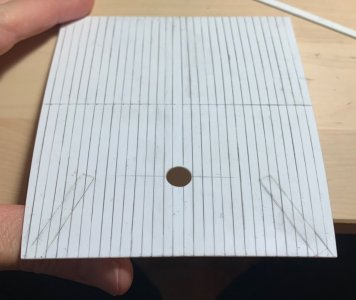
Now, I still have cleats and blocks and cavals to place on the main deck. I still also have to belay sheet and tack lines to the inner bulwarks for the eventual rigging. I had momentum, though, and wanted to continue making significant progress. I decided to begin detailing the f’ocsle deck as a motivator to finally route my belay points on the main deck, so that the whole project can move forward.
IMG_8506.jpeg
IMG_8505.jpeg
IMG_8508.jpeg

A few of these plank lines are a little ragged, but from most perspectives those flaws will not be very apparent. I found that, at first, I was moving a little too quickly with the engraving, and not taking enough score passes to create a clean channel to back-drag the tip of my blade. The proof will be in the paint, when those lines really jump out, but I think it will be okay.

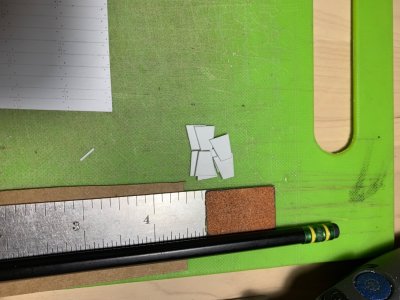
Next up, I decided to make the galley chimneys:
IMG_8509.jpeg
IMG_8510.jpeg

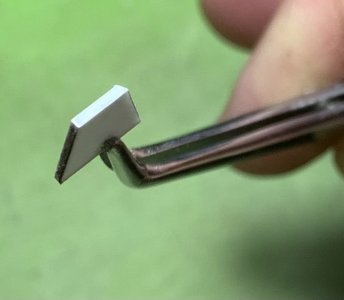
I blacken the edges with graphite, so that I can more easily gauge the bevels I am filing into them.
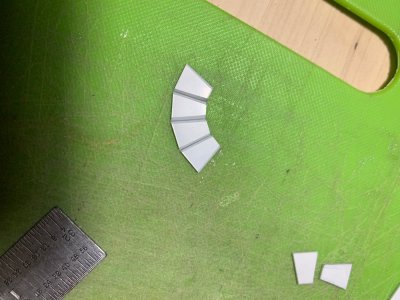
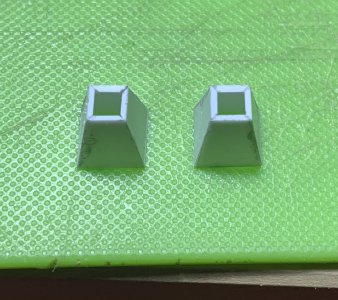
IMG_8511.jpeg
IMG_8512.jpeg
IMG_8515.jpeg

Next up - I wanted to make a f’ocsle capstan because I see evidence of one on the Louis Quinze model at the musee.

A montage:

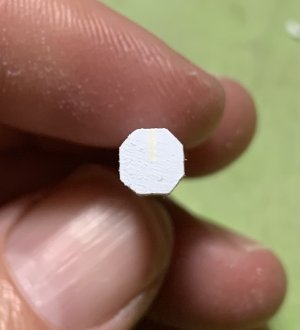
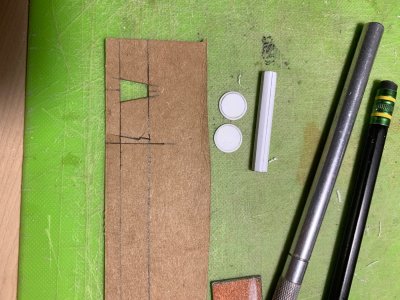
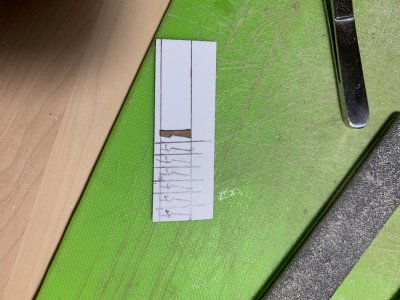
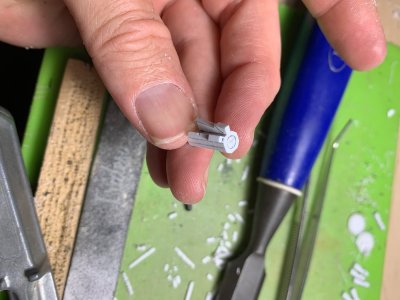
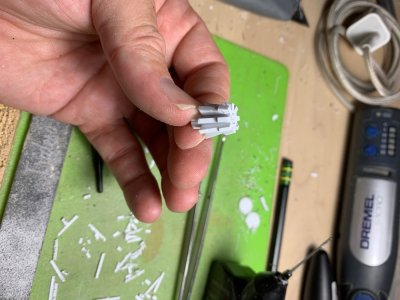
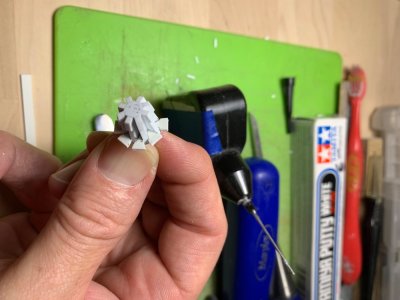
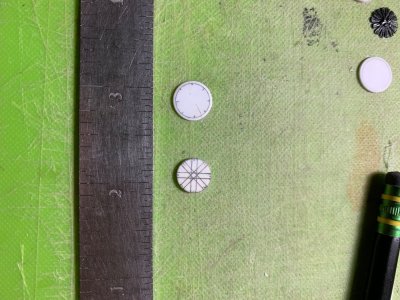
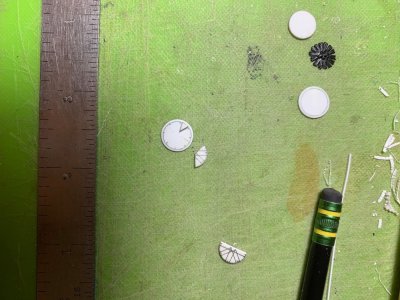
The foundation of the machine are 4 pcs of .100 square stock cemented together, and then trimmed to 3/16” square. I then faceted the barrel into an octagon:
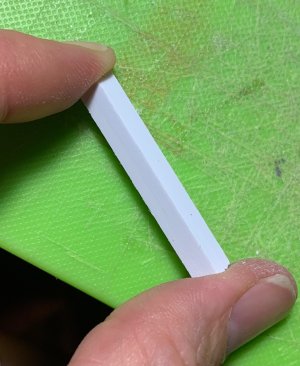
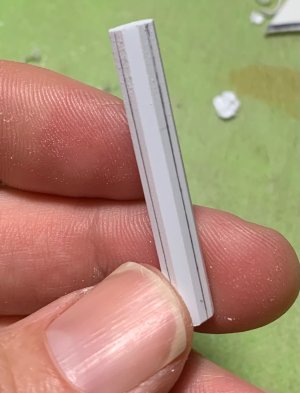
IMG_8520.jpeg
IMG_8527.jpeg
IMG_8529.jpeg
IMG_8530.jpeg
IMG_8531.jpeg
IMG_8532.jpeg
IMG_8533.jpeg
IMG_8539.jpeg
IMG_8540.jpeg
IMG_8541.jpeg
IMG_8542.jpeg
IMG_8544.jpeg

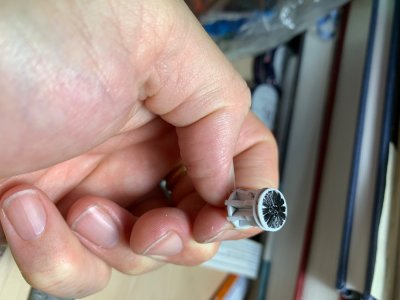
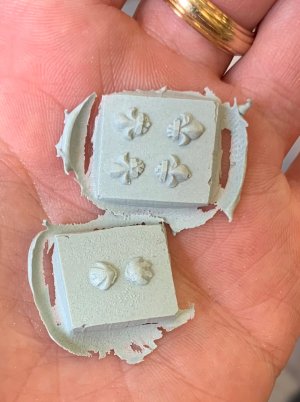
I am always looking for places where I can re-purpose the stock ornamentation, and these radiant fleurs from the quarter galleries seemed like a fitting complement to this machine.
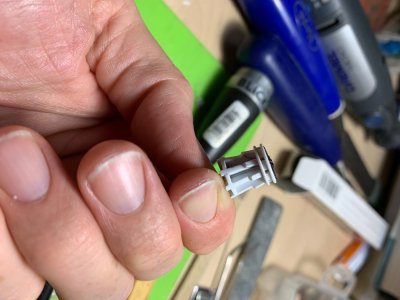
IMG_8545.jpeg

The capstan will stand four scale feet above deck and the capstan bars will just clear the height of the chimneys:
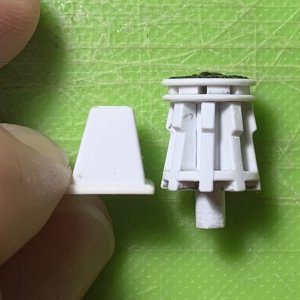
IMG_8547.jpeg

All-in-all, this little machine was one of my favorite elements to make for this project. I still have to make the capstan locking pawls that engage at the foot of the machine.

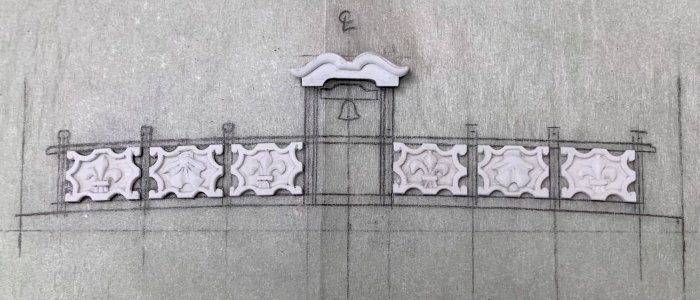
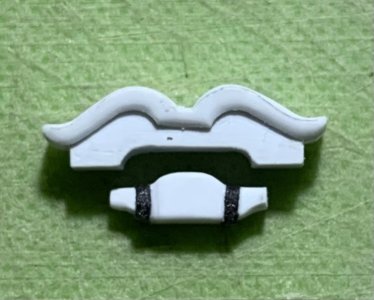
Next, I think I will design the break rail and belfry. Thank you, as always, for the likes and looking-in.
 
Incredible work at this scale - you are doing by hand what I could only do with my machines and even then, there are times when I struggle. I also really like that capstan design, it's a lot more interesting than the typical 'barrel-with-a-few-square-holes' affair.
 
Hi Nigel - that’s a good question, and one that I haven’t thought too much about.

Basically, my plan was to carve a sea into 1” foam-board sheet, and use one of any number of techniques (newspaper and glue, gesso) to build up the surface.

This won’t be a terrifically animated water surface. The first step, though, will be to place the model on the un-carved sheet and trace it’s outline, so that I can route a shallow 1/8” cavity for it to sit in.
Given that I have such limited storage space in my apartment, I probably won’t do any of that until the end-stages of the build.
 
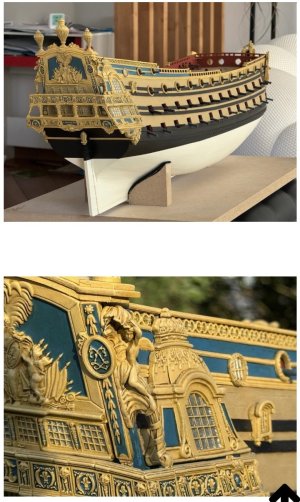
One last thought on Waldemar’s observation (made on the MSW edition of this log) - a closer look at the L’Ambiteaux capstan does show a staggered 2-level series of sockets for the capstan bars, while Lemineur’s SP is a single level of sockets. Really, I have no idea whether that represents an evolutionary timeline from 1680 to 1693, or whether it is merely a designer’s assumption that has the privilege of plausible deniability for the lack of primary source information.
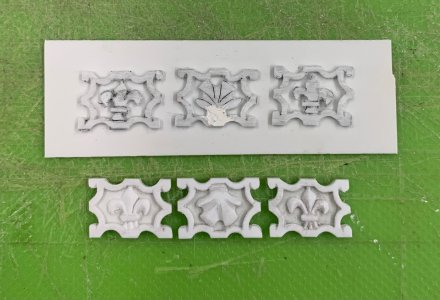
As I have one more radiant fleur emblem at my disposal - I could grind off the existing emblem; fill every other socket on the existing level; add an upper level of alternating sockets; and re-cap with a new top and emblem. That is a possibility that - so long as I don’t botch the emblem extraction, wouldn’t take too long to do. What do you think guys? Is it worth it? I will weigh your responses, carefully.
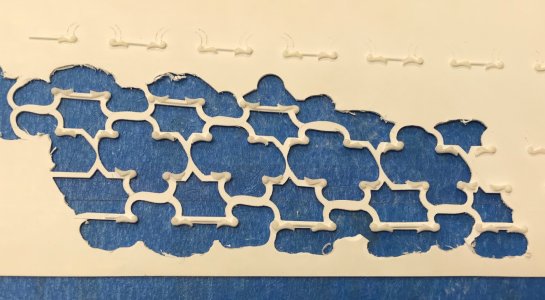
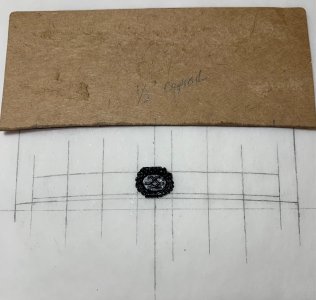
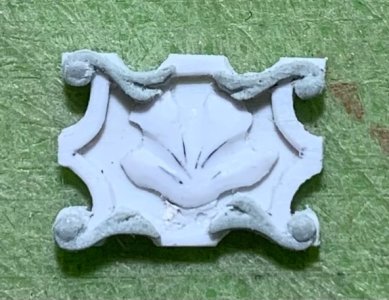
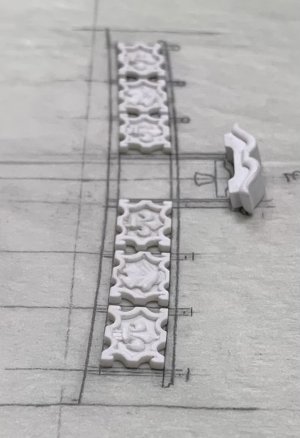
Currently, I have begun designing the f’ocsle breast-rail and belfry. I’m playing around with another ornamental extraction. This time it is the garland-ensconced royal monogram that would be a fitting central panel beneath the belfry:

IMG_8554.jpeg

This whole process begins by fitting a card template (always soda boxes) to the exact camber of the f’ocsle deck beam. Once my sanding stick brings the template to rest, I like to harden the card edge with CA, because this template is now a drawing tool for transferring that camber up the breast-rail.

The central belfry will rise up above the breast caprail by almost the same height as the breast-rail.
 
Back
Top