18/10/2026
You know how I was going to not do any bashing….
However, despite my intentions, I am already constantly referencing several top quality SR builds, both Heller and otherwise, seemingly spending an hour or two reading for every 30 minutes of making. Some things are just so easy to improve, especially with 3D printing, that it would be a shame to not do them. (For those who would like them, note there are .stl files attached with this post).
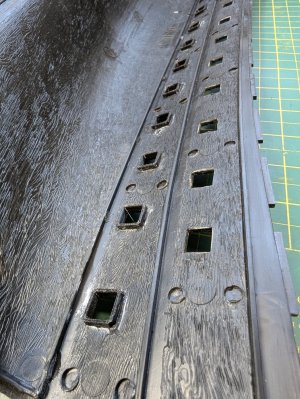
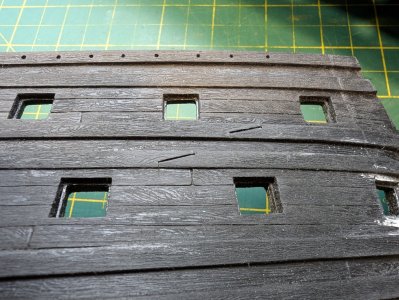
Consequently I’ve begun by thickening the gunports, a fairly standard thing now on plastic kits. Usually, people glue styrene strip to the inner edges of the ports but I’ve printed some inserts that both thicken the hull and create tidier linings all in one. I’ve gone with what looks right in relation to the depth and thickness of the insert, thickening by 2mm for the lower deck, 1mm for the middle and nothing for the upper.
....a 9mm chisel blade fits perfectly....I began making each insert specific to each port but after a few ports, just made a bunch of various sizes with minor variations and used whatever fitted best....
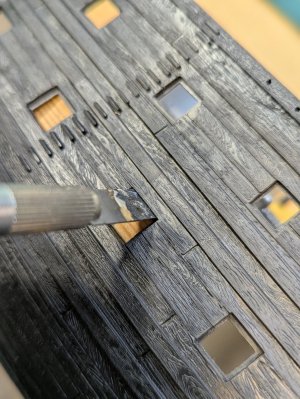
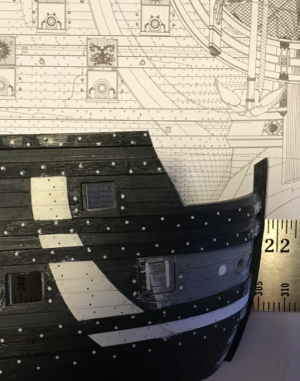
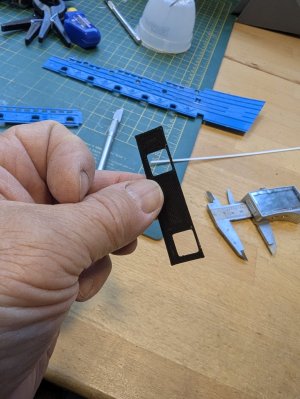
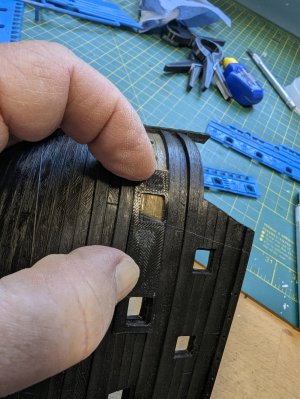
I’ve also worked in the bow chase ports, spacing them the same as the others on the lower gun deck. I printed a simple template to get the position for this and cut the hole with a heated scalpel blade.
....0.4mm thick, FDM-printed marking template..... wraps easily to the bow.... the hawse hole inserts (parts 27 & 28) do not sit flush with the hull. Adding the chase port helps create a more seamless join...
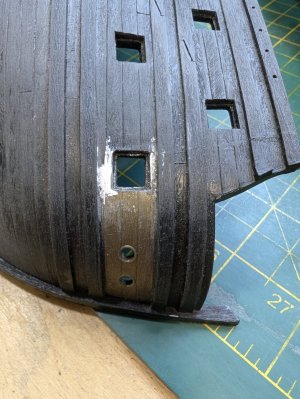
Side fenders are work-in-progress – the ladders are done and the fenders are printing as I write, so they’ll go on over the next week or so.
.... after a few trial and error iterations I opted for 0.8mm wide fenders. It's just what seemed aesthetically right. I will be sanding down the height a little once all of the fenders are in place...
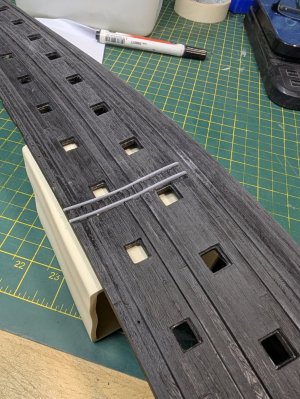
Marc's build (Hubac’s Historian) is one of my major references so like him I’ve sanded back the wood grain a bit. This plastic sands very easily, to the point where I was a little heavy handed on one of the wales. I cut scarf joints on the wales this morning – in fact melted rather than cut, again using a heated 0.4mm x 9mm scalpel blade after grinding the blade end flat. It needs to be just hot enough to go into the plastic with mild pressure. The little blobs of filler are covering up the vertical plank joints which are now redundant.
....starboard side untouched, port side sanded back......current status overall
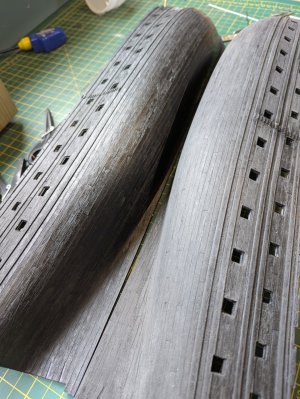
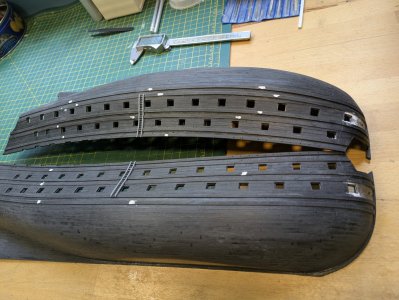
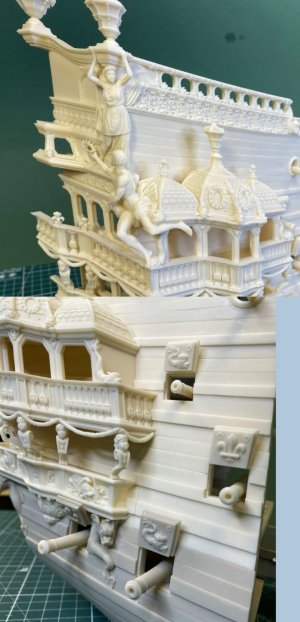
The fact that I’m even thinking about adding rivets is worrying, because there is a point in my thinking where, in reality, my heart has already decided to do it, but my head hasn’t yet agreed. I know how that usually ends up. Similarly, the upper bulwarks are screaming at me to scrape off the thistles and replace them with something equally plausible but which doesn’t encroach into the ladders and fenders. I find that encroachment strange as I can’t imagine any carpenter profiling the ladders and fenders to match the décor, and if the décor was put on last, wouldn't you just come up with something smaller that fitted the space, a fleur-de-lys for instance. Leastways that’s what I’d do! I know there are other points on the model where this occurs again so I'm all ears for alternatives.
....I don't know what the correct name for these is, so for me they are thistles....
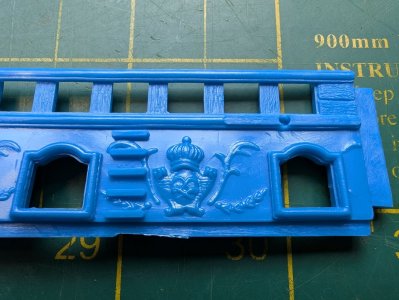
Anyway, the trouble is, after 2 or 3 years of doing virtually no model-making, I’m finding it extremely ‘zen’ to have a blend of hands on fettling and fussing, with a bit of easy CAD and printing to sidestep too much repetition.
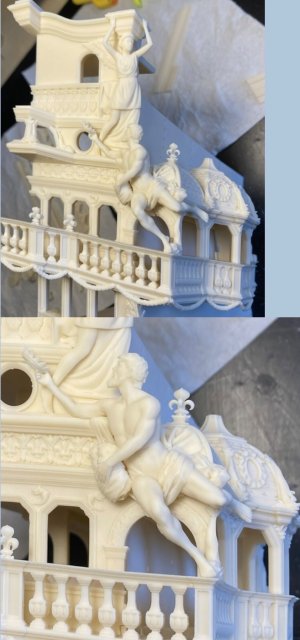
IF I do scrape them off, and it’s a big if, I swear I’ll leave the stern as it is. Except for the QG’s. Obviously these have to be opened out. But it stops there. Really.
Looking ahead a little... the colour scheme will probably be a not-as-good version of the gorgeous paintwork on Duarte's model (
Soleil Royal - Heller 1/100 Back to work!), with twists pinched from Marc's and John Ott's respective builds.
Attached are files for the gunport inserts, fenders and chase port position template (place the large end over the final gunport and use the other hole as a cutting guide). Feel free to use/adapt/share.