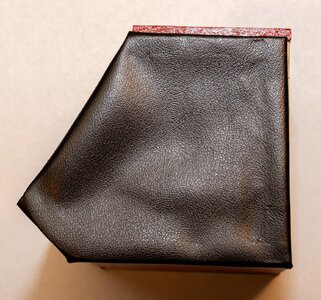
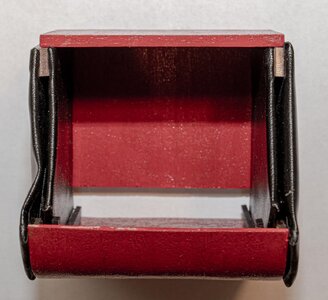
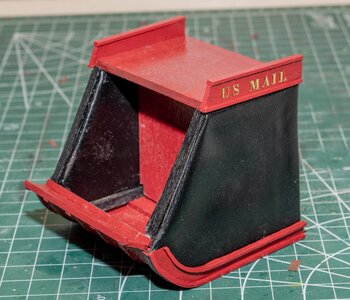
Another planking note: Because they are so thin and wide gluing them down was a big problem. I carefully laid out the grid where the planks were to go and glued right on the line for the first edge. That made the other side bubble up in spots and I had a tough time trying to get the bubbles to stay down. In hindsight I would have let the plank follow its own curve and then maybe it would have fixed the bubble problem. When you get to that point try dry fitting the planks one side up then the other side and let them follow their own shape. Let me know how it goes when you get started. Good luck.Looking good! And thanks for the tip on cutting the planking. I will use it when I plank my build.
-

Win a Free Custom Engraved Brass Coin!!!
As a way to introduce our brass coins to the community, we will raffle off a free coin during the month of August. Follow link ABOVE for instructions for entering.
-

PRE-ORDER SHIPS IN SCALE TODAY!
The beloved Ships in Scale Magazine is back and charting a new course for 2026!
Discover new skills, new techniques, and new inspirations in every issue.
NOTE THAT OUR FIRST ISSUE WILL BE JAN/FEB 2026
- Home
- Forums
- Ships of Scale Build Logs
- Super Detailing Static Models / Other Genres
- Historical Trailways, Guns, Aircraft, and Cars
You are using an out of date browser. It may not display this or other websites correctly.
You should upgrade or use an alternative browser.
You should upgrade or use an alternative browser.
Stagecoach Build - By Artesanía Latina [COMPLETED BUILD]
Thank you I will. When I am ready I will read and reread your posts first.Another planking note: Because they are so thin and wide gluing them down was a big problem. I carefully laid out the grid where the planks were to go and glued right on the line for the first edge. That made the other side bubble up in spots and I had a tough time trying to get the bubbles to stay down. In hindsight I would have let the plank follow its own curve and then maybe it would have fixed the bubble problem. When you get to that point try dry fitting the planks one side up then the other side and let them follow their own shape. Let me know how it goes when you get started. Good luck.
Starting to look pretty good. The directions are not very clear on adding the embellishments. The photos are a little blurry and blowing them up just makes it worse. The directions say to give it a clear matte finish but all the photos I've seen on the internet show the coach red, so I intend to do that.
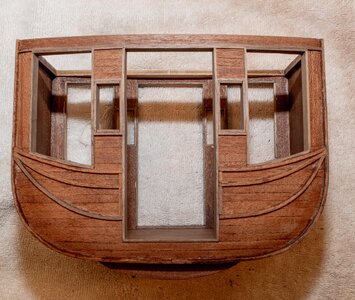

This model becomes a jewel, I am considering similar or the same as my future builds. Job well done, STGCS!
Thanks. I've put together an english version of the directions in a DOC file so if you decide to do the build I can send you a copy. Here is a sample.This model becomes a jewel, I am considering similar or the same as my future builds. Job well done, STGCS!
Attachments
Kurt Konrath
Kurt Konrath
Pardon the pun, but your work is becoming very a-Door-ing!
You comments on working the wood is great for other ship projects as well.
You comments on working the wood is great for other ship projects as well.
nice comment cross hobby tools and processes always a benefit.Pardon the pun, but your work is becoming very a-Door-ing!
You comments on working the wood is great for other ship projects as well.
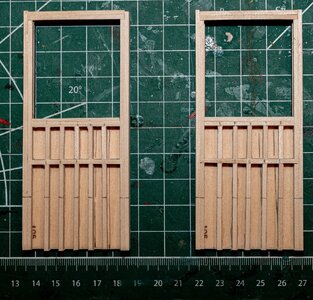
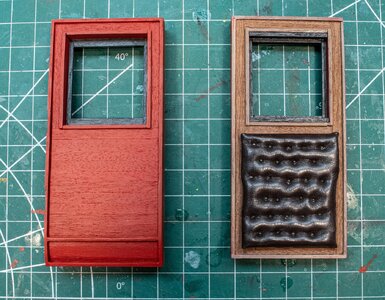
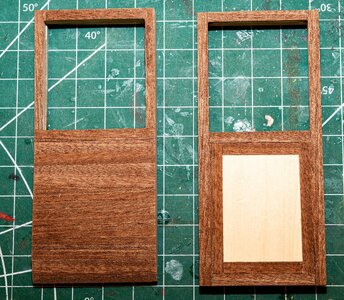
Next step on the doors is covering them with sapelly. Man do I hate that stuff. It splinters very easily and trying to sand the edges is flush after gluing the strips down is an exercise in patience. This is the front and back. The blank space on the inside of the doors will be filled in with a upholstered panel.

I have to say your upholsty work looks great.Things are moving along. The doors are complete except for a poly final coat. Trying to decide if it should be matt or gloss. Obviously I'm not a good Upholster.
View attachment 440432
Thanks - Hope to get better with the seats. Trying a new procedure.I have to say your upholsty work looks great.
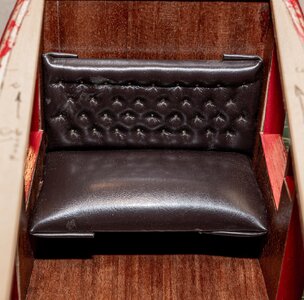
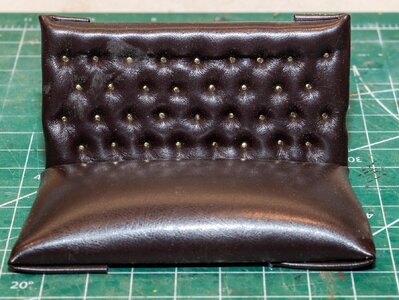
I tried another process on the interior seats and it worked much better than the doors. Here are a couple of pointers if you build this model.
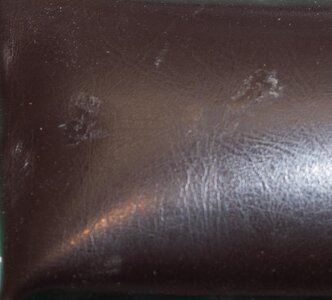
1. CAUTION: If you use CA to put the simulated leather on the foam backing be aware if you get some glue on your finger or work on your work surface and touch the leather it will resolve the finish. (See second photo). White glue would be a better choice then Gel CV but would take longer to setup.
2. The instructions have you cover the foam with leather then put a paper with a grid marked on top. Then put the nails through the paper at the designated points. That was a very difficult thing to do and didn't work worth a darn. That was how I did the doors. This time I put the pattern on the leather before I covered the foam and marked the nail locations with a needle in the leather. After I covered the foam I put the nails through marks and that worked much better.


Very good appearance - much better
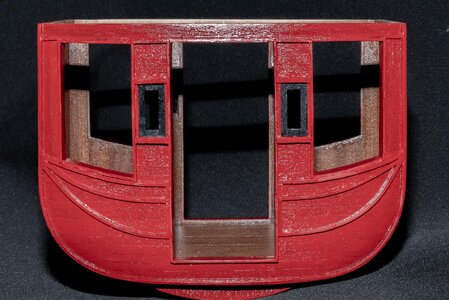
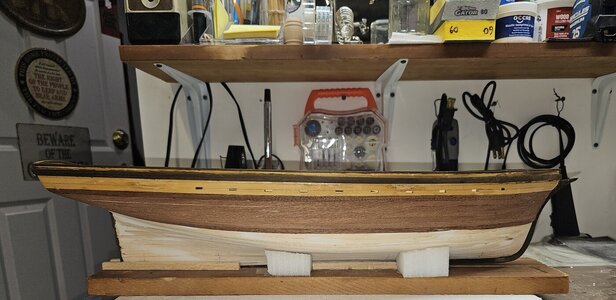
Well I finally decide enough procrastination,and started the exterior planking. I followed your advice and after reading and rereading said oh well lets go! I did starboard side first a went seven planks,then I thought I would go to the port side while the planks set. The first side went really well and you could say I was getting a bit cocky. as I am doing second side I almost glued myself to the hull. The glue bled right through the veneer and almost glued my thumb too. Finished to the seventh plank on port side also. Check first side again and only a few spots of bleed through. Port side was a horror show. I have a lot of scrapping to do. However I was surprised when I looked straight on that the two sides planked evenly.Another planking note: Because they are so thin and wide gluing them down was a big problem. I carefully laid out the grid where the planks were to go and glued right on the line for the first edge. That made the other side bubble up in spots and I had a tough time trying to get the bubbles to stay down. In hindsight I would have let the plank follow its own curve and then maybe it would have fixed the bubble problem. When you get to that point try dry fitting the planks one side up then the other side and let them follow their own shape. Let me know how it goes when you get started. Good luck.
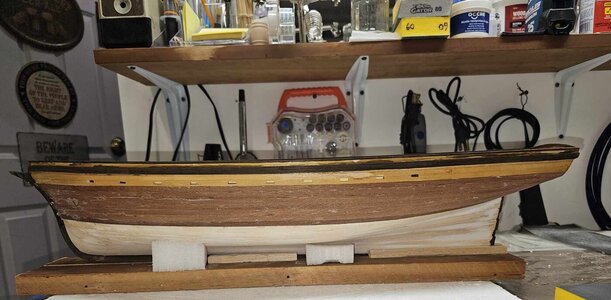
Last edited:
Working with thin veneer is a problem for me, especially this project where it is 30mm wide. You cut and sand to get the size and shape just right but when the white glue is applied it gets wet and swells. Now it doesn't fit anymore. Still trying to figure out how to get it right.Well I finally decide enough procrastination,and started the exterior planking. I followed your advice and after reading and rereading said oh well lets go! I did starboard side first a went seven planks,then I thought I would go to the port side while the planks set. The first side went really well and you could say I was getting a bit cocky. as I am doing second side I almost glued myself to the hull. The glue bled right through the veneer and almost glued my thumb too. Finished to the seventh plank on port side also. Check first side again and only a few spots of bleed through. Port side was a horror show. I have a lot of scrapping to do. However I was surprised when I looked straight on that the two sides planked evenly.
View attachment 441991
View attachment 441992


