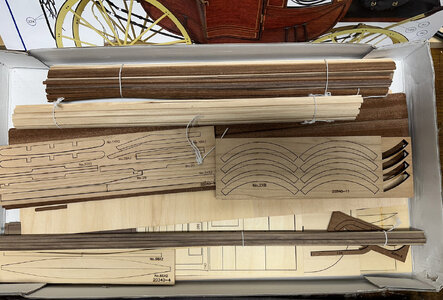
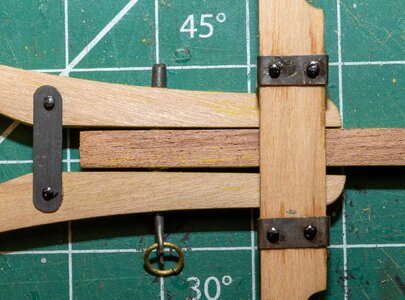
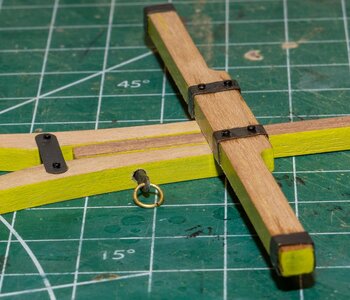
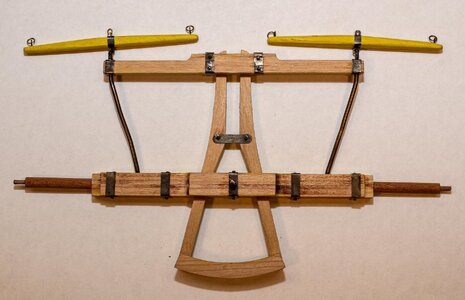
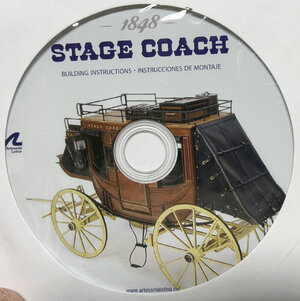
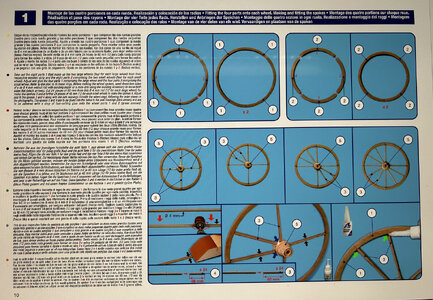
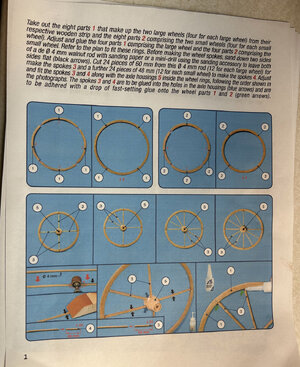
I needed a break from ship models so decide to try the Artesanía Latina Stagecoach. There are several different makers but chose this one for the larger scale and the detail possible with a bigger model. The box contents all looked good and there are several other builds out there to follow although this one seems to be a newer kit because there are several difference in the assembly. The only thing I was disappointed in were the instructions which are on a CD in a PDF file. The photos are OK but the written directions are crunched up in several languages and hard to read they are so small. I had to cut the photos and the english instructions out and copy to a Word file then print. This worked well but time consuming.
![Stagecoach 01.jpg Stagecoach 01.jpg](https://shipsofscale.com/sosforums/data/attachments/406/406850-c2e8531dda914ff0ad0ec78cf3ca9a7d.jpg?hash=wuhTHdqRT_)
![Stagecoach 02.jpg Stagecoach 02.jpg](https://shipsofscale.com/sosforums/data/attachments/406/406851-4405dc6ab84e6de7c10d7384066877b3.jpg?hash=RAXcarhObe)
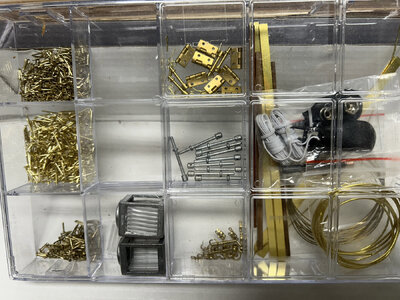
Even comes with lighted carriage lamps.
![Stagecoach 03.jpg Stagecoach 03.jpg](https://shipsofscale.com/sosforums/data/attachments/406/406852-20cf04a203c2ed3995e27c0cd3a6bda3.jpg?hash=IM8EogPC7T)
The confusing multi-lingual instructions.
![Stagecoach 04.jpg Stagecoach 04.jpg](https://shipsofscale.com/sosforums/data/attachments/406/406853-81aab297c99c5e8c571d74b40dc5ea4f.jpg?hash=gaqyl8mcXo)
After converting them to an easier format.
![Stagecoach 05.jpg Stagecoach 05.jpg](https://shipsofscale.com/sosforums/data/attachments/406/406854-28630fda3c69ec5a49982957a0374ff6.jpg?hash=KGMP2jxp7F)
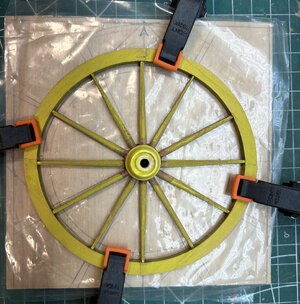
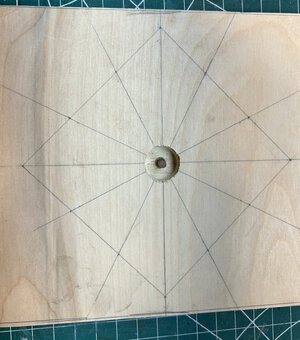
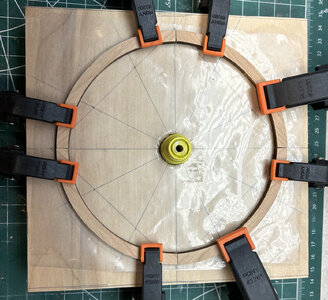
It didn't show up to well but I made a jig for wheel assembly. First I drew up the lines for the spokes, then drilled a 3/4" hole in the center just deep enough for the holes in the hub to align with the jig. Then I drilled another smaller hole through the center the size of the axle and placed a dowel in the hole.
![Stagecoach 06.jpg Stagecoach 06.jpg](https://shipsofscale.com/sosforums/data/attachments/406/406855-5263e9038b6e55637bcb5b98a315348b.jpg?hash=UmPpA4tuVW)
Next I covered the jig with plastic so the glue wouldn't stick to the jig.
![Stagecoach 07.jpg Stagecoach 07.jpg](https://shipsofscale.com/sosforums/data/attachments/406/406856-262572a20314a6d619f2f85b848113a7.jpg?hash=JiVyogMUpt)
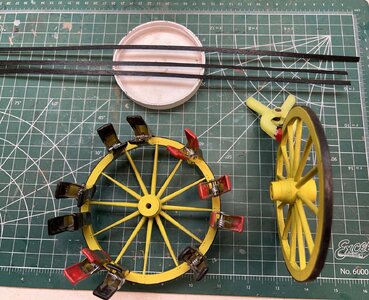
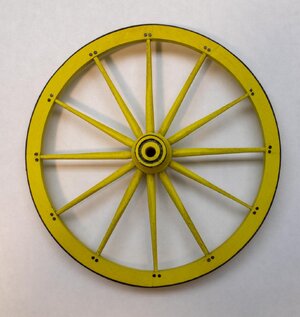
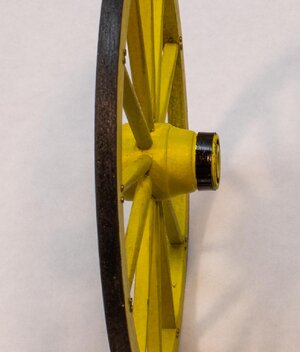
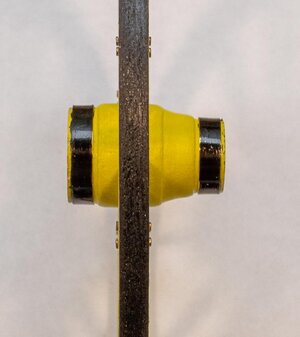
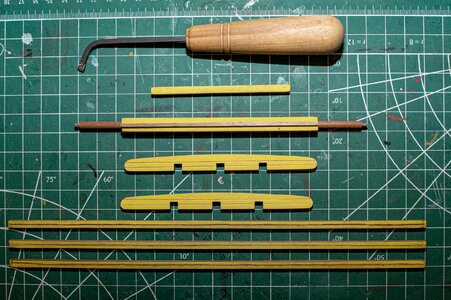
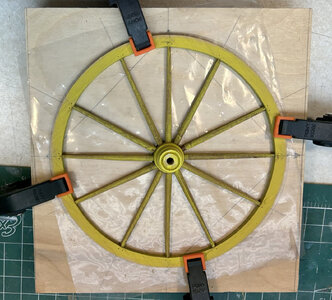
After the glue was dried on the wheel rim I drilled a set of holes for nails in the rim. After I assemble parts and before I glue them, I sand, paint, and sand again using the final color and after glue up it's ready for air brushing.
![Stagecoach 08.jpg Stagecoach 08.jpg](https://shipsofscale.com/sosforums/data/attachments/406/406857-ca3d337fae6b87688d6236b8a98c8436.jpg?hash=yj0zf65rh2)
![Stagecoach 01.jpg Stagecoach 01.jpg](https://shipsofscale.com/sosforums/data/attachments/406/406850-c2e8531dda914ff0ad0ec78cf3ca9a7d.jpg?hash=wuhTHdqRT_)
![Stagecoach 02.jpg Stagecoach 02.jpg](https://shipsofscale.com/sosforums/data/attachments/406/406851-4405dc6ab84e6de7c10d7384066877b3.jpg?hash=RAXcarhObe)
Even comes with lighted carriage lamps.
![Stagecoach 03.jpg Stagecoach 03.jpg](https://shipsofscale.com/sosforums/data/attachments/406/406852-20cf04a203c2ed3995e27c0cd3a6bda3.jpg?hash=IM8EogPC7T)
The confusing multi-lingual instructions.
![Stagecoach 04.jpg Stagecoach 04.jpg](https://shipsofscale.com/sosforums/data/attachments/406/406853-81aab297c99c5e8c571d74b40dc5ea4f.jpg?hash=gaqyl8mcXo)
After converting them to an easier format.
![Stagecoach 05.jpg Stagecoach 05.jpg](https://shipsofscale.com/sosforums/data/attachments/406/406854-28630fda3c69ec5a49982957a0374ff6.jpg?hash=KGMP2jxp7F)
It didn't show up to well but I made a jig for wheel assembly. First I drew up the lines for the spokes, then drilled a 3/4" hole in the center just deep enough for the holes in the hub to align with the jig. Then I drilled another smaller hole through the center the size of the axle and placed a dowel in the hole.
![Stagecoach 06.jpg Stagecoach 06.jpg](https://shipsofscale.com/sosforums/data/attachments/406/406855-5263e9038b6e55637bcb5b98a315348b.jpg?hash=UmPpA4tuVW)
Next I covered the jig with plastic so the glue wouldn't stick to the jig.
![Stagecoach 07.jpg Stagecoach 07.jpg](https://shipsofscale.com/sosforums/data/attachments/406/406856-262572a20314a6d619f2f85b848113a7.jpg?hash=JiVyogMUpt)
After the glue was dried on the wheel rim I drilled a set of holes for nails in the rim. After I assemble parts and before I glue them, I sand, paint, and sand again using the final color and after glue up it's ready for air brushing.
![Stagecoach 08.jpg Stagecoach 08.jpg](https://shipsofscale.com/sosforums/data/attachments/406/406857-ca3d337fae6b87688d6236b8a98c8436.jpg?hash=yj0zf65rh2)