Hi Koreets,
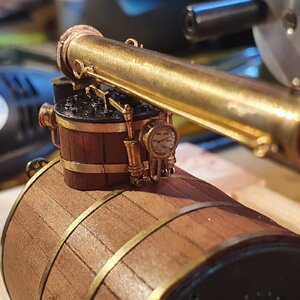
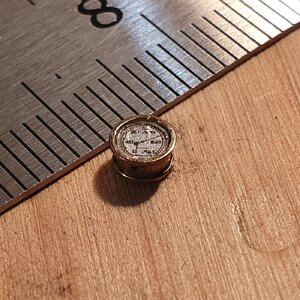
I would choose the one on the left to start with. One method that I have used a long time ago in an age before personal computers, to reduce the size of an image is buy photographically reducing it, for example if the printed image was 37mm in diameter and you want 3.7mm diameter there is a ratio of 10 to 1. If you mark out an area that is 10 times the size of the sheet you printed the image on then take a photo using the marked out boarder as a guide for your camera view finder boarder. I don't know if reducing your manometer or what I would call a pressure gauge in this manner would end up with a readable image. Another option is to reduce the image in a program like photo shop, I don't know how that would be done, or if you have a CAD program you may be able to import the image and reduce it, or draw a new one possibly simplifying the image to be more readable. Another option might be using a good photo copier or scanner to re-scale the object.
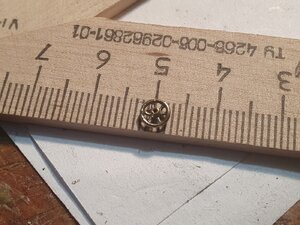
3.7mm diameter is quite small to get a readable face in my opinion, I think it will require quite a high resolution printer to acheave a high quality image.
I hope this helps, looking forward to seeing what you come up with.
Cheers,
Stephen.


