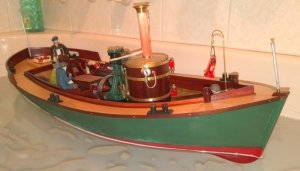
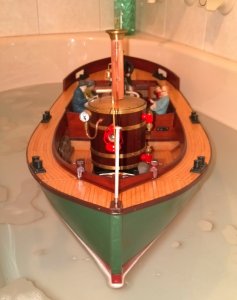
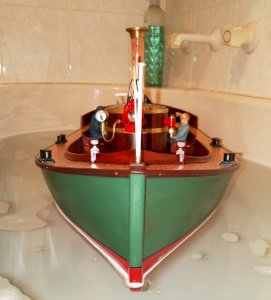
Steam Launch Borkum by neptune - Krick - 1/12 scale - with steam engine built from Stuart Turner cas [COMPLETED BUILD]

Very nice again John! Could you show how did you make the connection of electric motor to propshaft? When looking your pictures it seems that the electric motor drives the steam engine via double universal joint, but how is it connected to the propshaft?

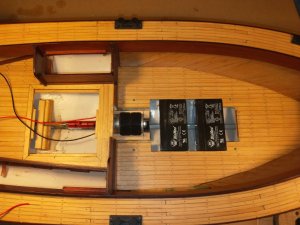
G'day Moxis, yes you are right the electric motor that is sitting in the gear box between the passengers is a slow
revving electric motor that drives the steam engine, and when I sail it on the pond that motor will just be turned
on and will run continuously till switched off, if you go back to page four of my log you will also see another
motor that is sitting under the floor boards and that motor is the one that will be driving the prop running
through the electronic speed controller, hope this helps,

340.jpg
 
Allright John now I understand, you have two motors. One which is situated in the bilge and drives propeller, and the other situated higher and drives steam engine. Very clever, thanks for explanation. But could they both be controlled with an electronic speed controller? Then the one driving steam engine would follow the speed of the boat too?
 
Allright John now I understand, you have two motors. One which is situated in the bilge and drives propeller, and the other situated higher and drives steam engine. Very clever, thanks for explanation. But could they both be controlled with an electronic speed controller? Then the one driving steam engine would follow the speed of the boat too?


I was going to do that but thought the main motor might run the steam engine a little to fast, and I just wanted the engine to be seen as moving, thats why I used a slow revving motor for the steam engine, at one stage I even thought about machining a wide rebate into the steam engine flywheel and having a belt go down through the deck to another smaller wheel attached to the prop shaft, I'm always day dreaming, ;););),

best regards John,
 
423.jpg
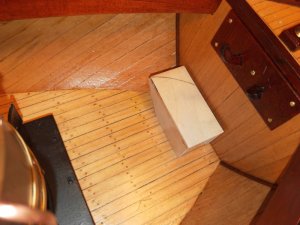
One of the last things is the seat for the engineer, I just made up a small plywood box, in the pic I'm just getting
the shape right for it to sit against the side of the hull,


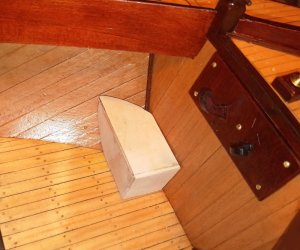
424.jpg
and after trimming to shape,


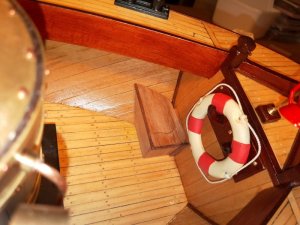
425.jpg
and with the veneer applied, the pencil mark is where the engineer will sit,


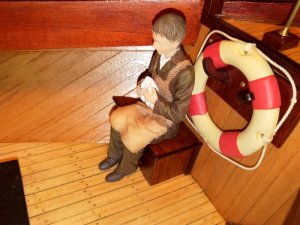
426.jpg
and after attaching the engineer and a couple of coat of varnish stain, I also drilled a couple of holes
and glued in brass pins for locating in the deck,


.
 
Great job John. You really showed how to take a kit and customize it. I borrowed a few of your ideas for my model, particularly the interior hull planking. I didn’t like the look of the plastic. Hope you don’t mind. Thanks again for posting a detailed build log. As you know, the instructions from the manufacturer are minimal to say the least. Rich
 
Great job John. You really showed how to take a kit and customize it. I borrowed a few of your ideas for my model, particularly the interior hull planking. I didn’t like the look of the plastic. Hope you don’t mind. Thanks again for posting a detailed build log. As you know, the instructions from the manufacturer are minimal to say the least. Rich

Thank you Rich, I'm glad I could help you out, having said that I have sometimes used other builders idea's in some of my models, but that is what it is all about, helping each other and enjoying the journey,
best regards John,
 
Time for the Sea trials, or as in my case the Bath trials,


427.jpg
She is sitting ok at the stern but is up at the bow and a little of a lean to the Starboard side,
she has all the batteries etc that she will be sailing with installed,


428.jpg
so with a little bit of ballast on the port side, she now looks ok, but still needs to go down
by the bow a little, I also need to straighten the fore flag pole a little,


429.jpg
A closer pic,


430.jpg
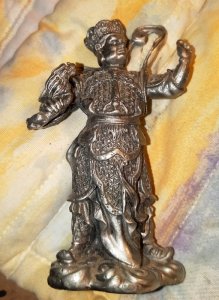
So I used my Mandarin weight system and removed the small amount of ballast
from the Port side a replaced it with a Mandarin, then all was OK she was level all
round on the water line, so I will have to add the weight of one Mandarin under the
deck and all should be A OK,


431.jpg
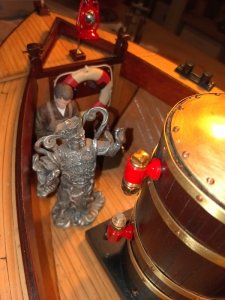
These Mandarins are Pewter, they were supposed to be $15 each but there were
selling them off and I got them for $1 each, they are quite heavy,


.
 
A lovely boat, John!
I particularly like all the modifications you have made - they always make a boat 'special'.
A shame that I will never see her 'in the flesh' - Australia is a bit too far at my stage of life!

Ted

Thanks for viewing my log Ted, I don't think the batteries would last for a sail to the UK, ;););),

best regards John.
 
Here are some pics of my rope walk,


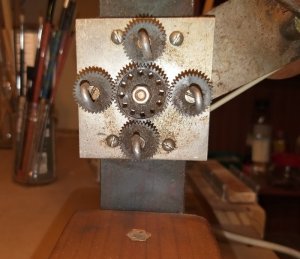
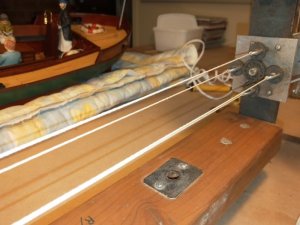
432.jpg
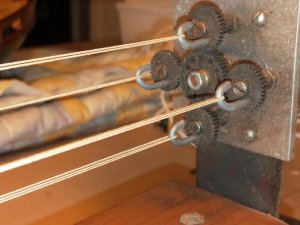
this is the gear head and you can see the four hooks for attaching the thread to,


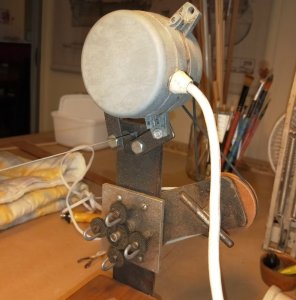
433.jpg
I have a small electric motor sitting just above the gear wheels, the piece of wire you can see above the gears
is for the top to hang from,


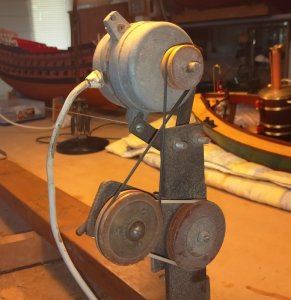
434.jpg
this is the rear view, it is all turned wooden pulleys with rubber drive belts, the rubber belt that is in the shape
of a figure eight makes ropes with a left hand lay, and when it is turned the other way into an O shape it
makes right hand ropes,


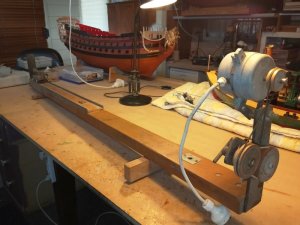
435.jpg
overall view of the rope walk,


436.jpg
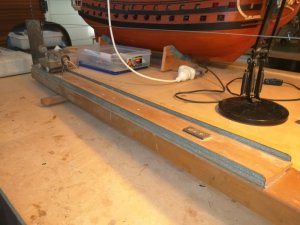
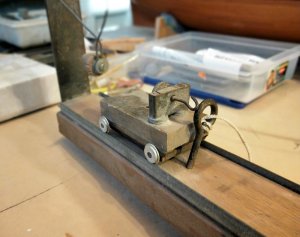
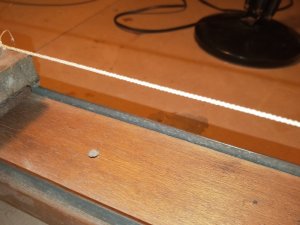
the after end showing the rails for the trolley to run on


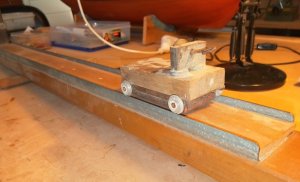
437.jpg
and a close up of the trolley, the rails don't have to come right up to the gear head, and rough gauge is that if the
rope walk is 72 inches long it will make a 48 inch long rope, also the thicker the rope the shorter it will be,


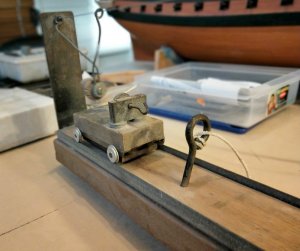
438.jpg
and the tail end with the wire attached for the top to hang from,


.
 
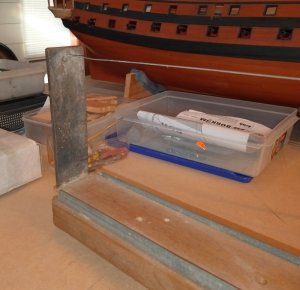
439.jpg
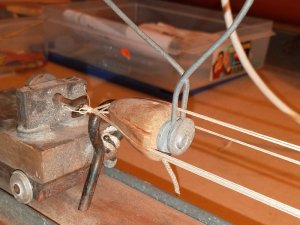
view of the trolley at the rear of the rope walk with the top sitting behind it, Ileave it sitting there till i have
attached the three lower sets of threads as it gets in the way, then I bring it forward because with this rope walk
the top set of threads have to go through the wires that hold the top in place, on the next rope walk I make I will
set the gear positions at the 2, 4, 8, and 10 o'clock positions to make it easier to attach the threads, you can also
see the pin in position to stop the trolley moving forward as I attach the threads,


440.jpg
the trolley up against the pin, the pin doesn't have to be this big it was just something I had handy,


441.jpg
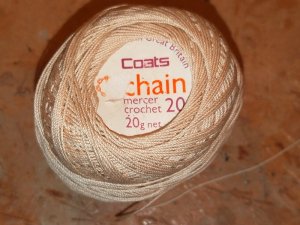
one of my boxes of threads,


442.jpg
this thread makes lovely ropes,


.
 
443.jpg
four threads on each hook. I start at the hook on the trolley and then take the thread to the head and back to the
trolley then back to the head and the trolley, that is four threads, then repeat the same for the other three hooks,
you will find that you will experiment with different numbers of threads and sizes to get the finish rope size you need,


444.jpg
and at the rear end, just have to take the pin out and switch on the motor,


445.jpg
the four ropes on each hook twisting up, if i turn them up to the right I get left hand lay and to the left I get
right hand lay,


446.jpg
the rope forming behind the top,


447.jpg
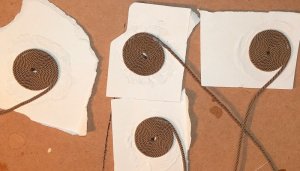
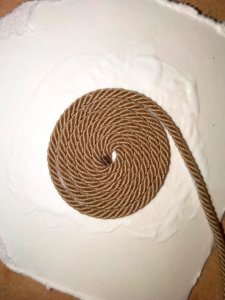
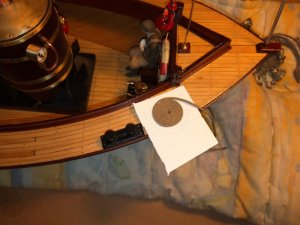
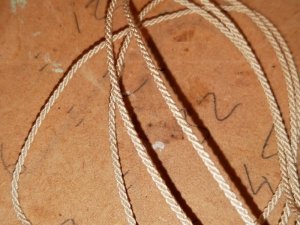
Finished rope, two different sizes,


448.jpg
a close up,


.
 
Hello John, Catching up on your Steam Launch Borkum, you sure have did a nice job on her with all of that very nice detail. Kind of makes me wish that I should have spent more time on my African Queen by adding more detail like you have. Great job on your rope walker and with such great results. You kind of make me wonder how you find all the time to build such a great little machine like you have just shown us.
Regards Lawrence
 
Back
Top