Steam powered wooden Drifter trawler, Formidable LT100, 1/20 scale by neptune

Great progress John!
I am still behind with work on Janet and is very little time for hobby.
This Year is on fast forward at work .
Good health to you and Admiral too
Daniel
Thank you Daniel and wish you all the best with your work, and hopefully you will be able to do some more work on your launch,
Best regards John,
 
Great progress John,

I am glad you are getting some respite to do some hobby work.

I hope Maureen's health improves.

Looking forward to seeing some on the water shots.

Cheers,
Stephen.
Thank you Steve, it certainly helps to have some time off, I'm hoping to get her on the water on the next couple of weeks, that's the Drifter not Maureen,
Best regards John,
 
661.jpg
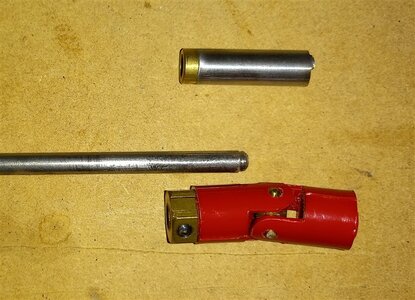
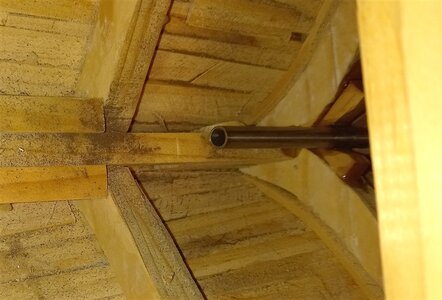
Time to install the tube and shaft assembly, the shaft was threaded 5mm on the inboard end and I only had 5mm non threaded couplings ( I should have realised this before gluing the tube in place ) so i had to cut off the threaded part which was no big deal, but this meant that I had to also cut the tube back as well and luckily there was enough space to get my Dremel in the hull and cut the tube, I got the brass bearing out of the end and fixed it back in the tube in the hull,


662.jpg
The cut tube waiting for the brass bearing to be reinstalled,


663.jpg
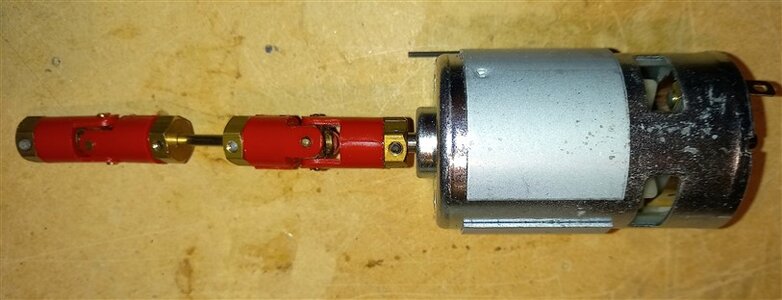
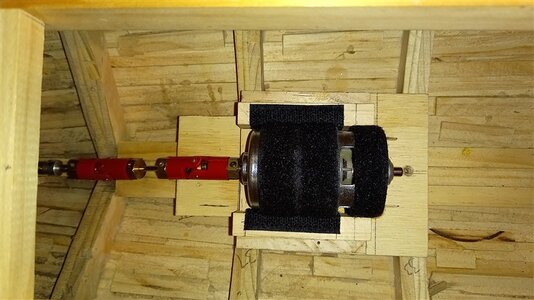
When i install motors i always like to use two universal joints it gives that little bit more of flexibility,

664.jpg
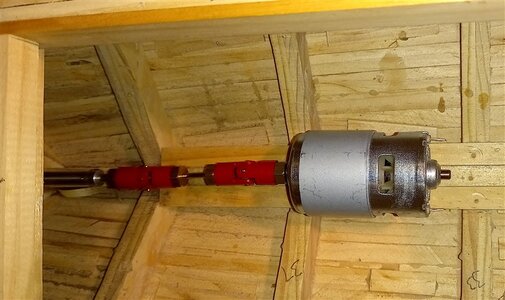
working out where to sit the motor,

665.jpg
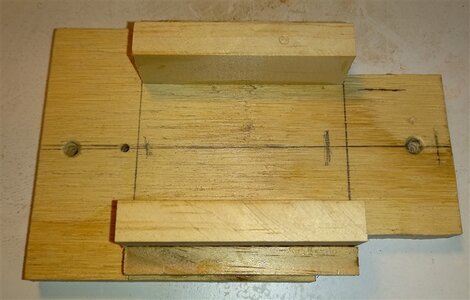
and the cradle i made for the motor to sit in,

666.jpg
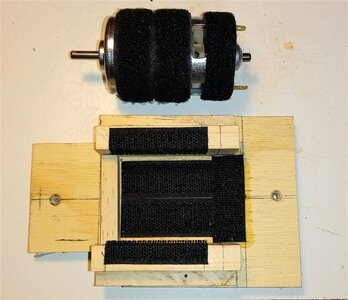
For fixing the motor in place I use Velcro Hook and Loop self adhesive tape, I wrap the loop tape around the motor making sure that the ventilation ports are not blocked in any way and I attach the hook tape to the mount that the motor will sit on,

667.jpg
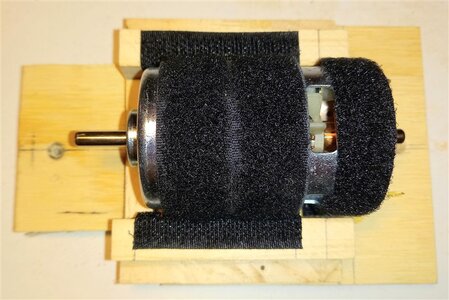
the motor sitting in place on the mount, and if you need to remove the motor its just a matter of pulling it away from the mount, it actually holds the motor quite strongly but it is also easy to separate it from the mount,

668.jpg
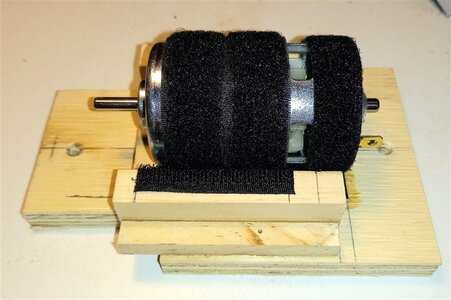
sideways view,

669.jpg
and how the assembly will be screwed to the keel, you will have noticed the two screw holes for attaching the mount to the keel and if you ever need to take the motor out for testing or exchanging its quite easy to do,

thanks for looking in,

best regards john,
.
 
670.jpg
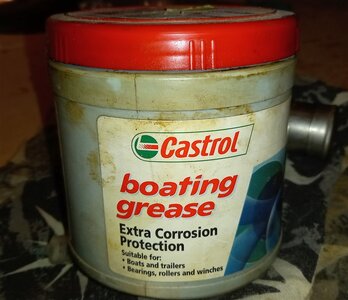
time to grease the tube, I like using grease rather than oil, oil seems to leak out easy whereas i have never had any problems with the grease,

671.jpg
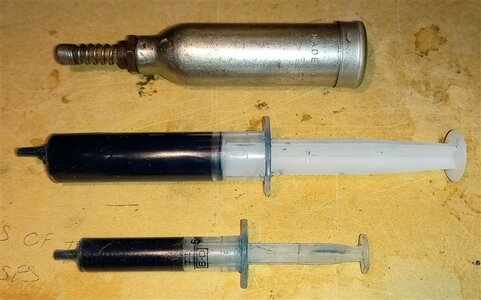
I have several small syringes and a small grease pump, I usually find the syringes are the best especially for the small tubes,

672.jpg
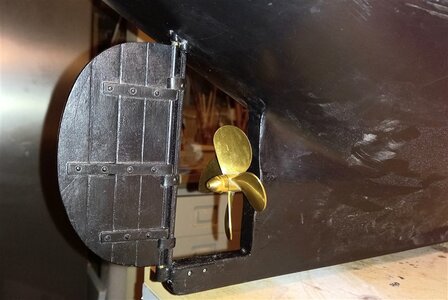
this is after inserting the grease and installing the Prop and Shaft, oh and also the rudder,

674.jpg
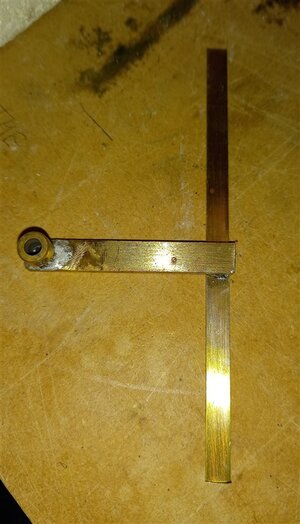
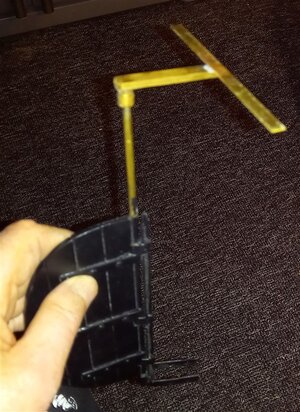
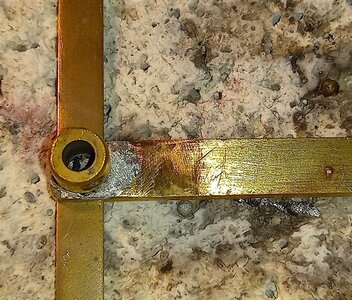
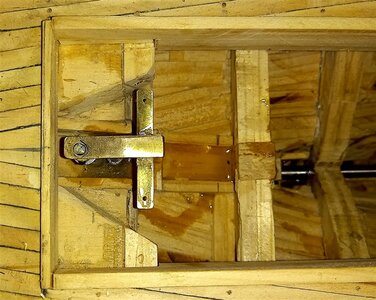
working out the tiller set up, the rudder tube comes out close to the back of the rudder hatch so i wanted to bring the tiller arm forward to enable more swing or rather turning radius,


675.jpg
these are just in the process of trials to see which configuration will be best,


best regards john,
,

673.jpg
 
Hello John , I wanted to ask you how you grease the tube ,Is still a mistery to me
For Janet I tryied engine oil but failed because oil leak all over the wood
Kind regards, Daniel
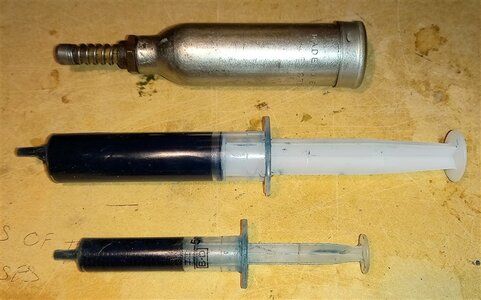
G'day Daniel, I use the syringes pictured in the above post, I pack them with the grease and inject the grease into the tube, it can be a little bit messy but it works great much better than oil,


671.jpg

best regards John,
 
676.jpg
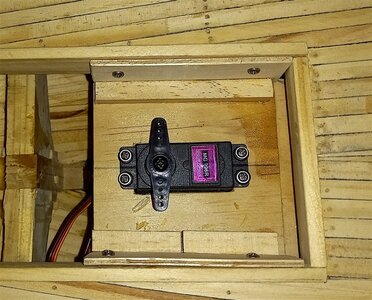
I made up a shelf for the rudder servo to sit on and screwed it to the sides of the hatch for easy removing,

677.jpg
This is the configuration that i was going with but it turned out too problematic, I was moving the centre of the turning radius to far forward,

678.jpg
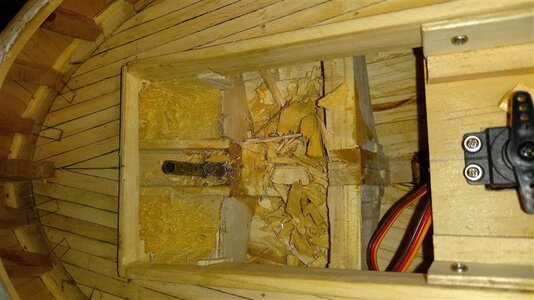
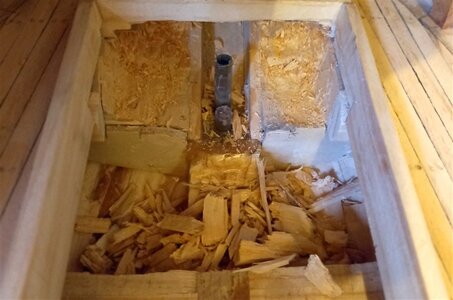
So I bit the bullet and dug out under the after deck so the tiller arm could swing underneath, much better outcome,

679.jpg
some of the debris,

680.jpg
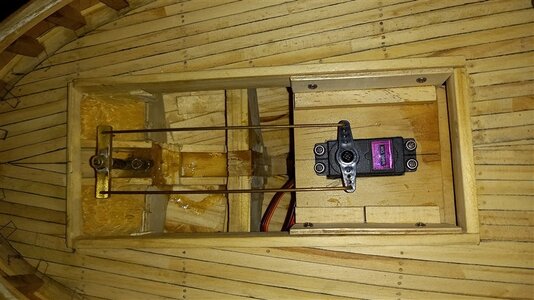
and the servo and linkages set up,

best regards John,
 
I managed to get things sorted with the drifter and went up the pond today, she is tilting to one side because I only had one battery in the starboard side, today was more of a water test to make sure everything remained dry and luckily there were no leaks, so next job will be to do ballast tests in the bath, bearing in mind there are still things such as the masts etc to add, it was a little bit crazy trying to operate and video at the same time, thanks for looking in, I had a little bit of a crash into the pool side at the end of the video, no damage, :mad::eek:

best regards john,


View attachment VID_20230425_113907293_compressed.mp4:mad::eek::eek::eek:
 
Back
Top