Steam powered wooden Drifter trawler, Formidable LT100, 1/20 scale by neptune

Joined
May 25, 2017
Messages
3,201
Points
688

Location
Australia.
This is hopefully a build log that i will be commencing shortly, it is of the Steam Drifter Formidable at 1/20 scale, this build log has been inspired by Steves fantastic build, see it here,
https://shipsofscale.com/sosforums/...r-trawler-formidable-lt100-1-24th-scale.6093/

I am still thinking about this scale as at 1/20 scale it makes a very large model which comes out at 57inches long X 11.5inches width,

and at 1/24 scale it is still a large model 48inches long X 10inches width,


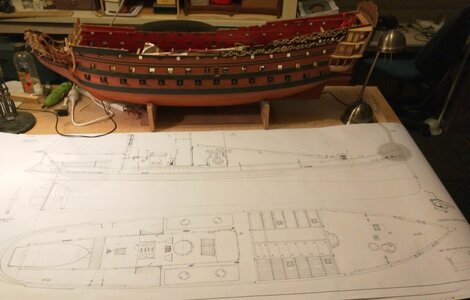
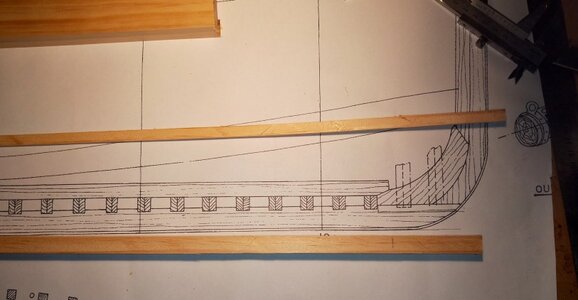
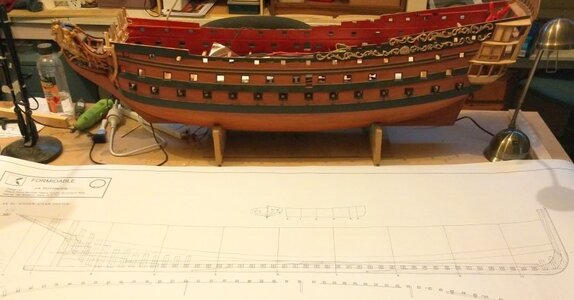
Luckily I took the safe guard of enlarging the plans to both 1/20 and 1/24 scale, so I will have to do a little bit of comparing so as to see which size I can comfortably fit in the car, below are some photo's which show the plans at 1/20 scale laid out in front of my Royal William which is 55inches long just for comparision, the Royal william is planked with Huon Pine and the wales are Tasmanian Myrtle, I am not sure yet what I will plank Formidable with,
1.jpg
Side elevation,


2.jpg
side and plan views,


3.jpg
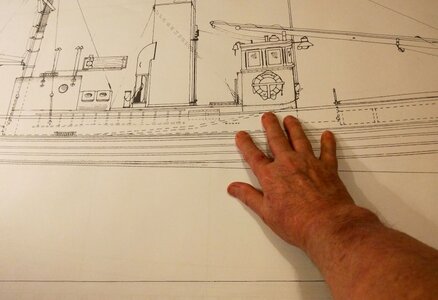
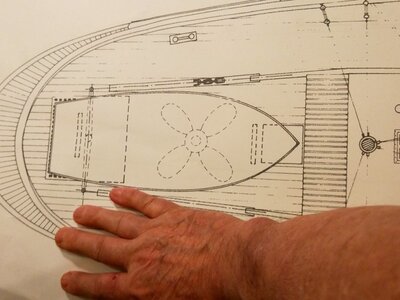
close up with my hand shows how large at 1/20 scale, but it would be lovely size to work at,

4.jpg
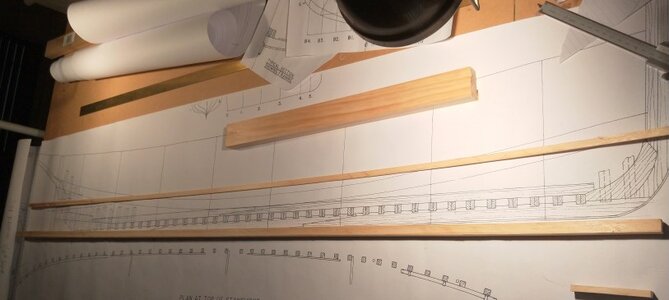
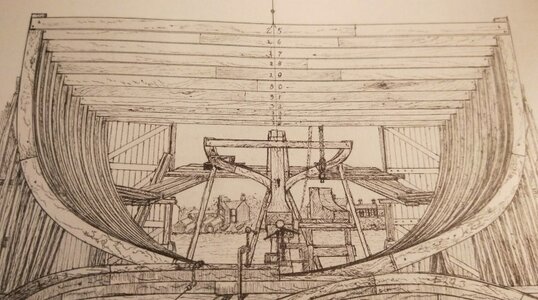
and a stern view, this build may take awhile to progress as I have a few more ships in the dockyard yet to be finished,
any questions or comments welcomed,

best regards john

.
 
This is hopefully a build log that i will be commencing shortly, it is of the Steam Drifter Formidable at 1/20 scale, this build log has been inspired by Steves fantastic build, see it here,
https://shipsofscale.com/sosforums/...r-trawler-formidable-lt100-1-24th-scale.6093/

I am still thinking about this scale as at 1/20 scale it makes a very large model which comes out at 57inches long X 11.5inches width,

and at 1/24 scale it is still a large model 48inches long X 10inches width,


Luckily I took the safe guard of enlarging the plans to both 1/20 and 1/24 scale, so I will have to do a little bit of comparing so as to see which size I can comfortably fit in the car, below are some photo's which show the plans at 1/20 scale laid out in front of my Royal William which is 55inches long just for comparision, the Royal william is planked with Huon Pine and the wales are Tasmanian Myrtle, I am not sure yet what I will plank Formidable with,

View attachment 192614
Side elevation,


View attachment 192615
side and plan views,


View attachment 192616
close up with my hand shows how large at 1/20 scale, but it would be lovely size to work at,


View attachment 192617
and a stern view, this build may take awhile to progress as I have a few more ships in the dockyard yet to be finished,
any questions or comments welcomed,

best regards john

.
Thanks for the plug John,

I would say 1/20th is a bit on the big side and if it is a working model fairly heavy.

Lovely looking ship in the back ground.

Cheers,
Stephen.
 
Very interesting vessel and project - Many thanks for starting this building log...
 
Well its like this, I promised myself that I wouldn't start anything else till I had finished another project, but, there is always a but, I just couldn't resist, so here goes, this will be a long drawn out build as i have to finish some of my other builds along the way, or so i tell myself.

I decided to go with the 1/20 scale size, and I was wondering what wood to use, I do like Huon Pine, but the cost at the moment is a little prohibitive, so I had a look down Bunning the local hardware and timber store, and they had some really nice clear grained pine, and with building at the scale of 1/20 I thought why not, so that is what i decided to use,


5.jpg
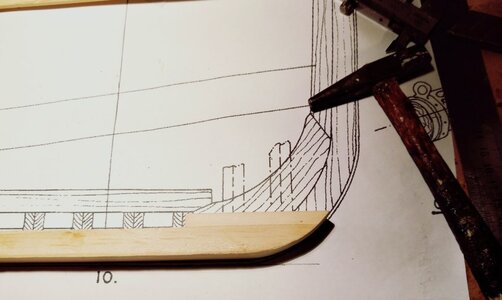
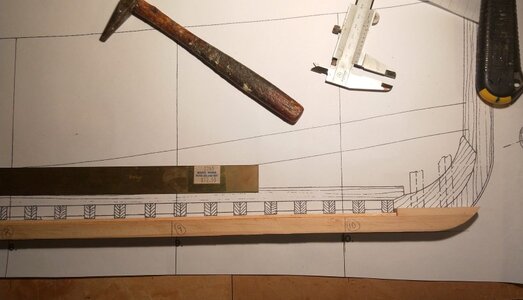
this is the keel cut to size and the piece above it is to go on top of the keel to form the rebate for the planking,


6.jpg
a full view,


7.jpg


8.jpg
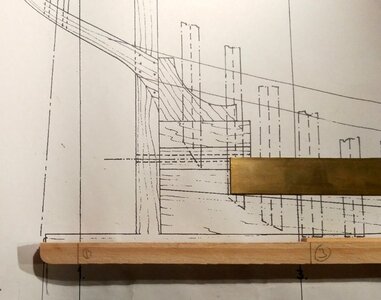
the keel with the rebate timber attached, I will have to manually cut the rebate up at the bow,


9.jpg
and the stern end, still have to build this end up,


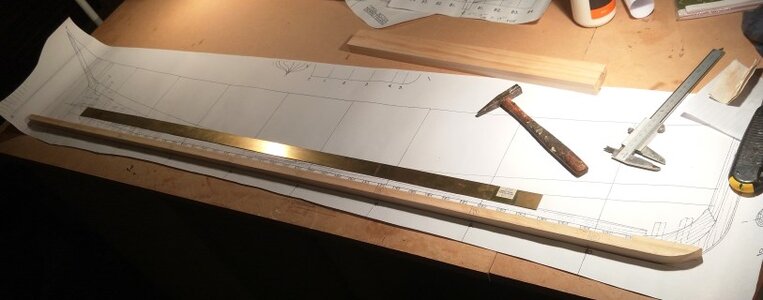
10.jpg
and an overall view, I'm going to build her upright on the board with double frames, the piece of brass above
the keel has to be cut to width for running down the stem and along the keel,


.
 
Off to a great start John,

What is great about Ted Frost's book is there are dimensions for the sand band, along with a multitude of other nuggets of information.

Are you going to stick with the 10 hull formers on the plan or draft more?

Cheers,
Stephen.
Yes the book is very helpful, I'm just starting at the front as it describes the build and all the little extra's that go into building this lovely ship.
I'm not sure yet whether I will do all the formers or just the ten, I might just double what they show and do twenty, will have a think about it,
best regards John,
 
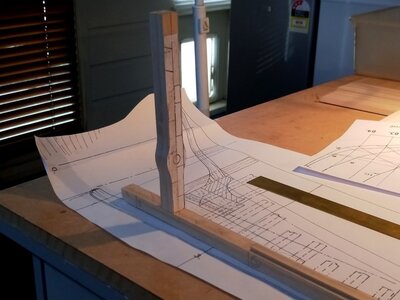
11.jpg
Decided to make the stern post assemblies next, cut the post to shape on my band saw, it is just sitting in place
has to have the hole bored out for the prop shaft yet,

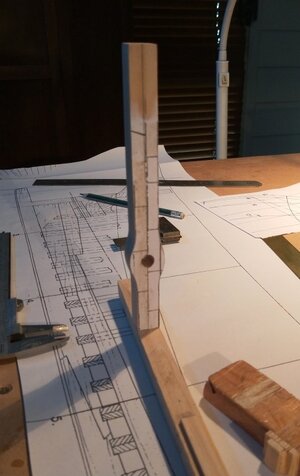
12.jpg
Thats the hole bored,

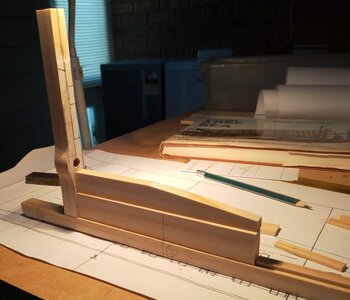
13.jpg
After boring out the hole next up was the dead wood, I cut it out of two pieces, it was a lot easier that way, its not
glued yet just to show the different pieces, it looks like the stern post is tilting back, its just the camera angle,


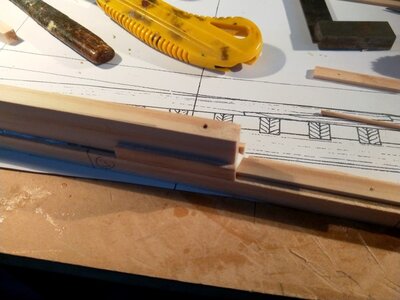
14.jpg
I dowelled the first piece of dead wood to the keel and used a couple of pieces of packing wood to make sure it
was sitting central on the keel,

15.jpg
I also used a miniature square to make sure all was vertical, I also had to put a piece of packing along the very
back end of the keel so that the stern post would be a little bit higher, I will explain with the help of some pics in
the next post,


16.jpg
so thats the deadwood attached but not the stern post, I still have to add some timbers to it before I can attach it,

.
 
Last edited:
17.jpg
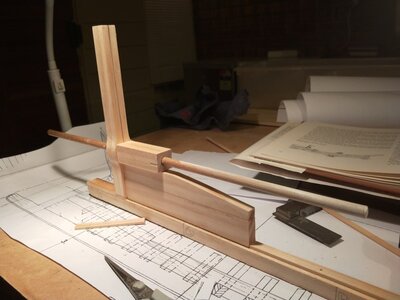
This is a beautiful book with some lovely plates, this one is looking right down along the ship at the square box
with the hole in it, it is called the stuffing box, which is the next thing that I have to make,

18.jpg
and here is a close up of it,

19.jpg
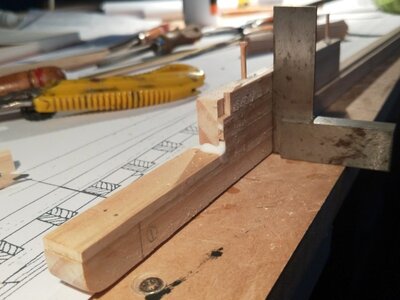
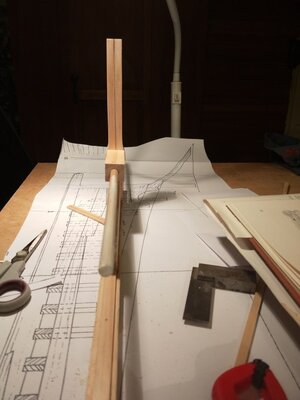
so this is the stuffing box and you can see why I had to use a piece of packing,

20.jpg
and view along the 8mm dowell which at this stage represents the prop tube,

21.jpg
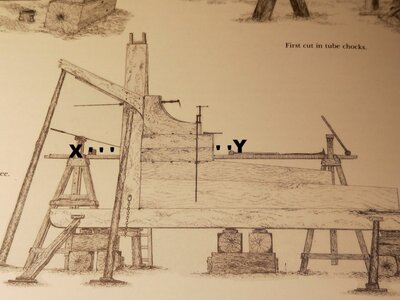
Now this is a pic from the book and the alignment X to Y is the where the prop tube goes,

22.jpg
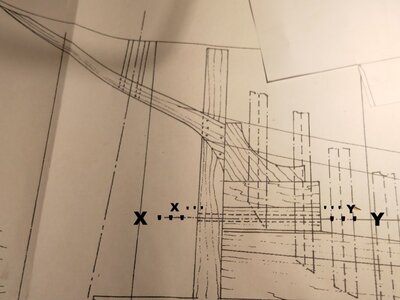
but on the side elevation he has drawn the stuffing box OK, but he has the prop tube going through the lower
half of the stuffing box marked with the Large X and Y, instead of the correct alignment which should go through
where the small x and y are, unless I'm missing something,

.
 
25.jpg
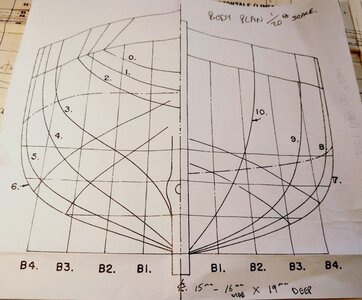
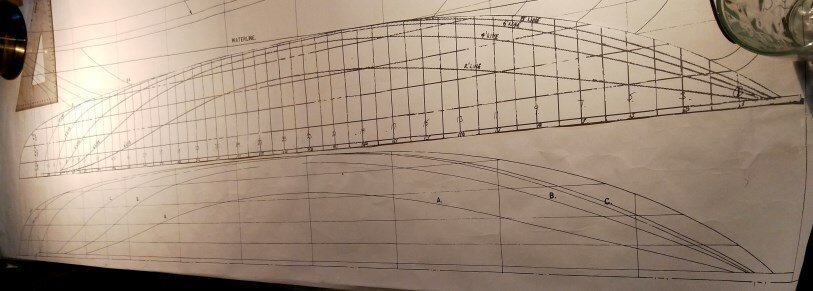
So while I was building the stern post etc I thought that i would take a look at the body plan and see how much work
there was going to be lofting the frames,and as you can see there is not a lot of info on the plans that I had bought
see above pic, also the plan and side elevation didn't have a lot of info either,

32.jpg
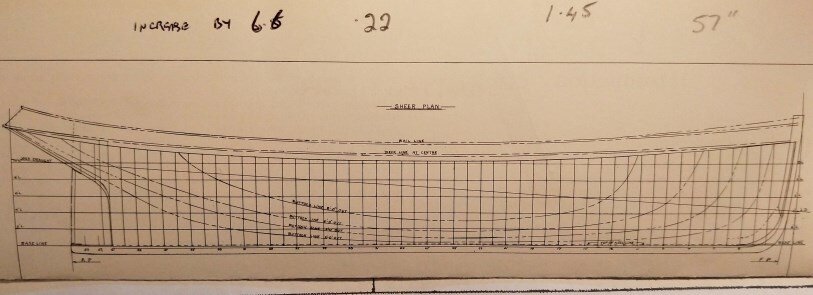
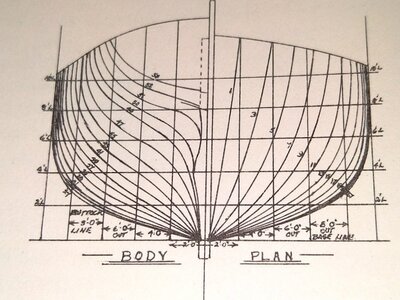
So I was looking through the book and in the first few pages there were some small drawings with lots of info, there
was a side elevation and plan and also a body plan that showed a lot of the frames already drawn, but the drawing
was only 22cm long and I needed it to 1.45 meters, that meant enlarging it 6.6 times, so I thought I would give it a go
and took it down the printers, and to my surprise it came out really well,

26.jpg
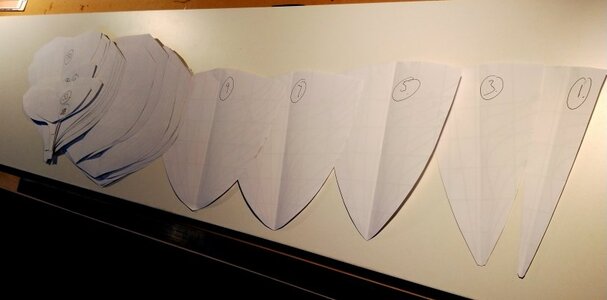
this is the enlarged body plan, it came out so good that instead of lofting the frames I just copied the body plan 40
times and cut each template from them,

33.jpg
all the templates cut out,

27.jpg
Both plans were for the same sized boat and the new one laid over the other one perfectly, so i just have to check to
make sure that the keel and dead wood that I have built fits OK with these new drawings,

thanks for looking in,

best regards John.

.
 
Last edited:
Thank you Jim and Steve for the likes.

Steve it was a lot quicker, so what I am going to do now is get the side elevation enlarged as well and then use these new enlargements for building the hull and use the original plans for the layout of the decks and all the superstructure, both sets of plans are for a Steam Drifter of the same length so hope all will be well,if not it will be back to the drawing board,

best regards John,
 
Back
Top