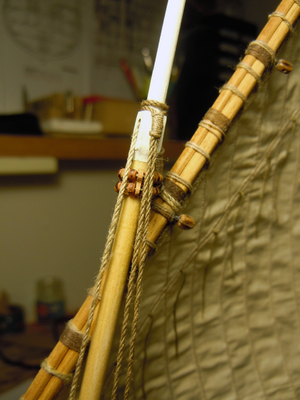
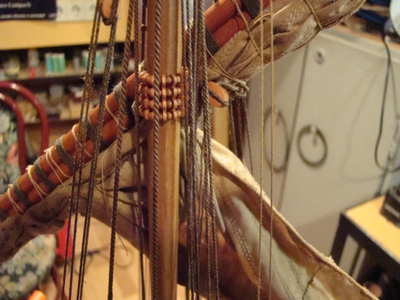
Syren 1803 (Model Shipways) 1:64, by Will @ Trilogy

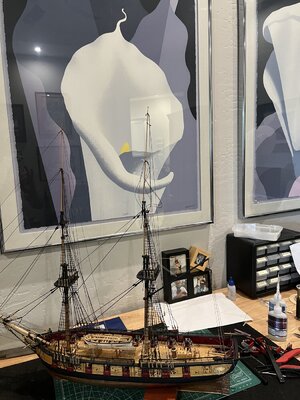
Standing rigging COMPLETE. On to chapter and as you can see I figured how to stop the iPhone rotation. PM me if you need help.
C81A4231-0210-48F6-A943-EB21D7E5363B.jpeg

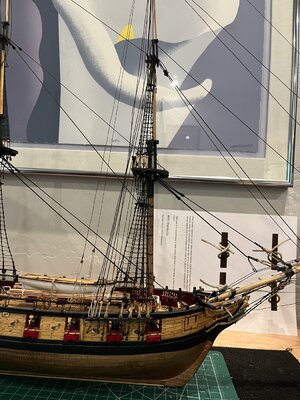
Not much to write about so here's a few photos showing the completed rigging
Plan View1FC37A6D-4AAC-4819-9FE5-076AF2192505.jpeg
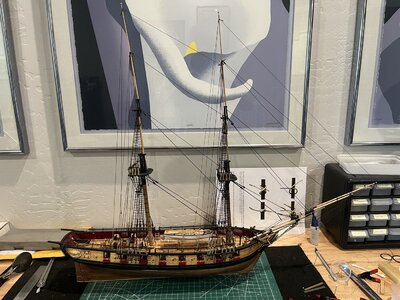
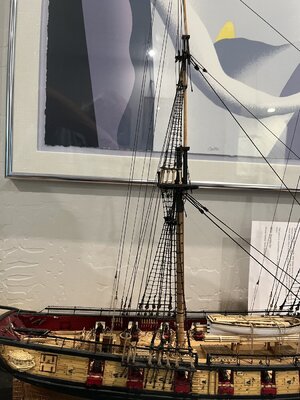
Foremast
4D686F95-9AF7-4777-9D3A-CAAE3BD4213B.jpeg
Main mast
24257B0D-CC7E-458A-986E-12CD6FF4C4E1.jpeg
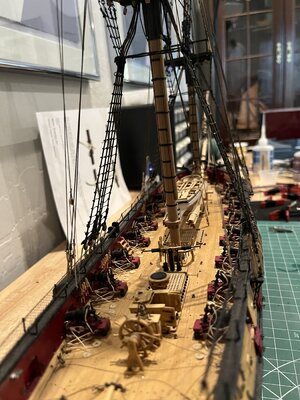
View along deck looking forward
38F63998-1799-4EB9-AB04-B7402FC20A6A.jpeg
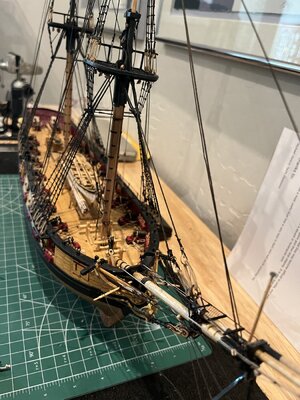
View looking aft from bowspirt
D8EB4892-E29D-4EC5-BC4F-1035FABC7D77.jpeg

A few things need to be tidied up as the running rigging is added. Such some lashing needs to be tightened and the photos really show how dirty she's become. I'll go to the shop and start the yards, gaffs, parrels, foot ropes and rigging blocks tomorrow.

Oh yes there are some things I'd like to point out for all Syren modelers
1. Eye bolts make sure the eye is large enough for the lashing wraps
2. The suggested rigging sizes are too large for rigging the staves to catheratpins and the topgallant shrouds, on my model. I'd suggest reducing the diameter by 15% to give room for all the connections.
3. The ships wheel is made from Syren Model Ship Companys mini=kit. An amazing upgrade.

Again thanks to all for the likes and kind comments.
As always more to come
 
Looking great Will, some very useful information too. I was aware the kit rigging sizes were possibly too large and I have a list of recommended sizes I found “somewhere” some months ago. I’ll also be changing out the ships’s wheel, as you have done.
 
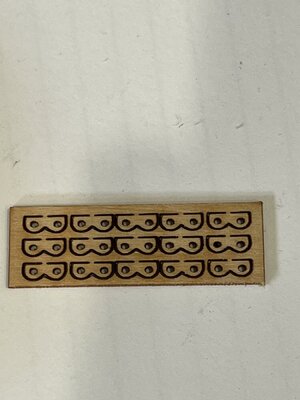
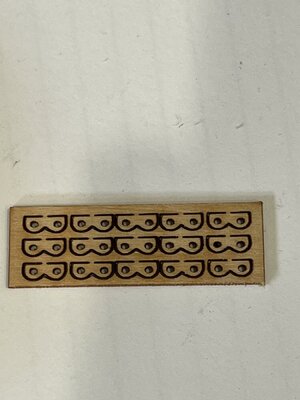
Started making the boom and gaff but had to stop due to Arizona heat. My little AC just can't keep the shop comfortable in Arizona summers. But what I did discover was a unknown piece taped to the jaws. Any ideas what these are and where to use them? My guess is rigging somewhere.
230EF21C-EDF1-44F9-8DF4-2188C1617902.jpeg

Thanks for all the looks and nice comments.
 
Started making the boom and gaff but had to stop due to Arizona heat. My little AC just can't keep the shop comfortable in Arizona summers. But what I did discover was a unknown piece taped to the jaws. Any ideas what these are and where to use them? My guess is rigging somewhere.
View attachment 317091

Thanks for all the looks and nice comments.
Parts for parrals, Will.
 
But what I did discover was a unknown piece taped to the jaws. Any ideas what these are and where to use them? My guess is rigging somewhere.
As Paul mentioned in the above post, it is parts to make Parral (par·rel, also par·ral)

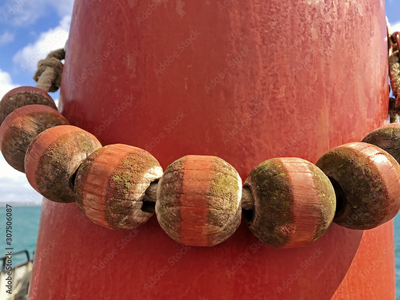
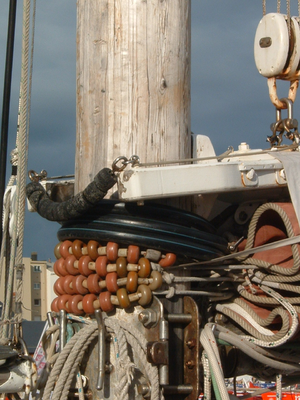
Parral - a sliding loop of rope or chain by which a running yard or gaff is connected to, while still being able to move vertically along, the mast.


1656976765933.png

1656976823029.png
1656976877063.png
1656976899022.png
1656976928918.png
 
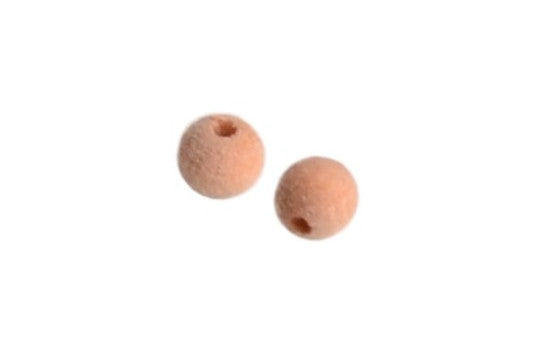
Thanks Jim and Paul. Jim the photos were most helpful. What confused me was a bag with small brass beads with holes to string. The wooden ones make more sense.
Will, you are most welcome, we are here to help. The brass beads are what the kit manufacturer supplied as the substitution for wood.
 
Those could probably be blackened and would still work???
yea...I mean you can 'blackened' and use them. However, they are made out of wood (in the past), nowadays, they might be made out of styrene. As a substitution for brass (in case you don't consider using them), you can find gazillion sizes\shapes and colors in the beads store. But... I have a source of wooden ones, from pear. Unfortunately, it is one size only but may fit your scale.

 
After more reading and some research I discovered that these
230EF21C-EDF1-44F9-8DF4-2188C1617902.jpeg
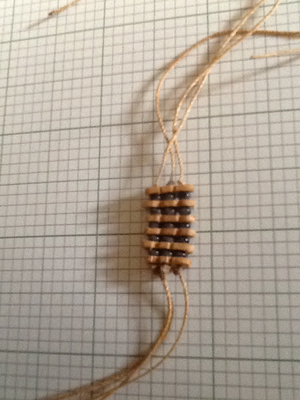
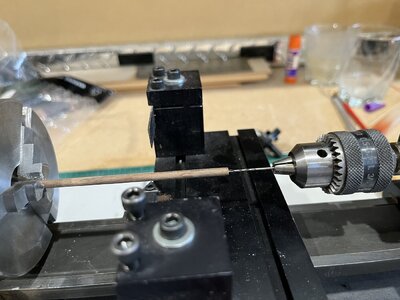
Were to be use for parraes on the top gallant yards with a brass bead between each wooden piece. With that I decided to make my parrels from a walnut rod. I drilled a hole in the rod
A73ABBD6-CB90-4E54-80D5-66E7225602CD.jpeg
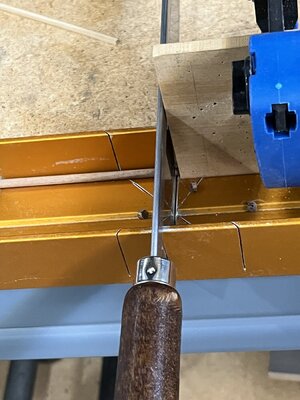
Then I sliced the parrels from the rod using a small mitre saw
FECFBA5B-A27B-4AED-B8B1-DC35D9392145.jpeg
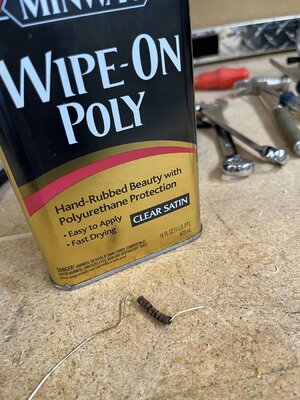
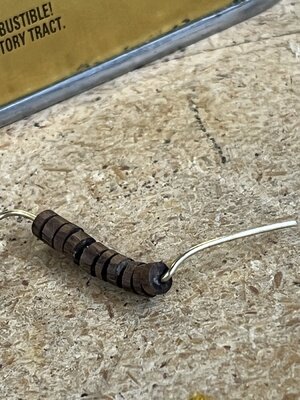
Once sanded I wiped with a coat of Wipe-on-Poly
3932C7EE-719B-4015-A485-228FB2595AF9.jpeg93076E74-5499-4646-A97C-AFC65C1B361D.jpeg
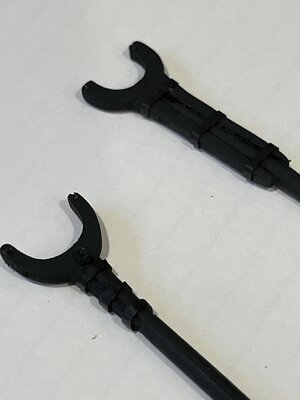
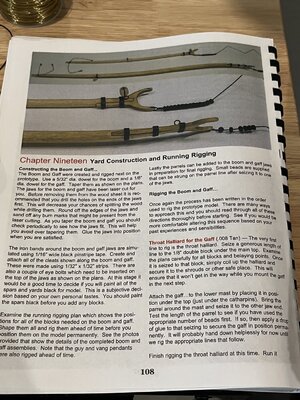
Next I made the boom and gaff with the wedge stop pieces. The yokes have iron bands securing the boom and gaff to their yokes. I found while making the masts iron bands that I could sanisfactorly use heat shrink tubing to simulate the iron bands.
98060036-1AFC-41A1-917B-4DA271443F7C.jpeg8E65E459-DA83-4BA9-ADD5-4A3158655EED.jpeg
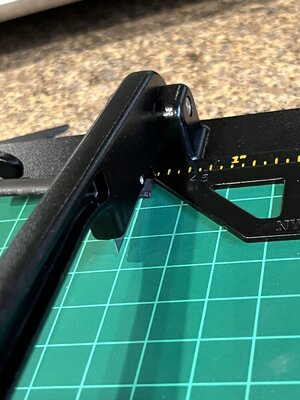
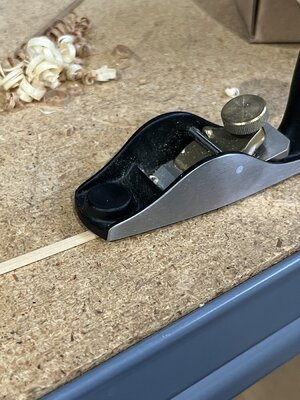
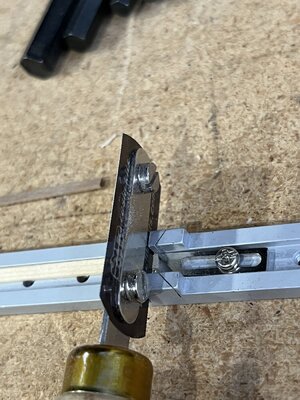
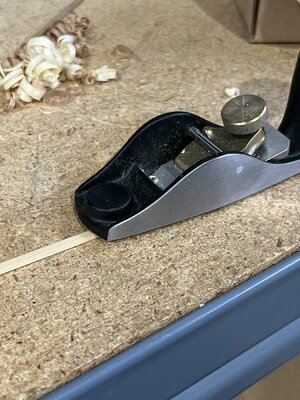
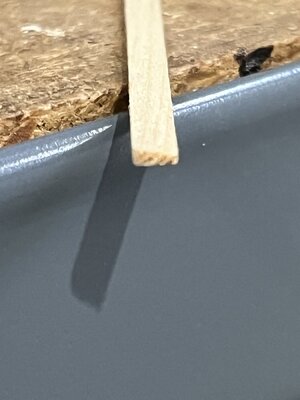
To make the wedges I cut the angle on piece of boxwood of the correct width using a modelers plane and sawed them to width using a razor saw mitre with a stop making them uniform.
45E541E1-C153-4CEC-9B42-B321D6BB6E07.jpeg
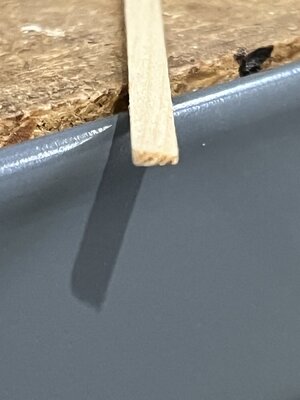
end view of boxwood strip
300C351F-83E2-40BE-9C66-9AC23F8AFFB8.jpeg
cutting to uniform width
28A9580B-7B87-4BEA-891D-C9F39B336CDA.jpeg
chopping the heat shrink tubing to width
98060036-1AFC-41A1-917B-4DA271443F7C.jpeg
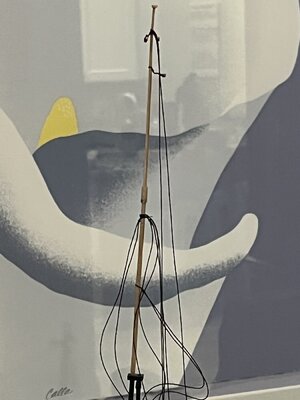
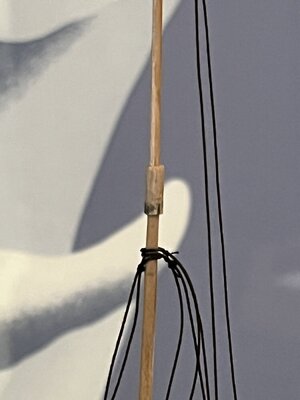
Rigged the gaff and while attaching the gaff throat halliard pulled the main top gallant back stay and snapped the mast at the top gallant. What to do. What to do. Rather than make a new mast I'll try to repair the broken mast. I decided to make a 3/8" long sleeve to hold the pieces together adding strength. Taking a 3/32" walnut rod I drilled a #53 hole in the center of the rod. I cut the rod to 1" long and chucked it into the lathe and a #50 hole to a depth that would leave a 3/16" hole for the top gallant. Cut the rod 3/8" long and tried to fit. Amazingly it worked.
E31843F2-FEFF-4605-90DD-AB6FA4412DE1.jpeg94EAE7DD-F9FA-459E-8774-3F3A33136AAB.jpeg0C071431-FBE1-4455-B4CA-084AE5984279.jpeg
I plan to sand the leading edges to a slight taper making the sleeve less obvious and rig everything to see how it looks. Impressions anyone.

Tomorrow we leave for a river cruise from Bucharest, Romania to Amsterdam so no work on Syren until we return on August 15th.

45E541E1-C153-4CEC-9B42-B321D6BB6E07.jpeg

300C351F-83E2-40BE-9C66-9AC23F8AFFB8.jpeg
 
Back
Top