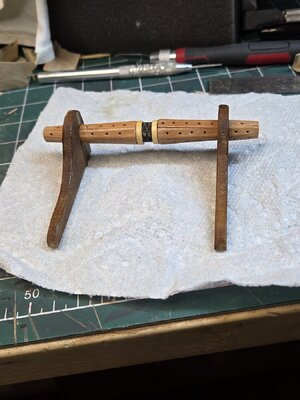
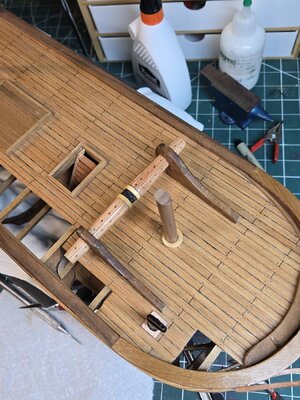
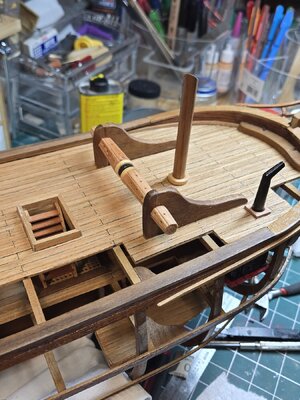
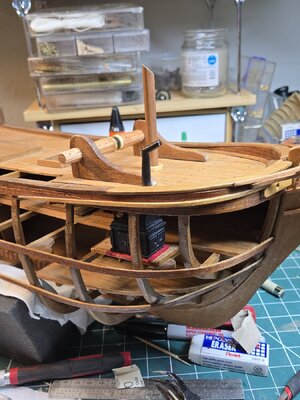
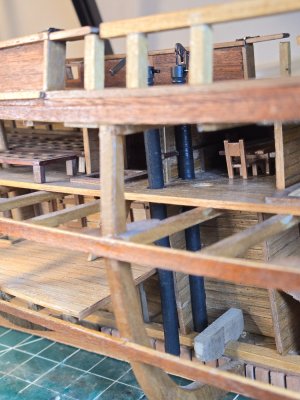
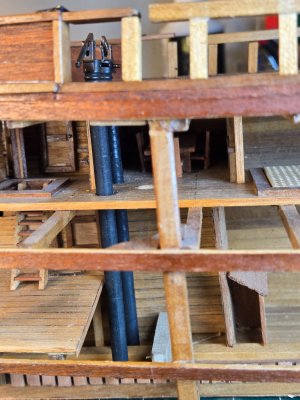
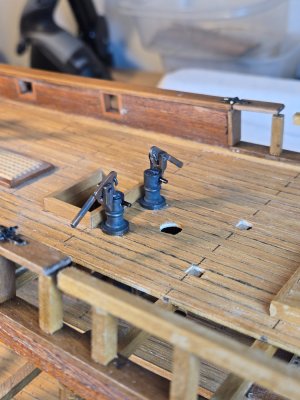
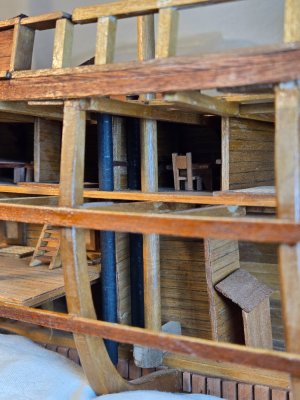
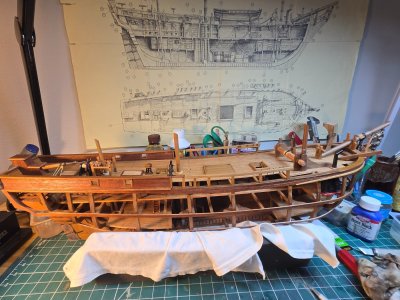
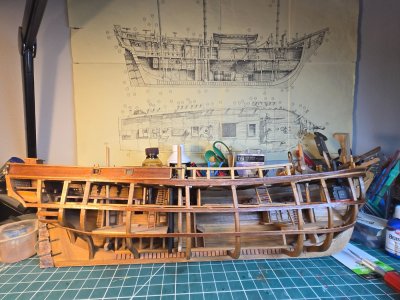
Thank you Grant !!Good morning Daniel. Good to see another Bounty on the group. Cheers Grant
-

Win a Free Custom Engraved Brass Coin!!!
As a way to introduce our brass coins to the community, we will raffle off a free coin during the month of August. Follow link ABOVE for instructions for entering.
-

PRE-ORDER SHIPS IN SCALE TODAY!
The beloved Ships in Scale Magazine is back and charting a new course for 2026!
Discover new skills, new techniques, and new inspirations in every issue.
NOTE THAT OUR FIRST ISSUE WILL BE JAN/FEB 2026
You are using an out of date browser. It may not display this or other websites correctly.
You should upgrade or use an alternative browser.
You should upgrade or use an alternative browser.
The Anatomy of the Bounty - AL-
- Thread starter Dematosdg
- Start date
- Watchers 32
-
- Tags
- artesania latina bounty
Hi all
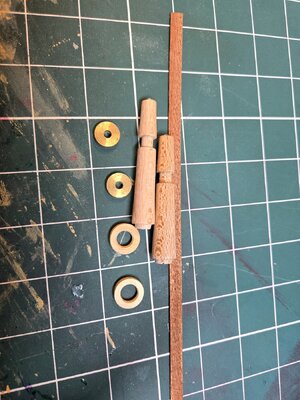
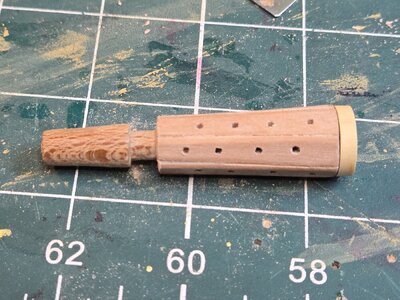
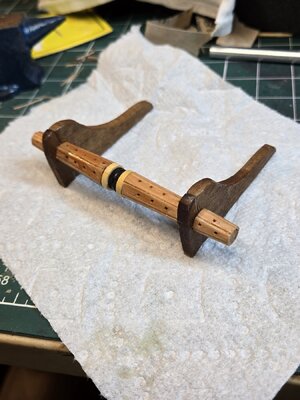
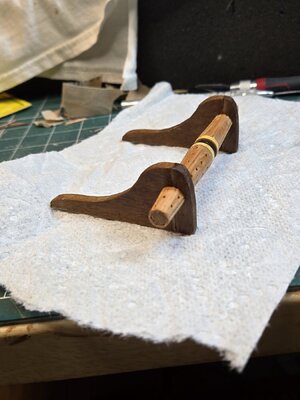
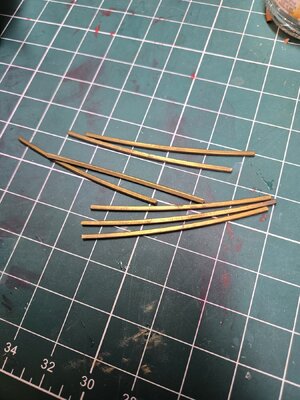
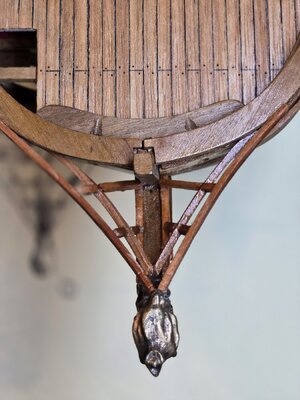
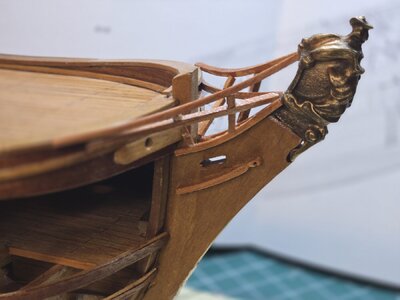
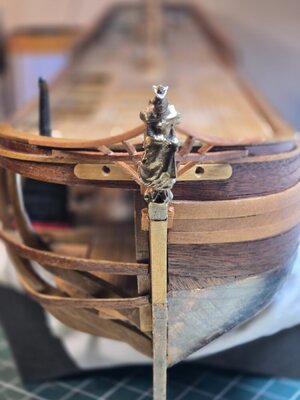
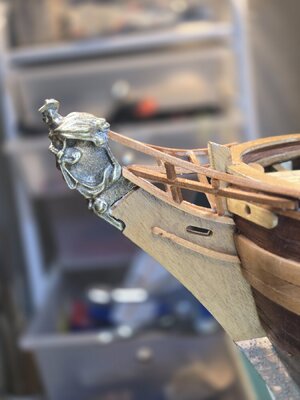
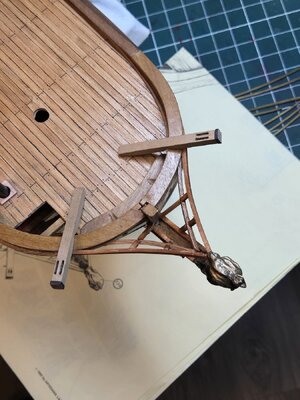
I have been working on the Bow hatch coamings and its timbers. The kit come with pieces of brass 2x2x100 mm. I didn't like them so I decided to use wood. It was a pain in the neck. 3 times, YES !!! , I built them 3 times. The first 2, went to trash. It looks horrible. The 3rd one was the most acceptable one. And is pictured below.
Brass pieces provided by the kit
My 3rd attempt
Cheers
Daniel
I have been working on the Bow hatch coamings and its timbers. The kit come with pieces of brass 2x2x100 mm. I didn't like them so I decided to use wood. It was a pain in the neck. 3 times, YES !!! , I built them 3 times. The first 2, went to trash. It looks horrible. The 3rd one was the most acceptable one. And is pictured below.
Brass pieces provided by the kit

My 3rd attempt


Cheers
Daniel
Last edited:
Exceptionally neat joinery you have done. The fact that you are not settling and willing to replace a piece with something better speaks volumes. Kudos.
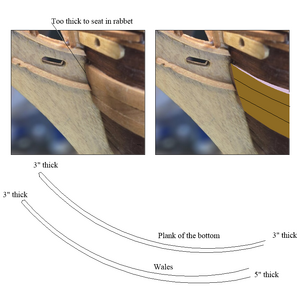
Not sure if this is important to anyone but maybe for the future......the wales were seated in the rabbet so they had to be tapered to the same thickness at the bow as the surrounding planking. The below is probably more clear than just a written explanation. On the left the strakes of wales are not in the rabbet as they are too thick. The wales would taper from about 5 or 6" thick to 3" thick which I believe is the thickness of the bottom planking of a ship the size of Bounty.
Allan

Last edited:
Hi Allan, thank you very much for your comments !! . Concerning the rabet, there isn't one on this model. The keel is glued on place after the hull is built from a molding. Could I have done one on the keel as designed ? I don't know.Exceptionally neat joinery you have done. The fact that you are not settling and willing to replace a piece with something better speaks volumes. Kudos.
Not sure if this is important to anyone but maybe for the future......the wales were seated in the rabbet so they had to be tapered to the same thickness at the bow as the surrounding planking. The below is probably more clear than just a written explanation. On the left the strakes of wales are not in the rabbet as they are too thick. The wales would taper from about 5 or 6" thick to 3" thick which I believe is the thickness of the bottom planking of a ship the size of Bounty.
Allan
View attachment 461036
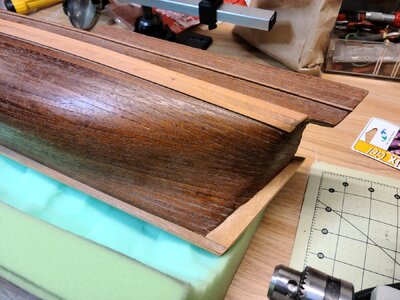
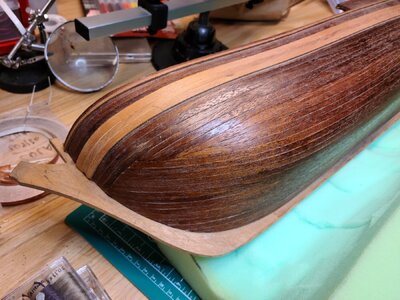
I realize this overall pattern of hull planking, which never existed on any ship, is a kit designer's fantasy. Why they do this I have no idea as it actually wastes wood so there is no cost savings. Even if the wales are laid on top of the first planking they can be thinned at the bow area so they do not stand proud of the surrounding planking. I for one am very impressed with how neatly you have the other strakes ending at the stem without a rabbet being used. NICE WORK.
Allan
Allan
Thank you for your nice comments!!!I realize this overall pattern of hull planking, which never existed on any ship, is a kit designer's fantasy. Why they do this I have no idea as it actually wastes wood so there is no cost savings. Even if the wales are laid on top of the first planking they can be thinned at the bow area so they do not stand proud of the surrounding planking. I for one am very impressed with how neatly you have the other strakes ending at the stem without a rabbet being used. NICE WORK.
Allan
I am not sure if around 1993 AL was thinking that the kit was a waste of wood. But I am sure they were thinking on bringing to the marker something unusual. The hull needed to be strong, as it was just to be a shell.
At those times, I was not able to find another model that could show the inside of the ship. This was the only one I found. It wasn't cheap either(~$300). And was only sold in Spain. On a company trip to Madrid I came back to Argentina with this kit and the King of Mississippi. It was around 1995-6.
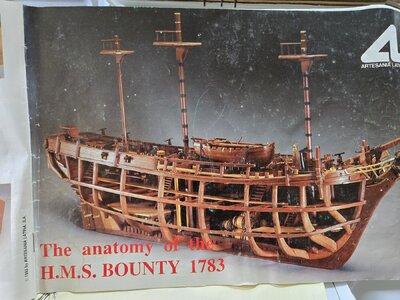
I started the hull in 2000, but left it, until I started this thread (go to posting #1).
The kit was discontinued at some point of these 31 years and replaced by a much more easy to built kit. The Anatomy of the Bounty that you can find today.
Definitely, this kit, from ~1993 isn't at all for a bigginer.
Cheers
Daniel
PS: More about the hull construction process
Last edited:
Good morning Daniel. Yep that is a good windlass. It is pleasant to see a kit get the scale of this correct. I have always found this massive (in relation to the rest of the ship) windlass on The Bounty to be ugly. It shows how small the Bounty was. Good job on the ugly windlass
 . Cheers Grant
Good morning Daniel. So far very good. I really like this AL model with the starboard side open. Will make for interesting viewing. Cheers Grant
Hola a todos
El barco tortuga está llegando a su fin. Así que empecé a pensar: "¿Qué sigue?". Después de pensarlo mucho, decidí terminar un proyecto que comenzó hace 22 años. Precisamente en 2000, cuando vivíamos en Bélgica. Desafortunadamente, para el modelo, 1,5 años después de que lo comencé, nos mudamos a EE. UU. UU. y el modelo quedó en suspenso. También el hobby quedó en suspenso hasta aproximadamente 2019. Has visto los modelos que construí desde entonces. Todos se pueden encontrar aquí en SOS.
Ahora es el momento de volver a este modelo inusual, al menos en el momento en que se desarrolló. Ahora es un modelo discontinuado.
Se ha escrito mucho sobre la historia del Bounty, no es necesario que lo reescriba. Sin embargo, iré añadiendo comentarios a medida que avance.
Vamos a mostrar algo de lo que hice hasta ahora.... en la próxima publicación...
Salud
Sí
Hola Daniel,Hola a todos
El barco tortuga está llegando a su fin. Así que empecé a pensar: "¿Qué sigue?". Después de pensarlo mucho, decidí terminar un proyecto que comencé hace 22 años. Precisamente en 2000, cuando vivíamos en Bélgica. Desafortunadamente, para el modelo, 1,5 años después de que lo comencé, nos mudamos a EE. UU. y el modelo quedó en suspenso. También el hobby quedó en suspenso hasta aproximadamente 2019. Has visto los modelos que construí desde entonces. Todos se pueden encontrar aquí en SOS.
Ahora es el momento de volver a este modelo inusual, al menos en el momento en que se desarrolló. Ahora es un modelo discontinuado.
Se ha escrito mucho sobre la historia del Bounty, no es necesario que lo reescriba. Sin embargo, iré añadiendo comentarios a medida que avance.
Vamos a mostrar algo de lo que hice hasta ahora.... en la próxima publicación...
Salud
Daniel
Me encontré en una situación similar. He reanudado la construcción de la sección antigua HMS Bounty que deje parado y ahora tengo el problema de que no tengo las instrucciones, si los planos, y me está costando bastante trabajo. Si las conservas, te agradecería me las facilitaras.
Gracias.
No hay problema. Tengo todo. Las instrucciones escritas son largas y realmente no me ayudaron. Use las fotos, los planos y el libro Anatomía del Bounty. Puedo sacar fotos de lo que necesitas. Pero , por favor, ahora estamos ocupados con el Huracán Milton. La semana próxima te escribo.Hola Daniel,
Me encontré en una situación similar. He reanudado la construcción de la sección antigua HMS Bounty que deje parado y ahora tengo el problema de que no tengo las instrucciones, si los planos, y me está costando bastante trabajo. Si las conservas, te agradecería me las facilitaras.
Gracias.
Daniel
First a picture of what was left of the original box
View attachment 258244View attachment 258245View attachment 258246
Plans
View attachment 258255View attachment 258256
Hull built process.
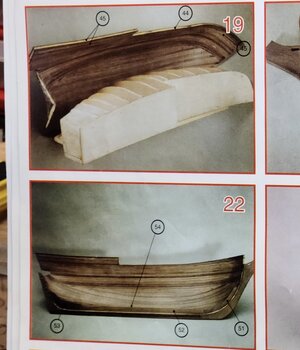
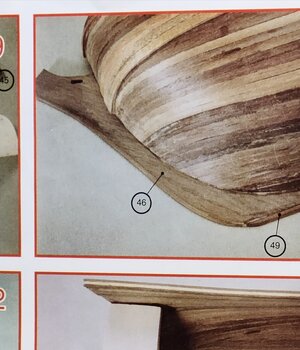
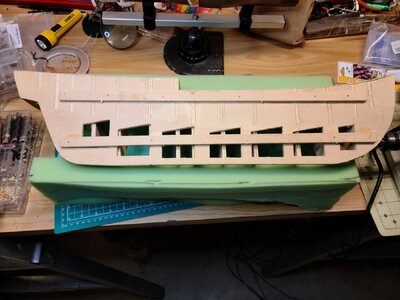
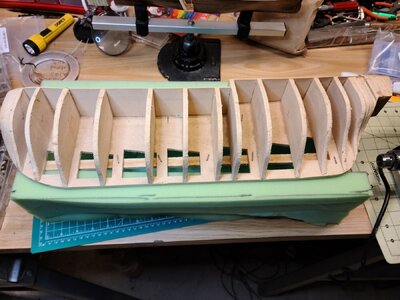
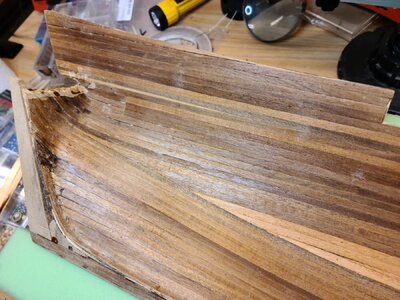
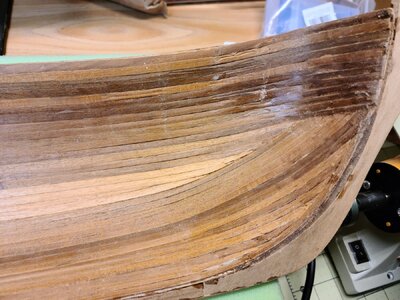
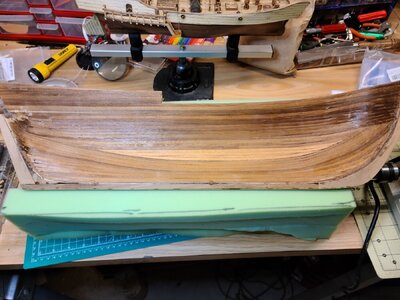
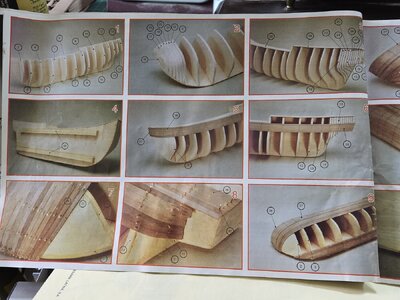
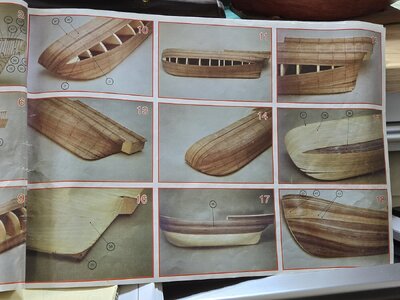
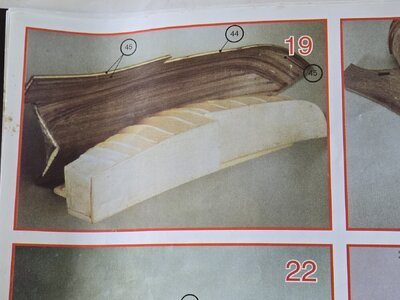
You need to built a mold. To witch a first planking is done. Then a second planking. Then you take the hull out of the mold and ad a third internal planking.
I took these pictures from the construction manual so you can see what I meant.
View attachment 258257
View attachment 258258View attachment 258259View attachment 258260
Now my outcome.
First, I would like to apologize to the many SOS experts on how I did my second hull planking. It isn't correct. But at that time for me was fantastic. I thought in re-doing it by adding a new layer. But I then rejected the idea. Why ? Because the ship represent my skills and knowledge at those times and It brings me a lot of memories from when I built it.
View attachment 258247View attachment 258248View attachment 258249View attachment 258250View attachment 258251View attachment 258252View attachment 258253View attachment 258254
This is all what I have so far. I have already detected a few defects that I hope I will be able to solve them.
But the built will need to wait a few more weeks until I finish the Turtle Ship. But hey, she already waited 22 years. A few weeks more is nothing.
Cheers ..... and wish me good luck.
Daniel
Hola Daniel.No hay problema. Tengo todo. Las instrucciones escritas son largas y realmente no me ayudaron. Use las fotos, los planos y el libro Anatomía del Bounty. Puedo sacar fotos de lo que necesitas. Pero , por favor, ahora estamos ocupados con el Huracán Milton. La semana próxima te escribo.
Daniel
Gracias por tus fotos. Me están sirviendo.
Cuándo puedas.me explicas, porqué en las fotos 12 y 13 de las instrucciones, las 5 tracas de la amurada de popa, sobresalen de las siguientes, y en las fotos 16 y 17 ya se encuentran enrasadas. Tiene algún sentido?
Thanks for your photos. They are serving me.
When you can, explain to me why in photos 12 and 13 of the instructions, the 5 strakes of the stern bulwark stand out from the following ones, and in photos 16 and 17 they are already flush. Does it make any sense?
Thank
Sacaron la foto antes de cortarlas. Seguí las fotos de mi construcción y todo ve a OK.. As todas las preguntas que necesites.Hola Daniel.
Gracias por tus fotos. Me están sirviendo.
Cuándo puedas.me explicas, porqué en las fotos 12 y 13 de las instrucciones, las 5 tracas de la amurada de popa, sobresalen de las siguientes, y en las fotos 16 y 17 ya se encuentran enrasadas. Tiene algún sentido?
Thanks for your photos. They are serving me.
When you can, explain to me why in photos 12 and 13 of the instructions, the 5 strakes of the stern bulwark stand out from the following ones, and in photos 16 and 17 they are already flush. Does it make any sense?
Thank
They took the picture before cutting them. Follow all my build pictures and you will be fine. Don't hesitate to ask questions.
Hi all
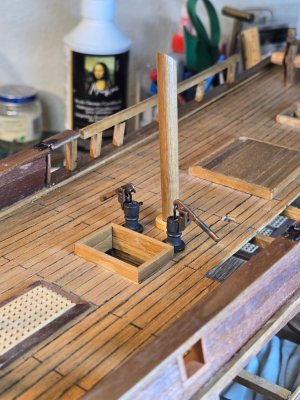
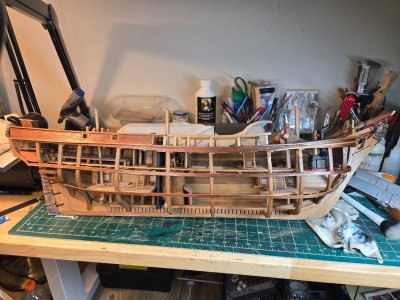
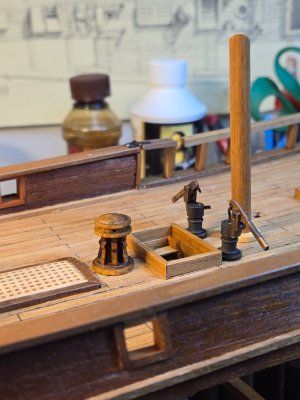
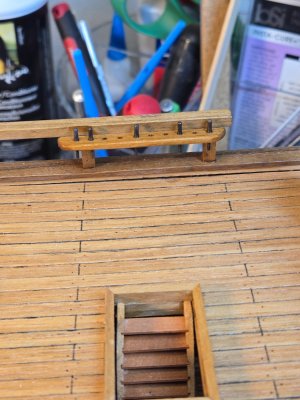
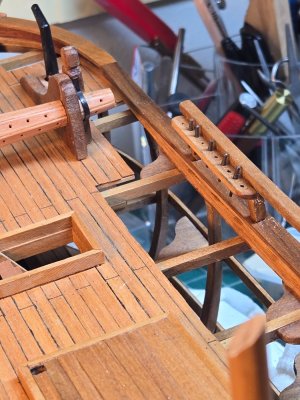
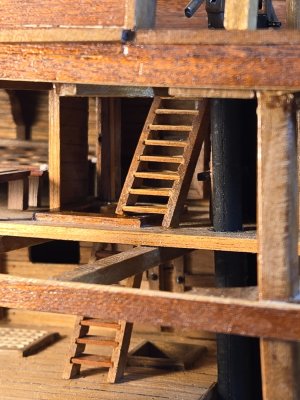
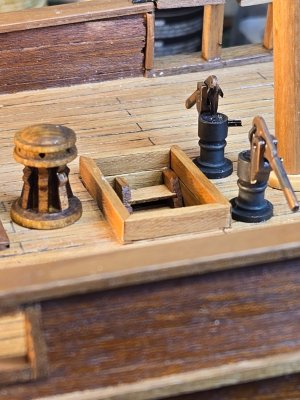
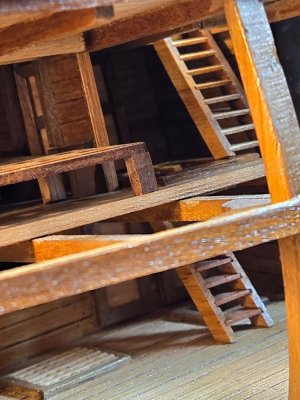
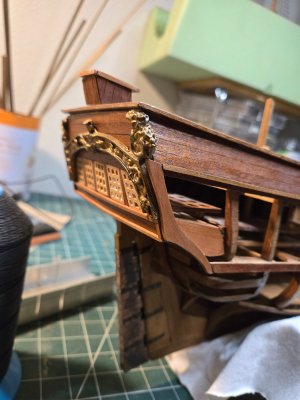
After I finish the Efim Nikonov submarine, went back you my Bounty. I was able to setup my mind again on this built and did the handrails. Then, I found @Kurt Konrath posting concerning Olha Batchvarov gunboat Philadelphia built. As I had the kit, I joined the group built. So you guys will see me jumping between the Bounty and the Philadelphia.
The handrail has a section that can be be raised to allow the use of a hull stair by the crew (not built yet). I did the hinges the best that I could.
Ok, these was my modest addition to the Bounty:
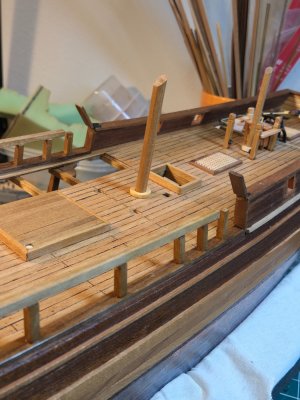
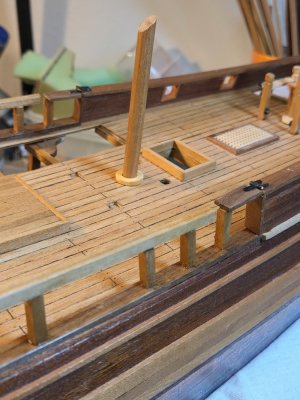
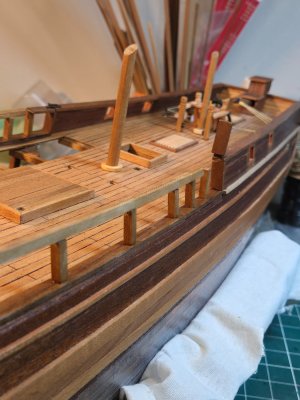
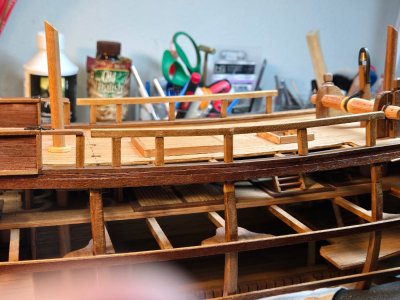
Cheers
Daniel
After I finish the Efim Nikonov submarine, went back you my Bounty. I was able to setup my mind again on this built and did the handrails. Then, I found @Kurt Konrath posting concerning Olha Batchvarov gunboat Philadelphia built. As I had the kit, I joined the group built. So you guys will see me jumping between the Bounty and the Philadelphia.
The handrail has a section that can be be raised to allow the use of a hull stair by the crew (not built yet). I did the hinges the best that I could.
Ok, these was my modest addition to the Bounty:


Cheers
Daniel
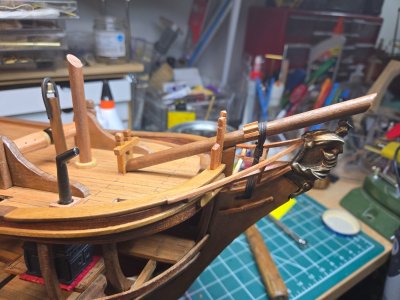
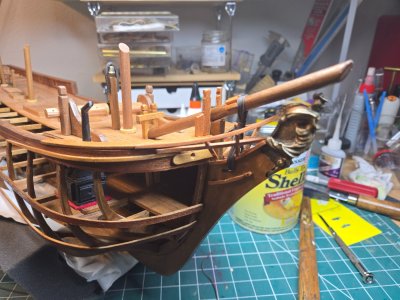
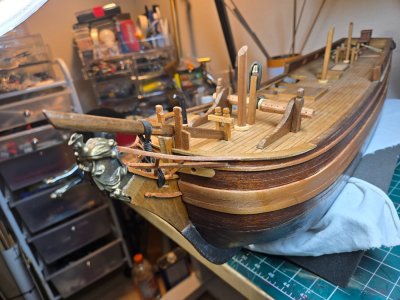
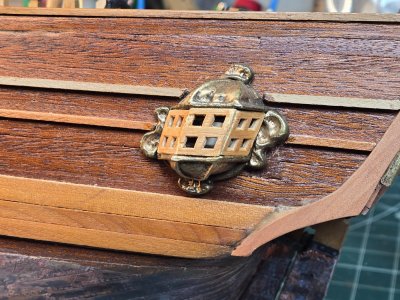
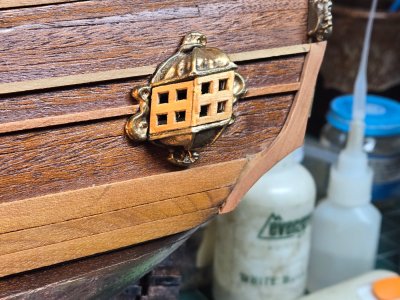
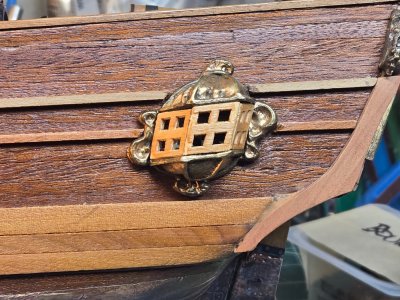
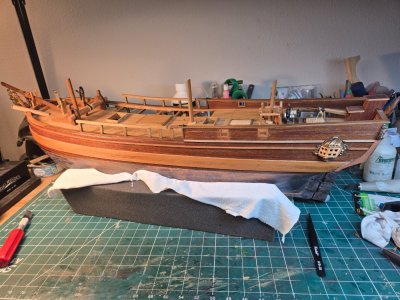
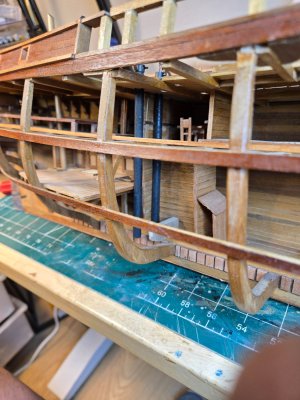
Good evening Daniel. It seems the Bounty is the lackey ship. I too once in a while do a little work on my Bounty and then she goes to the bottom of the food chainHere we go again .... Window added.
View attachment 519552View attachment 519553
View attachment 519554
View attachment 519555
 . I guess one day we will finish our Bounty’s. Cheers Grant
HAHAHA... you are the best !Good evening Daniel. It seems the Bounty is the lackey ship. I too once in a while do a little work on my Bounty and then she goes to the bottom of the food chain. I guess one day we will finish our Bounty’s. Cheers Grant


