The "Chinese" Harvey

See? See? See?

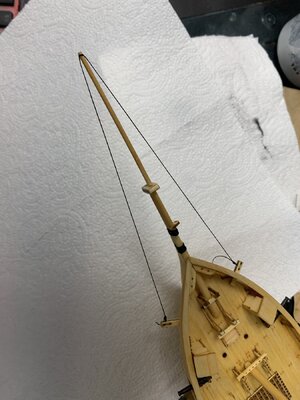
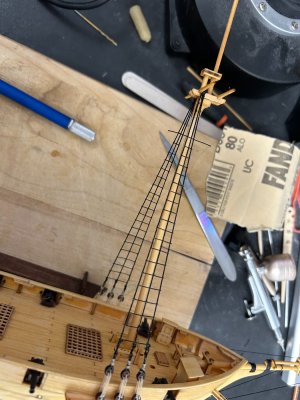
I was just finishing the first three Fore Stays and highly anticipating ratting (while continuing on with the rest of the Stays on the Fore and then the Main).

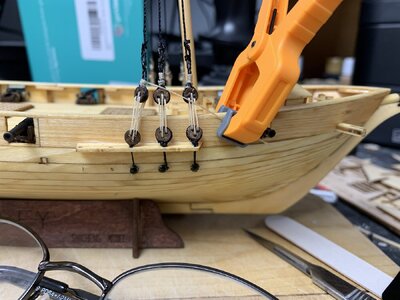
The pic speaks for itself. I blame the crappy thread that came with the "kit." But, then again, it might be "builder error." Time will tellView attachment 444090 (AFAIK).

F***! I've not even rigged it and yet I am considering the sails now. You SUCK! But on the other hand, how do you run all of the fore sails on a boat like this? I am confused at how much fore sail they put out on a run.

M.
Sorry you're having issues with the cheap Chinese line. It's really just string. Looks like your knot came undone on the lower deadeye. No glue on that knot perhaps? Rework sucks, but it always has to be done. Pull the remnant of the simulated chainplate (black line) down and out of the channel, take a pliers and carefully twist and pull the pin out of the hull, remove the line remnant from the pin, and re-tie a new simulated deadeye strop around the deadeye (add glue to the knot), rove it through the channel, insert the pin half way into the hole in hull, draw the deadeye taut to the channel, and tie off the line to the pin, and glue that knot, add a bit of glue to the shank of the pin, then push the pin the rest of the way into the hull. It could be a LOT worse. I have lots of stories on that topic. . .

Remember... if everyone could make these difficult models, they would.

Well, on a run, the clews of the staysails are allowed to run out to either side of the hull by slackening the sheetines, which is easier to understand if you look at a modern sailboat below. Note how the boom of the mainsail is swung out to port while the jibsail is out to starboard. It's not as effective as square sails, but it gets the job done.
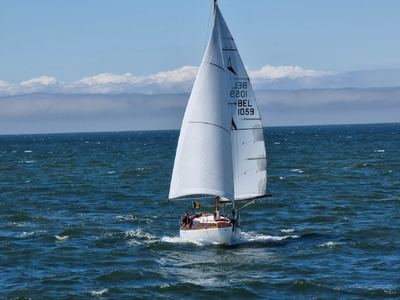
1714338094517.png
 
Last edited:
A run would be boring. A tight tack however... I finally purchased some Coats in black. I thought it would only be for the rats but I'm thinking about it for the strops atm.

M.
 
See? See? See?

I was just finishing the first three Fore Stays and highly anticipating ratting (while continuing on with the rest of the Stays on the Fore and then the Main).

The pic speaks for itself. I blame the crappy thread that came with the "kit." But, then again, it might be "builder error." Time will tellView attachment 444090 (AFAIK).

F***! I've not even rigged it and yet I am considering the sails now. You SUCK! But on the other hand, how do you run all of the fore sails on a boat like this? I am confused at how much fore sail they put out on a run.

M.
not too bad... There are much harder things to need to fix and you will eventually find them if you stay with this wonderful hobby. :D
 
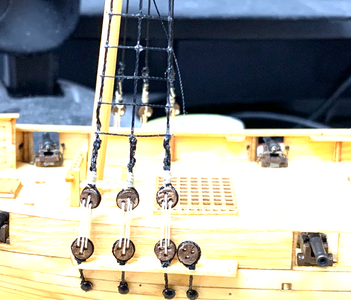
And the recovery... The broken strop is now replaced with Coats and Clark thread. Which is WAY better (also what is being used for the deadeye rigging (different color) and planned for the rest of the dynamic rigging). I plan to keep using the black thread that came with the "kit" for the remainder of the upper portion of the stays just because switching to the Coats would be more noticeable. But I would never start with the "kit" thread again. It does not take in PVA well. And it "relaxes" for days! Set something up with good tension and check it the next day and it is slack as s***. But it is still visually fine since it never slacks off to the point of sagging. So good enough for a $30 model, I hope!?!IMG_0416.jpeg
 
Last edited:
I just gotta say it... Ratting sucks. At least at this scale and with the "ropes" and glue I am using. It takes forever!

Meanwhile I have repair in progress! The top of the Main snapped a couple of months ago and I had not bothered to try and repair it while rigging the Fore. But I guess today was the day?

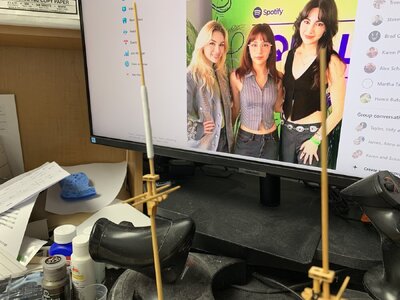
I've made card models before and so am familiar with making shapes out of paper and glue. Molded a simple tube around the Main for a support. And then butt glued the two ends together and slid the support in place. I hope it separates ok!

This Harvey model kit is quite good IMHO. The two biggest downsides for me are the quality of the dowels and the "ropes." Definitely need to purchase better thread. And probably some hard wood dowels (I haven't done that yet but wish I had!)

IMG_0425.jpeg
 
Your masts and crosstrees look very clean and tidy. Because of the small size of this boat, you will have to choose which lines shown in the Artesania instructions to leave out of the rigging, or it will get very crowded with lines very fast. Watching to see what you come up with!
 
Your masts and crosstrees look very clean and tidy. Because of the small size of this boat, you will have to choose which lines shown in the Artesania instructions to leave out of the rigging, or it will get very crowded with lines very fast. Watching to see what you come up with!
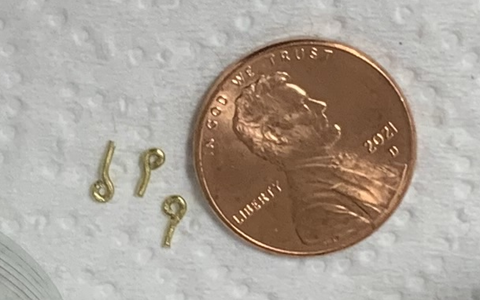
So true. I am still ratting the Fore but then ended up snapping the bowsprit (again). And while repairing it I thought to check if rigging it would help to alleviate that possibility again. And so I checked your build log again and then had the idea for the Artesania info. After looking through about 100 (only 1/3) of their illustrated directions I became WELL AWARE that there was NO WAY I could put that much rigging on this model! But I am also already making brass eyes to tie the bowsprit to the bow!
 
So true. I am still ratting the Fore but then ended up snapping the bowsprit (again). And while repairing it I thought to check if rigging it would help to alleviate that possibility again. And so I checked your build log again and then had the idea for the Artesania info. After looking through about 100 (only 1/3) of their illustrated directions I became WELL AWARE that there was NO WAY I could put that much rigging on this model! But I am also already making brass eyes to tie the bowsprit to the bow!
I also looked at the Artesania Harvey rigging, but my boat was the Halcon, so it was expected there would be differences. Using Lennarth's book on rigging fore-aft rigged ships provided a rigging plan that was simple, because the book only covered the most important lines. The lesser ones were omitted. That saved me time deciding what to rig and what not to. Could you just imagine the amount of spider silk thread you would have to rig if you DID rig all the lines in the Artesania plans? WOW. Even my thinnest Gutermann thread was a bit too thick for the ratlines. I really hope you threw than Chinese weak string away by now. That stuff was TERRIBLE! :rolleyes:

Watching your progress with great interest...
This kit came with two colors of thread: Tan and Black. I used the Tan for the cannon breech ropes but also painted it to have more contrast against the wood deck. Threw it out once I purchased better. I also purchased better for the Black but have retained the original crap. I had already used the original for the uprights on the Fore and so plan to use it on the uprights on the Main for consistency. Luckily I had switched to the better thread for the horizontals on the rats on the Fore and can then throw the original black away (might have a burning ceremony?) once that portion of the Main is finished. Never again...
 
Helpful hint. Do not forget that your brass wire is clear coated with lacquer that needs to be sanded off before you use Brass Black.

Before:
Unblacked.png

After:
blacked.png

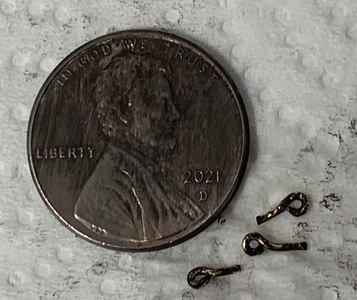
I think I'll probably just paint them and move on. But I will try to remember to sand off the varnish on the wire before trying to bend and black them the next time!

M.
 
Back
Top