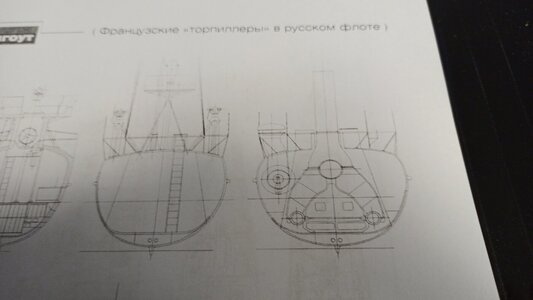
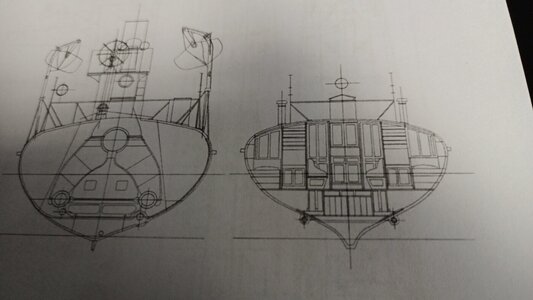
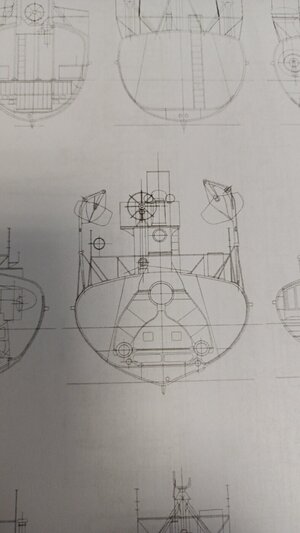
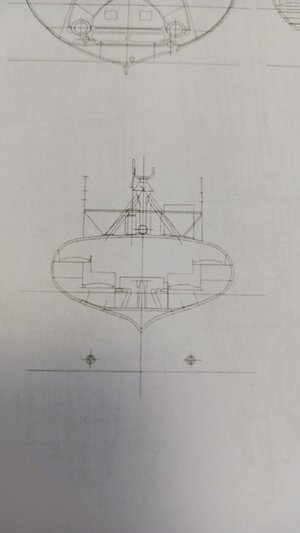
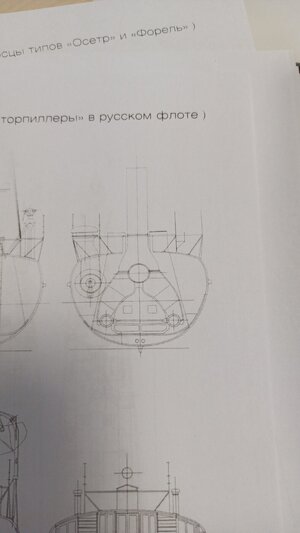
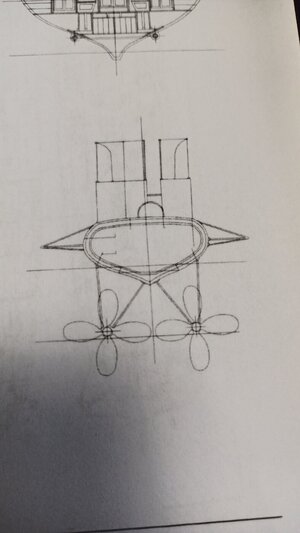
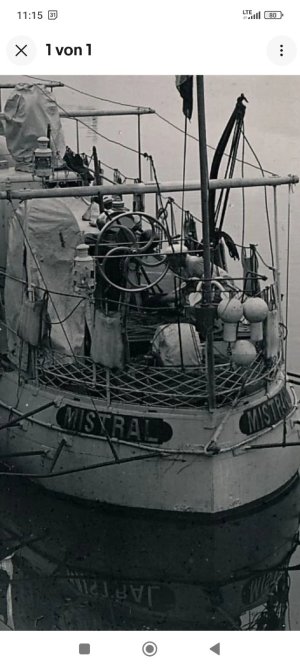
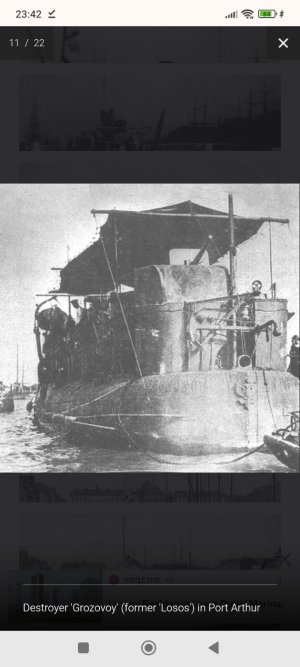
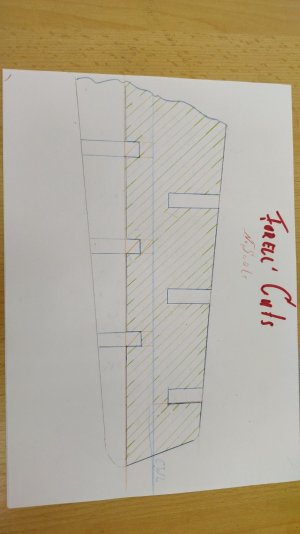
The FORELL Quartett in four Scales

@kartonskipper
Do you have got any suggestion what product to use or is a usual car's primer (in several thin layers certainly) good to give it a go?
Any aerosol without the addition of water is possible; Auto-K-Lack Primer Grey is one option ... some colleagues also use CLOU deep primer - gives additional stability ... but stinks terribly ...

kind regards
Wil
 
Any aerosol without the addition of water is possible; Auto-K-Lack Primer Grey is one option ... some colleagues also use CLOU deep primer - gives additional stability ... but stinks terribly ...

kind regards
Wil
Thanks a lot, Wil, so I do dustlayer over the parts to avoid any problems.
 
ALL SCALES:

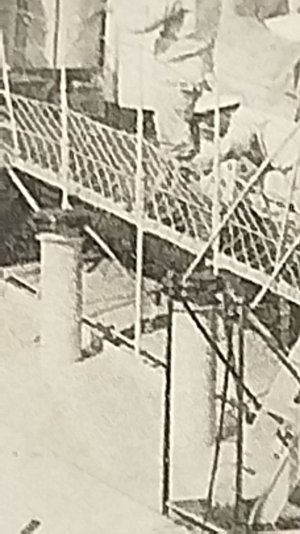
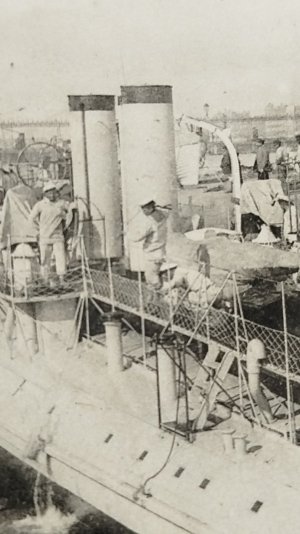
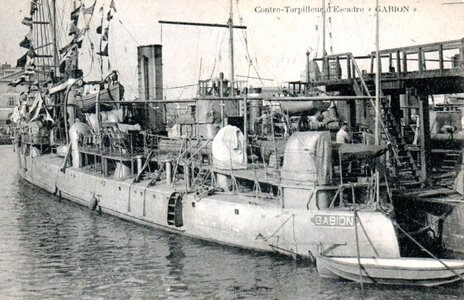
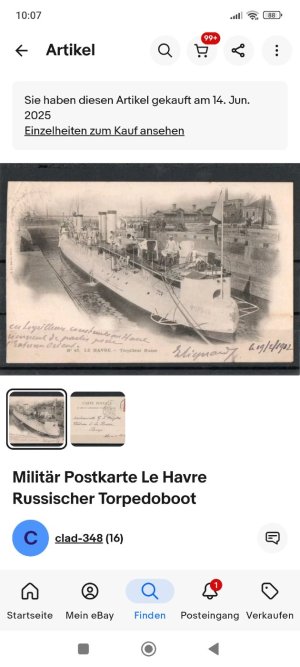
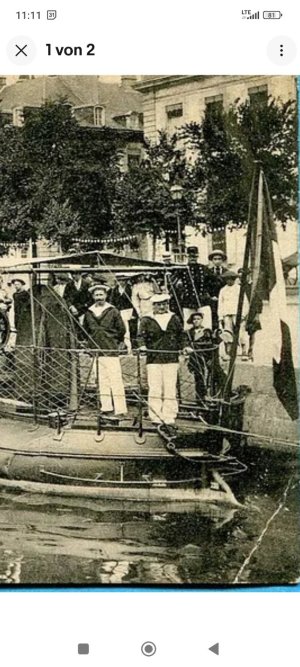
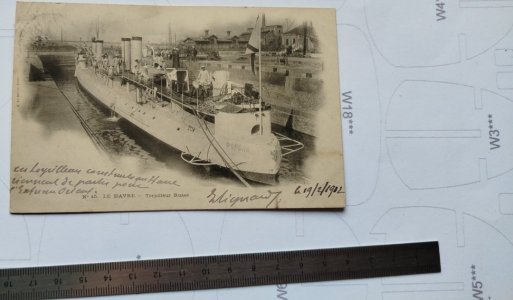
Research's result- I finally got my Post Card original from ebay by mail - so I know there have been wooden stairs aside the hull on the French torpilleurs:Screenshot_2023-11-30-18-34-48-161-edit_com.ebay.mobile.jpg
Here GABION showing it on port side: an elaborated design tall at top and all arround rounded very nice I couldn't figure out in what way these stairs we're attached to the hull in a save way.

Does anybody of you know if the Russian Navy of the tzar did use these items, too??

Thank you very much.

Sending best wishes from Berlin, Christian
 
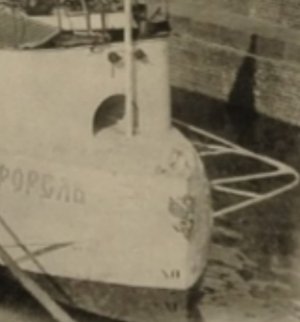
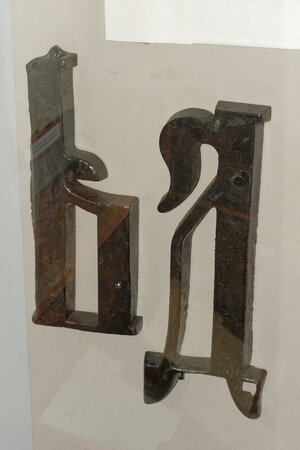
Two letters of the name of the cruiser "Izumrud", photographed in the Museum of the Pacific Fleet in Vladivostok. They were traditionally in the Old Slavonic style.

View attachment 410727


Thanks Walter, for the helpfull information and the picture.
I recently started to write in a Russian forum and got some highly interesting knowledge I do like to share with you as Roman ("Engineman") added some information in my Russian Forum:
Hi Christian, (...)
Answering your question about the letters - typically these were made from brass sheet and fitted to the hull with screws through the led layer (to prevent corrosion with steel hull).
Speaking about the wooden outboard ladder - yes, it was quite a common practice. Not only for the French NAVY.
Cheers,
Roman


So here we are and I do not think it is possible for me to show the lead part in even my 1/64 FOREL' model.

Drawing and building this ladder will be an interesting object to deal with...

So hopefully this weekend I do find some mood and minutes to Sand the CenterLine's Board.
 
YGmodel FOREL' in 1:100

Hello dear friends of the white torpedo boat!

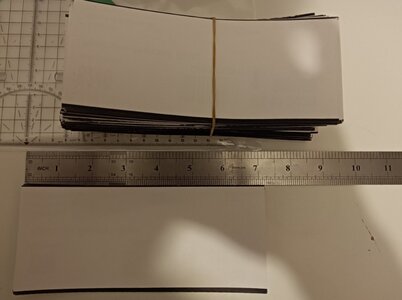
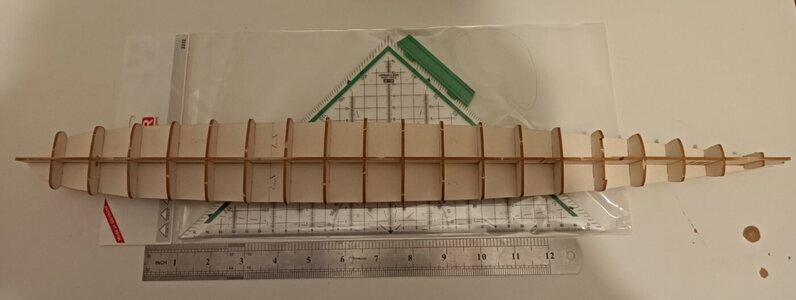
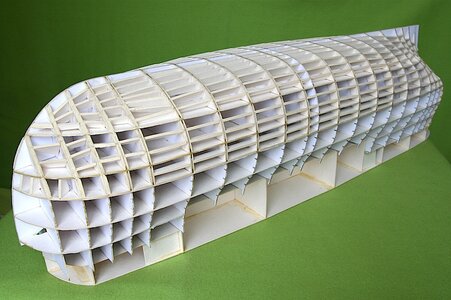
Today I got the very first batch of filling cardboard for my hull:
Polish_20231202_225544317.jpg
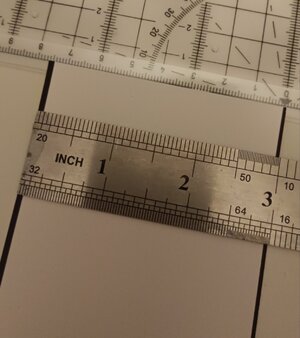
As promised I did add the imperial ruler for our Boston Tea Party members. :D
These cards are nearly
7-3/8" long and
Polish_20231202_225656603.jpg
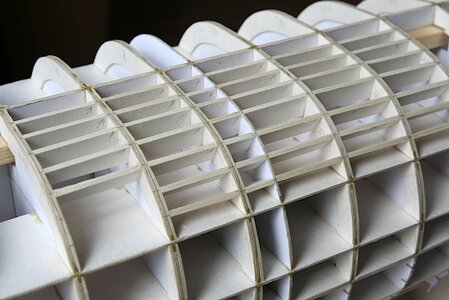
77mm or 2-63/64" in breadth so I am able to fill the brackets between the bulkheads to form the ''zerost planking'':
Polish_20231202_225514137.jpg
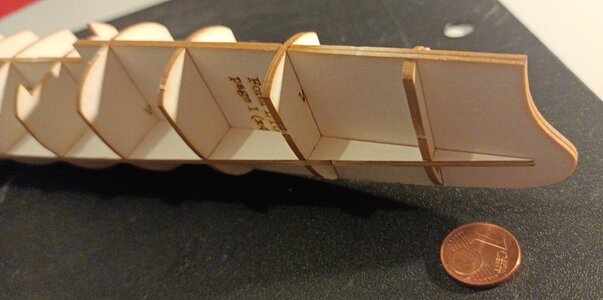
Due to the small thickness of the cards I do hope to get the filling very right to the original lining and by this avoid these ugly sinking in of the hull's surface between the bulkheads:

Polish_20231126_194414544.jpg
So I do develeope to get a pile of cards for any starboard bracket - a "PLUS" and a "MINUS" one for above respectivly below the CWL. And as you can see easily it will be a big amount of "silly monkey work" to be done, as any card pice in any pile needs to be documentated so I can not only
a)
use the mirrowed version for the port side

b)
and any other model when enlarged or deminished to 1/72, 1/64 and 1:200 (by remembering to change the thickness of the cards up to 139% and 156% or down to 50%...

...hopefully!)

So tomorrow I will have to do the measurements on the plan copies in 1:100 to figure out the shape of the fillers. I do think about overdoing the bow to the hull's outside, so I do have additional material to sand away as a "machining allowance". This as I do think I am not able to work as precise as needed to do it without machining allowance.

Do you have any better ideas?
 
Not really much happened this weekend, my dear friends!
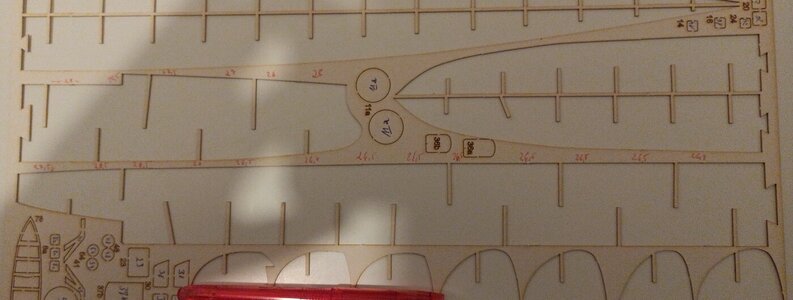
I just took the measurements of the spaces between the bulkheads length between 25-28mms (something between 62/64" to 1-10/12")
and with a maximal hight of 1-3/4" on the CLboard.
So nothing dramatically special took place as you can see in here the orange-red numbers above the brackets:
Polish_20231203_203905245.jpg

Just a further small step again.
 
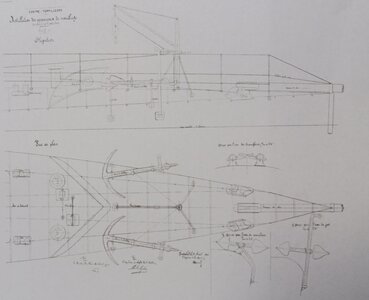
Hello friends, today I started to deal with the whaledeck and
Polish_20240112_105936445.jpg
the anchor gear. I do think about the railings, too.

I did also look onto the cuts of the hull getting some better ideas of the details...
IMG_20240112_105331_147.jpg
and of the appearance of the interieur of the mess:
IMG_20240112_105310_081.jpg
and the technical equipment as boats:
IMG_20240112_105249_136.jpg

It is highly interesting how little space was in the accomodation:
IMG_20240112_120531_144.jpg
...here the pipeing of the mushroom vent for the boilers:
IMG_20240112_120436_434.jpg

...and the complex structure of the aft hull (I do start to understand a bit what it is build like) :
IMG_20240112_120509_763.jpg
Not the biggest step foreward but again a small pice of progress.
 
Last edited:
Dear friends, the hungry horse effect is something I am most affraid of. But in here (card&paper division) I found a suitable way in Paragraph's great thread on his HMS VICTORY to get a lighter solution for the filling of the gaps:
IMG_5899.JPG
Here it is very obviouse how the gaps are "bridged" by the use of cardboard:
wsporniki.jpg
So thanks you very much for this easy and cheap alternative to the very expensive balsa wood...
...they did very kindly ask for €70,- at the counter - but they dare to ask!
 
Last edited:
FORELL 1/64

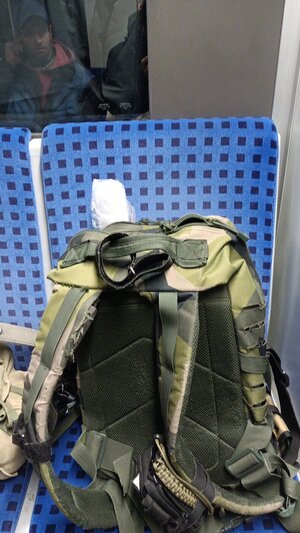
Dear friends, it's 06:49 in the morning and I am on my way:

IMG_20240117_065038_630.jpg
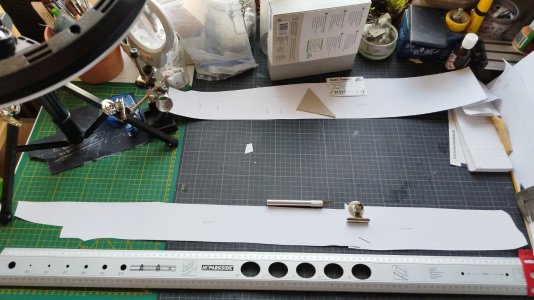
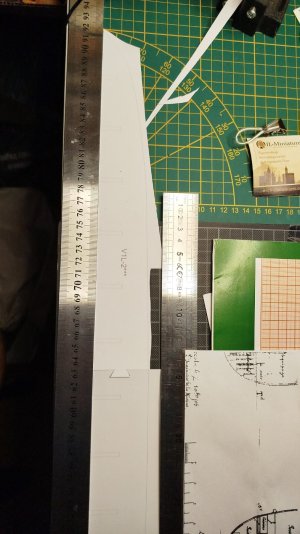
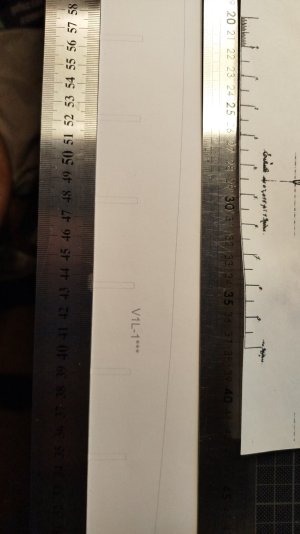
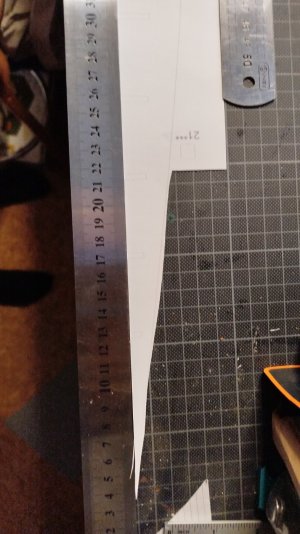
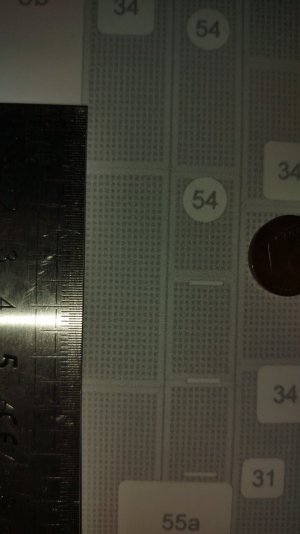
with my 1/64 roll for the inner skeletton. I took this expensive pice of (thick) paper with me to deal with my measurements of thicknesses, distances, and the possibility of tolerances. I will only do use my 30mm or nearly 12" three angle ruler and my pair of scratch compasses during my break.
Till than ;-)


_____
I will edit this article when/if progress is done.
 
Last edited:
Back
Top