The Great Republic 1:48

I have a confession to make. I didn't hit a lick at the GR this whole past week. As I said before bad things come in threes and the third thing was my sciatic nerve went crazy and laid me up for the whole week. I am better now but it sure hurt bad for awhile. So there is no progress on the GR at all and everything sits as I left it last week.
Looks like I'll have to try it again this week coming up. Cheers!
 
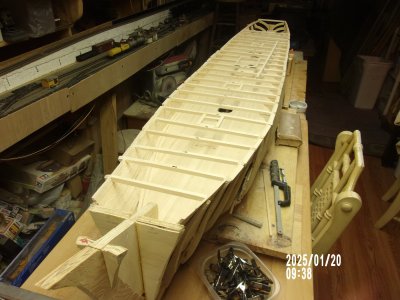
It's been two weeks since my last post and it took every bit of that time to finish the second deck. Guess I was too optimistic on the time it would take to finish this dek but it's finally done and looks pretty good I think. The next deck will be at the sheerline and I'll need to level out the sides so the line is equal on both sides. It's close now but I can get it refined a bit too. I have given up on installing any cargo on these decks. The decks are way to big and I just can't bring myself to spend the bucks for that. I also think the cargo would add a lot to the weight of the model and it's going to weigh enough as it is. I've let the second deck run into the stern area since there is more room at this level than below.The sheerline deck will have housing cabins on it so there will be some cargo area below it under the rear cabin for the Captain. I still don't know what this area is supposed to look like but I'll know pretty soon. Another thing is the stanchions for the next deck. They are all turned posts in the plans so I'm going to try and figure out a way to turn them all the same. May as well learn how to do this now as there are turned stanchions all along the upper rail too. However as soon as the decks are complete to the sheer plank level I'll be able to turn the hull over an start on the planking for the outside.
Meantime here are a few pis of the latest progress.
#1) Stem to stern picture of the semi finished second deck. Still need the holes drilled for the masts.
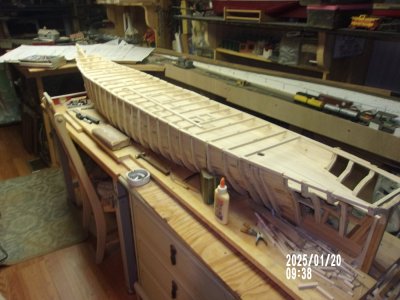
#2) Stern section with the second deck extended to the stern frame. The lower deck was stopped by the mast step framing.
#3) The second deck extends into the very stern area with more cargo room. It's narrow back there.
#4) Bow to stern. The larger holes are for the water tanks which I think I'll fashion from brass.
#5) A shot showing the interior under the second deck.
#6) the lower cargo area but not enough room to get a good picture.

100_0077 - Copy.JPG

100_0078 - Copy.JPG

100_0079 - Copy.JPG

100_0080 - Copy.JPG

100_0081.JPG

100_0082.JPG
 
Last edited:
Rob or Rich once suggested making a special blade from a piece of steel for turning multiple stanchions. Can anyone elaborate on how to go about making such a blade? Can these blades be bought? Not sure where to start and what kind of metal to use. Pete
 
Rob or Rich once suggested making a special blade from a piece of steel for turning multiple stanchions. Can anyone elaborate on how to go about making such a blade? Can these blades be bought? Not sure where to start and what kind of metal to use. Pete
You can simply use a hacksaw blade. Or suitable hard steel metal. By using a Drexel cut off disc… cut the profile into the blade after you modify the blades end to be flat. Cut the spindle profile into the blade…….. making sure to create a cutting edge in the profile. Then chuck up your dowel into a drill motor and as it turns, drag the new profiled blade against the dowel till you carve the profile into the dowel. Repeat till you have enough.

Rob
 
Hi Rob. The hack saw blade is a good idea. Hadn't thought of that. I'll try to use this small wood lathe that I bought and see if it will work. I could hold the cutting piece with some clamps for a handle. I'm sure having fun now. I'm trying to find something already made for the stanchions and some smaller ones for the upper deck railing. Takes 38 on the deck and about 80 for the rail. Be nice to find them already made. Pete.
 
I guess time flies when you're having fun and the last few weeks have flown. The GR is in a state of limbo for a bit while I arrange for another supplier of basswood sticks. I have found a website by Handley House that sells Midwest basswood strips and they also sell their own brand, presumably manufactured by themselves at slightly higher prices. I'm not out of lumber yet but I have been waiting several weeks now for a Midwest order and some of the new Handley House sticks to see what they are like. I read an article on line about the trees that basswood is made from and it shows about four different trees that basswood is cut from. I wondered if the wood from one tree is different from the wood of another tree when you try to use them together. Does anyone have any experience with this?
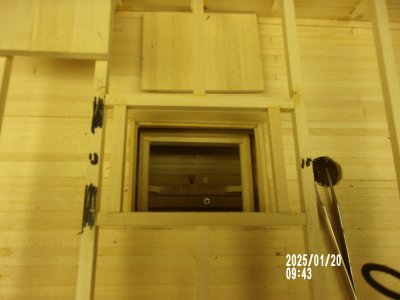
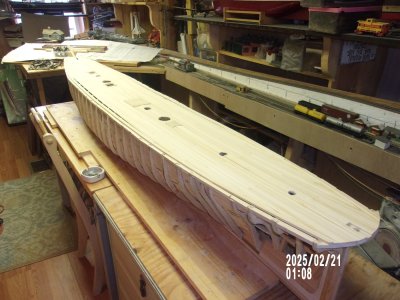
Been doing a lot of outside work lately as the weather has been sooooo nice. It's summer time here now while the rest of the country is covered with snow and ice so now is the time when we get to go out and play without roasting in the sun, Consequently work in the ship yard has slowed quit a bit and so have my reports to you. However I am doing some night work on the third deck of the GR and there are a few pics attached. I decided to turn the stanchions myself since no commercial products seem to be available. I'm just turning the main stanchions down the middle of the third deck since they need to be fatter than the already made items that I manged to find. I did find 1/4" turned stanchions from Handley House since they carry a lot of doll house building items. They will do well for the top deck and the top railing but the lower ones on the third deck needed to be 1/2" and that's what nobody seems to make. Also the stern is being filled in on the inside but that has a bit to go to be finished. After this third deck is finished it will be time to turn the hull over and start working on the outside hull planking. The fourth deck from the planksheer up will have to wait for the hull to be planked first. That's all there is for the moment. Pete

PS; I just turned 83 and I am shocked that I have lasted this long.

100_0118.JPG

100_0116.JPG

100_0114.JPG

100_0113.JPG

100_0111.JPG
 
Pete,

I’m not sure what article that you were able to find, but the Wood Database says that Basswood can be mistaken for woods of the Aspen species aka Poplar. IMHO, Aspen is an inferior wood to Basswood. It’s much softer. I also have a piece of wood that I suspect is Cottonwood which I also consider to be an inferior species. It would not surprise me if hobby suppliers are substituting the alternative species under the name Basswood. When you get your lumber, look up Poplar and you will find an article about how to determine which of the two species that you have.

Roger
 
Thanks for that Roger. Midwest has always been my brand for lumber and Northeastern, now out of business, was another. Handley House I had never heard of but they are in the doll house business so I wouldn't have looked there for lumber. I came across them while cruising the internet for the stanchions. Actually they carry a lot of different lines and lots of items are good for ships and railroad models including electrical gadgets and a bunch of LED lights. I may go for some lighting in the hold and in the cabins etc. but haven't decided that yet.
 
You might look at Doll House Supply companies, as many of them have premade columns for railings in various scales.
I have checked with doll house sites since I found Handley House and the scales are 1:12, 1:24 and 1:48 with the larger being the standard scale for these houses. I just couldn't find the right item for the stanchions so I made my own. The upper decks use a smaller post for lighter loads and I was able to get what I wanted in that scale. You'll see them on the upper deck when I get through planking the outer hull sometime this year.
 
I read an article on line about the trees that basswood is made from and it shows about four different trees that basswood is cut from. I wondered if the wood from one tree is different from the wood of another tree when you try to use them together. Does anyone have any experience with this?
Yes - happy birthday! The best timber sold as basswood is probably European Lime, Tilia.Cordata - there are several closely related species plus hybrids. This video is about carving in this material - a favourite of Grinling Gibbons, a Brit described as the Michelangelo of wood-carving. I have set the link to start at the point this is mentioned.

 
Last edited:
Well I can't understand a word she is saying as my impaired hearing is not good at her higher octaves. I did see her do the carving and I assume that she is using Basswood by the color and carve-ability. There is a lot of bass in the sound and I'm trying to raise it on my PC but so far no luck. Are there bass and treble adjustments on these computers?
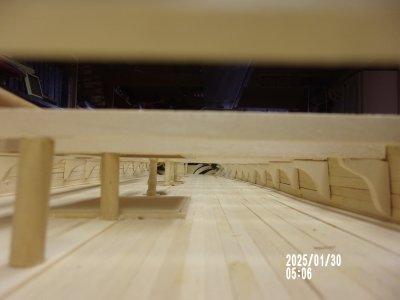
I just finished most of the decking for the third deck and am about to flip the hull and start work on the outer planking. Never have built a boat from the inside out but sometimes ya have to do different things first. It seemed the easiest way to keep the frames all lined up and now they are firmly in place. All I need now is another ton of lumber and I'm off to do the planking. The fourth deck will be later after the planksheer is installed.

100_0127 - Copy.JPG
 
Well I can't understand a word she is saying as my impaired hearing is not good at her higher octaves. I did see her do the carving and I assume that she is using Basswood by the color and carve-ability. There is a lot of bass in the sound and I'm trying to raise it on my PC but so far no luck. Are there bass and treble adjustments on these computers?
I just finished most of the decking for the third deck and am about to flip the hull and start work on the outer planking. Never have built a boat from the inside out but sometimes ya have to do different things first. It seemed the easiest way to keep the frames all lined up and now they are firmly in place. All I need now is another ton of lumber and I'm off to do the planking. The fourth deck will be later after the planksheer is installed.

View attachment 502541
That is looking very nice and impressive, Pete.
Regards, Peter
 
You might look at Doll House Supply companies, as many of them have premade columns for railings in various scales.
Thanks for that Kurt and your right. I have looked at several and they do have the turned stanchions. I picked the posts that I thought would look most like the plans but they are too long. I knew they would be so have to cut them to length. They slant inwards anyway and the bottom of them will have to sanded to the proper angle. The frame extensions for the top deck had to be angled too so that same angle should apply with the stanchions. We'll see how it looks a bit later.
 
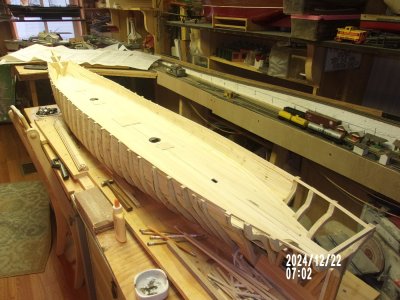
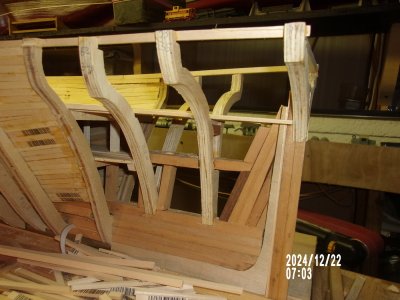
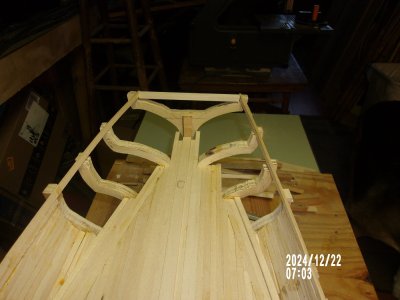
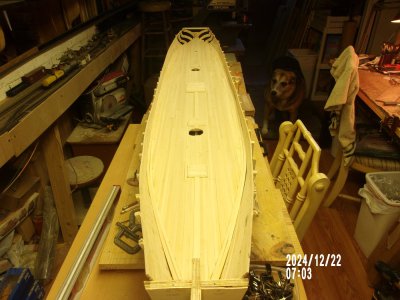
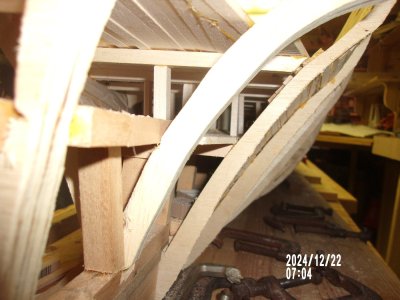
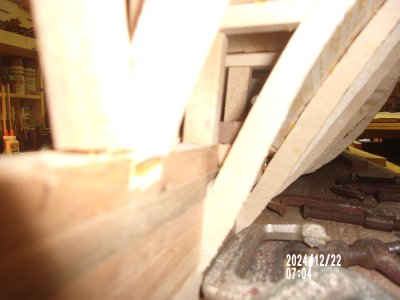
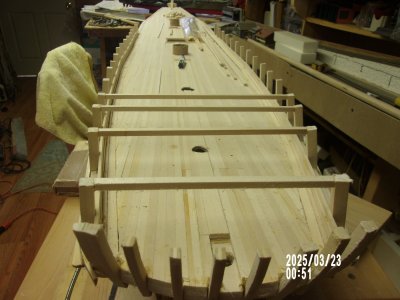
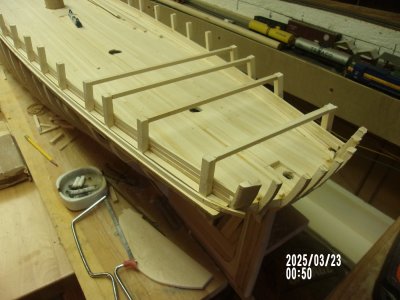
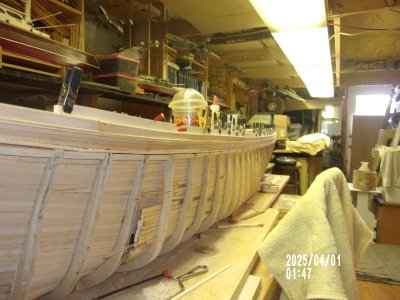
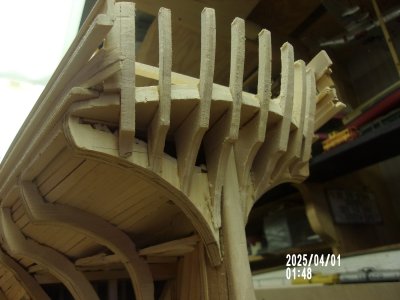
It's been over a month since I took up your time explaining all the mistakes I've made so here is a report with NO mistakes in it at all, I think. I flipped the hull over and started studying the fairing that will be needed to apply the planking. It all looked straight forward with a bunch of sanding and figuring out how I'm going to do the bearding line. When I got to looking at the stern I found that I would have to finish the very end of the top deck in order to get the fairing to continue around the stern which wasn't there yet. So with no place to end the planking at the stern I flipped the hull again and started back on the stern. I found some "Clipper ship plans" online with some good clear plans of how the stern should be shaped. There were three plans shown; One was for a wooden clipper, one was for a steel clipper (I didn't know there was a steel clipper) and one for a composite clipper that had some wood and some steel and the third one is what I am building. That plan gave me the image of how the stern was framed that I didn't have up to that point. I had no idea of how the stern should be completed. It was a bunch of trial and error but I finally came up with the stern cant frames and installed them. Some sanding got them all looking ok but some more work is still required to get the knuckle just right. Since the frames stood up above the second deck I didn't want to take the chance that I would break them while doing the hull planking so I went ahead with the spar deck framing which I also hadn't figured out yet. The angled posts that form the gunnels are extensions of the regular frames so it was just a matter of cutting them the right height and sanding the angle they set at with my circular sander. That went very smoothly. Ha! I also decided to put cleats between every post to give them a bit more strength. Since the inside of the gunnels is planked and the out side is planked the cleats will not be seen. Now it appears that I will be finishing the top deck before I can get to the outer hull planking but at least there is now a form of stern for the planks to land on at the end.
#1 shows the first few cross beams for the top deck. I used smaller lumber for this than I did the lower decks mainly for the weight.
The next two pics show the stern in more detail. I'll have to sand the two sides of the lower frames so the knuckle will be a close match to the knuckles on the cant frames. The knuckle has to be a straight line all the was around the stern to look right. I'll get it close and the painters can make it look good.

100_0005.JPG

100_0003.JPG

100_0001.JPG
 
Last edited:
Back
Top