



Amazing work, Christian! You have a gift for CAD!

 |
The beloved Ships in Scale Magazine is back and charting a new course for 2026! Discover new skills, new techniques, and new inspirations in every issue. NOTE THAT OUR NEXT ISSUE WILL BE July/August 2026 |
|
 |
As a way to introduce our brass coins to the community, we will raffle off a free coin during the month of August. Follow link ABOVE for instructions for entering. |
|

Not much ….. but some beautiful and nicely ordered stuff, Christian.Not much happened in the last few weeks. I build the cant frames following the same methods I have described for the parallel frames. I create a template for each cant frame.
The fore cant frames (Sometimes it is not really necessary to build a model to create a nice picture):
View attachment 624907
View attachment 624908
The after cant frames:
View attachment 624909
View attachment 624910
The last photo shows one of the frames in detail:
View attachment 624911


Thanks Paul. You can besser say that I have may years of experience in 2D CADAmazing work, Christian! You have a gift for CAD!
Not much ….. but some beautiful and nicely ordered stuff, Christian.
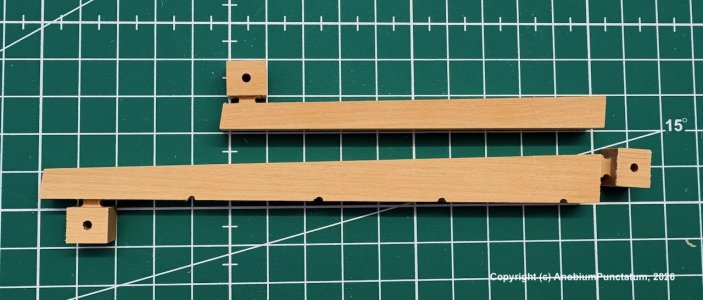

Good to see you back on the yard, Christian. Some nice fitted parts!After a long break it's time to continue with my log. Before I can start gluing all prepared parts together, I have to build the stern. It looks quite simple, because it consists of only two straight parts. But it has to take the shape of the aft. deadwood and the precision of this parts are important for the symmetrie of the stern.
First I milled both parts. The recesses I will need milling the glued parts next weekend.
View attachment 638034
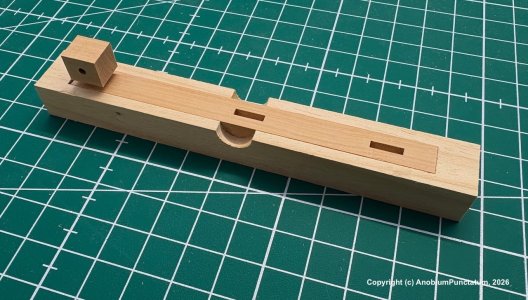
To cut some two further recesses I prepared a small jig, to hold the inner post.
View attachment 638042
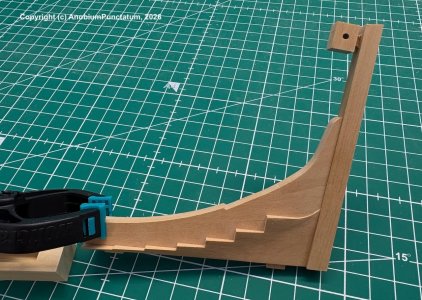
The next picture shows the test fit from the earlier prepared deadwood with the inner post. It's not really visible, but with the symmetrie of the fit I am really happy.
View attachment 638043
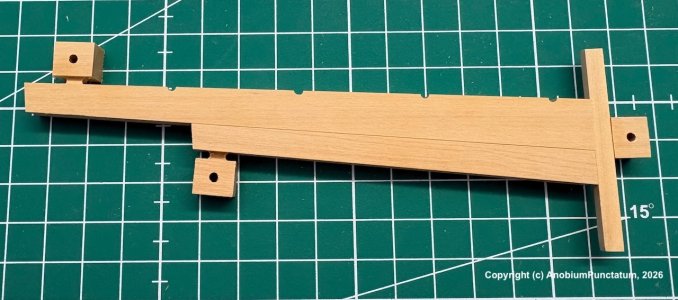
At the end I glued the two parts together. The small part from scrap helps to fit the parts.
View attachment 638044
Now the parts have one week toy dry and then comes the last step.

True storyPrecise work Christian, looks beautiful