• Ships of Scale has incorportated an extra level of security when you log In. Please follow on-screen prompts to acknowledge that you are not a robot via a "Check Box" or a "Pictorial Check Box Puzzle". This is needed due to higher level of AI Activity Security.
  • SUBSCRIBE TO SHIPS IN SCALE TODAY!

    The beloved Ships in Scale Magazine is back and charting a new course for 2026!
    Discover new skills, new techniques, and new inspirations in every issue.

    NOTE THAT OUR NEXT ISSUE WILL BE July/August 2026
  • Win a Free Custom Engraved Brass Coin!!!
    As a way to introduce our brass coins to the community, we will raffle off a free coin during the month of August. Follow link ABOVE for instructions for entering.

The Juanita Sternwheeler 1/24

Pilot House Lighting Installation – Part 2​

With the pilot house lighting installed, I continued working on the wiring distribution system underneath the removable roof section. My goal was to keep the wiring organized, protected, and as easy as possible to troubleshoot later.

Picture 10​

I made a small wooden spacer with a notch to fit around the wiring channel. This helped position the channel correctly before permanently installing it.
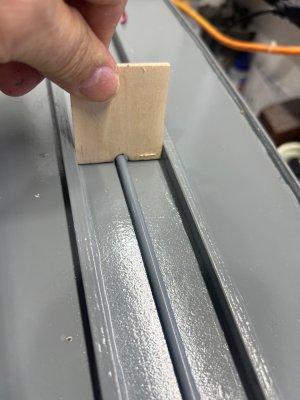
10.jpeg


Picture 11​

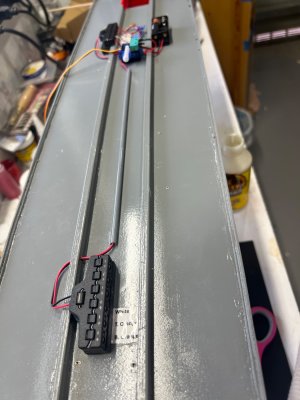
The wiring channel was installed to route the wires neatly from one end of the roof section to the other. Keeping the wires inside the channel makes the installation much cleaner.
11.jpeg

Picture 12​

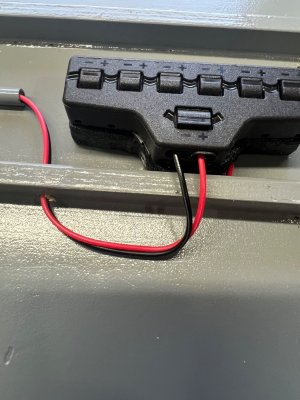
A closer look at the distribution block. The individual positive and negative leads are connected here before being routed to their respective lighting circuits.
12.jpeg

Picture 13​

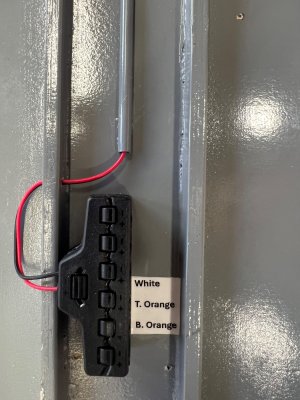
Labels were added beside the distribution block to identify each lighting circuit. This will make troubleshooting and future maintenance much easier.
13.jpeg

Picture 14
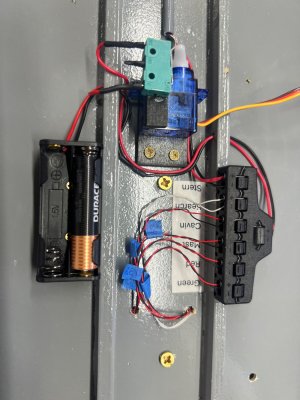
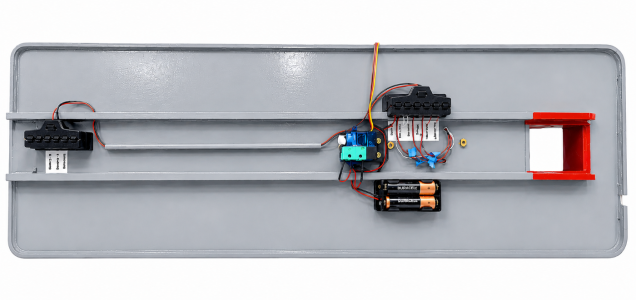
The servo-operated microswitch, battery holder, and distribution blocks are now installed and wired together. The individual lighting circuits were connected and temporarily secured while the final wiring layout was completed.

14.jpeg

Picture 15​

This is the completed layout of the lighting system underneath the removable roof section. The wiring channels keep everything organized while the labeled distribution blocks make each lighting circuit easy to identify.
15.png


To Be Continued...​

The basic lighting distribution system is now in place, but there is still more work ahead. In the next installment, I will continue with the remaining wiring connections and the installation of the components needed to bring the Juanita's lighting system to life.
 

Pilot House Lighting Installation – Part 3​

With the wiring and distribution system completed, it was finally time to test the entire lighting installation. This was the moment of truth to see all the individual lights working together.

Picture 16​

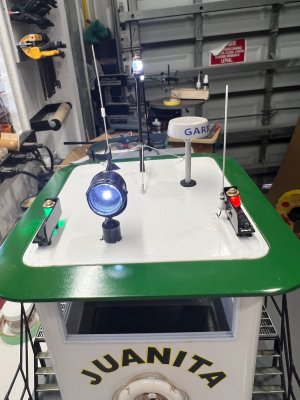
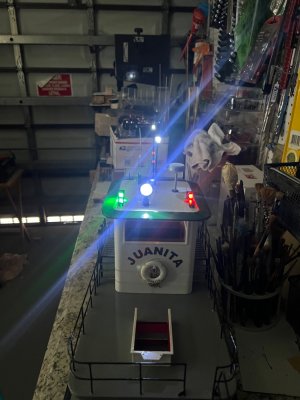
The first full lighting test with the Juanita's navigation, mast, and search lights illuminated. Seeing the model lit up for the first time made all the wiring work worthwhile.

16.jpeg


Picture 17​

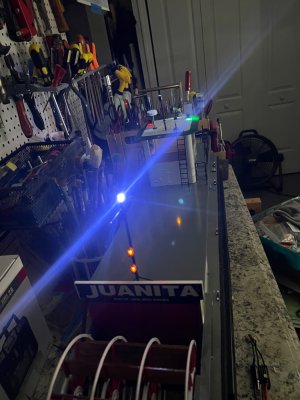
A view looking toward the stern with the various navigation and deck lights operating. The lighting adds another level of realism to the model, especially under low-light conditions.

17.jpeg


Picture 18

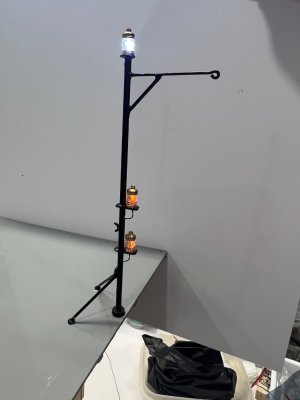
A closer look at the stern towing light assembly. The white mast light and the two amber lights are now fully operational.

18.jpeg


Picture 19​

The completed pilot house roof lighting arrangement.
The green and red navigation lights, white mast light, and search light are all working together as planned.

19.jpeg

What's Next...​

With the pilot house lighting installation completed, I have now started working on the Juanita's main electronics. The next phase will include installing the batteries and battery harness, ESC, receiver, horn speakers, whistle speaker, and the main on/off switch.

More to come...


​


Part 3 – Lighting Progress and What's Next​

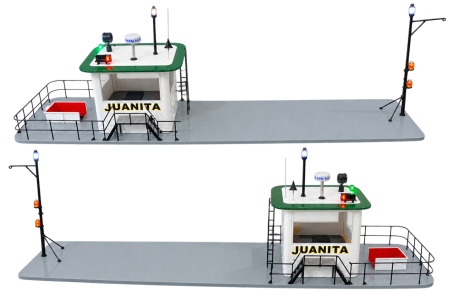
With the exterior lighting now installed and working, I took a couple of overall photos of the Juanita to show how she is coming together. The navigation lights, mast light, searchlight, and stern lighting are now illuminated, giving the model a completely different appearance.

There is still some exterior detailing to complete. The sundeck will receive its stanchions and protective chain rails, and the old-fashioned steering mechanism will also be installed. The distinctive triple horn assembly on top of the pilothouse is another detail still to be added.

The next phase will also move inside the hull, where I will begin working on the main electronics: batteries, battery harness, ESC, receiver, horn speakers, whistle speaker, and the main on/off switch.

23.png
 
WOW……I think I will have to pass it due to illnesses from my wife and me.
It would have been great to see Juanita up close.
 
Back
Top