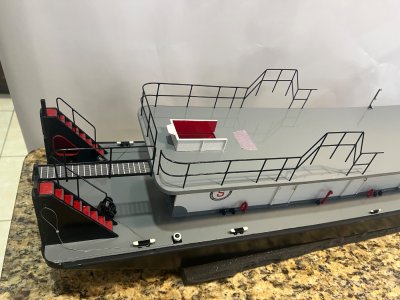
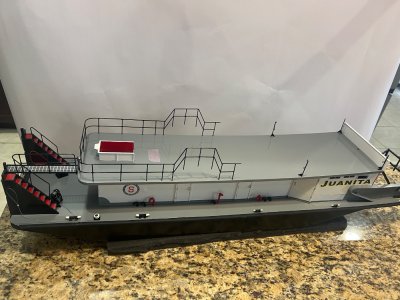
The Juanita Sternwheeler 1/24

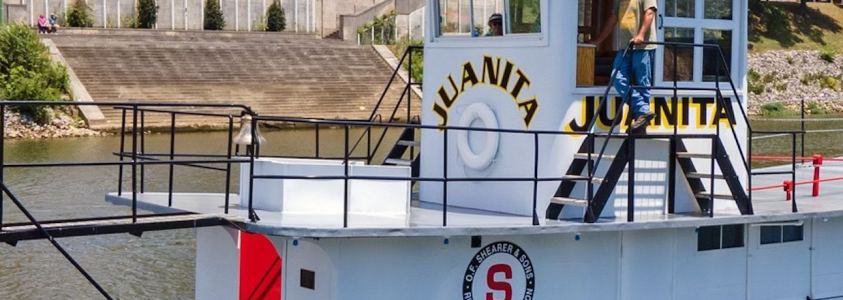
I used to live in Marietta, Ohio a small city on the Ohio River. Every Labor Day Weekend Marietta is home to a Sternwheel Festival featuring these small chain driven Sternwheelers like Juanita. Most of them are yachts. In the past 15 or so boats lined up on the river bank.

The festival ends with a dramatic fireworks display over the river.

Roger
 
Next section is the catwalk railings.
Be ready to do lots of soldering for this next section because I had to do lots of jigs to make it happen.

So, let's start with the catwalk itself.
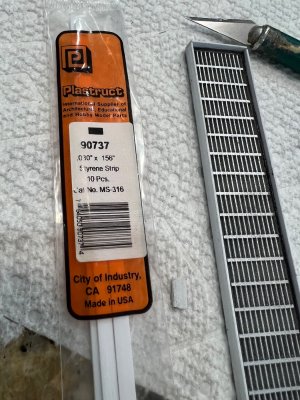
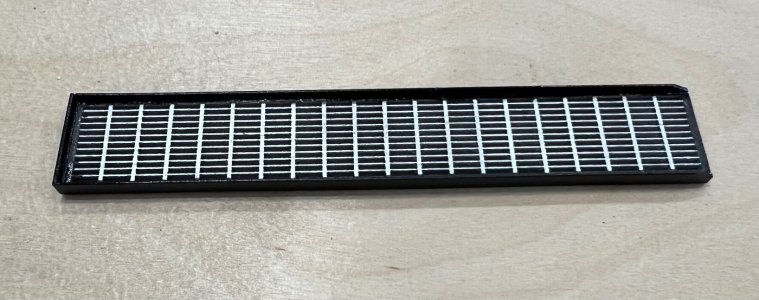
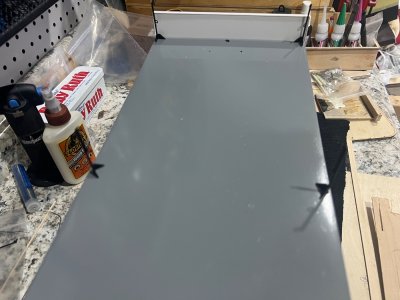
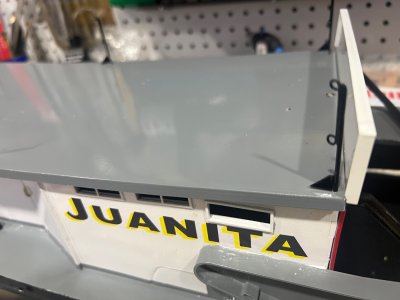
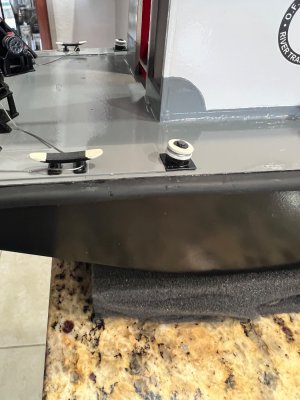
First thing to do is add the styrene sides. This is the kind I used. I don't believe the kit has enough to complete the job. I also used a thicker one for the sundeck facial.
2.jpeg
3.jpeg

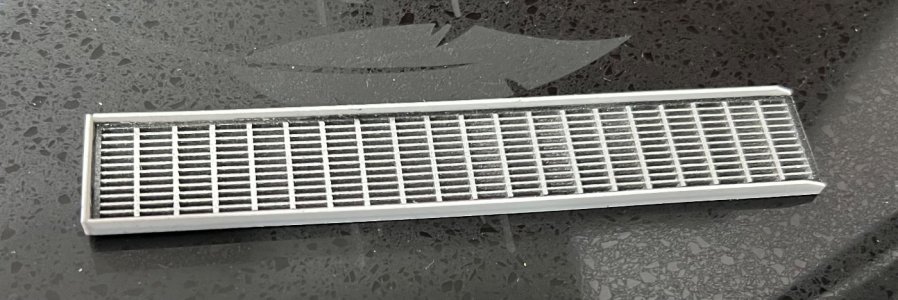
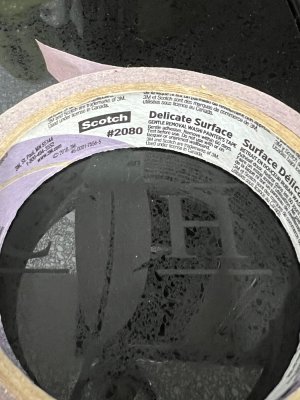
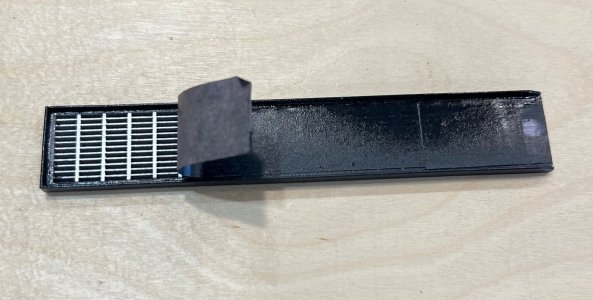
I first paint it all silver, taped the center with this Scotch tape that to my opinion is the best to mask with, since it doesn't let the paint to run.
4.jpeg
After the black had dried.
5.jpeg
6.jpeg

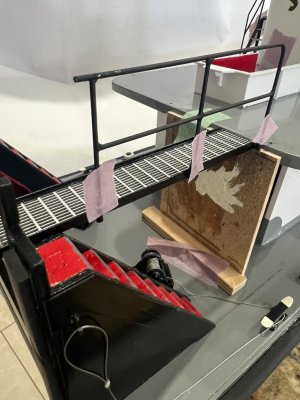
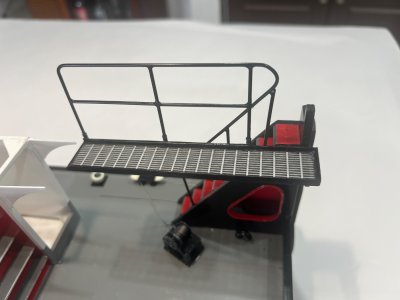
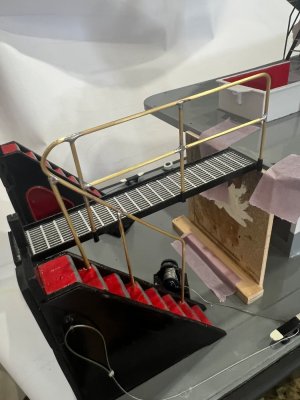
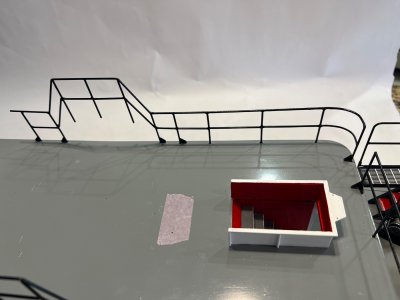
Now for the catwalk railings, This section has to be a free standing section since it can't be attached to the sundeck.
The sundeck is removable to get asses to the electronics.
Here we go.
The picture instructions tells you that you should solder these parts in different sections: the upper and the ascending to be connected with a curbed top rail.
This is my first attempt.
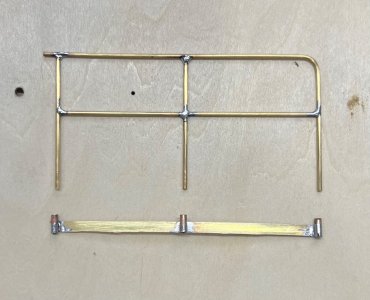
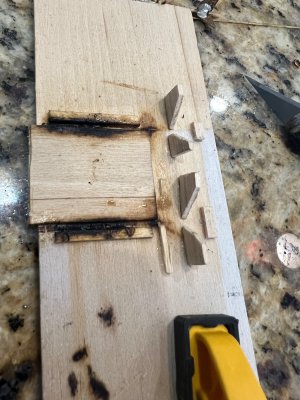
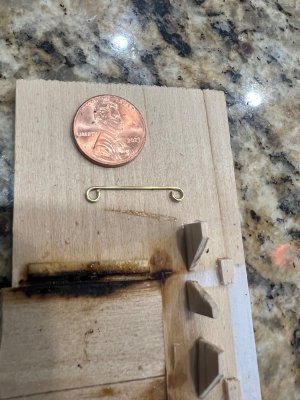
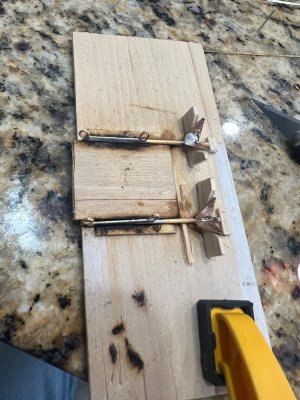
First I soldered the top railings but also created a base for it with a small .010 brass strip with a larger diameter tubing.
1C.jpeg
1D.jpeg

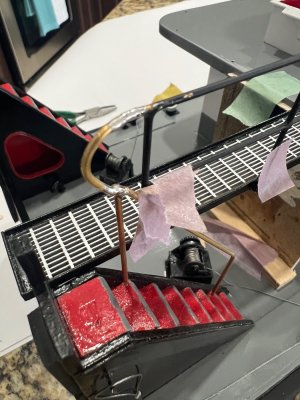
This is the part that I tried but with ugly results.
The instructions show that we should create a small bend to bridge the top and the ascending rails, like this.
'small turn.png

This is how it came out after so many tries.
Is just palin simple ugly.

7 fisrt attempt soldering curbe to railings.jpeg

So I did my own.
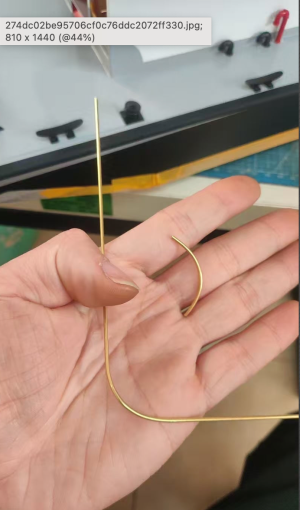
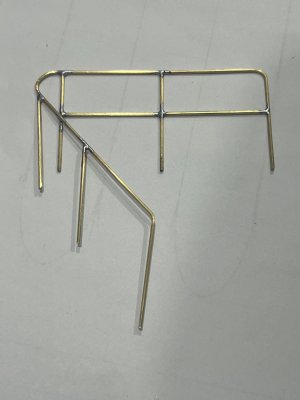
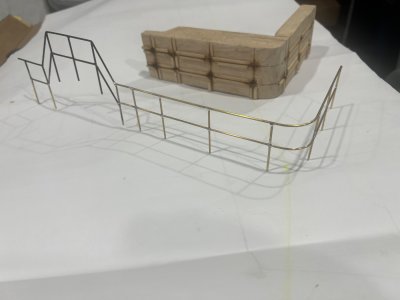
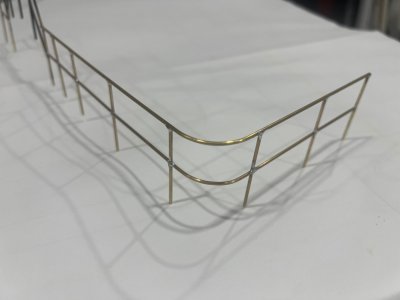
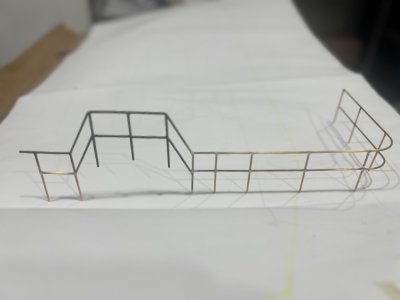
This time I extended the upper rail long enough to turn and come down to create a one piece unit making it stronger.
8 one pice upper railing my way.jpeg
9 railings prefit in custom bracket.jpeg

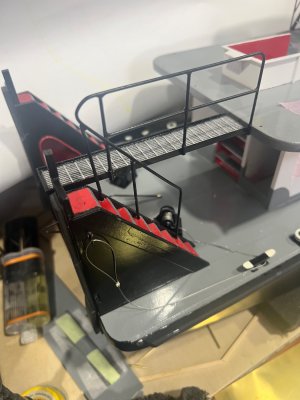
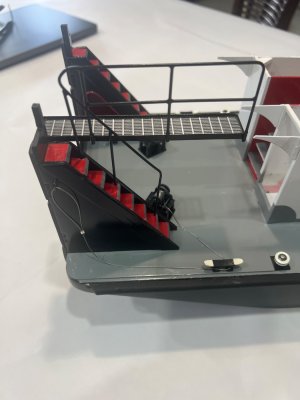
Final results.
 10 rails paintede.jpeg

Free standing strong unit.
IMG_8083.jpegIMG_8084.jpeg

9 railings prefit in custom bracket.jpeg
 
Last edited:
Excellent metal work. I have always considered soldering a Black Art. I have never had good luck trying get the parts joined without tennis ball size blobs of solder at each joint. It is the duffasoidal in me. So far I have managed not to burn my shop down but You never know.
 
Next section is the catwalk railings.
Be ready to do lots of soldering for this next section because I had to do lots of jigs to make it happen.

So, let's start with the catwalk itself.
First thing to do is add the styrene sides. This is the kind I used. I don't believe the kit has enough to complete the job. I also used a thicker one for the sundeck facial.
View attachment 515629
View attachment 515628

I first paint it all silver, taped the center with this Scotch tape that to my opinion is the best to mask with, since it doesn't let the paint to run.
View attachment 515627
After the black had dried.
View attachment 515626
View attachment 515625

Now for the catwalk railings, This section has to be a free standing section since it can't be attached to the sundeck.
The sundeck is removable to get asses to the electronics.
Here we go.
The picture instructions tells you that you should solder these parts in different sections: the upper and the ascending to be connected with a curbed top rail.
This is my first attempt.
First I soldered the top railings but also created a base for it with a small .010 brass strip with a larger diameter tubing.
View attachment 515631
View attachment 515630

View attachment 515624
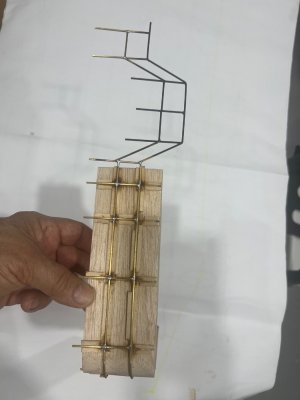
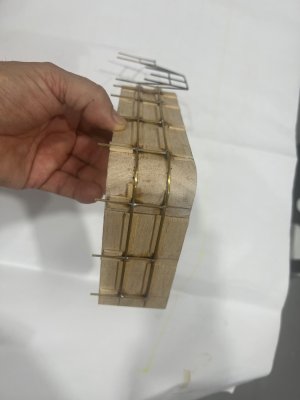
I didn't like how it looked. So I did my own.
This time I extended the upper rail long enough to turn and come down to create a one piece unit making it stronger.
View attachment 515623
View attachment 515710

Final results.
View attachment 515621
Free standing strong unit.
View attachment 515711View attachment 515712

View attachment 515622
I had te do some catching up, but now I am on level. Always nice to see the build of a wheeler.
Regards, Peter
 
The Decals

Again I have to warn you about the positioning of the decals.
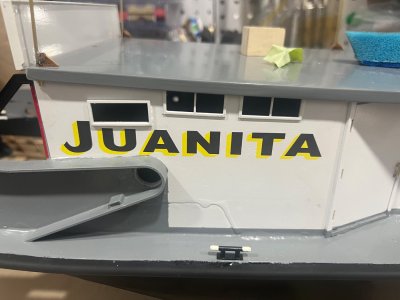
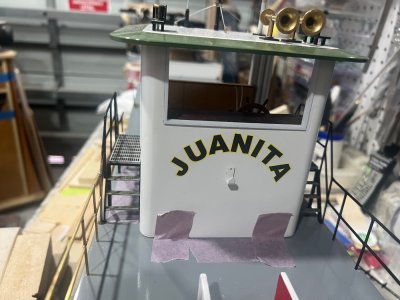
The name "Juanita" appears all over the place but they all have different sizes and O got confused and ruined a few of them. Thanks to a friend that created a printing file is how I printed new ones.

The larger one goes towards the stern. Be careful here because as you can see, there is little space to work with.

1.jpeg

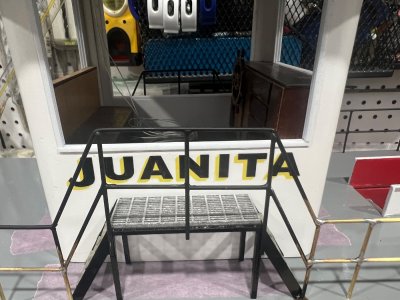
The other "Juanita" goes on the sides of the pilothouse. Try to set it as high as possible.
2.jpeg

Then the curbed one will go of course in the front of the pilothouse.
At this stage I haven't glue down the pilothouse because I'm still figuring out how to run all the navigation, towing light and the search light lights wires in a way that could be assessable.
IMG_8122.jpeg
 
Last edited:
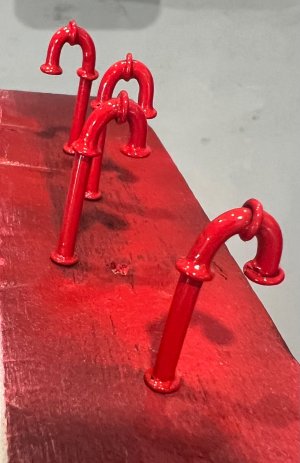
This another part of the build that gave me a bit of a headache...."The Goose Neck Ventilators".
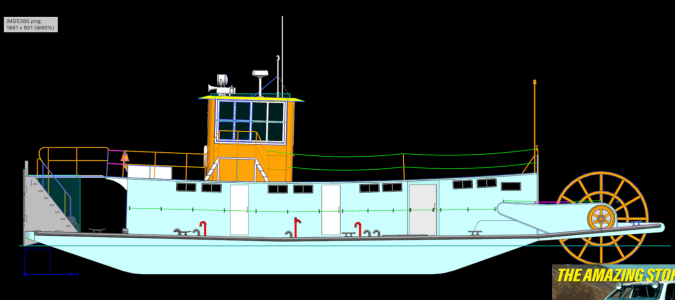
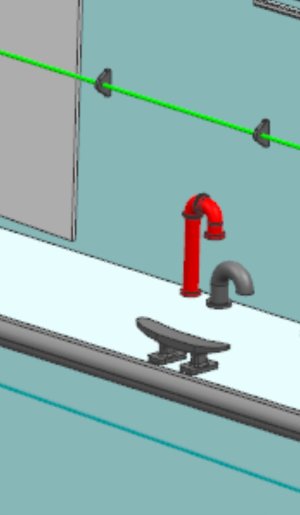
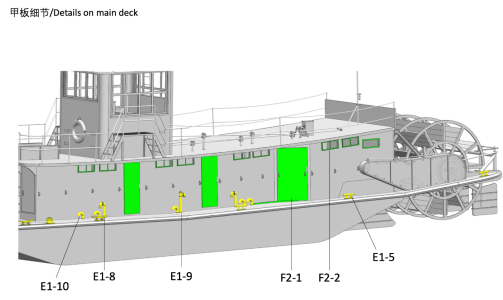
let me show the blue prints first.
1.png

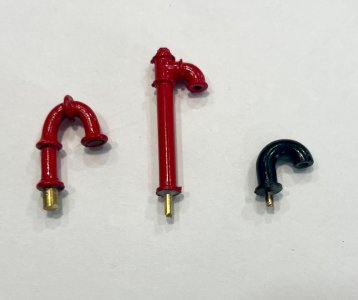
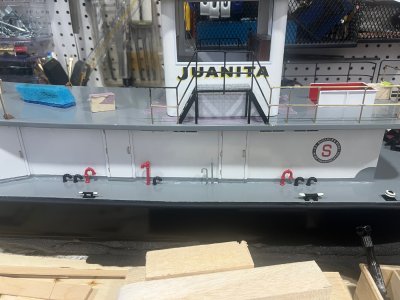
As you guys can see here there is two short, one long (red) and 5 very short black.
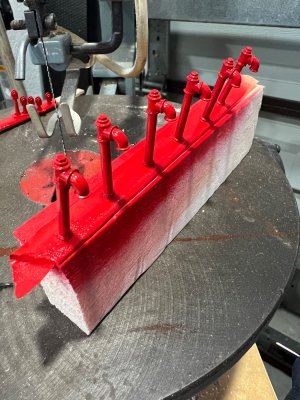
Well, my kit brought 6 long ones.
3 all 6 painted in red.jpeg

I tried to get in contact with the maker in China but there is no internet to US in China for now.
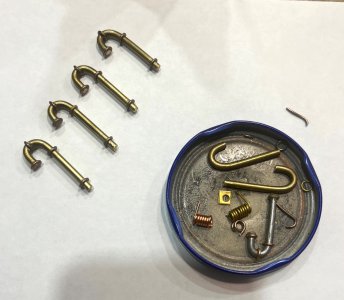
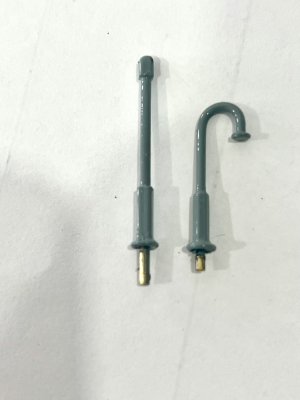
So with this situation, the best thing to do was to create my own.
Here they are.
4.jpeg

Primed and painted.
5.jpeg

6.jpeg

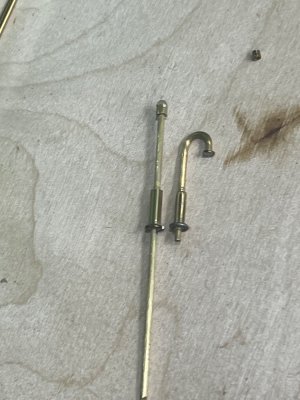
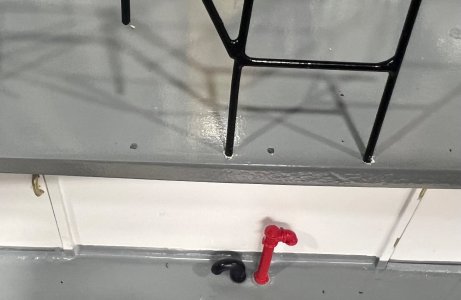
Also there is a small air vent that I noticed wile looking at the internet.
On the starboard side, there is one small grey straight pipe besides another small goose neck vent ...like in this picture.
10.png

So I went ahead and made both of them.
7 new thin brass air vents.jpeg8 starboard.jpeg

And this is how they looked.
9.jpeg

2.jpeg

1a.png
 
I used to live in Marietta, Ohio a small city on the Ohio River. Every Labor Day Weekend Marietta is home to a Sternwheel Festival featuring these small chain driven Sternwheelers like Juanita. Most of them are yachts. In the past 15 or so boats lined up on the river bank.

The festival ends with a dramatic fireworks display over the river.

Roger
Hey Roger, that is one festival that I have on my bucket list. If you come across any info about it, let me know please.
 
Now more soldering.
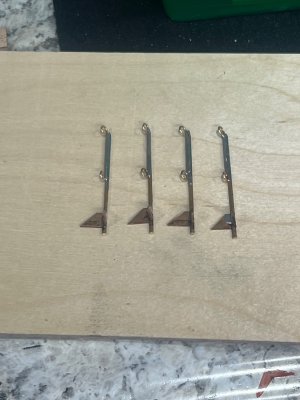
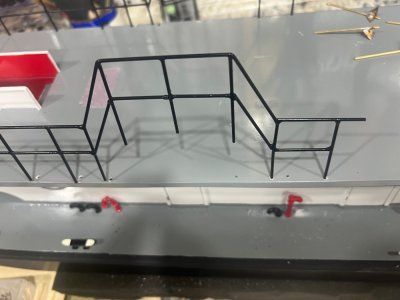
This time is the Main Railing and Four free Standing columns.
I started with the free standing columns.
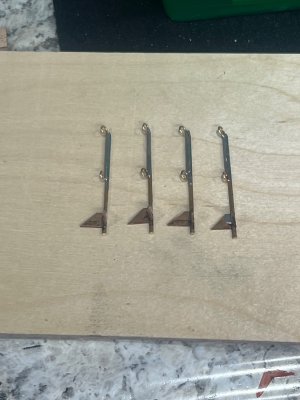
For that I cut off triangular brass tabs to be used as base for the columns, created a wooden jig to soldered them together like this.
10 jig to solder the free standing columns.jpeg

This is what I came up with in order to have loops to pass the cable or chain through.
11loops for chain.jpeg

12.jpeg

13.jpeg

Final results.
15.jpeg
14.jpeg


That was challenging but he rest of the railings was even harder.
First step was to use the wooden soldering jig that came with the kit to add the longer part of the rails.
Like this.
1 first section added.jpeg

For the turn that it needs I added a rounded wooden jig to the first one I did.
This jig could be use for the other side as well.
2nd section added.jpeg

4.jpeg
5.jpeg
6.jpeg

When it came the time to place the railings to see how good they matched the deck holes, I came up with a discrepancy. Two of the stairs railing didd match. If I where to follow this holes, the pilothouse would have been to close to the entrance of the down stairs.
8.jpeg

9.jpeg

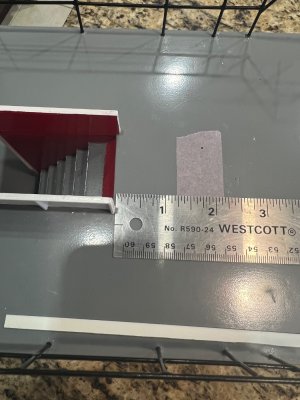
This is the correct distance between the pilothouse and the entrance to the sundeck stairs. 2 3/16".
After determining the space I just plugged the holes and retouch them.
This is how it looks.
17.jpeg

18.jpeg


19.jpeg
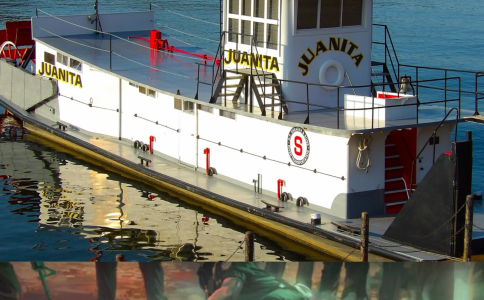
Right after I took this picture, I went over the collection I have gather of the real Juanita and found this bottom column brackets that only a few columns have it as you can see here.

I hate this Modeling OCD that hunts me every time I look at the real pictures. I have to learn how to tell to myself "enough, leave it like that'.
25.png

This is what my OCD made me do.
21.jpeg24.jpeg23.jpeg


By the way. this winch head gets installed with the larger slanted side towards the bow. I say this because I did it wrong the first time and had to unglue it.

26.jpeg

13.jpeg
 
Last edited:
As I posted earlier many of these small chain driven paddle wheel boats are homebuilt yachts.

Juanita appears to be professionally built working boat with winches, towing knees, etc. Am I correct? Where does she sail?

Roger
 
One other thing. The rails are on the same plane but from the pictures it looks like the elevated parts are not. Maybe it is just me but it sure looks strange. I was once told that these things were optical reculsions yep that is what he said.
 
Now more soldering.
This time is the Main Railing and Four free Standing columns.
I started with the free standing columns.
For that I cut off triangular brass tabs to be used as base for the columns, created a wooden jig to soldered them together like this.
View attachment 516725

This is what I came up with in order to have loops to pass the cable or chain through.
View attachment 516724

View attachment 516723

View attachment 516722

Final results.
View attachment 516735
View attachment 516736


That was challenging but he rest of the railings was even harder.
First step was to use the wooden soldering jig that came with the kit to add the longer part of the rails.
Like this.
View attachment 516721

For the turn that it needs I added a rounded wooden jig to the first one I did.
This jig could be use for the other side as well.
View attachment 516733

View attachment 516731
View attachment 516730
View attachment 516729

When it came the time to place the railings to see how good they matched the deck holes, I came up with a discrepancy. Two of the stairs railing didd match. If I where to follow this holes, the pilothouse would have been to close to the entrance of the down stairs.
View attachment 516727

View attachment 516726

This is the correct distance between the pilothouse and the entrance to the sundeck stairs. 2 3/16".
After determining the space I just plugged the holes and retouch them.
This is how it looks.
View attachment 516741

View attachment 516740


View attachment 516739
Right after I took this picture, I went over the collection I have gather of the real Juanita and found this bottom column brackets that only a few columns have it as you can see here.

I hate this Modeling OCD that hunts me every time I look at the real pictures. I have to learn how to tell to myself "enough, leave it like that'.
View attachment 516873

This is what my OCD made me do.
View attachment 516871View attachment 516874View attachment 516875


By the way. this winch head gets installed with the larger slanted side towards the bow. I say this because I did it wrong the first time and had to unglue it.

View attachment 516872

View attachment 516737
Outstanding metal work.
 
That’s interesting! Long story short, she is a 1950’s workboat restored as a private yacht. If I understand things this model will soon be marketed in lit form. Hopefully this history will be included with the kit.

Roger
 
Roger, take a few minutes and read the introduction I made for this build. It has also a link to EBay where you can purchase one.
An update I would like to mention is the fact that Charles Miller (one of the persons involved
producing this kit)… lives in China.
Charles “Chuck” was gone off the social medias.
Some modelers believe that China has cut off the internet and other communication sources to the US and that is why he is not posting.
Last time he post it was to mention the new barge kit project, also in 1/24 to go along with the Juanita.
 
Now more soldering.
This time is the Main Railing and Four free Standing columns.
I started with the free standing columns.
For that I cut off triangular brass tabs to be used as base for the columns, created a wooden jig to soldered them together like this.
View attachment 516725

This is what I came up with in order to have loops to pass the cable or chain through.
View attachment 516724

View attachment 516723

View attachment 516722

Final results.
View attachment 516735
View attachment 516736


That was challenging but he rest of the railings was even harder.
First step was to use the wooden soldering jig that came with the kit to add the longer part of the rails.
Like this.
View attachment 516721

For the turn that it needs I added a rounded wooden jig to the first one I did.
This jig could be use for the other side as well.
View attachment 516733

View attachment 516731
View attachment 516730
View attachment 516729

When it came the time to place the railings to see how good they matched the deck holes, I came up with a discrepancy. Two of the stairs railing didd match. If I where to follow this holes, the pilothouse would have been to close to the entrance of the down stairs.
View attachment 516727

View attachment 516726

This is the correct distance between the pilothouse and the entrance to the sundeck stairs. 2 3/16".
After determining the space I just plugged the holes and retouch them.
This is how it looks.
View attachment 516741

View attachment 516740


View attachment 516739
Right after I took this picture, I went over the collection I have gather of the real Juanita and found this bottom column brackets that only a few columns have it as you can see here.

I hate this Modeling OCD that hunts me every time I look at the real pictures. I have to learn how to tell to myself "enough, leave it like that'.
View attachment 516873

This is what my OCD made me do.
View attachment 516871View attachment 516874View attachment 516875


By the way. this winch head gets installed with the larger slanted side towards the bow. I say this because I did it wrong the first time and had to unglue it.

View attachment 516872

View attachment 516737
You made some very nice soldered brass parts. Those railings are very straight. And a lot of nice details like the air vents.
Regards, Peter
 
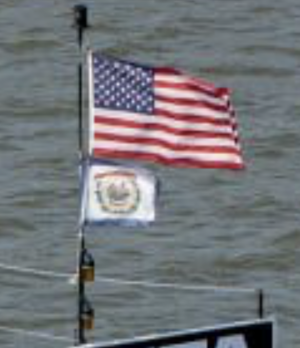
I finally solve the mystery of the small flag in the stern light post.
Some here suggested that it could have been the owner's family flag.
I found a new picture that has more details and they gave me a clue to identify it.
1.png

This is the mystery flag.
Is the State Flag.
Good detail to add to the model.
2.png
 
Back
Top