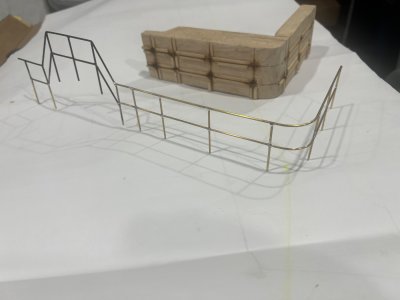
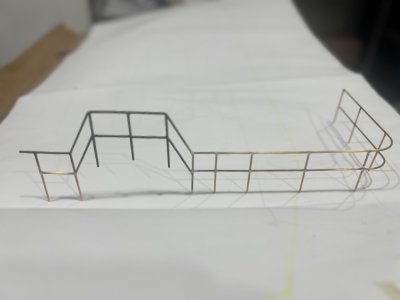
Now more soldering.
This time is the
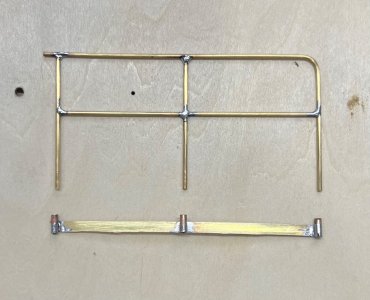
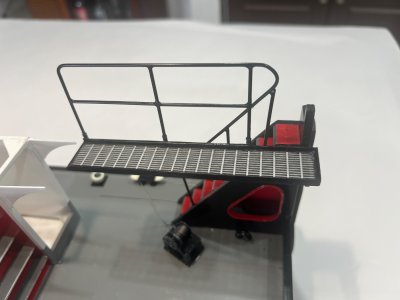
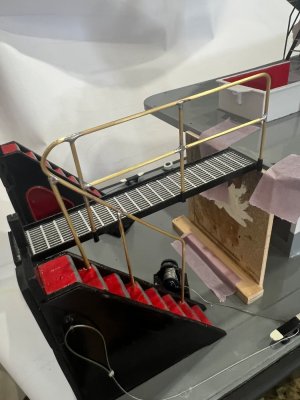
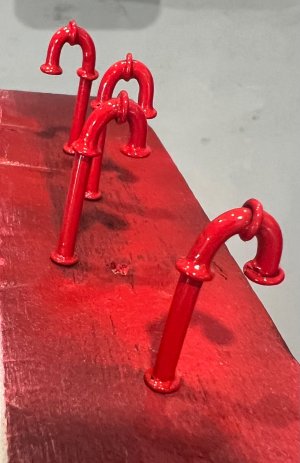
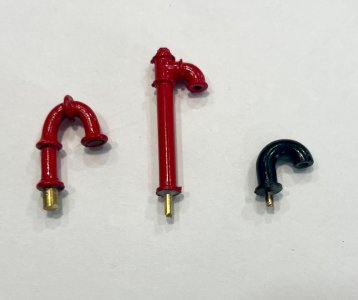
Main Railing and Four free Standing columns.
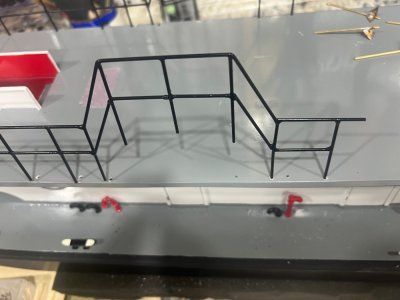
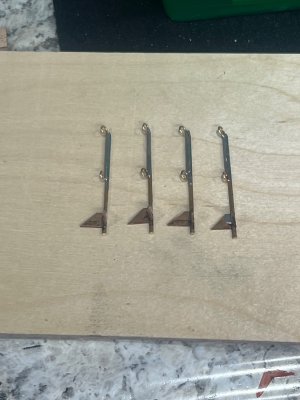
I started with the free standing columns.
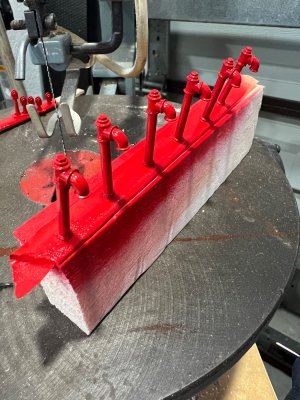
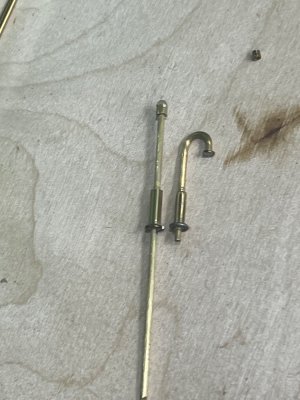
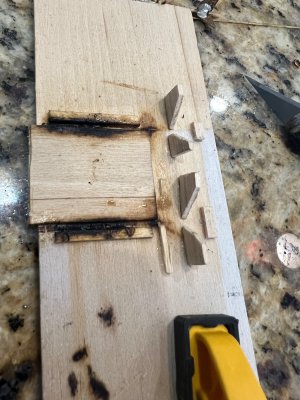
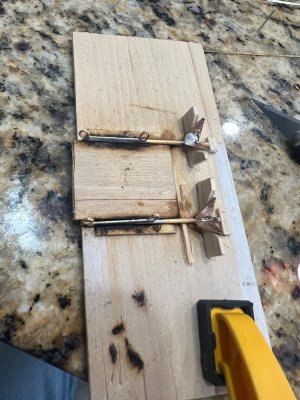
For that I cut off triangular brass tabs to be used as base for the columns, created a wooden jig to soldered them together like this.
View attachment 516725
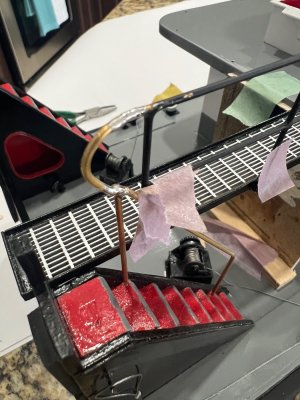
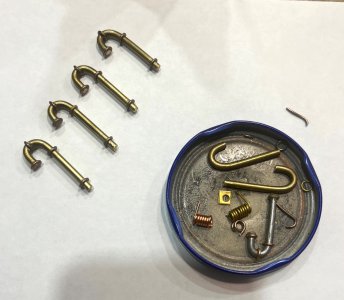
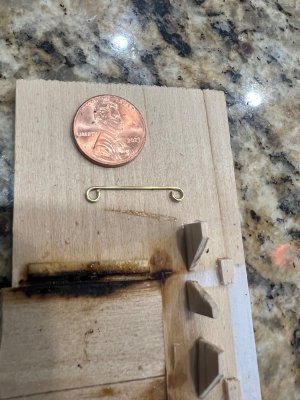
This is what I came up with in order to have loops to pass the cable or chain through.
View attachment 516724
View attachment 516723
View attachment 516722
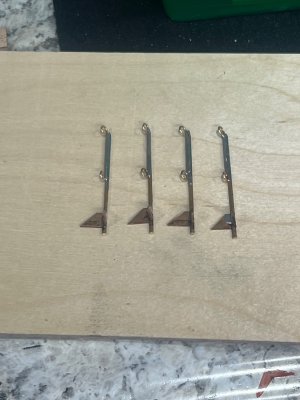
Final results.
View attachment 516735
View attachment 516736
That was challenging but he rest of the railings was even harder.
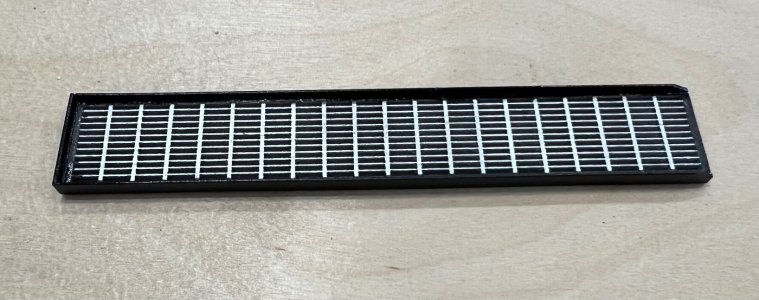
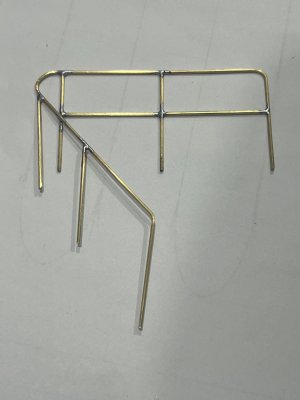
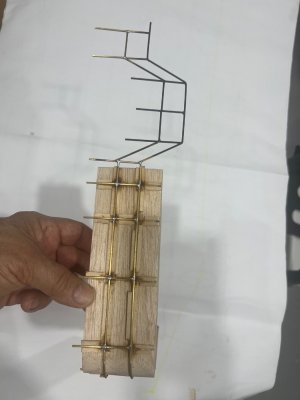
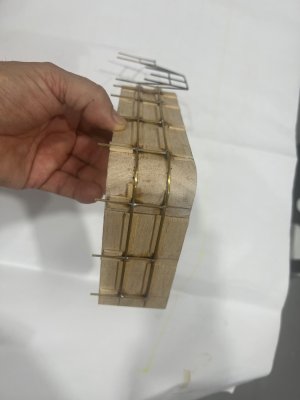
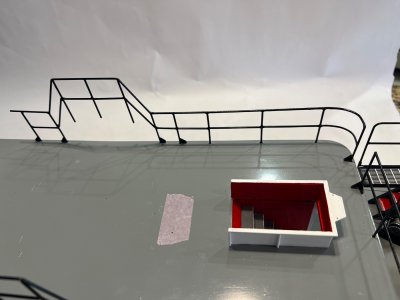
First step was to use the wooden soldering jig that came with the kit to add the longer part of the rails.
Like this.
View attachment 516721
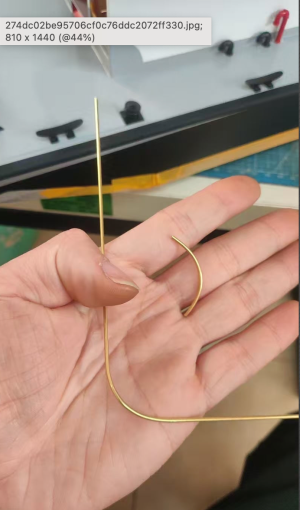
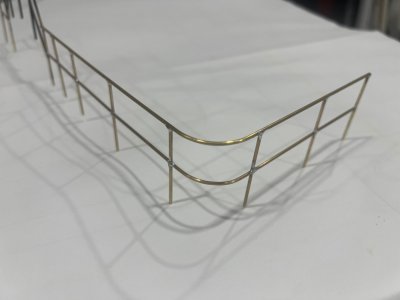
For the turn that it needs I added a rounded wooden jig to the first one I did.
This jig could be use for the other side as well.
View attachment 516733
View attachment 516731
View attachment 516730
View attachment 516729
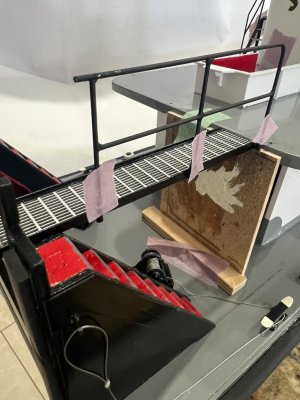
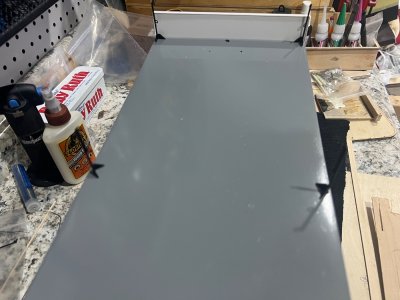
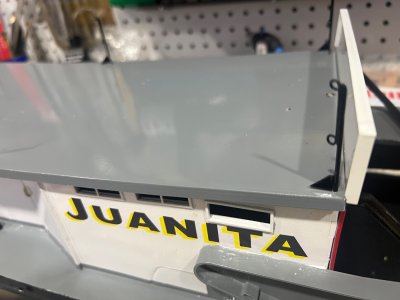
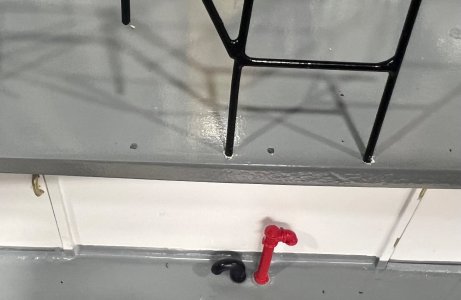
When it came the time to place the railings to see how good they matched the deck holes, I came up with a discrepancy. Two of the stairs railing didd match. If I where to follow this holes, the pilothouse would have been to close to the entrance of the down stairs.
View attachment 516727
View attachment 516726
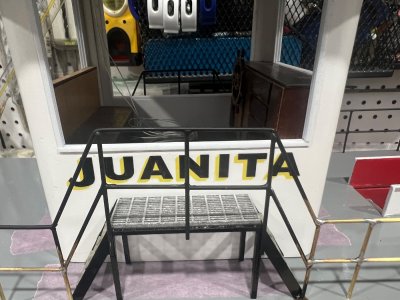
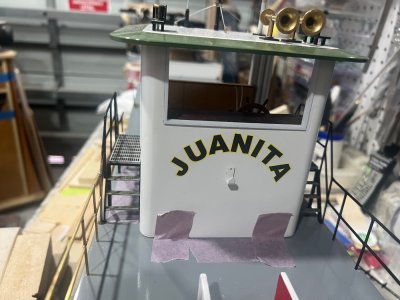
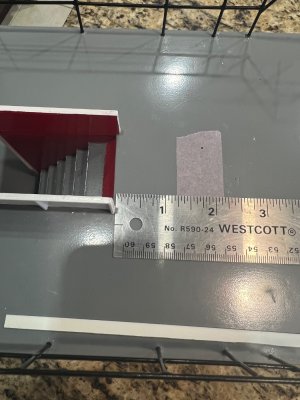
This is the correct distance between the pilothouse and the entrance to the sundeck stairs. 2 3/16".
After determining the space I just plugged the holes and retouch them.
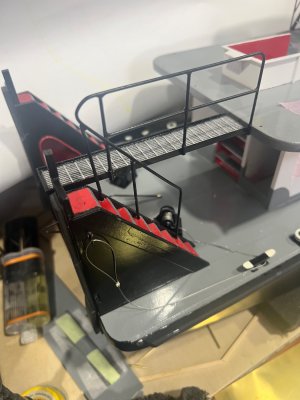
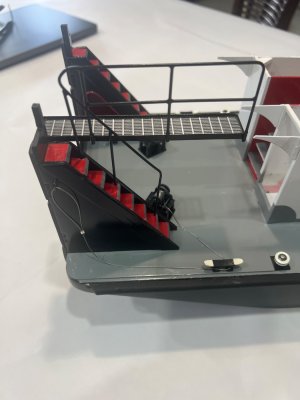
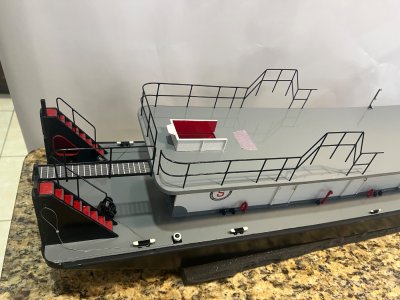
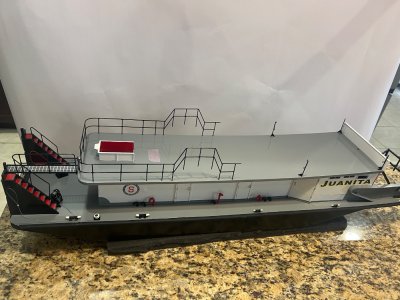
This is how it looks.
View attachment 516741
View attachment 516740
View attachment 516739
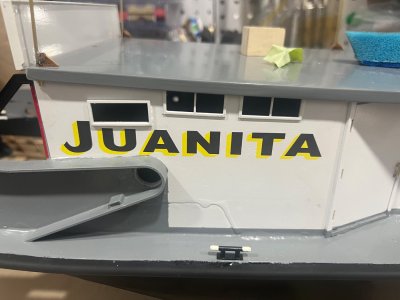
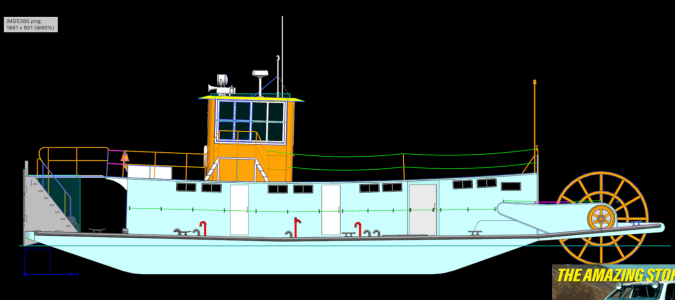
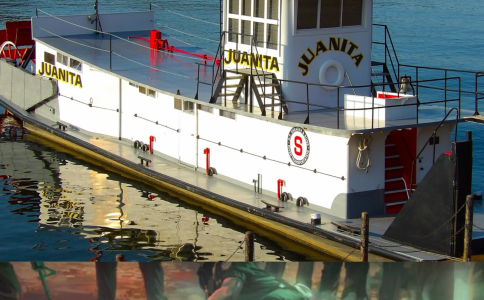
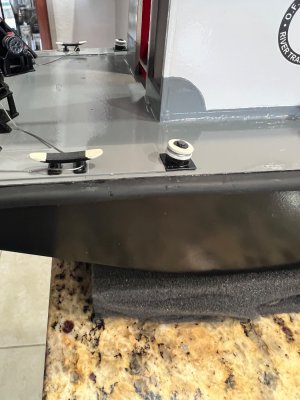
Right after I took this picture, I went over the collection I have gather of the real Juanita and found this bottom column brackets that only a few columns have it as you can see here.
I hate this
Modeling OCD that hunts me every time I look at the real pictures. I have to learn how to tell to myself "enough, leave it like that'.
View attachment 516873
This is what my OCD made me do.
View attachment 516871View attachment 516874View attachment 516875
By the way. this winch head gets installed with the larger slanted side towards the bow. I say this because I did it wrong the first time and had to unglue it.
View attachment 516872
View attachment 516737


