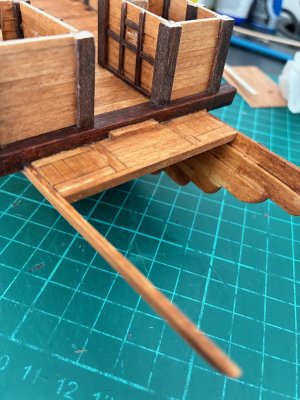
This is going to get wordy, and for that I apologize, but it's been a saga this week with some ups and downs.
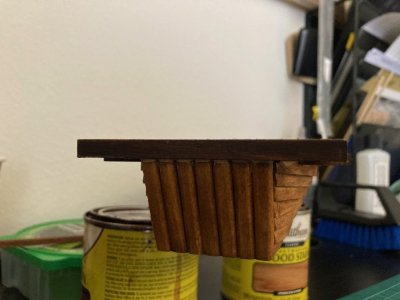
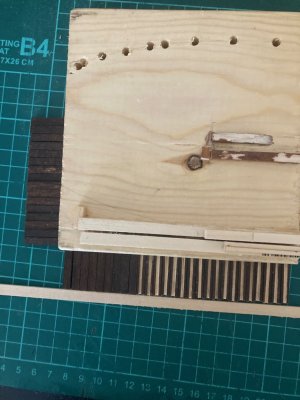
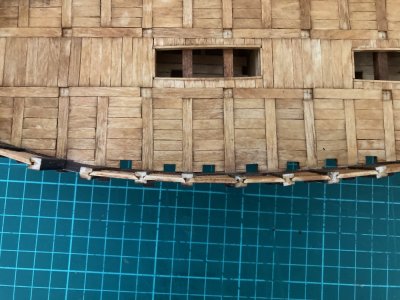
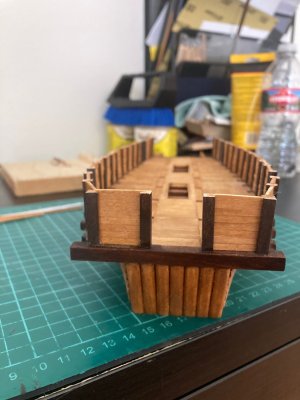
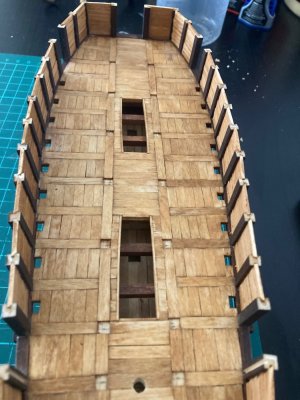
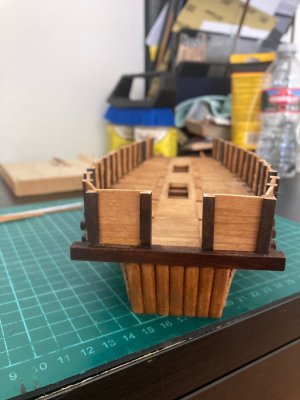
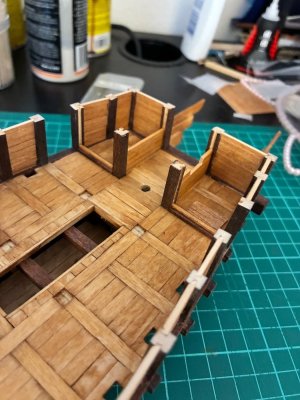
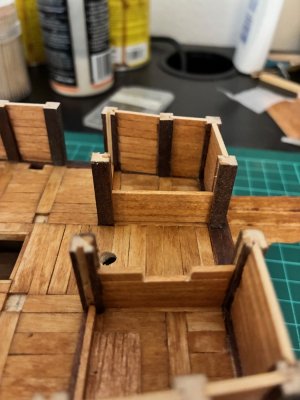
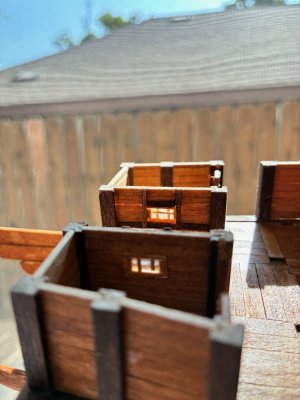
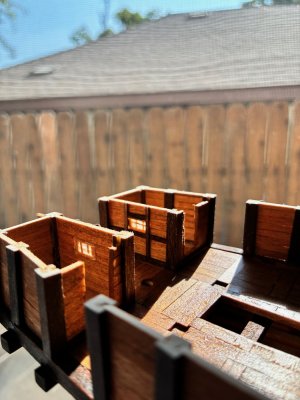
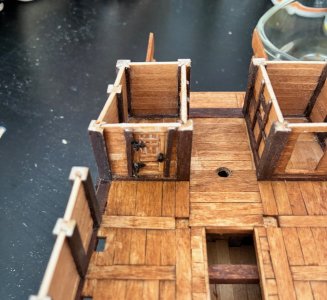
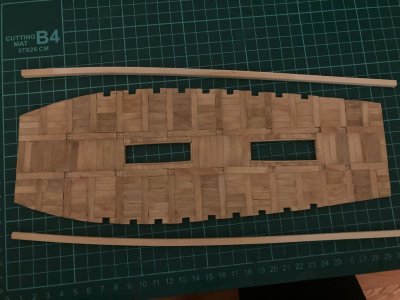
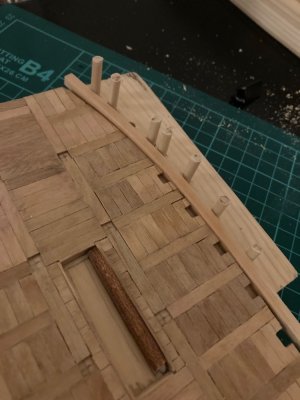
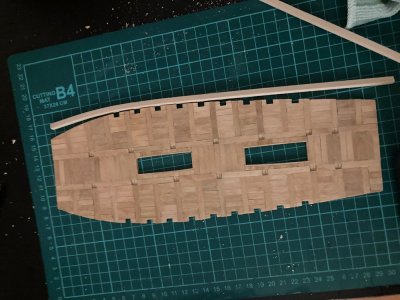
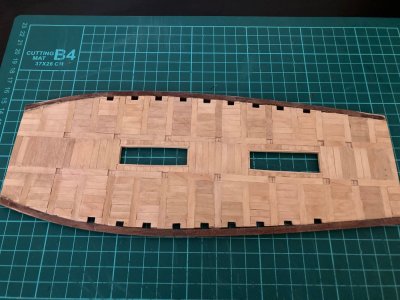
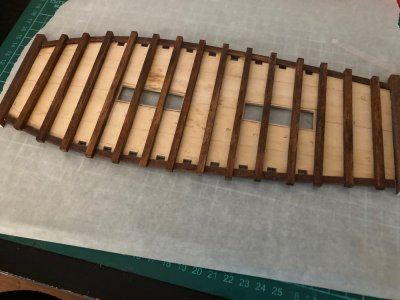
The planking for the lower deck is finally done. Or at least as done enough. It's not perfect by any means, but as previously stated, at absolute most, only about 10% of this will even be remotely visable on the final product once the rest of the superstructure is compete; primary only the areas close to the doorways. I havbe decided to make this a semi-full interior, with the officers quarters, railings and stairways to the other decks, anchor, and the two officers cabins at the stern. The unifished squares I left for the interior support beams to fit in.

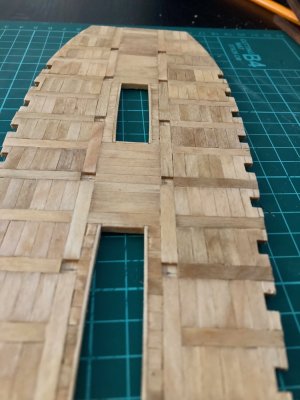
While I was letting this dry outside after applying the stain, my upstairs neighbor decided (for some reason) to dump water off her balcony, soaking the deck. My wife, bless her heart, noticed and brought it back inside soon after. I had to stack a few reams of printer paper on it for a while to work out the warp that was starting to form.
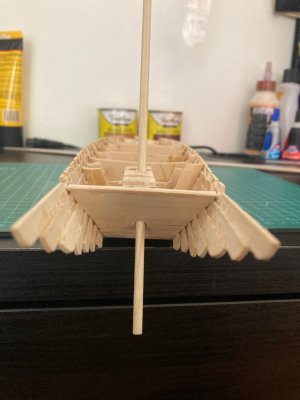
Following this, I returned to the hull to start preparing the hole for the rudder shaft. Initially, I was planning to have the shaft be exterior, as the hisorical painting of the ship, and several modern reproductings, depict it this way.
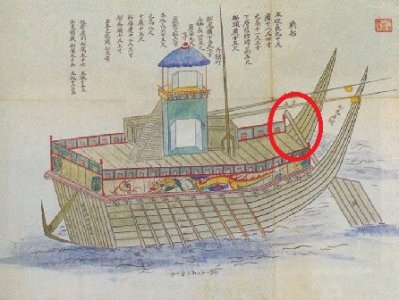
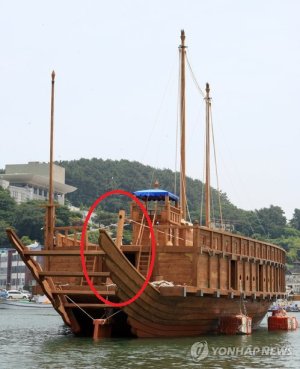
Now, this might be a but presumptious of me, but it began to strike me that this set up is historically inaccurate. Firstly, many paintings of the panokseon show that it's two masts could be lowered, presumably during battle and storms. In all that show us such, the masts are lowered toward the stern, where the rudder tiller would be, which doesn't make a very much sense. Furthmore, in another painting from the 17th or 18th centry, that is a bit better quality to the former, no tiller is present on the upper deck. In the painting below, the forward mast remains up, while the aft mast is lowered onto a support where the tiller would (supposedly) be located.

Another reason why I think it would be implausible for the rudder shaft to run along the exterior, with its tiller on the top deck is because it completely contradicts the entire intent behind the design of the panokseon. On early fighting ships of the Joseon navy (including the panokseon's most immediate predecessor), the fighting and rowing would all occur on the same deck. The panokseon was designed not only to give the fighters a more elevated platform to fire on the enemy from, not only to make the ship harder to board, but also to keep the oarsmen protected on the enclosed lower deck. To have the helmsmen, someone who is so vital to the ship, located on the fighting deck, or even the rudder shaft exposed on the exterior, contradicts this intent to keep those responsible for the ships movement and operation safe and out of the way. So I must assume that the rudder shaft ran through the interior, with its tiller on the middle deck with the oarsmen.
So, with this in mind, it was time to bust out my drill. This part was slighly nerve racking as, if I got the angle wrong, it could screw up the stern to such an extent that I have to scrap the entire hull! Luckily, it didn't go so bad, and the exterior hole did come out almost exactly center. But the entry hole on top must have been slightly off (the drill bit probably shifted while I was trying to get it started), so the shaft is not perfectly verticle. It emerges the exterior going fairly noticibly to the starboard. There might be a way to fix this, so I'll leave it alone for now until something comes to me.
If anyone has some ideas, I'm all ears.
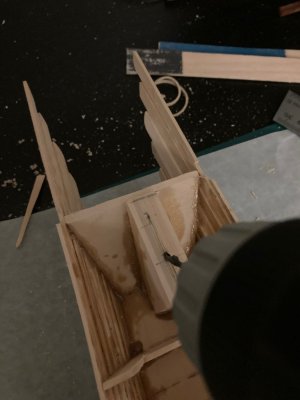
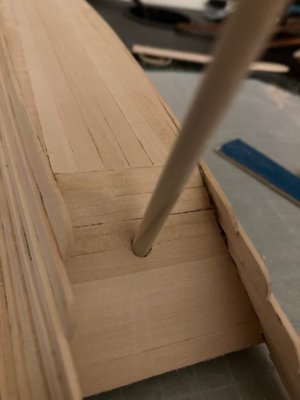
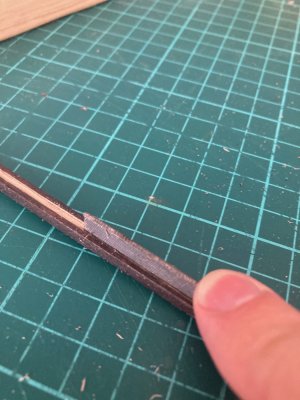
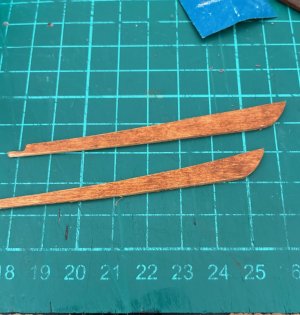
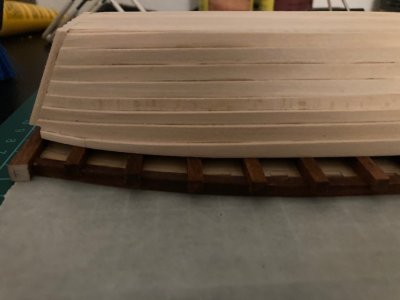
And then there's the next battle; the heavy horizontal timbers that the verticle supports will sit on. Because of the fairly extreme curve at the bow, I need to apply some extreme bending as close to the shape as I can as I don't want the wood to be constantly stressed by focing it into place and just locking it in with glue. For the timbers, I'm using two pieces of basswood, about 4 cm x 4 cm. I don't have the appropriate apparatus to steam these properly, so I've had to resort to having them soak in boiling water and then bending them. I've even applied a hot iron while they were being bent to help the wood form, but the results were...modest is probably the most generous term.
Again, if anyone has some tips on best practice here, I'm all ears. Otherwise, I'll just try to continue to soak, bend, and iron multiple times over the next few days and home it gets a little closer each time.



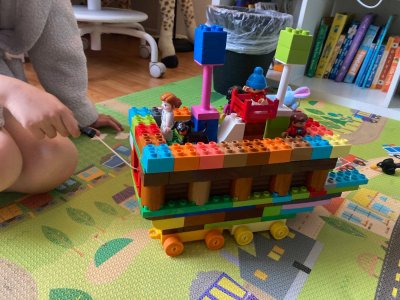

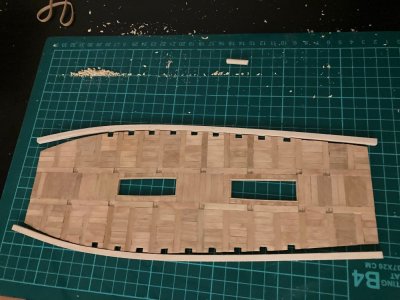
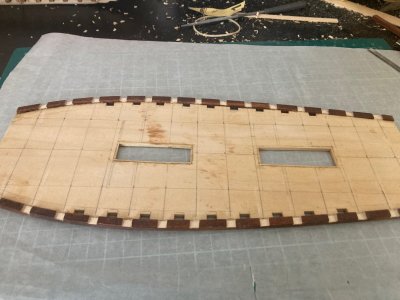


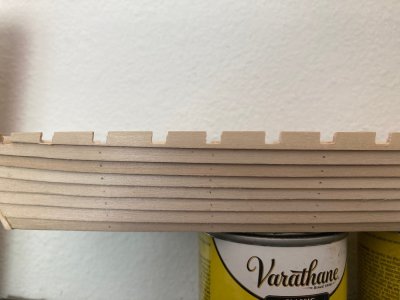



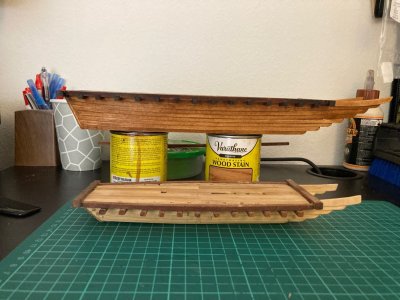
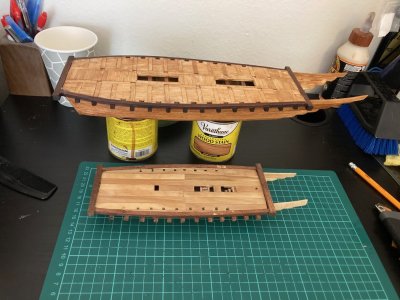
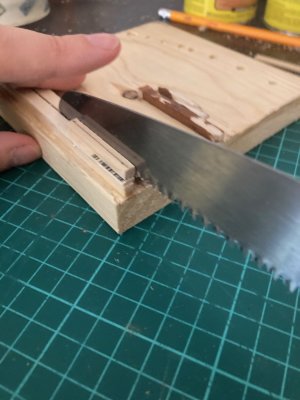
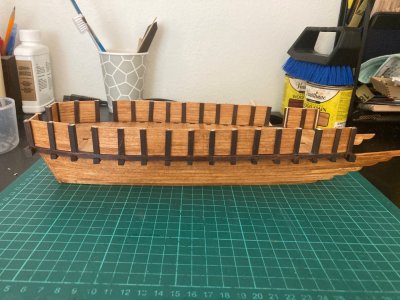
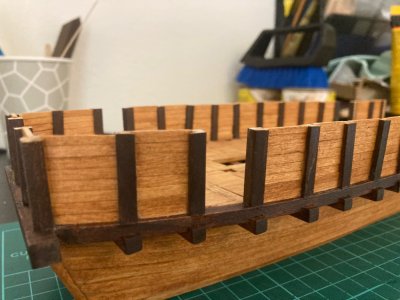
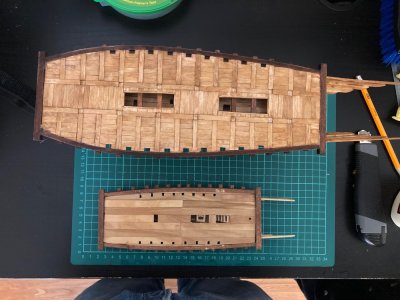 For comparison, I placed it next to my original construction. Nothing makes you feel better about your current screw ups than to be able to look back at your first-time round screw ups. But as you can see, the stain job is a bit splotchy. I spent the last few weeks looking into how to smooth that out a bit. For posterity, I should share another mistake I had to take care of. When removing material from the upperbow section to make room for the framing timber, I did not take into account the width of my saw blade! Frickin' amature hour over here!