The Schooner Bluenose 1921, POF Yuanqing Models 1:72 [COMPLETED BUILD]

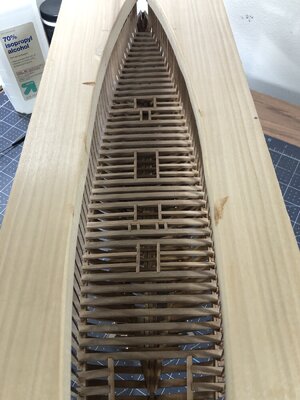
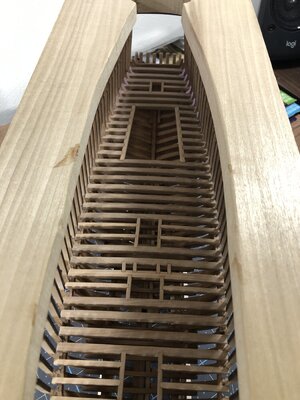
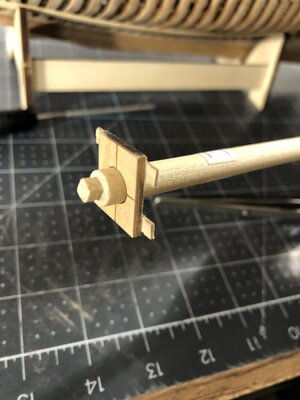
Hello everyone, continuing on with the lower section of this build I installed the mast bases and began the lower cross beam installation.
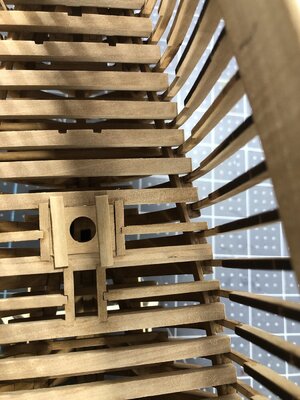
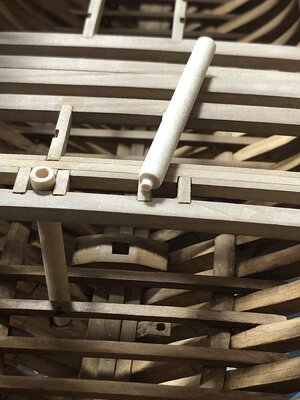
You can see I am stain/sealing as I am coming up from the keelson. At first, I couldn't find what happens to rib #31 with the two 2mm dia. holes just aft of the main mast base support but hiding in plain sight they are the anchor holes for two bollard supports that come all the way up through the main deck.

View attachment 373626View attachment 373627View attachment 373628

Well, these macro shots sure show a lot of imperfections you wouldn't see at a normal observing distance. I suppose we all have to deal with this on occasion.
Hope you enjoy.
For sure I enjoy the build on the inside, Daniel. It’s looking very nice.
And Dean is correct, the 2 holes are for the waterpumps.
Regards, Peter
 
Daniel, if I remember correctly, those two holes you are referring to are for the water pumps. ;)
Ah, I stand corrected Dean, thanks for the clarification. I added Google translate to my phone and D132 is 'pressurized well'.
 
Last edited:
Those floorbeams, seemingly endless... But very satisfying when they're all in.
So far, so good.
I tnink I measured those mastfeet a dozen times, before applying adhesive.
Yes sir the forward face of the mast feet is supposed to be set flush with the forward face of their respective frames. I didn't show this in my pics but i had set a temporary fence across the forward face of each frame then pushed the mast feet against it which gave me the longitudinal endo. Transverse wise there was a notch for the main mast and I eyeballed the foremast.
 
Good afternoon and TGIF.
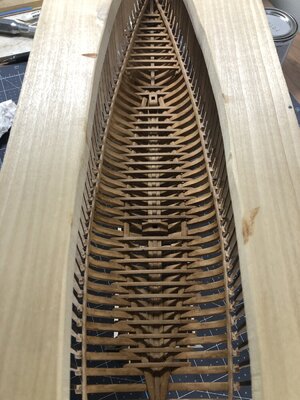
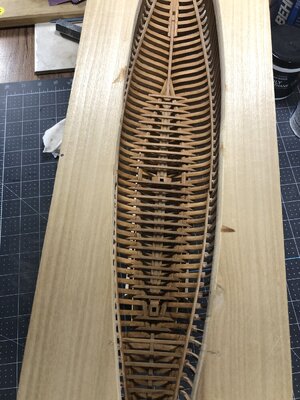
Moving along I have now installed all the lower crossbeams and the bow section crossbeams. When removing all the char I first scraped away all I could with a single edge razor blade then hand sanded down to clean material. I can tell you that whatever my next project is, it will be POF 100% CNC cut pieces if possible. Anyway, I'm getting excited at the prospect of working my way up to the main deck.
Here's two shots looking forward then aft.

IMG_2535.jpgIMG_2538.jpg

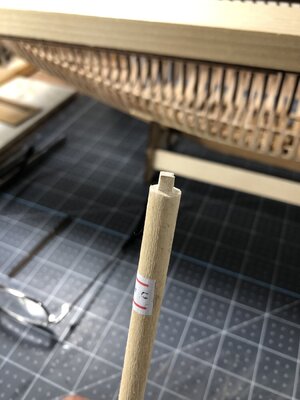
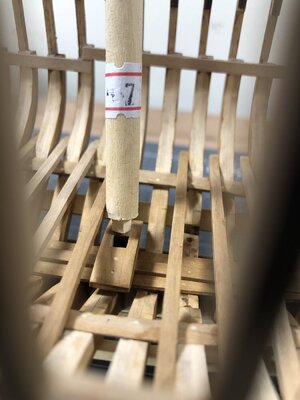
Next are a couple of pictures my hand cut tenon on the fore and main mast. I figured doing it now gave me a good view of how it fits.

IMG_2529.jpgIMG_2528.jpg

I hope you all have a great Mother's Day weekend!
 
Good afternoon and TGIF.
Moving along I have now installed all the lower crossbeams and the bow section crossbeams. When removing all the char I first scraped away all I could with a single edge razor blade then hand sanded down to clean material. I can tell you that whatever my next project is, it will be POF 100% CNC cut pieces if possible. Anyway, I'm getting excited at the prospect of working my way up to the main deck.
Here's two shots looking forward then aft.

View attachment 374267View attachment 374268

Next are a couple of pictures my hand cut tenon on the fore and main mast. I figured doing it now gave me a good view of how it fits.

View attachment 374270View attachment 374269

I hope you all have a great Mother's Day weekend!
Good looking stuff, Dan and nice progress to boot.
Wish I was as clever as you are; I made the mast tenons after I closed the decks. It took me the most part of an evening to get that sorted.
 
Good looking stuff, Dan and nice progress to boot.
Wish I was as clever as you are; I made the mast tenons after I closed the decks. It took me the most part of an evening to get that sorted.
Thanks for the compliment, Johan, once in a great while I get lucky and think ahead. The majority of the time though I'm wondering where the next trap will spring and clamp me in the behind.
 
Dear Daniel. I am dumbfounded by the amount of progress you have achieved. Everything looks wonderful - I am particularly pleased at how beautiful the oak stain looks on the Pear Wood. (I have also made a few of the ancillaries on the WB out of Pear wood and when stained with the CLOU, I was also happy with the effect.)
 
Dear Daniel. I am dumbfounded by the amount of progress you have achieved. Everything looks wonderful - I am particularly pleased at how beautiful the oak stain looks on the Pear Wood. (I have also made a few of the ancillaries on the WB out of Pear wood and when stained with the CLOU, I was also happy with the effect.)
Thank you, Heinrich. The oak stain was an interesting experiment however I think I will be backing away from the stain part and just using the clear for the upper deck beams and decking itself.
 
Good afternoon, all.
I have now completed installation of all upper deck floor beams. Lots of small area filing and sanding but a good milestone for sure.

IMG_2551.jpgIMG_2552.jpg

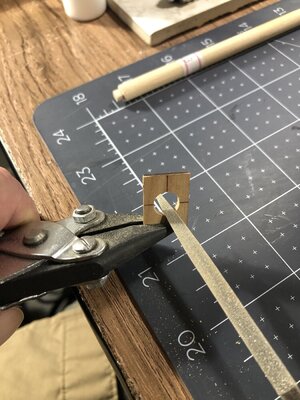
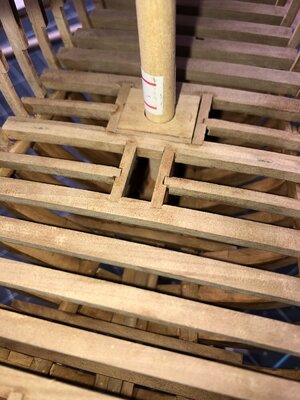
Next, I prepared the openings for the main and fore mast. First, I filed the round openings to accommodate the mast dowel diameter then temporarily glued holding strips onto the piece (as they were to sit flush with the cross beams) and glued the piece securely in place. You can see I dry fitted the mast to check for
accuracy.

IMG_2553.jpgIMG_2554.jpgIMG_2555.jpgIMG_2557.jpg

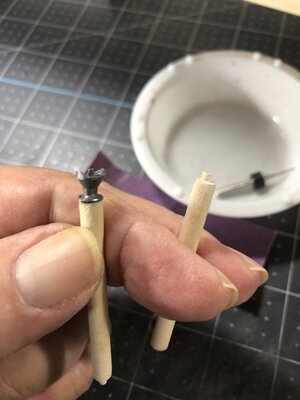
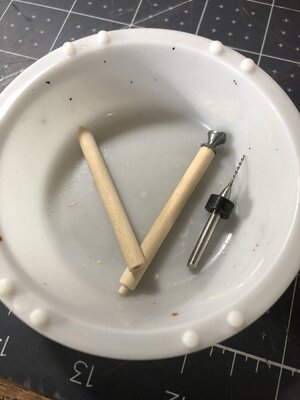
Here are a couple shots of the lower bilge pump standpipes. Ill paint these pipes black, Jensen says on the real BN the pipes were enclosed in a wood box. Everything is fitting well so far.

IMG_2547.jpgIMG_2548.jpgIMG_2549.jpg


Well, that's it for now and thank you all for checking in.
Happy modeling!
 
Back
Top