Well, since I am participating so much from all of yours help in this great forum, I thought I’d share my bit back to it. I am no great photographer and have quite limited time to build, so this log won’t be a leading guide like others, but maybe my insights are still valuable for someone.
I have started quite some kits over the last few years and put them aside 1/3, 1/2 or nearly finished due to several reasons: I didn’t like the quality of materials (and/or broke something) or instructions – or wasn’t able to follow them…the scale was to small for me to handle… or I simply lost the interest in the model…
But with this kit – and the associated Group-Build – all should be different, I decided to go slow and easy, due to work I have quite some forerunners to sneak peek from
All comments, criticism, suggestions, assistance are very welcome!
This is my first PoF-Kit, I was quite amazed by the amount of wood panels in the box! – it is also my first cnc-milled kit, so I started with the cleaning of the boards. I picked my Dental-Tool and started to scratch out the shavings – and realized I scratch all way through the remainder of the wood, that holds the parts in their panels…the other thing I noticed was the amount of sawdust, that comes out of just one panel – and the time to clean just one of them.
Thinking about a better and “safer” way to clean them, I switched to inventory and labelling the parts. I used a soft pencil (2b) to transfer the numbers from the instructions to the components. I noticed that the layout of my boards 11 and 12 differs from the instructions – some parts where simply arranged different (AL 42, 55, 57), but one of eighter FL96 or 102 was missing.
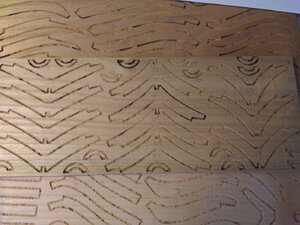
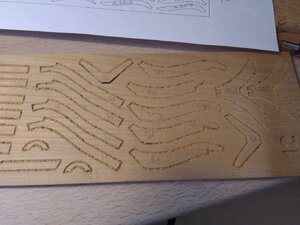
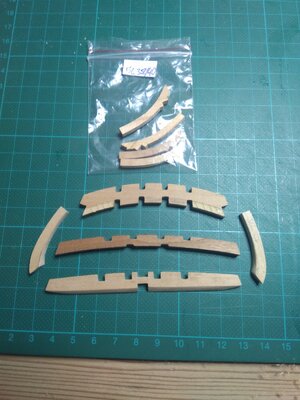
Finally I found a small board – that was nowhere mentioned – in my box with “another” 20 of those half rounded parts (page 35, FL92, 94, 96, 98, 100, 102; part of the Gunports I think). I hope the are all the same (or at least easily adjusted).
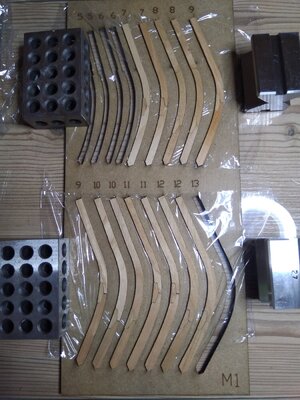
The Chocks of the Ribs differ a little, so they needed careful labelling. Also the parts of a single rib are spread over several boards … planning to cut just the parts needed at the moment I decided to fill a little worksheet to help me finding them – @paulv1958 was so kind to rework it and put it in the “Build Reference Documents” thread.
Back to cleaning the panels. After trying to hoover them out with my old ShopVac vacuum cleaner – still >1000W, long time forbidden to sell in Europe now – I thought, why not do it the other way around? I took the boards to the workshop in our garden shed, turned on the compressor to blow the chippings out and – they laughed at me
Ok, with increased pressure (almost 8bar) and carefully tickling out the chippings with the Dental-Tool all the panels finally got cleaned. I (like others) noted quite some colour differences between some of the panels and wondered if it was the same wood – the chippings from the lighter boards seem to almost “paste” in the grooves, as if the lighter coloured wood was softer, damper, more resinous – or the milling bit was more dull at that time as even the cut edge was rougher. But the parts will get sanded – sorry, polished – later and I liked that all the parts that for example form the Keel can be truly identified. I already knew I would not put and kind of paper/foil to simulate caulking in between them. I’m quite sure in the elder days they also took the wood they got to build their ships and just selected concerning form/function and not looks of it – or painted/coppered over it anyway
Cutting the parts out of the boards was the next adventure … Yes, it’s easily to cut through the thin remaining wood that holds the part, but there where a lot steps and corners I couldn’t get my scalpels in to actually “cut” it … I tried “piercing” it with a very slim blade, even with a needle.
Then I remembered seeing the all the grooves from the backside, when holding the panels against the light while cleaning them.
I got my light-board out on the table, put a glass for protection over it and started to cut the parts of the Keel/Dead Wood from the rear – at least the tiny corners I could not get the scalpel in – nice clean cuts without any splintering.
After I was almost done, I saw Pauls Video-Log where he cuts/breaks the parts out of the boards. What a sissy I was
Simple cut along the long edges, mark/scratch a little the tiny ones, that don’t allow the blade in and with a little pressure the part comes out – no splinters, the thin veneer breaks where it should – will safe me a lot time when doing the ribs!
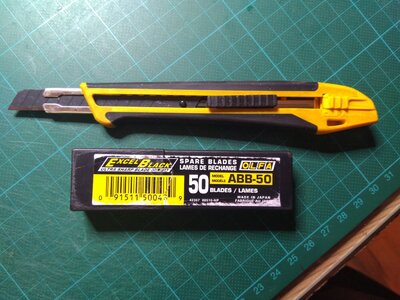
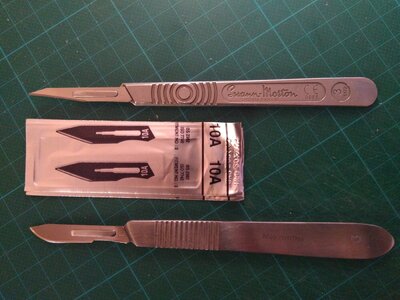
Just remember to cut at the outside of the Groove, it is easy to clean the remaining seam with a sharp knife. I used my (narrow) Stanley/Olaf for cutting and the scalpel (since all my handles are Nr.3 #10 curved and #10A straight/pointed) for cleaning.
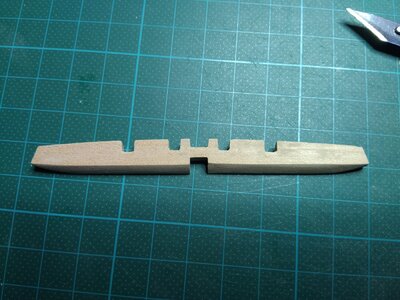
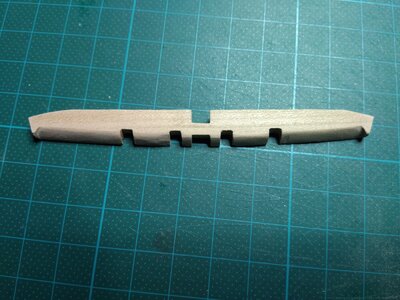
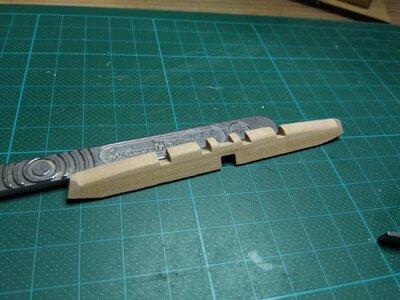
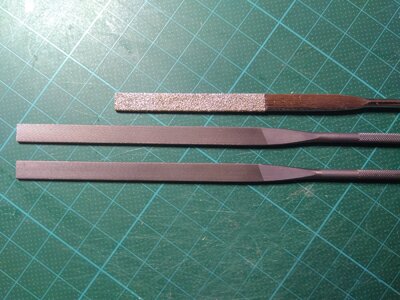
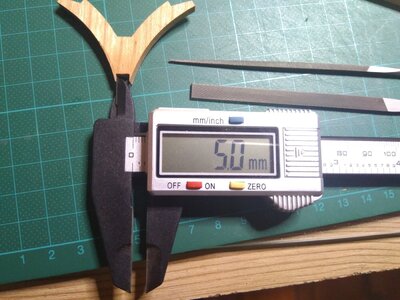
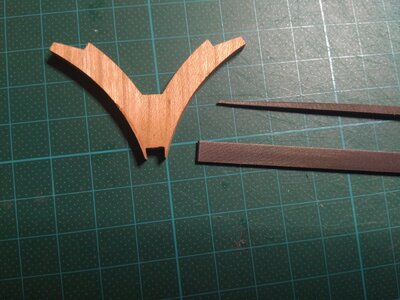
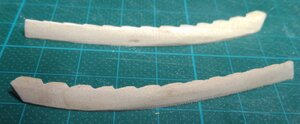
Back to the Keel: the notches in the Hog needed quite some work! Most of them didn’t meet the template. But all in the “plus”, so I grabbed my needle files and opened them to meet the jig. When I was pleased with the fit, I started to glue the parts according to the instructions. The little “tenon” at the top of BL19 can/must be removed to fit into the jig, but I think that should be done later … it strengthens the top, where the Wing Transom will be seated later and the groove needs to be adjusted. So at this point it would be better to just turn the jig aground and let this tenon lie over it.
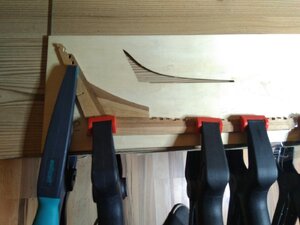
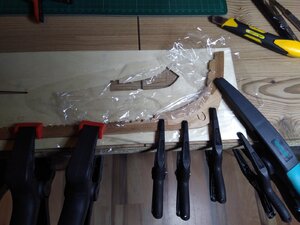
The “Trick” with the cling film worked very well and all parts where glued only to each other!
While the freshly glued fore part dried inside the jig, I bevelled the aft part of the Keel according to the instructions and, again, with the help of a template.
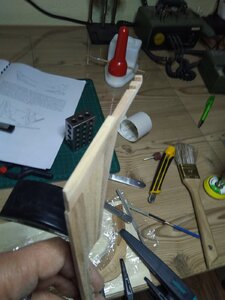
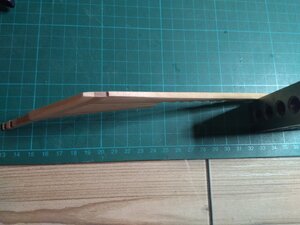
Next step was the “bilateral chamfering” of the lower Keel/Stempost section and the upper Rising wood/Apron part. This was done by simply sliding a knife over the edge – as I learned in this forum: in only one direction …and also in the “right” direction of the wood! You will notice, there is one direction the wood is scratched smooth, the other way it tends to ravel out.
Then both parts where glued together – again using the provided jig.
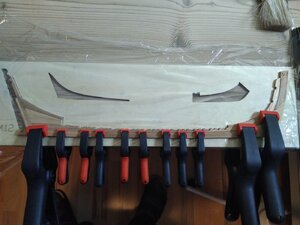
After taking the finished module out of the jig and removing the cling film I noticed some glued congested the back/down side of the earlier formed Rabbet …so I picked up my needle files again to clean and also widen the Rabbet a little more. Thanks again for the tip to use a copper brush for cleaning, it didn’t do any harm to the wood!
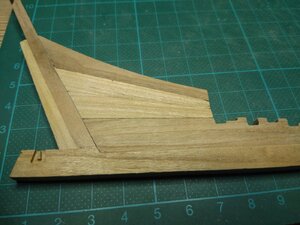
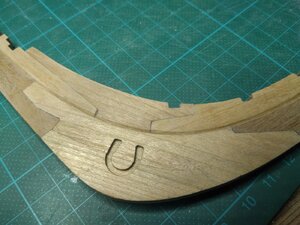
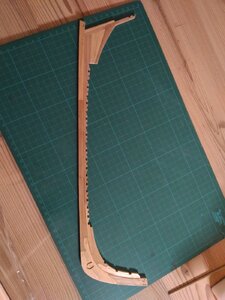
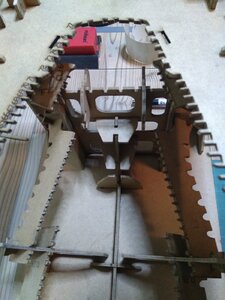
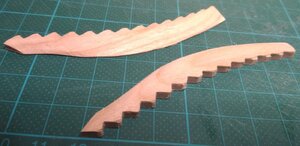
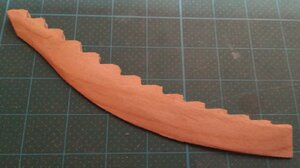
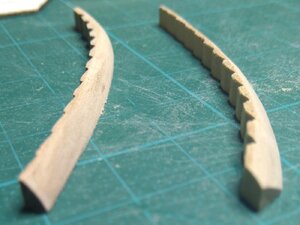
So that’s where I stand now with the construction:
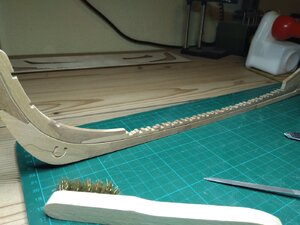
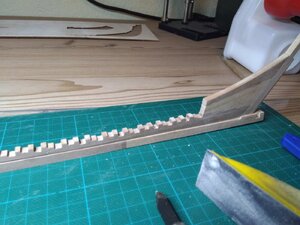
I have started quite some kits over the last few years and put them aside 1/3, 1/2 or nearly finished due to several reasons: I didn’t like the quality of materials (and/or broke something) or instructions – or wasn’t able to follow them…the scale was to small for me to handle… or I simply lost the interest in the model…
But with this kit – and the associated Group-Build – all should be different, I decided to go slow and easy, due to work I have quite some forerunners to sneak peek from
All comments, criticism, suggestions, assistance are very welcome!
This is my first PoF-Kit, I was quite amazed by the amount of wood panels in the box! – it is also my first cnc-milled kit, so I started with the cleaning of the boards. I picked my Dental-Tool and started to scratch out the shavings – and realized I scratch all way through the remainder of the wood, that holds the parts in their panels…the other thing I noticed was the amount of sawdust, that comes out of just one panel – and the time to clean just one of them.
Thinking about a better and “safer” way to clean them, I switched to inventory and labelling the parts. I used a soft pencil (2b) to transfer the numbers from the instructions to the components. I noticed that the layout of my boards 11 and 12 differs from the instructions – some parts where simply arranged different (AL 42, 55, 57), but one of eighter FL96 or 102 was missing.


Finally I found a small board – that was nowhere mentioned – in my box with “another” 20 of those half rounded parts (page 35, FL92, 94, 96, 98, 100, 102; part of the Gunports I think). I hope the are all the same (or at least easily adjusted).
The Chocks of the Ribs differ a little, so they needed careful labelling. Also the parts of a single rib are spread over several boards … planning to cut just the parts needed at the moment I decided to fill a little worksheet to help me finding them – @paulv1958 was so kind to rework it and put it in the “Build Reference Documents” thread.
Back to cleaning the panels. After trying to hoover them out with my old ShopVac vacuum cleaner – still >1000W, long time forbidden to sell in Europe now
Ok, with increased pressure (almost 8bar) and carefully tickling out the chippings with the Dental-Tool all the panels finally got cleaned. I (like others) noted quite some colour differences between some of the panels and wondered if it was the same wood – the chippings from the lighter boards seem to almost “paste” in the grooves, as if the lighter coloured wood was softer, damper, more resinous – or the milling bit was more dull at that time as even the cut edge was rougher. But the parts will get sanded – sorry, polished
Cutting the parts out of the boards was the next adventure … Yes, it’s easily to cut through the thin remaining wood that holds the part, but there where a lot steps and corners I couldn’t get my scalpels in to actually “cut” it … I tried “piercing” it with a very slim blade, even with a needle.
Then I remembered seeing the all the grooves from the backside, when holding the panels against the light while cleaning them.
I got my light-board out on the table, put a glass for protection over it and started to cut the parts of the Keel/Dead Wood from the rear – at least the tiny corners I could not get the scalpel in – nice clean cuts without any splintering.
After I was almost done, I saw Pauls Video-Log where he cuts/breaks the parts out of the boards. What a sissy I was
Simple cut along the long edges, mark/scratch a little the tiny ones, that don’t allow the blade in and with a little pressure the part comes out – no splinters, the thin veneer breaks where it should – will safe me a lot time when doing the ribs!
Just remember to cut at the outside of the Groove, it is easy to clean the remaining seam with a sharp knife. I used my (narrow) Stanley/Olaf for cutting and the scalpel (since all my handles are Nr.3 #10 curved and #10A straight/pointed) for cleaning.
Back to the Keel: the notches in the Hog needed quite some work! Most of them didn’t meet the template. But all in the “plus”, so I grabbed my needle files and opened them to meet the jig. When I was pleased with the fit, I started to glue the parts according to the instructions. The little “tenon” at the top of BL19 can/must be removed to fit into the jig, but I think that should be done later … it strengthens the top, where the Wing Transom will be seated later and the groove needs to be adjusted. So at this point it would be better to just turn the jig aground and let this tenon lie over it.


The “Trick” with the cling film worked very well and all parts where glued only to each other!
While the freshly glued fore part dried inside the jig, I bevelled the aft part of the Keel according to the instructions and, again, with the help of a template.


Next step was the “bilateral chamfering” of the lower Keel/Stempost section and the upper Rising wood/Apron part. This was done by simply sliding a knife over the edge – as I learned in this forum: in only one direction …and also in the “right” direction of the wood! You will notice, there is one direction the wood is scratched smooth, the other way it tends to ravel out.
Then both parts where glued together – again using the provided jig.

After taking the finished module out of the jig and removing the cling film I noticed some glued congested the back/down side of the earlier formed Rabbet …so I picked up my needle files again to clean and also widen the Rabbet a little more. Thanks again for the tip to use a copper brush for cleaning, it didn’t do any harm to the wood!
So that’s where I stand now with the construction:


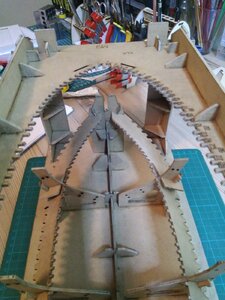


 to
to 