- Joined
- Oct 11, 2020
- Messages
- 10
- Points
- 38

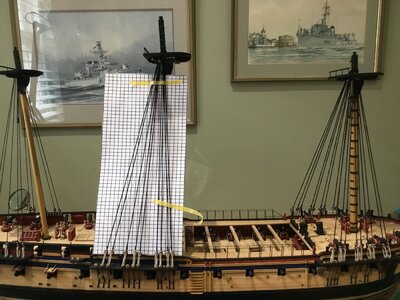
I’m seeking some guidance from the wise. I am building the Caldercraft DIANA, I’ve completed the lower shrouds and about to start the ratlines - see attached. I intend to use clove hitches to secure my 0.25mm, stained, line. I wonder if anyone has a good technique for doing this at a steady, predictable pace - I’ve tried a couple of times but the tensioning is a little hit and miss across the horizontal And will look odd unless done correctly. Also how do you tie them neatly towards the top where the spacing between the shrouds is quite small? I know this will take several weeks but it would be good to know if there is a method which helps consistency. Thanks. Peter