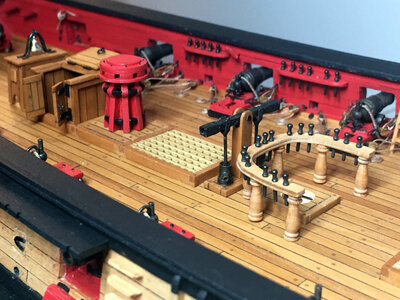
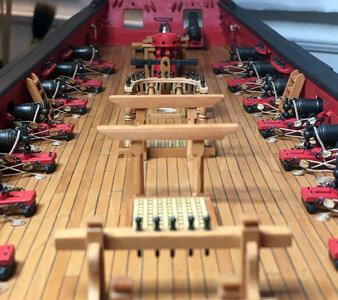
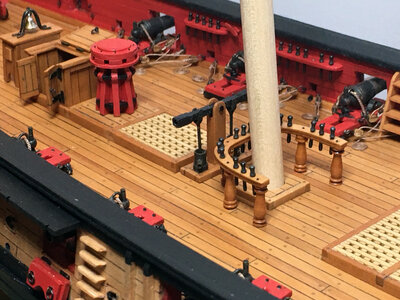
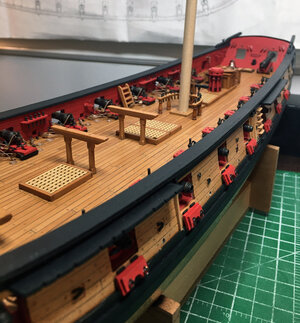
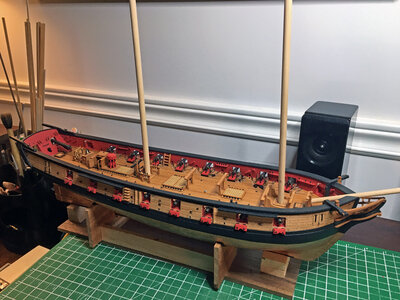
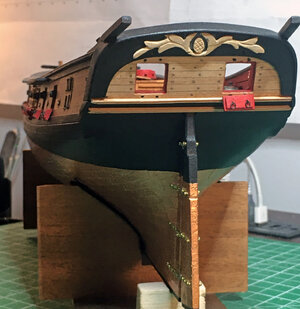
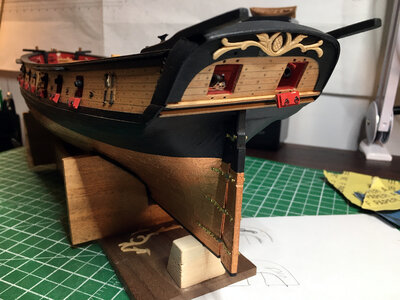
US Brig Syren MS: # 2260 by NovaStorm

Looking very good - very accurate work Thumbsup
Absolutely in love with her deck appearance, NovaStorm!
Thank you Uwe and Jim, appreciate the feedback :) Helps to keep me motivated.
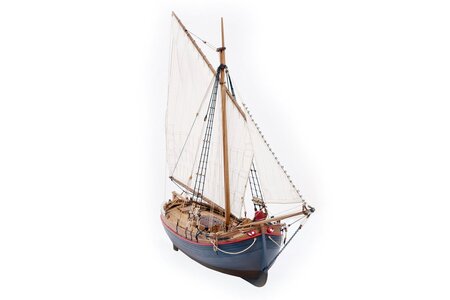
I just put in an order with Egor over at Crafty Sailor for the Boat kit from Master Korabel which I will try resizing and building for on deck.
Oh and while I was at it I picked up the Bracera 1/32 for a future build :) Should be fun! Cheers, Robin ~
06_BraceraA4Fixed_1500x1000_72be145f-ab0f-424f-a492-8b537aa1cc4e_1024x1024@2x.jpg
 
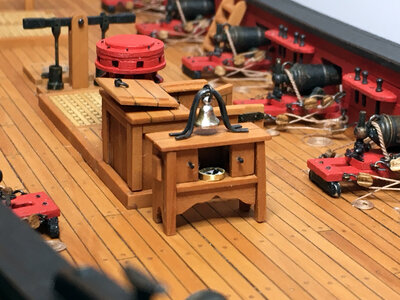
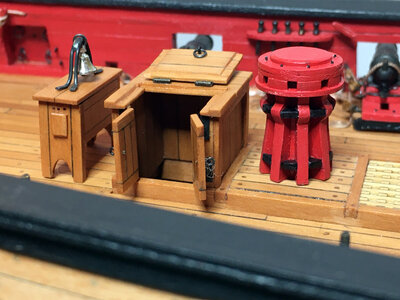
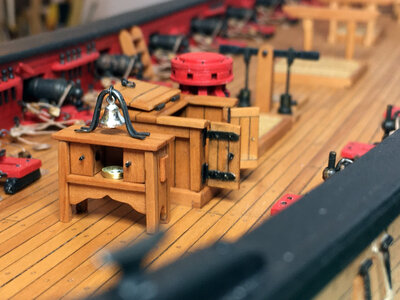
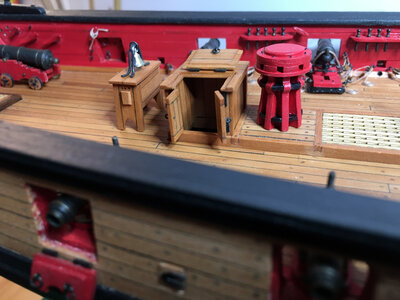
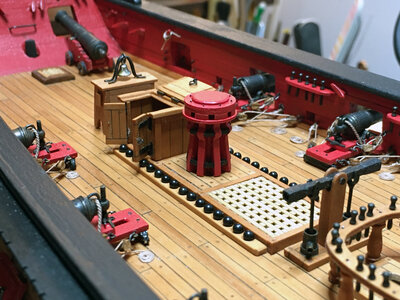
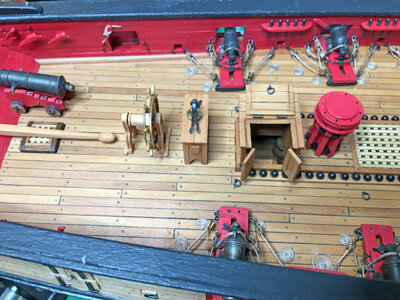
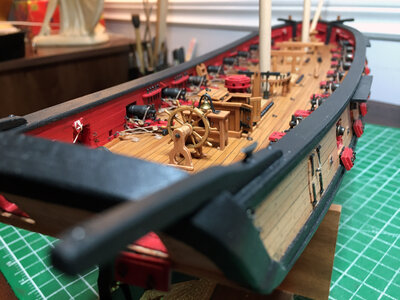
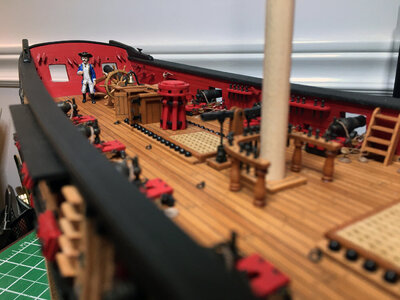
Continuing along with the on deck furniture and fittings. I made the decision to redo the red binnacle and replace it with a simpler oiled pear version.
I made a wire mount for the bell as per the instructions and used a thin sliced bit of brass tube to act as a compass.


IMG_5937.jpgIMG_5949.jpgIMG_5959.jpgIMG_5968.jpg

Next I put together the main fife rail. I turned the stanchions in pear using my dremel, then glued and pinned the rail on top. All the belaying pins are the brass ones that came with the kit.

IMG_6008.jpgIMG_6013.jpgIMG_6019.jpgIMG_6027.jpg

Cheers :)
 
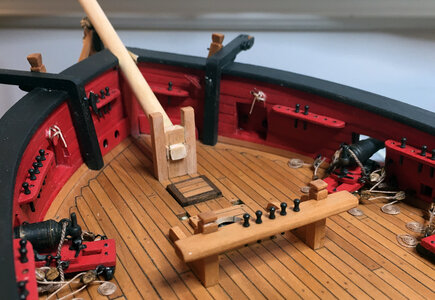
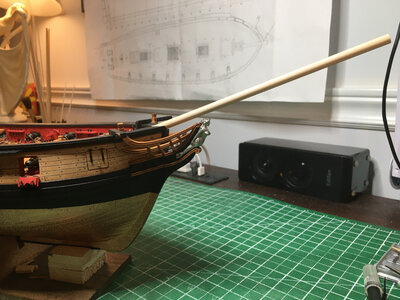
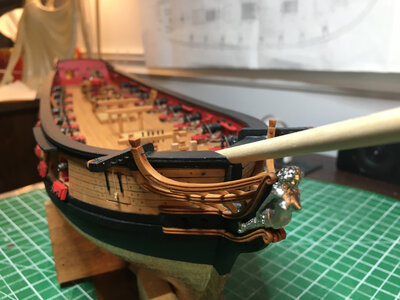
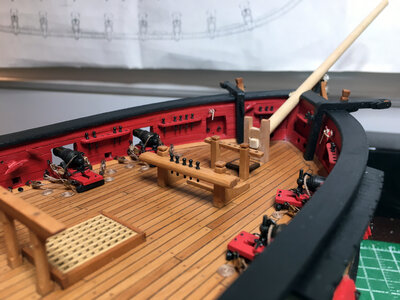
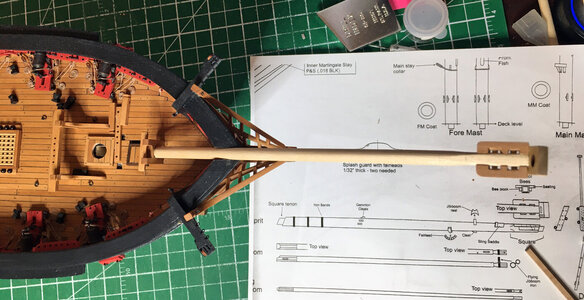
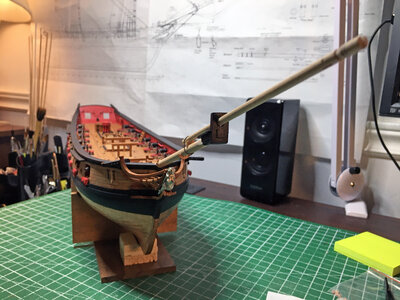
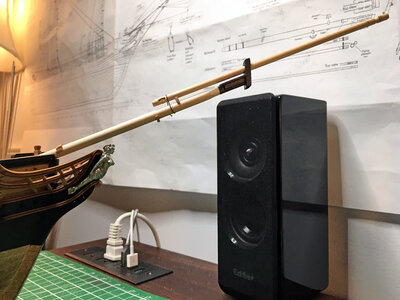
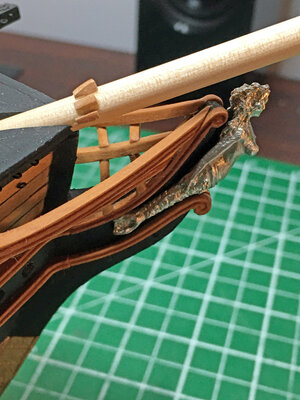
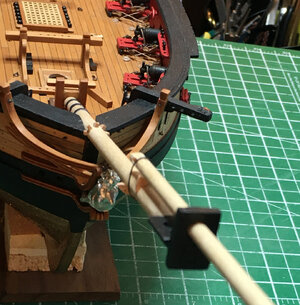
Continuing along ~ I made up the bowsprit bits in pear. The dowel for the bowsprit is slightly under the 1/4 inch dia for some reason but I sanded the top rail so it fit in nice and snug. Call it ruffed in for now. Next I figured out the cannon shot racks. I am using cannon balls I purchased from Caldercraft Part # 85992 - 2.5mm to fit in with the upgraded carronades and cannons ~ Couple pics :)

IMG_6044.jpgIMG_6053.jpgIMG_6055.jpgIMG_6057.jpgIMG_6073.jpg
 
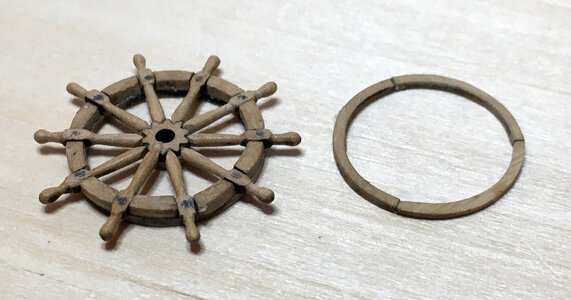
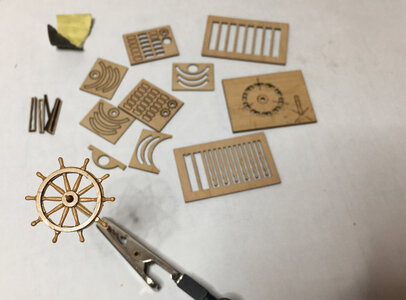
Cheers, thanks so much for the great comments and likes, they are really appreciated :) I keep bashing away at this kit. Doing so is a great way to learn what works and what doesn't. I know I jump around a lot in the build but that is just my approach right now. I had purchased a wheel from Caldercraft 27mm brass to use but it was just a tad to large and so I ordered one from Syren Ship model all wood kit in 24mm. I put that together and it made a good addition. I also did a little more work on the bowsprit ruffing it in some more and then tried my hand at carving which I have been putting off as long as I could lol. But now I've had my first try at carving the transom decorations. I then ordered some better quality micro chisels from flexcut which I am waiting on. Here are a few pics starting with assembly and install of ships wheel. I made the housing sides and drum disks from pear ~

IMG_6175.jpgIMG_6187.jpgIMG_6220.jpgIMG_6223.jpgIMG_6226.jpgIMG_6237.jpgIMG_6241.jpg
Next I did some ruffing in on the bowsprit and jib boom. I used matt photo paper and a sharpie marker to make the iron banding on the bowsprit. The jibboom i put in 2 working sheaves ~ By the time the flying job boom goes on it will be a mile long.

IMG_6278.jpgIMG_6292.jpgIMG_6295.jpgIMG_6303.jpgIMG_6312.jpg

Now not feeling I could put off any more trying my hand at carving the transom decorations, I gave it a go. It was actually not as bad as I thought it would be.
I am using my own design as I really can't make out what the cast kit one is suppose to be. With a couple more tries I should be able to come up with something acceptable. Here is my first go which I cracked after finishing it duh. Next one will be a touch smaller maybe.

IMG_6361a.jpg

Cheers, Robin ~
 
Jim thank you for your kind words of encouragement, always appreciated.

A belated Happy New Year to you all! :) I took a nice break over the holidays and spent some quality time with the Admiral.
Ordered some micro chisels from Flexcut which I recently received and put to good use. I am using my own design for the stern carving and while I like it probably it isn't very authentic. I have decided I am not going let that bother me because my newbie abilities at this scale are quite limited. So the carvings seem to look ok when viewing the ship but look a bit over scale in the photos. Is what it is and I am probably going to just continue on with what I have now.

I used a narrow1/32 boxwood strip for the carvings. This was glued onto a small piece of plywood to act as a backing and to keep the carving from splitting as I worked. It also gave me something to hold onto and made the piece easier to control while chiseling. Once the carving was completed I would soak the whole thing in water to separate the thin carving from the plywood, it would slid off complete. Files and sanding were used to clean up the carving. Here is a pic with it held on with 2 sided tape.

IMG_6548.jpg
 
I'm building this same kit just getting around to the deck fittings now. Your build log has been invaluable and a real inspiration--once I got over the disappointment that I'm unable to match your craftmanship.
Thank you
 
I'm building this same kit just getting around to the deck fittings now. Your build log has been invaluable and a real inspiration--once I got over the disappointment that I'm unable to match your craftmanship.
Thank you


D
 
Last edited:
I'm building this same kit just getting around to the deck fittings now. Your build log has been invaluable and a real inspiration--once I got over the disappointment that I'm unable to match your craftmanship.
Thank you
Daju, welcome, glad to hear you are working on the Syren also. Don't be afraid to stick up a build log it is a great way to get suggestions with any problems you may face. I am on a bit of a sabbatical from the shipyard at the moment. Looking forward to getting back to it in a month or two. Feel free to ask me any questions you may have and I will do my best to get back to you. Again thanks to you, Kurt and TKAM for checking in with such great comments :)
 
I just wish my phone hadn't bit the dust. All my pics of Syren were in it and instead of a daily blog with pics I ended up just dumping all the pics at once I had on my computer.
 
Daju, welcome, glad to hear you are working on the Syren also. Don't be afraid to stick up a build log it is a great way to get suggestions with any problems you may face. I am on a bit of a sabbatical from the shipyard at the moment. Looking forward to getting back to it in a month or two. Feel free to ask me any questions you may have and I will do my best to get back to you. Again thanks to you, Kurt and TKAM for checking in with such great comments :)
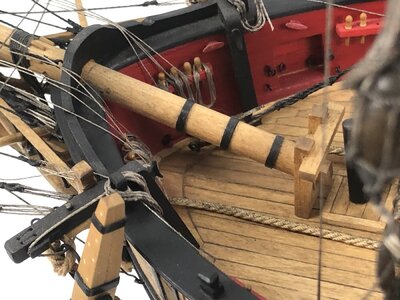
Thank you and hope to see you back here soon. I do have a question for you. The Model Shipways kit instructions and parts say nothing about the multiple timber heads along the port and starboard cap rails--although they are shown in the finished product photos as well in our fellow member Blubeard's project gallery (see photo below). What is your plan to deal with them?


A4ACDFB5-0A53-42BD-889D-65A4A2DB8BB1.jpg
 
Back
Top