-

Win a Free Custom Engraved Brass Coin!!!
As a way to introduce our brass coins to the community, we will raffle off a free coin during the month of August. Follow link ABOVE for instructions for entering.
-

PRE-ORDER SHIPS IN SCALE TODAY!
The beloved Ships in Scale Magazine is back and charting a new course for 2026!
Discover new skills, new techniques, and new inspirations in every issue.
NOTE THAT OUR FIRST ISSUE WILL BE JAN/FEB 2026
You are using an out of date browser. It may not display this or other websites correctly.
You should upgrade or use an alternative browser.
You should upgrade or use an alternative browser.
USCG Harriet Lane for the United States Navy 1859 - Build Log NCC (Navy-Curtis Craft) Scale 1:96 [COMPLETED Build]
- Joined
- Jun 17, 2021
- Messages
- 3,199
- Points
- 588

You did a great job planking yours. I'm installing balsa filler blocks between the bulkheads of my Flying Cloud. So now I have the double trouble of carving AND planking. Plus I'll have to spile (shape) my own planks. It's slow as snake S*** and kind of a nightmare if I think about it too much. 
I hope my clipper hull comes out as nice as your Harriet Lane's. Wish me luck.
I hope my clipper hull comes out as nice as your Harriet Lane's. Wish me luck.
- Joined
- Sep 27, 2022
- Messages
- 240
- Points
- 143

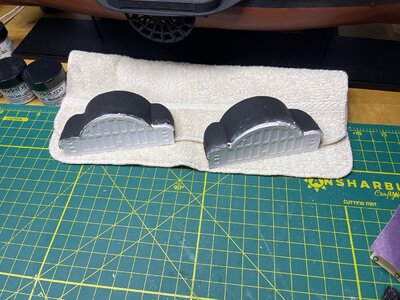
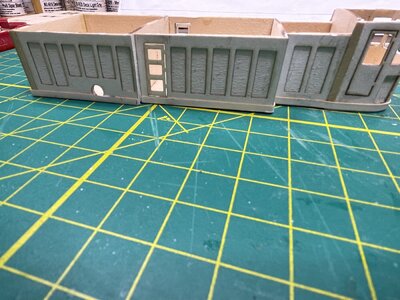
The water closets were tough enough in the shaping, and I don’t think they’re consistent, but I’m OK with how they turned out. Flat black covers everything….
I have read about filler blocks; I am unsure how they are used. Looking forward to the process on your Flying Cloud…
I have read about filler blocks; I am unsure how they are used. Looking forward to the process on your Flying Cloud…
- Joined
- Jun 17, 2021
- Messages
- 3,199
- Points
- 588

In my opinion the bulkheads on all of the POB models I have made were set too far apart to get a fair run of planks. On POF models, as with real wooden ship construction, the frames are so close together as to be virtually touching side by side, assuring that the lay of the planks runs fair fore and aft and snug top to bottom. Filling in between the bulkheads and fairing the filler blocks reproduces this effect (so it says right here) in effect creating a solid hull to work with. But it's a heck of a lot of work and (as with all modeling) the results aren't guaranteed. You can get an idea from what I've posted so far on my build log, but I won't post any more until I get this tedious process complete (and hopefully sanded shaped nice and fair). Then on to planking, the process of which I'm still mulling over and will be dictated by the outcome of the finished shaping of the hull. If I do a good enough job, I should only need one layer of planks. (Fingers crossed)
Pete
Pete
I agree with you, Pete. Most commercially available POB kist come with the fewest bulkheads, but they also come with double-plank layouts. In such a design, filling the entire hull with filler blocks waste of time, IMHO. I would only use filler blocks at the bow and stern (depending on the particular hull).In my opinion the bulkheads on all of the POB models I have made were set too far apart to get a fair run of planks. On POF models, as with real wooden ship construction, the frames are so close together as to be virtually touching side by side, assuring that the lay of the planks runs fair fore and aft and snug top to bottom. Filling in between the bulkheads and fairing the filler blocks reproduces this effect (so it says right here) in effect creating a solid hull to work with. But it's a heck of a lot of work and (as with all modeling) the results aren't guaranteed. You can get an idea from what I've posted so far on my build log, but I won't post any more until I get this tedious process complete (and hopefully sanded shaped nice and fair). Then on to planking, the process of which I'm still mulling over and will be dictated by the outcome of the finished shaping of the hull. If I do a good enough job, I should only need one layer of planks. (Fingers crossed)
Pete
Why hide the process of shaping? I think for the majority members benefit, showing the entire process is crucial, Don't ya think?
- Joined
- Jun 17, 2021
- Messages
- 3,199
- Points
- 588

It's a lot of work either way with no guaranteed final result. I just got used to working over solid cores carved and modeled into a final shape over which to apply a skin. I've been suitably impressed following the double planking over bulkheads processes on this site (there have been several approaches I've seen).
I have as yet to see a post on the lift method or carving of solid hulls. (Not that they aren't here. I just haven't seen them as yet) Really old school, but still valid. I like carving and modeling. I am keeping a record of the whole process for whatever it may or may not be worth. People will let me know what they think when they see it. I don't expect anyone else to use it. I've gotten some positive feedback on my finished models, but like sausage or legislation, how they got made hasn't always been pretty. Using filler blocks on POB models has just been my way of converting what came out of the box into something I can more personally relate to. You show me your entire process and I'll, in turn, show you mine. I've been blown away following the plank on frame models take shape. I love seeing the marvelous work being done that way. That doesn't mean I feel required to stick my toe in that water. I'm not there yet. Whatever method you come up with is fine with me. It all takes the same amount of time, (although some of these modelers are incredibly efficient at it!) care, development and honing of skill involved in getting there.
I have every expectation of following anyone's processes of shaping, forming, engineering, etc. in their pursuit of this craft.
Thanks for the interest! Pete
- Joined
- Jun 17, 2021
- Messages
- 3,199
- Points
- 588

As per the above conversation with Jim, do what suits you best. Develop what you feel most comfortable with. Main thing: enjoy the process whatever direction you take. Your Harriet Lane is coming along beautifully. Hull looks great. Very successful! 
Pete

Pete
- Joined
- Jun 17, 2021
- Messages
- 3,199
- Points
- 588

That's definitely the whole idea!Thanks.... I'm definitely enjoying the process..... Every single day is a learning experience..
BMT
Pete
- Joined
- Sep 27, 2022
- Messages
- 240
- Points
- 143

Some progress is positive, some progress is negative, and some progress is frustrating....
I am not happy with the painting scheme.... Next build a little more time studying different painting schemes....
Not a fan of the soft metal, photo-etched and the use of "card sheet"...
Pictures are worth 1000 words..
BMT
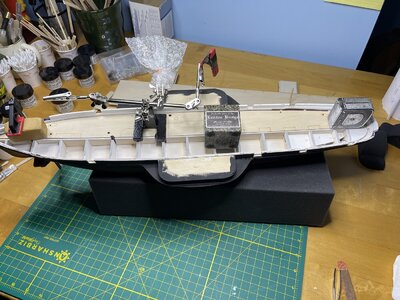
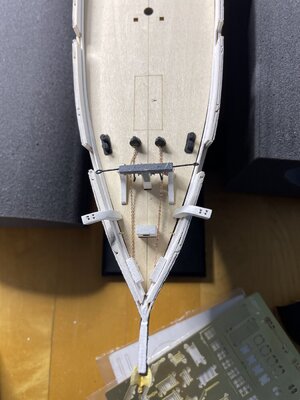
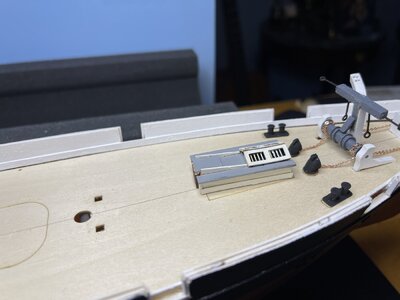
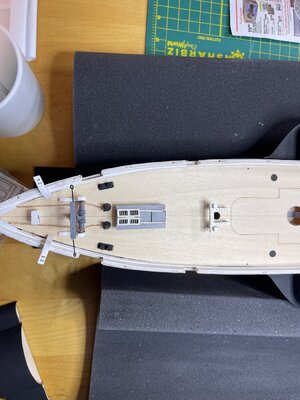
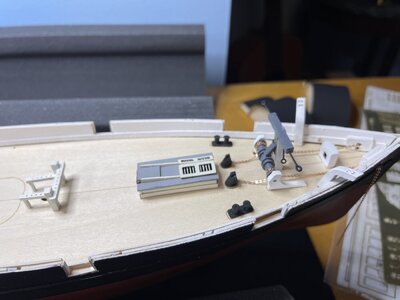
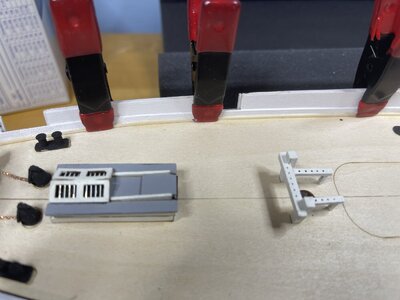
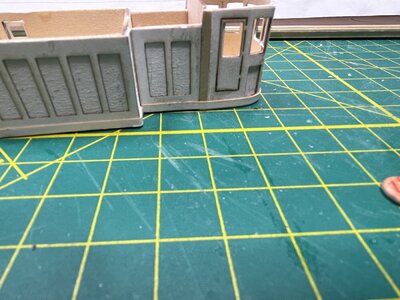
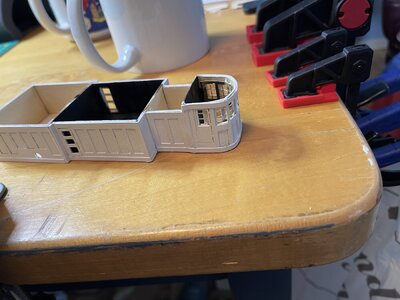
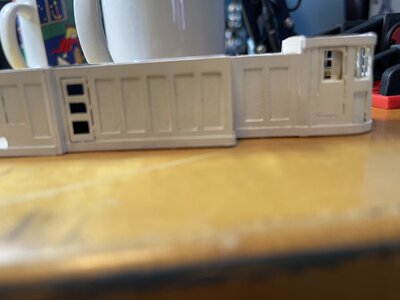
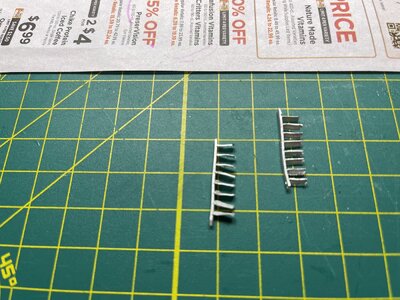
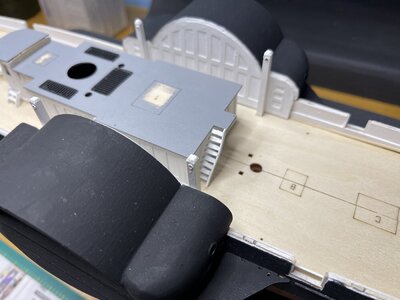
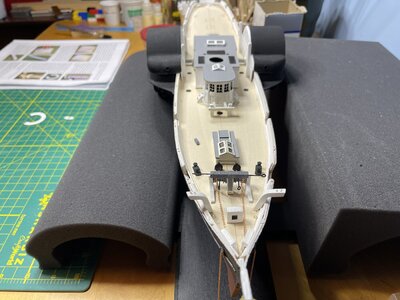
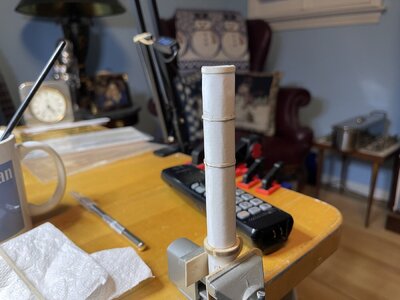
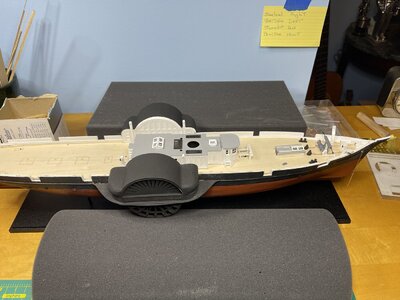
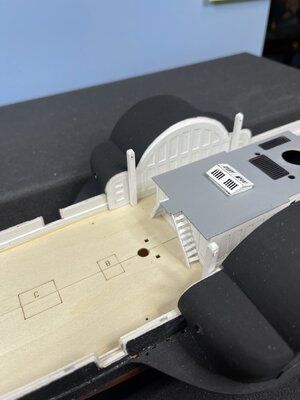
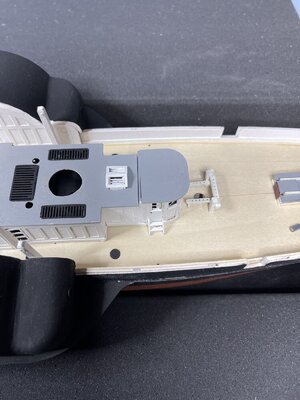
I am not happy with the painting scheme.... Next build a little more time studying different painting schemes....
Not a fan of the soft metal, photo-etched and the use of "card sheet"...
Pictures are worth 1000 words..
BMT


- Joined
- Jun 17, 2021
- Messages
- 3,199
- Points
- 588

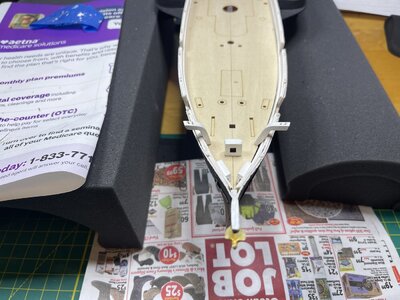
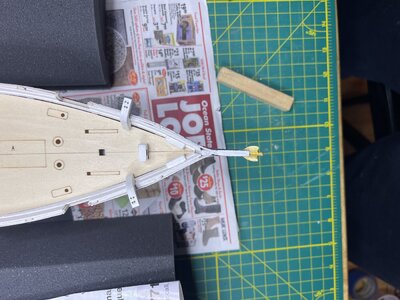
The warped Britannia metal stairs they gave you really Suck! The warpage occurs when pulling the castings from the mold before they have had proper time to cool. But you've dealt with it nicely. As you have done with everything else. I'm wondering how you will deal with the deck planking.
Looking pretty nice. Reminds me of working my way through a lot of the same problems with my little model. I look forward to the next installment. Carry on!
Pete
Looking pretty nice. Reminds me of working my way through a lot of the same problems with my little model. I look forward to the next installment. Carry on!
Pete
- Joined
- Jun 17, 2021
- Messages
- 3,199
- Points
- 588

You've made the process a bit more difficult at this stage, but with patience, it's doable. Make samples first, off the ship, to try out stains and/or finishes, to see what you like best and to get the process in hand, before you commit. You CAN do this successfully. I have painted myself into similar corners and always, somehow, managed to pull my fat from the fire (to mix metaphors.  )
)
(It will be one plank at a time.)
Crack On! Pete
(It will be one plank at a time.)
Crack On! Pete
- Joined
- Sep 27, 2022
- Messages
- 240
- Points
- 143

We'll see how doable it is ( not sure). I've already looked at some stains. That's my weekend project. Keep you posted...BMTYou've made the process a bit more difficult at this stage, but with patience, it's doable. Make samples first, off the ship, to try out stains and/or finishes, to see what you like best and to get the process in hand, before you commit. You CAN do this successfully. I have painted myself into similar corners and always, somehow, managed to pull my fat from the fire (to mix metaphors.)
(It will be one plank at a time.)
Crack On! Pete
- Joined
- Jun 17, 2021
- Messages
- 3,199
- Points
- 588

Just a matter of patience, my friend, with the model and, above all, yourself!

Pete

Pete
- Joined
- May 25, 2020
- Messages
- 1,131
- Points
- 443

Haven’t posted in a while been traveling, and some other odds and sods…
Primed and ready to go for hull painting.
BMTView attachment 402856View attachment 402857View attachment 402858
Ahoy, BMT! Your hull looks like it turned out very well indeed!
- Joined
- May 25, 2020
- Messages
- 1,131
- Points
- 443

I'm a few steps behind you on this build and I think you can help me solve some problems I created. When it came to attaching the outside upper bulwarks there was a joint amidships that I managed to glue in with a significant dip like a flattened V with the arms immediately above the slot for the sponson attachment. I noticed this problem after planking. I increased the bulwark height at that point and sanded until it looked like I had a smooth run. Now, looking at the instructions for sponson attachment, I'm not sure whether the sponson tops should be even with or 1/32nd short of bulwark height.View attachment 408043View attachment 408044View attachment 408045View attachment 408046View attachment 408047View attachment 408048It’s been some time again!
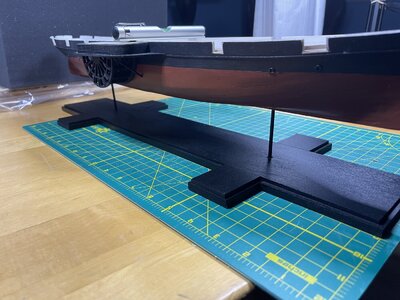
Hull and waterline finished. I'm not happy with ModeExpro Hull Spar Black or Hull Copper Red, as suggested. I should have used Lamp Ebony by DecoArt (flat) and perhaps their Copper.
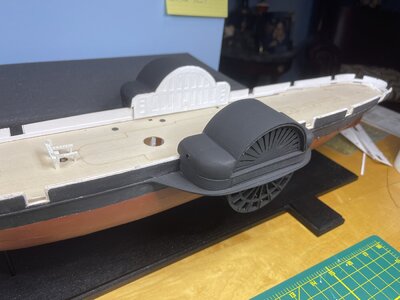
Showing progress with the sponson sections, water closets , and paddle box sections as they are painted (Lamp Ebony), and sponsons with paddles/hubs are attached.
Water closets need major sanding and shaping. This was my first significant sanding and shaping project, and I think they came out OK. There was some fill in the cracks with some plaster, and then panted.
The next step will be the base, which I will spray flat black so it doesn’t take away from the boat.
Happy Thanksgiving, to those in the States!
BMT
- Joined
- May 25, 2020
- Messages
- 1,131
- Points
- 443

My comment is based on whether you have already attached things to the deck permanently. If you haven't, don't. I entirely agree that the deck should be planked. Since you have the kit supplied deck aboard already, think of it as a false deck and plank over it with 1/32 strip. If you have already attacked everything, remove all of the small stuff - even if you damage it in the process. Then, sand out and imperfections created and plank over the decks. My thought would be to leave the pilot house and pull every thing else. The great think about wooden kits is you can always make partsI have been doing some soul-searching. Thinking about laying some planking thinking about perhaps trying to stain it. Should’ve done more soul-searching before I started on the deck….
BMT
Good luck!
Chuck
- Joined
- May 25, 2020
- Messages
- 1,131
- Points
- 443

Pete's right! Grace for yourself and your ship. Take the time to make it how you want it to look even if it seems like you just added a month to your project.Just a matter of patience, my friend, with the model and, above all, yourself!
Pete

