USS BONHOMME RICHARD - POF - Cross Section in Cherry - 1:48 - by neptune,

Hallo John,
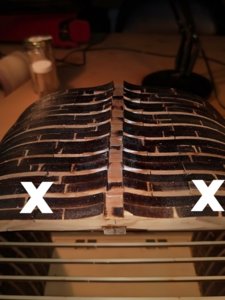
very good idea with the additional chocks along the outside at the end of the frames. I am pretty sure, that, if the chocks are strongly fixed with the frames, you will have a stabile and stiff connection between the frames. But you will have "only" three connections with keel and the chocks on both sides at the end of the frames.
(red arrows)
With this the frames can slightly move during sanding, because of some torsion (green arrows)
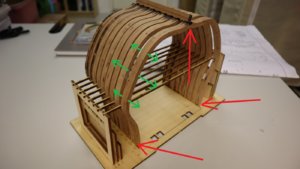
IMG_408611.jpg

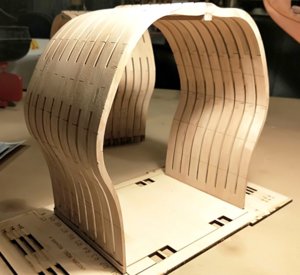
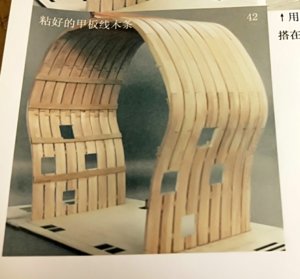
I will try with the original idea by the kit producer, with these temporary spacers - As I understood it correctly, these small strips laying on top of the jigs in three levels, should be glued between the frames in order to get the frames of the section rigid
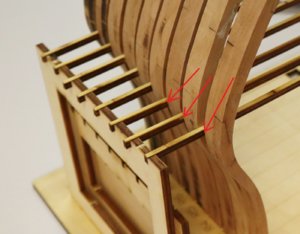
IMG_40861.jpg

Maybe you should combine your chock with these three levels or maybe one...
 
34.jpg
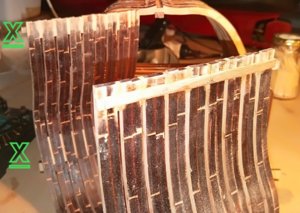
G'day Uwe, I think you misunderstood me, I glued chocks across the keel between the
frames and also approx halfway down the frames and also in the ends of the frames,
then I also glued a strip of wood across the frame tops, see next pic,

35.jpg
to the right of the green cross you can see the chocks at the middle of the frames and at the top,

.
 
View attachment 114351
G'day Uwe, I think you misunderstood me, I glued chocks across the keel between the
frames and also approx halfway down the frames and also in the ends of the frames,
then I also glued a strip of wood across the frame tops, see next pic,

View attachment 114353
to the right of the green cross you can see the chocks at the middle of the frames and at the top,

.
Sorry, the chocks at the middle of the frames I did not realize - thanks for the clarification - this will work -> definitely :cool:
 
37.jpg
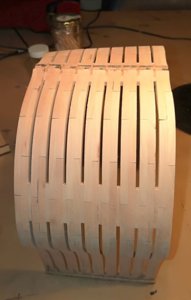
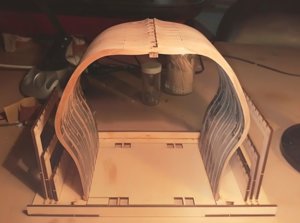
The first section after I have sanded the outside of the frames, in this pic
you can see the rising of the floors,

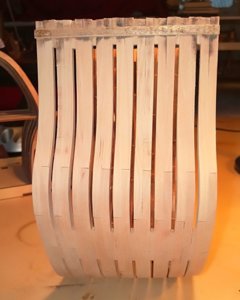
38.jpg
Side view,

39.jpg
Because I filled in the tops of the frames with chocks I had to modify the jig so I could
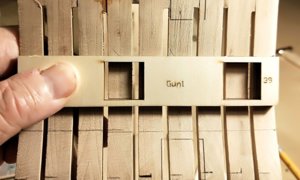
get the section back in for marking the deck levels etc, this is how the jig is supplied,


40.jpg
and all I did to modify it was to cut out the tabs,


41.jpg
and the section sitting back in the jig,


42.jpg
both sections still need to sand them,

.
 
43.jpg
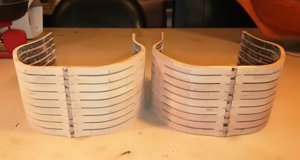
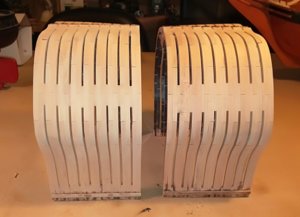
Well that's the outside of both sections sanded, I just have to remove that top strip and clean up along the
top of the frames,

44.jpg
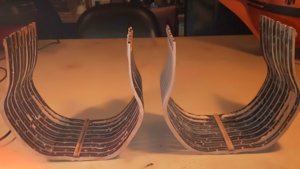
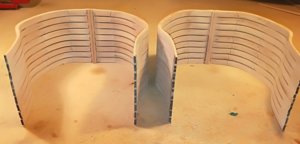
both sections back to back,

45.jpg
Everything seems square, fingers and toe's crossed,

46.jpg
Just the insides to do now,

.
 
Last edited:
John,firstly,great work
I have had a mad thought,is it feasible to turn one section round and join the two together making one extralong section o_O
Some parts would be redundant but it would make for an impressive model

Kind Regards

Nigel
 
John,firstly,great work
I have had a mad thought,is it feasible to turn one section round and join the two together making one extralong section o_O
Some parts would be redundant but it would make for an impressive model

Kind Regards

Nigel
G'day Nigel, thank you for the nice comments, when I first received the kits that did cross my mind, Isaw on the net where a Russian guy had an extended version with half of the ships boat included but I think that was a scratch build, the problem with doing it with these kits is that both sections taper, I suppose if I had some more cherry sheets I could extend them, but I think for now I will just build them as they are.

best regards John.
 
IMG20191005181939.jpg
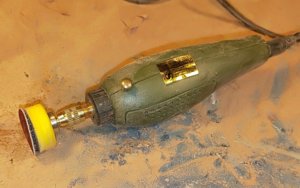
This small drill with the pads attached on the end really helped me with cleaning up the inside of the frames,


IMG20191005182257.jpg
Both frames finished on the inside just need a light sanding, I wasn't going to do anything today but when we
got back from lunch with the family Maureen wanted to have a bit of a nap so I took advantage and finished
sanding the inside of the frames, I'm glad that is out of the way now,


IMG20191005215227.jpg
I also marked out the gun port positions, the top of the frames have to have a sanding yet,


IMG20191005215259.jpg


IMG20191005230733.jpg
I also marked out the deck levels on the inside of the hull,


IMG20191005230821.jpg
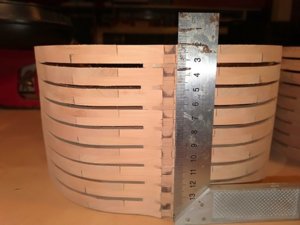
At the moment I an trying to work out what size these four timbers are, I think they might be 7x3mm,
have you got any ideas what size they are Uwe,

.
 
Back
Top