- Joined
- Nov 27, 2024
- Messages
- 102
- Points
- 88

I haven't been on much the past 2 months, so I'm catching up. It's looking fantastic! Just for my own edification, are the port lids functioning or fixed?
 |
As a way to introduce our brass coins to the community, we will raffle off a free coin during the month of August. Follow link ABOVE for instructions for entering. |
 |
 |
The beloved Ships in Scale Magazine is back and charting a new course for 2026! Discover new skills, new techniques, and new inspirations in every issue. NOTE THAT OUR FIRST ISSUE WILL BE JAN/FEB 2026 |
 |


The port lids are fixed, they are not functioning.I haven't been on much the past 2 months, so I'm catching up. It's looking fantastic! Just for my own edification, are the port lids functioning or fixed?


Thank you.Hey Mustafa,
that looks really great. Nice work.
Cheers, Günther.

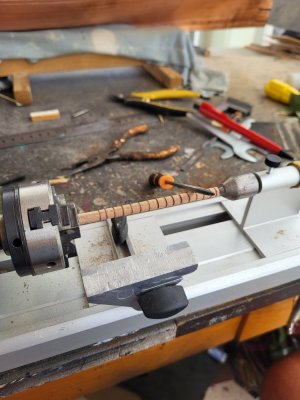
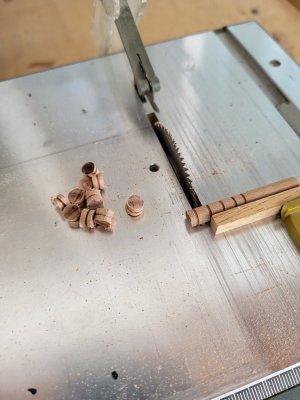
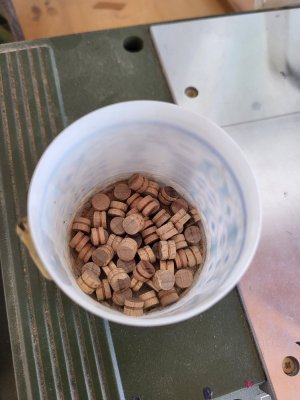
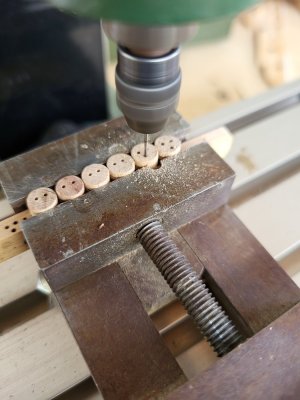
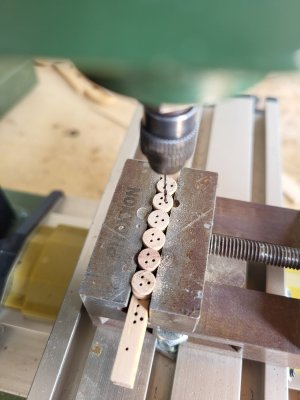
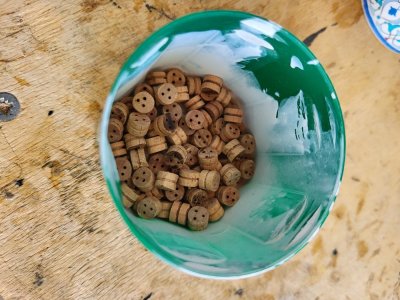
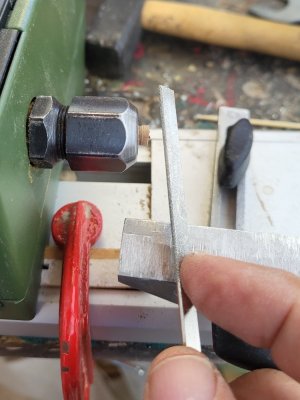
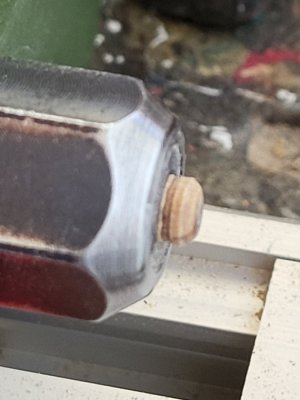
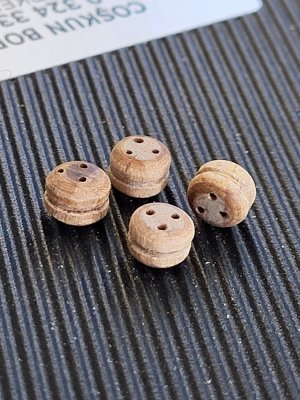


A simple and effective idea,After this step, there are a lot of small parts like deadeyes and blocks that need to be sanded clean, so I made a simple sander to make the job easier. You just drop the parts in, turn the sander with a motor, and they come out clean and sanded.
View attachment 541451
View attachment 541452
View attachment 541453

You are welcome Shota. Sanding and cleaning these tiny pieces one by one would be very laborious. With this sander, it's possible to sand and clean many small pieces at once in 15-20 seconds. I used it before, it works well. It may work even more effective if the inner surface of the drum is covered with sandpaper.A simple and effective idea,
well done my friend, thank you for sharing.

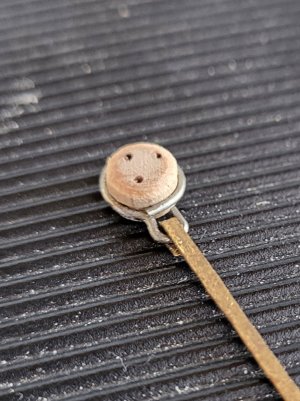
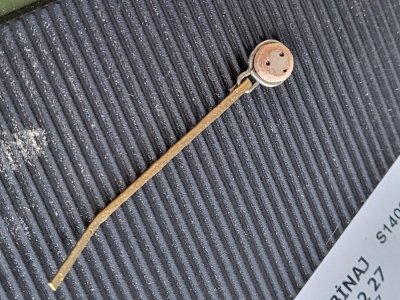
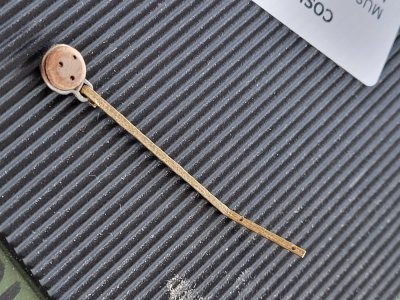
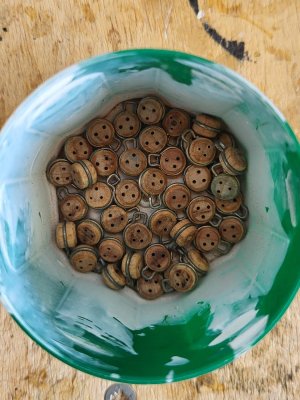

Thanks for following. This is my fifth scratch-built sailing ship model. I've made the deadeyes myself for all of them. I considered buying them this time, since it's such a tedious and repetitive process, but I motivated myself to make them by hand again because I knew I'd regret using pre-made ones later. I've never used any pre-made wooden parts in my models before. For this build, the only ready-made components I used were the brass cannons and berth deck portlights, as I lack the experience and equipment to fabricate certain metal parts from scratch.It's been a while since I've come to check on the project and I just want to say that it looks great, and I can't wait to see how it turns out in the end.
How'd you come to the decision to make your own deadeyes instead of buying them ready-made? Just asking for future reference.



Thank you my friend. I try to stay away from soldering as much as possible.I like your approach to the chainplates. Looks a lot more clean than the kit option.
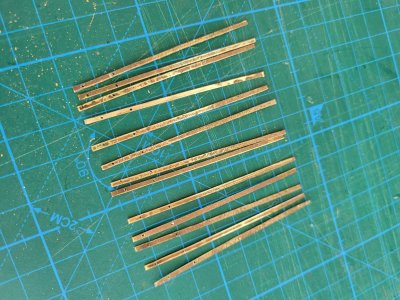
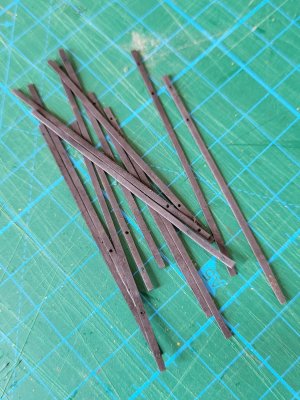
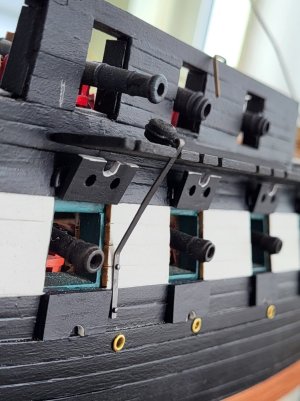
Hi Mustafa, beautiful work as always. How did you cut the strips from the thin brass sheet?I gave up on making the chain plates from brass wire because I'm not very good at hammering 1mm thick brass wire into flat strips. The strips don't come out very smooth. Instead, I cut 1.5mm-wide strips from 0.4mm thick brass sheeting I had on hand. After cutting the strips and drilling the bolt holes, I chemically blackened them. I haven't decided yet whether to settle for blackening or paint them black as well. I mounted a deadeye onto the pre-made chain plate and mounted it in place as a test. I used some black 0.6mm diameter nails I had on hand. I haven't glued it in yet.
View attachment 542473
View attachment 542474
View attachment 542475
