• Ships of Scale has incorportated an extra level of security when you log In. Please follow on-screen prompts to acknowledge that you are not a robot via a "Check Box" or a "Pictorial Check Box Puzzle". This is needed due to higher level of AI Activity Security.
  • SUBSCRIBE TO SHIPS IN SCALE TODAY!

    The beloved Ships in Scale Magazine is back and charting a new course for 2026!
    Discover new skills, new techniques, and new inspirations in every issue.

    NOTE THAT OUR NEXT ISSUE WILL BE July/August 2026
  • Win a Free Custom Engraved Brass Coin!!!
    As a way to introduce our brass coins to the community, we will raffle off a free coin during the month of August. Follow link ABOVE for instructions for entering.

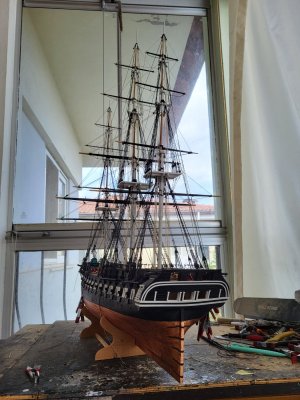
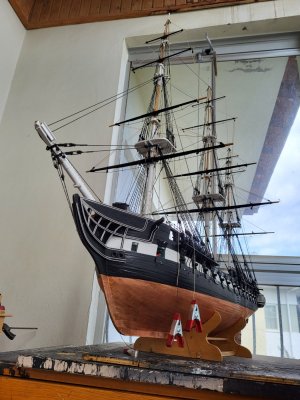
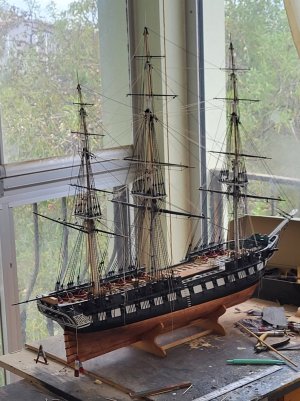
USS Constitution 1:70 Scratch

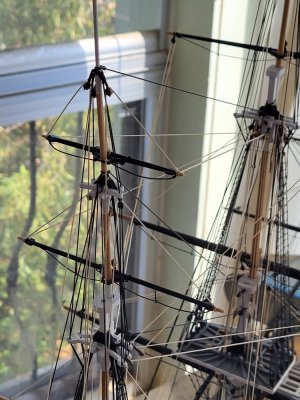
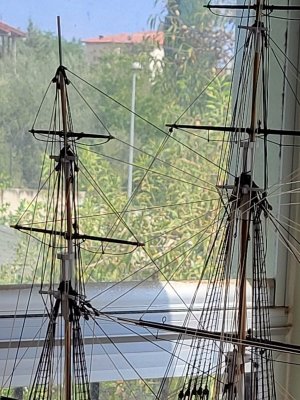
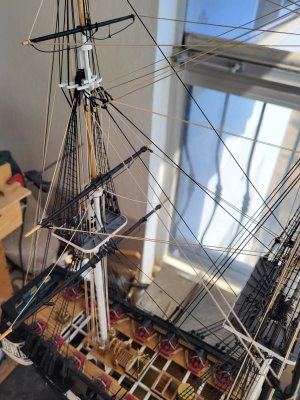
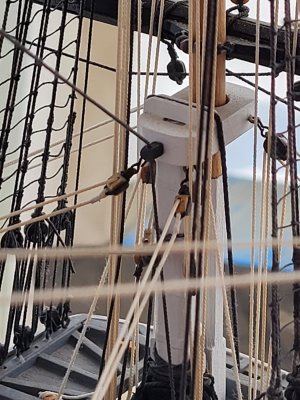
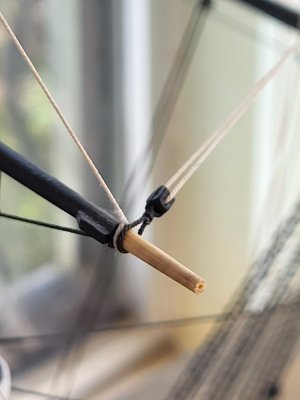
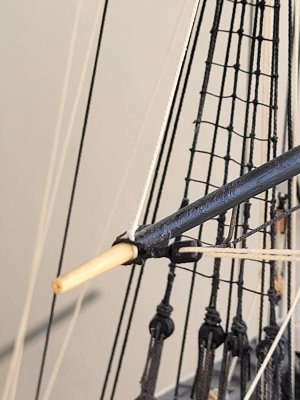
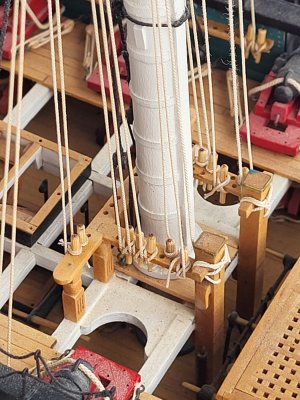
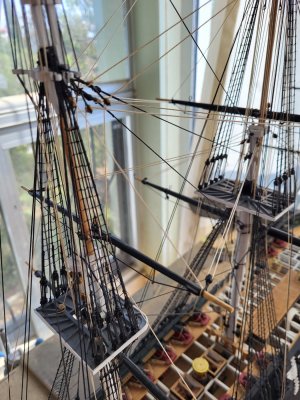
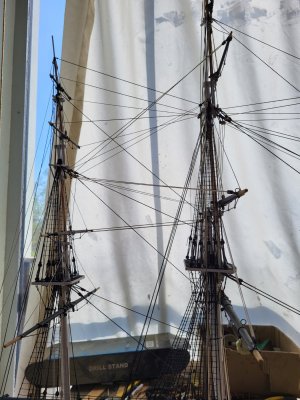
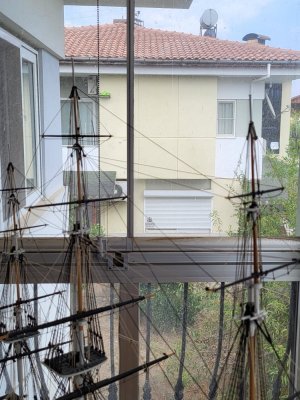
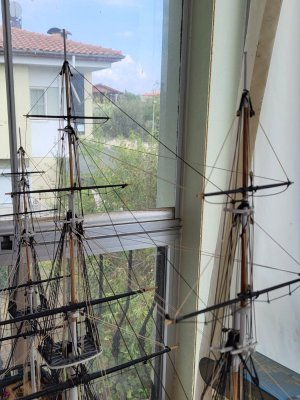
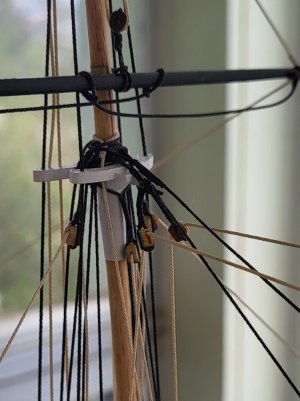
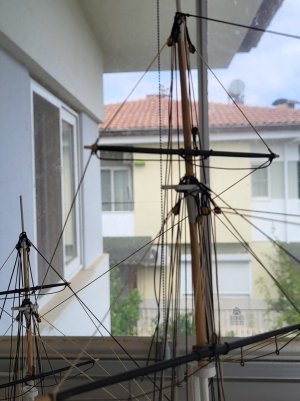
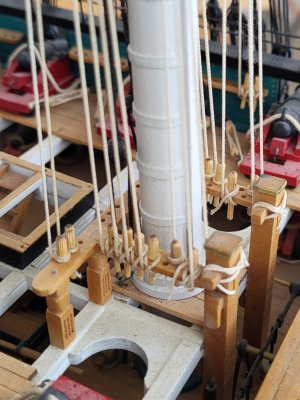
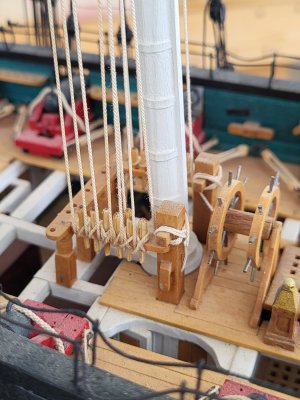
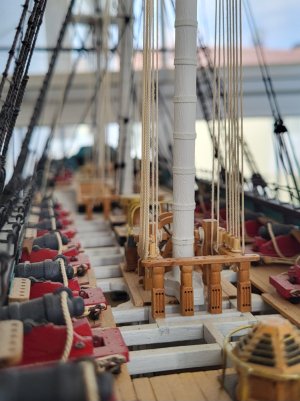
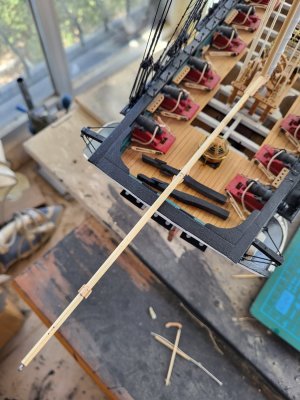
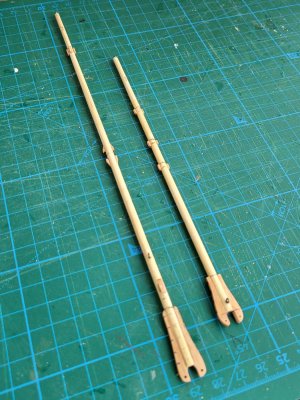
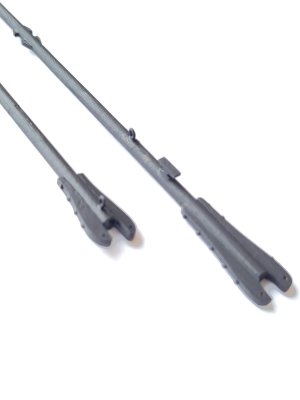
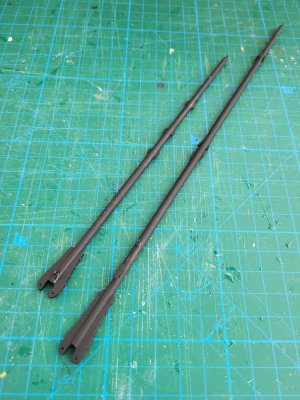
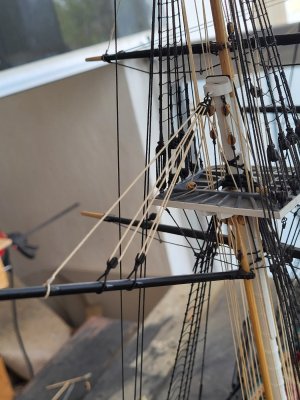
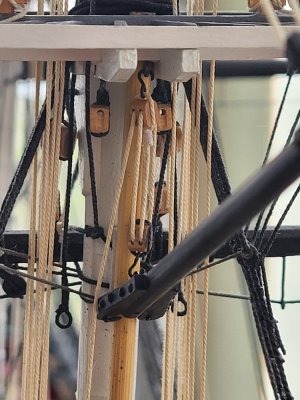
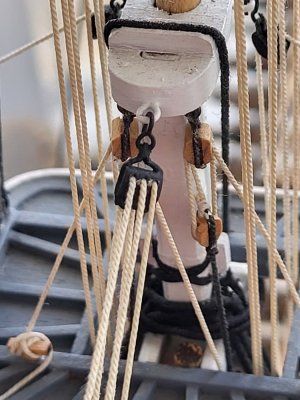
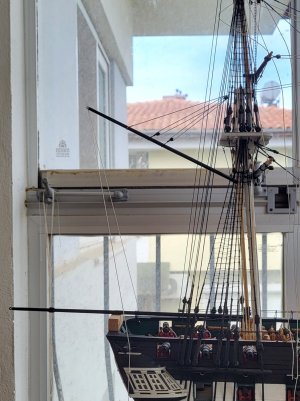
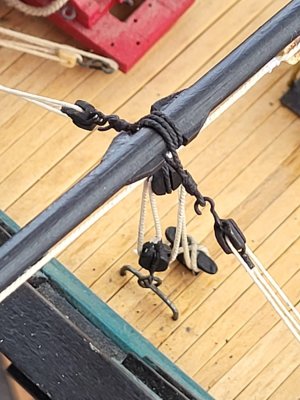
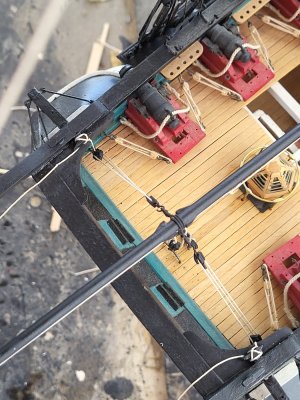
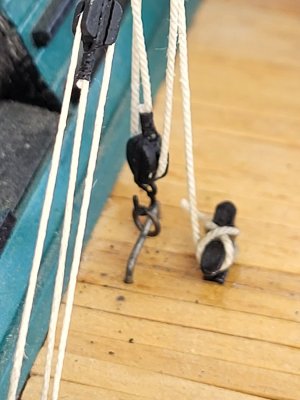
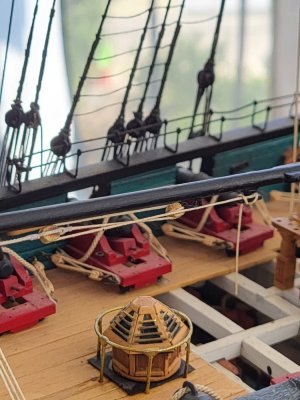
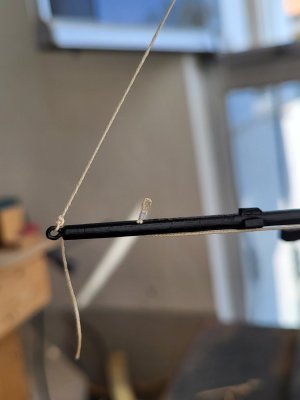
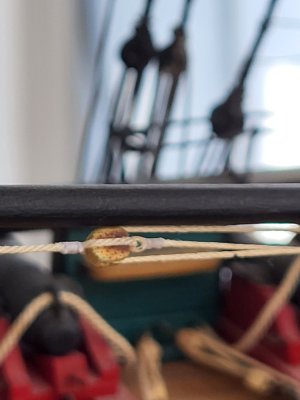
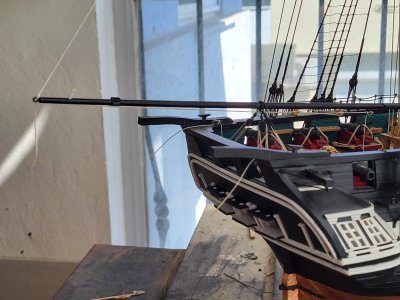
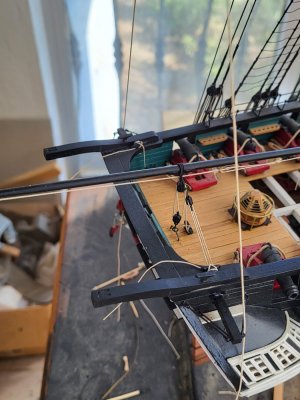
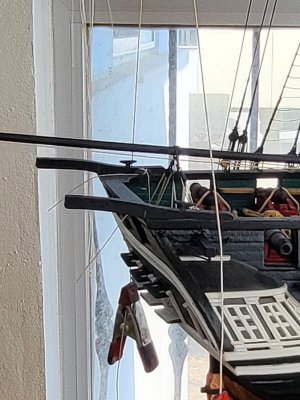
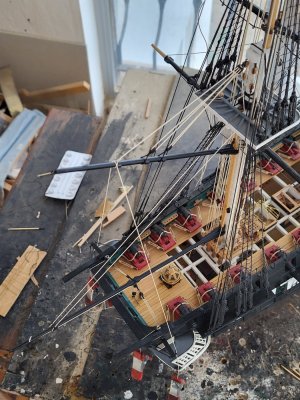
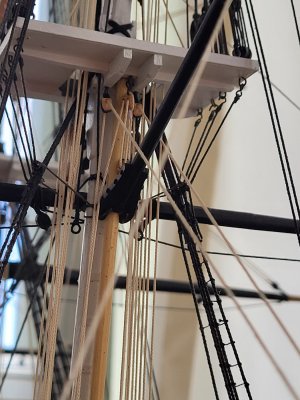
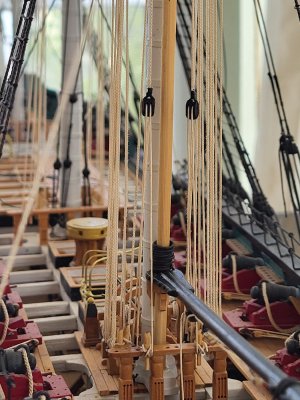
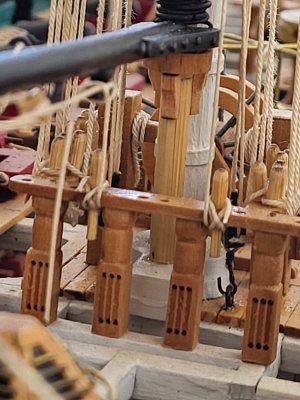
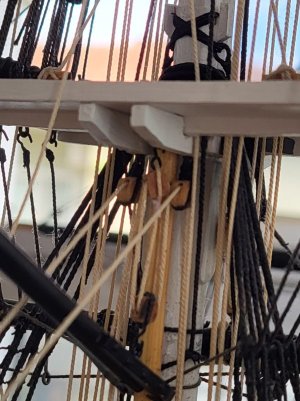
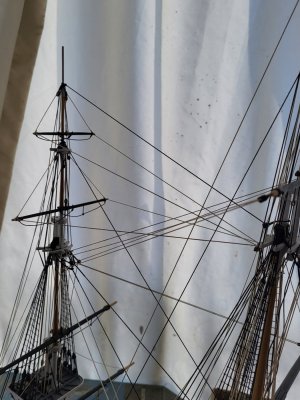
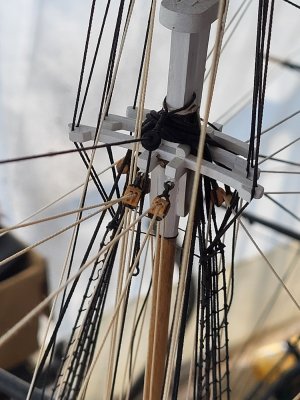
The mizzen royal and topgallant yard braces are now rigged. There are no blocks on these yards for the braces. The standing ends are secured to the ends of the respective yards, while the running ends pass through double blocks previously attached to the aft side of the main topmast trestletrees. From there, the brace lines run down to deck level and are belayed to the pins on the main fife rail.
20260924_134235.jpg

20260924_134308.jpg

20260924_134454.jpg

20260924_134526.jpg
 
You're on the home stretch now, Mustafa! While I continue to get sidetracked with research into pesky details, you just march along. One of those details may be addressed in on of your next posts, as I'm considering the construction of the stern bumpkins

Impressive, excellent workmanship as always..
 
You're on the home stretch now, Mustafa! While I continue to get sidetracked with research into pesky details, you just march along. One of those details may be addressed in on of your next posts, as I'm considering the construction of the stern bumpkins

Impressive, excellent workmanship as always..
Instead of focusing on whole detail, I prefer to concentrate only on the next step. That way, I don’t let the work become tedious. I also make the necessary parts or materials only when I need them, which keeps me away from repetitive, boring tasks. My advice to you would be to fix the masts in place right away, attach the shrouds, and start the rigging. As they say, starting is half the battle and rigging is actually much more enjoyable than you might think.
 
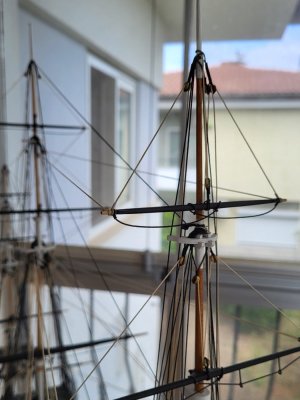
The brace lines for the mizzen topsail yard are now complete. The standing end is secured to a single block attached to the cap at the top of the mainmast. From there, the brace runs through a single block on the yard, returns to the block on the cap, and then leads down to the deck, where it is belayed to a pin on the main fife rail.
20260925_115930.jpg

20260925_115901.jpg

20260925_120022.jpg

20260925_115957.jpg

20260925_120041.jpg

20260925_120109.jpg

20260925_120200.jpg
 
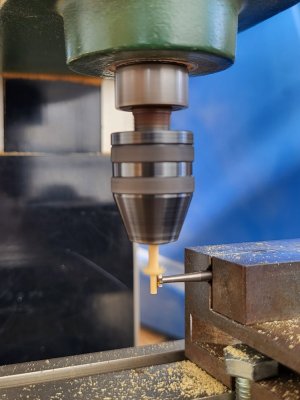
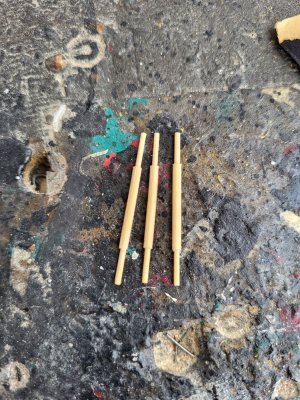
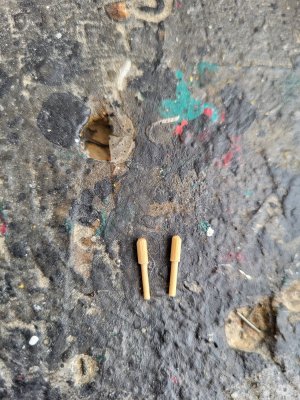
I’d also like to show how I made the belaying pins. Hopefully, this will be useful not only to those following this build log now, but also to anyone who may come across it later.

Once again, I made good use of the capabilities of my MF70 milling machine. The only difference this time was that I clamped the milling cutter in the vise and kept it stationary, while mounting the piece of stock in the rotating chuck.

So, in effect, I used the milling machine as a small lathe.

This is a very useful little trick, and it can be used not only for making belaying pins, but also for machining various other small parts.

20260921_103836.jpg

20260921_104019.jpg

20260921_105337.jpg
 
Hi Mustafa, since you seem to be online at the moment, could you please take a closeup picture of the aft end of the base of the main mast? I'd like some clarity on the arrangement on deck for the mizzen stays. I'm thinking there are a total of nine eyebolts (or six and three "hearts"(?)". The three on the aft end of the mast are the ones I am most concerned about at the moment. I want to make sure I'm not overlooking anything before I glue in the main mast.
 
Hi Mustafa, since you seem to be online at the moment, could you please take a closeup picture of the aft end of the base of the main mast? I'd like some clarity on the arrangement on deck for the mizzen stays. I'm thinking there are a total of nine eyebolts (or six and three "hearts"(?)". The three on the aft end of the mast are the ones I am most concerned about at the moment. I want to make sure I'm not overlooking anything before I glue in the main mast.
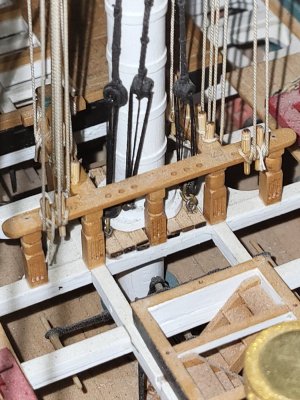
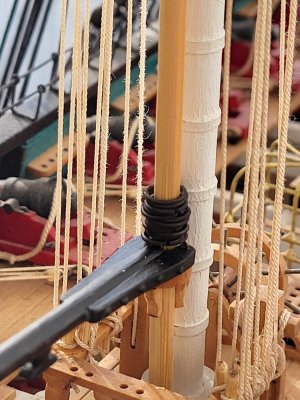
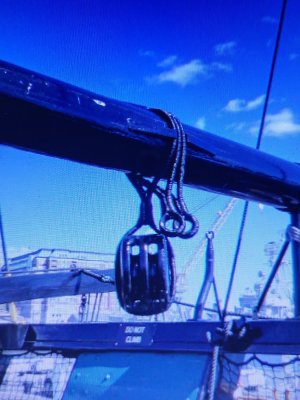
Peter, as you can see in the photo, I installed only three eyebolts on the aft side of the mast because I won’t need any more. If you look closely, you’ll notice that I had to shift the middle eyebolt toward the port side because the space between the fife rail and the mast is very tight. However, that was my own mistake. The eyebolt should normally have been positioned right in the center. You may not run into this problem on your model.
20261001_210506.jpg
 
Thank you, Mustafa. That's exactly what I needed to see.
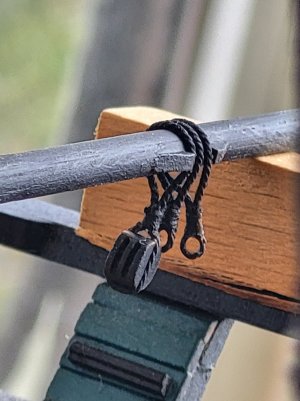
I have more room between the mast and the fife rail, so thankfully, I won't run into that problem. I'm glad to see that it's just a matter of installing eye bolts. I saw in the plans the other six, and I'm thinking about installing them as well, even if I don't end up using them. It's easier to do it without the mast and fife rail in the way.
 
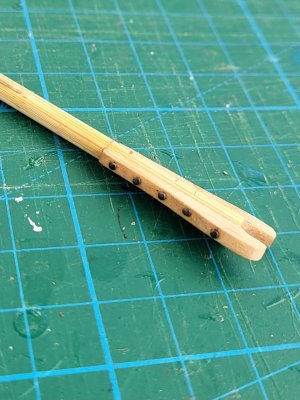
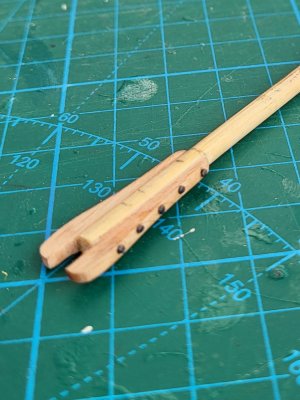
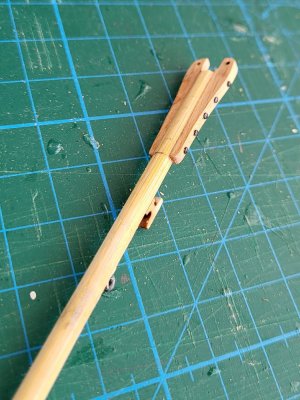
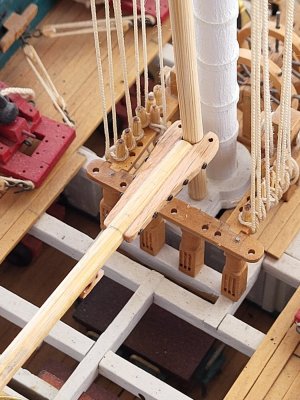
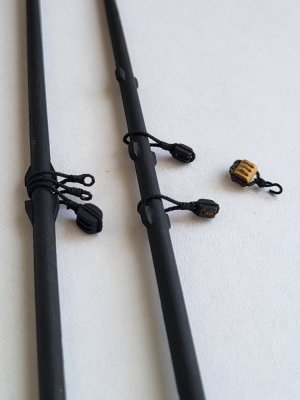
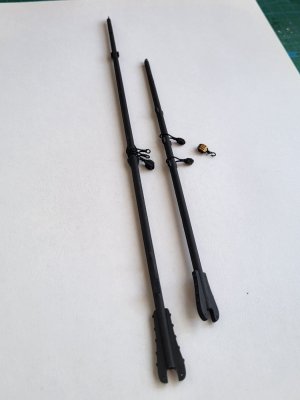
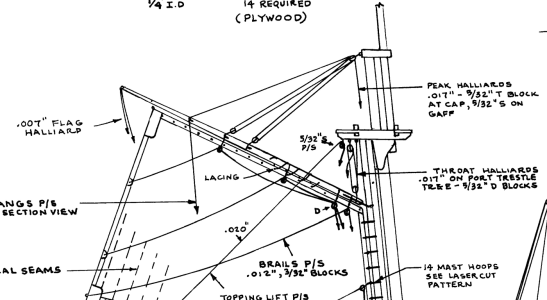
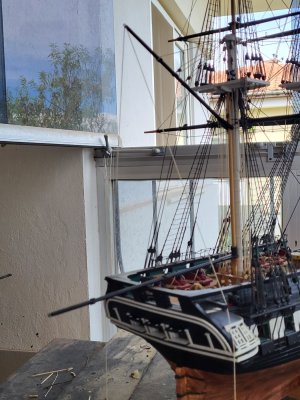
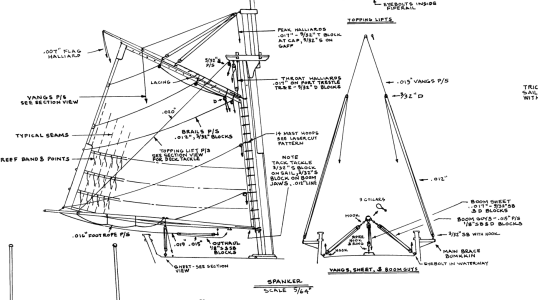
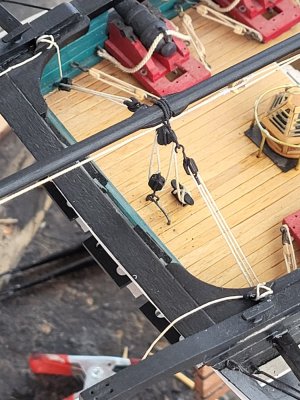
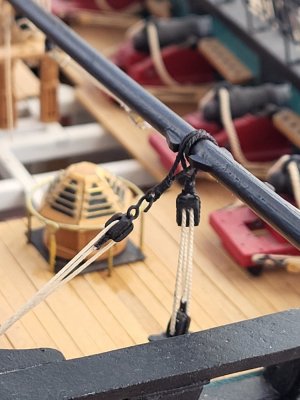
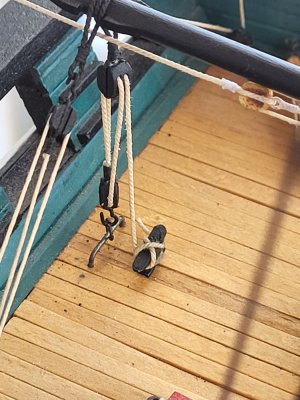
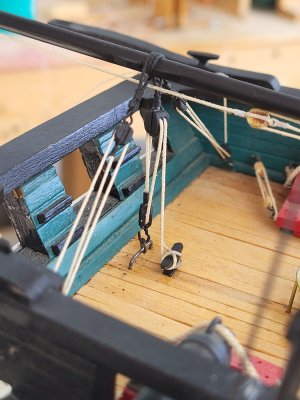
The spanker mast, boom and gaff are now in place. The gaff has been rigged with both the peak halliards and the throat halliards.

For those building the Constitution, I’d like to remind you that before securing the mizzen fighting top, you should install an eyebolt on the crosstree beneath the top for the throat halyard and mount a single block on each trestletree for the topping lift. Once the fighting top is fixed in position, adding these fittings becomes extremely difficult.

1791050669236.png


20261003_134031.jpg

20261003_133919.jpg

20261003_134417.jpg

20261003_134116.jpg

20261003_134852.jpg

20261003_135134.jpg

20261003_134051.jpg

1791050355792.png
 
Last edited:
Back
Top