• LUCZORAMA SHIPWRECK SCAVENGER HUNT GIVEAWAY. 4 Weeks of Fun • 1 Legendary Prize ((OcCre’s Fram Ship)) • Global Crew Welcome!
    **VIEW THREAD HERE**

USS Constitution by Model Shipways. - First Build Log

Hey, rturic,
Okay, I understand. I'm curious to see what happens next.

Cheers
Günther Ship-1
I could do a couple things....1. I could sand it down to lighten it up and then apply a possible gray wash to offset it, 2. I can keep as is and put the rivets in the inner bulkheads and tape it off and paint to green, 3. I could paint it without treating it like a stain and skip the wiping, or 4. sand it down so I can get it as light as possible without going through the deck, lol...and
I didn`t stain the deck. I just varnished it. I am happy with the result.

Jack -
I think the varnish made it look great. I almost did the same thing, but for some reason the voice in my head said to go darker and maybe because in Bob's Practicum he went dark using the roofers brown and grimy black paints mixed and wiping it down and treating it like a stain. Because it looked really good being that dark, that's probably the catalyst for my decision. I think I'll do something tonight because I'm still waiting for the rivets to come in.
 
If I may give you some advice,
you have to decide whether you want to build it as it is currently on display, or whether you really want to build it for yourself.
But then you should also think that it's the most beautiful thing you've ever built and that's how it should look.

My personal approach would be to definitely sand down the deck to make it look clean. Then you have a new base and can decide whether to go lighter or darker and, above all, whether you want a nice, clean finish.....

Cheers
Günther Ship-1
Thanks Gunther, I appreciate the advice...definitely gives me something to think about.
 
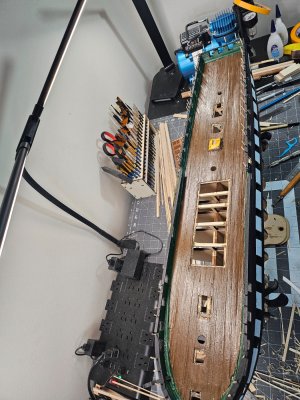
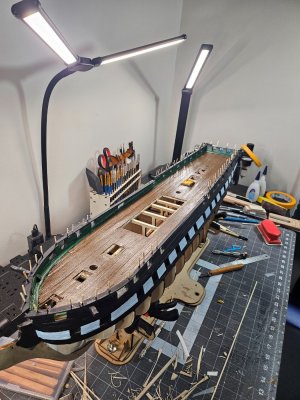
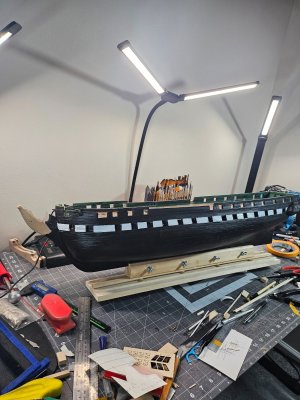
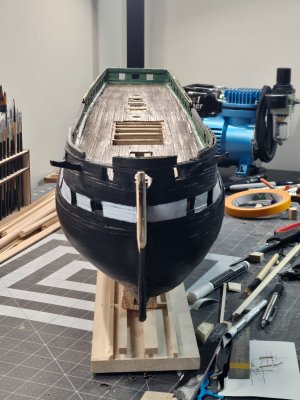
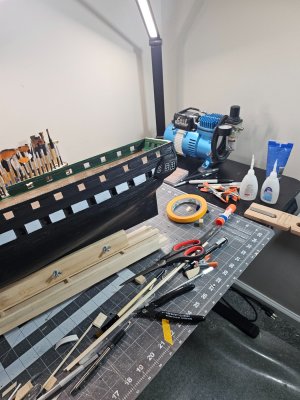
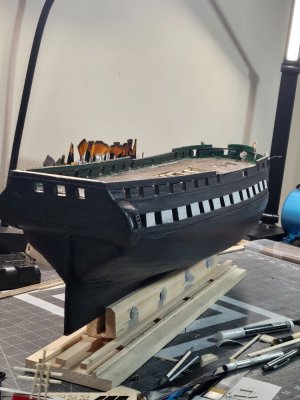
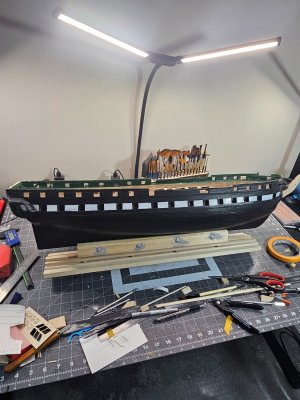
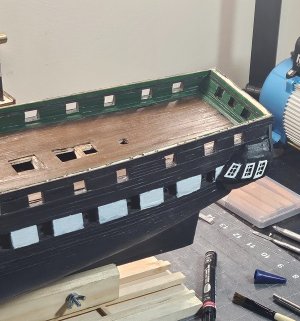
So, I finally decided to take some advice from the experienced folks, and glad that I did. I sanded everything down and then applied the earth brown, which was medium in color, not light, but not too dark. Then I applied a gray wash to it and that made a huge difference and pretty much exactly what I wanted. Then I sealed it with Minwax Polycrylic that was recommended in Hunt's Practicum. Together it brought out the definition of the deck with the weathered look as well. I am very pleased with how it turned out. Afterwards, I taped off the area and painted the interior bulkheads with green and now it looks even better. I did not take photos with the green touched up but will include them in the next batch. I decided to forego the rivets. I followed the directions and just had a difficult time getting them in. First, these rivets are super tiny. Second, after a while, my hands are not steady enough for manipulating something that tiny. Last night I started the main rails. I also had to order more planks 3/64 x 3/32 after running out, once again proof that the kit does not have enough wood for certain areas. Model Expo will send me a batch, and I also ordered some online because Model Expo can take up to a couple weeks and I don't want to wait that long, but at least I'll have extra. The wood should be here tomorrow, so in the meantime, I've been building the entire rail from the transom to the bow. The practicum skips over a lot in this section with the understanding that the modeler has enough knowledge and experience at this point to finish the rest on their own. I'm ok with this, if you can build the portion that is in the practicum, then you should be able to finish the rest of it. Otherwise, it's likely redundant anyway...

20250614_184248[1].jpg20250614_184253[1].jpg


20250614_184305[1].jpg
 
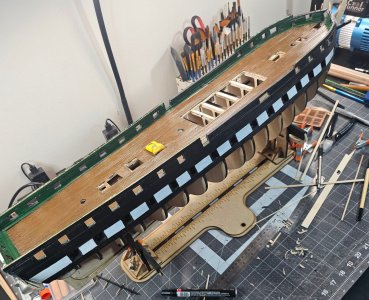
Oh, before I forget, I am reworking the hatch coamings. I originally stained them in a mahogany color, but I think it's too dark and too close to the color of the deck, so I will keep those light and varnish them. In most pictures they are all light and some have the tops light and the sides like a dark mahogany. Keeping them, light will better contrast the coamings and the deck.
 
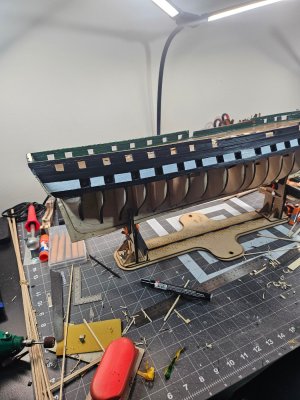
As promised, the pics showing the deck being done and thr green bulkheads cleaned up. I'm happy with how it turned out. You can slap see I started the main rail and the prep work foe the extended bulkheads around the ship. My wood for the bulkheads comes in today after being delayed, so I did several steps ahead and only need to add the planks. After I fin8sh painting, then this chapter in the practicum will be complete...finally. OBTW, no one seems to sell square toothpicks anymore to meet the size prescribed in the practicum of 0.42. I ended up using my scraps and carving them out of the scraps. I mean it works...and just support for the planks going on top of the main rail and then the lips get popped off like the bulwarks earlier in the build.
20250619_062539.jpg20250619_062546.jpg
 
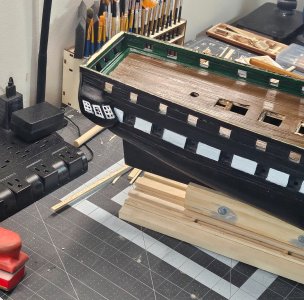
Finally, I installed the rails. The wood size used for the main rail imo seems too narrow. This is an issue I've been seeing in my kit to the point that I've ordered wood online and the quality and amount seem much better. I don't know how often each kit is reviewed for updated or upgrades, but I think the wood really needs to be evaluated and updated. Anyway, I found a shortcut to the main rail and part of that is driven by the fact that the toothpicks used are not square. Many retailers have the standard round and if the square were 0.42 recommended for the rail in the practicum, I started trimming them down and then felt it was more of a pain to deal with. What I started to do was after installing the rail, I could edge glue two sets of planks, one painted black and the other green. I then trimmed them to the size needed and soaked some if they needed to be bent. I used a wood strip that was 1/32 x 3/32 and glued that instead in between eac20250620_061850.jpg20250620_061852.jpg20250620_061859.jpg20250620_061904.jpgh planks strip and then I would glue it in the center of the rail and that created the 1/32 lip on each side that you could actually see. This was way better than using toothpicks in between. So, I ended up cutting off the toothpicks and did it the new way and it met the 1/32 spacing prescribed by the practicum for each side of the rail.
 
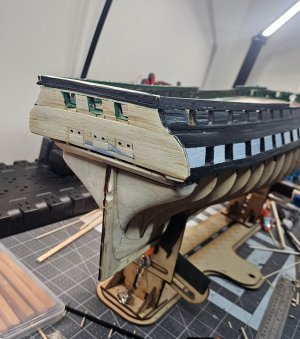
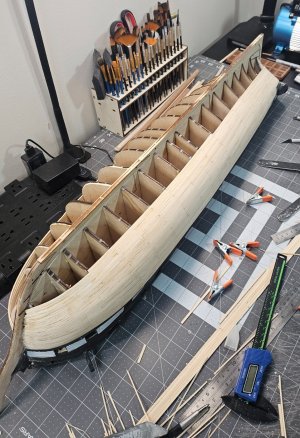
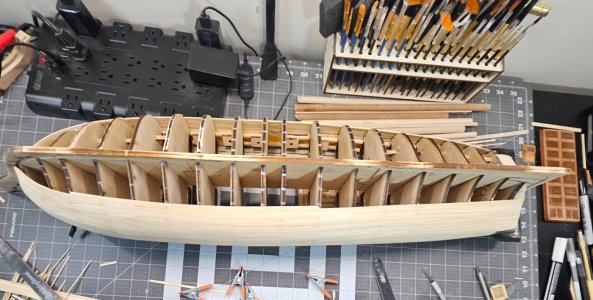
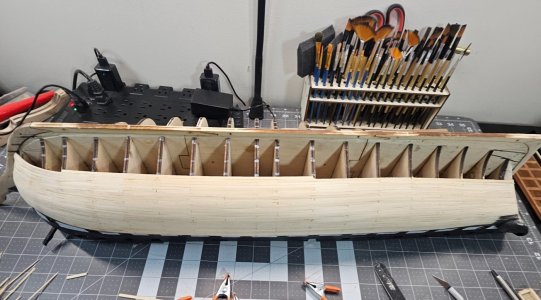
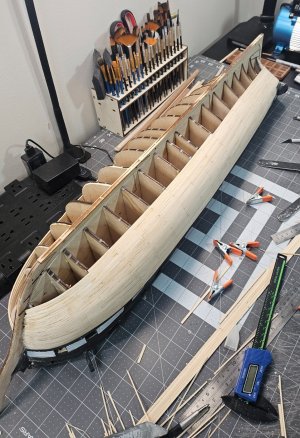
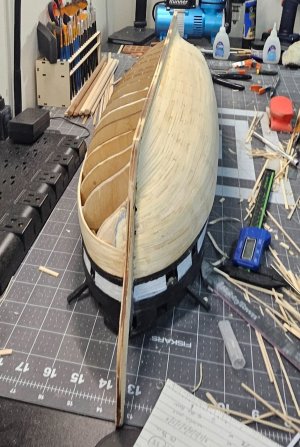
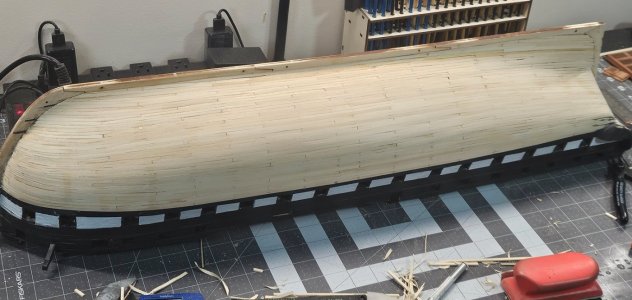
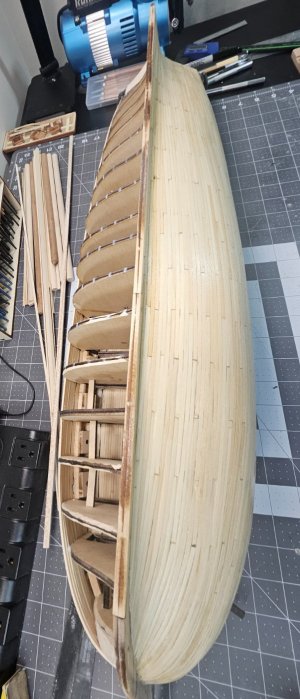
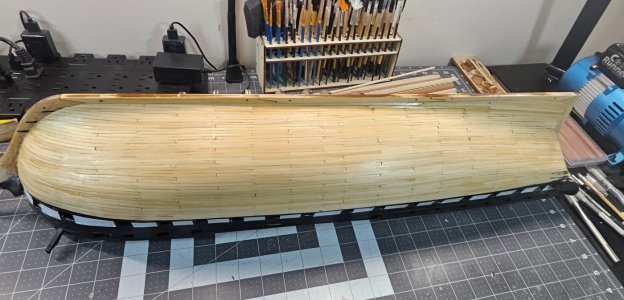
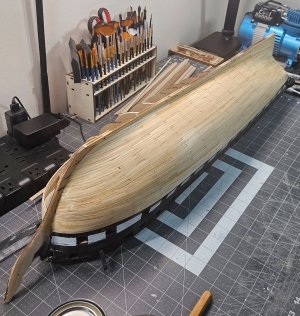
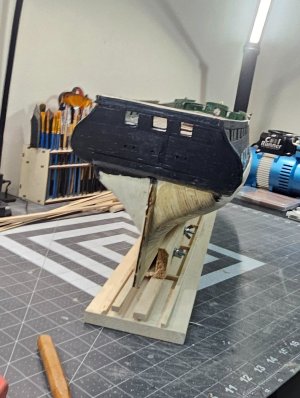
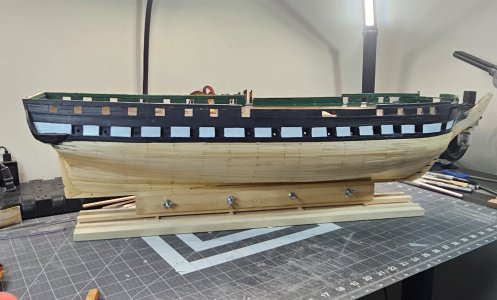
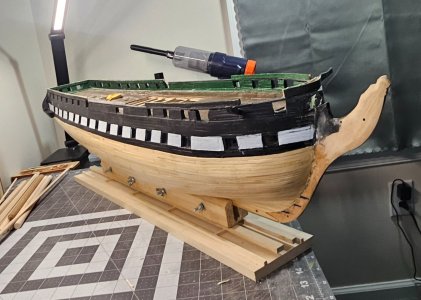
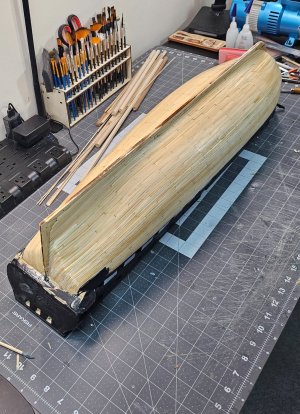
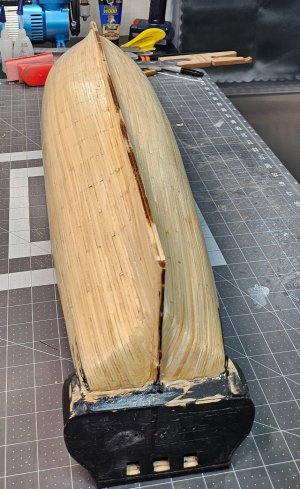
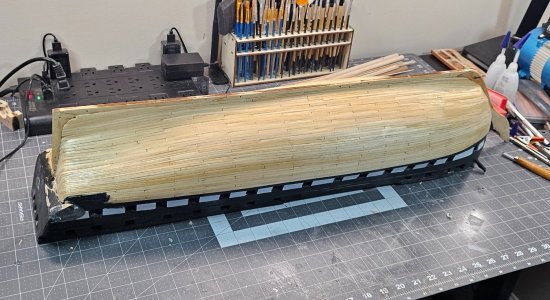
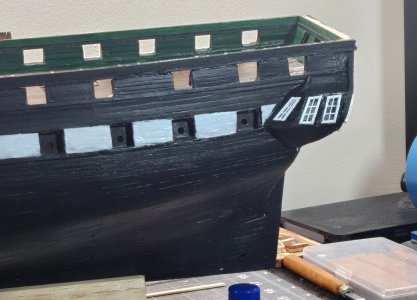
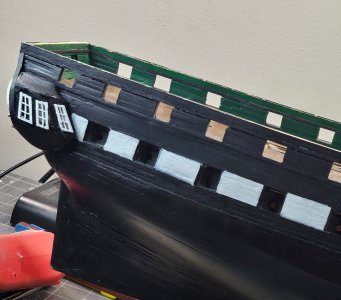
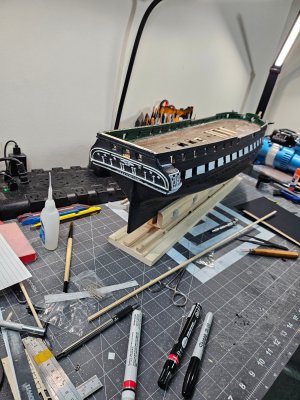
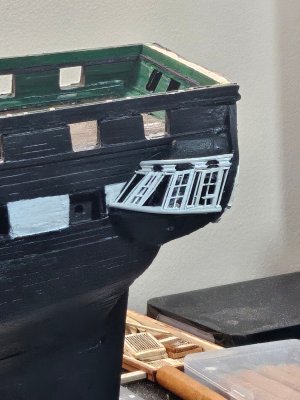
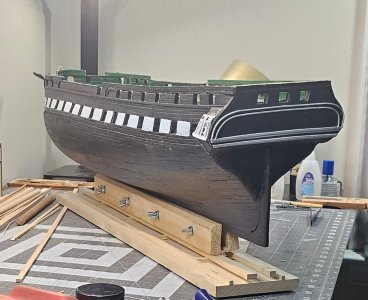
I finally made it to planking the hull...well, until I realized how time consuming it really is, lol. I finished the wales and the gallery bottom blocks on the port side. It took several hours, more than I had anticipated. It was also a bit challenging because the size of the gallery blocks in the plans are slightly off, because the forward tip of the gallery starts at the 1/8 mark from the corner of the closest gunport...but nothing a filler couldn't fix. In fact, Bob had to do this as well that he noted in the practicum. I'll be continuing planking the hull the next few days before I send the next update. I did have to read the practicum like 7 times before I finally understood what Bob was saying about the planking. It was somewhat of an overkill, but this was one of the tougher areas to understand because he tended to jump back and forth between relationships for planking, the transom, and the gallery. Either way, once everything clicked, it wasn't boring because there's a lot of trimming and cutting the planks to meet the rules of planking and butting them and following the rules. I think I covered what I did...it seems like there's always something I find that I need to tweak or adjust.20250622_161659[1].jpg20250622_161716[1].jpg20250622_161732[1].jpg20250622_161741[1].jpg20250622_221000[1].jpg20250622_221215[1].jpg
 
The hull planking is coming along and I'm very satisfied with the gallery floor and the block underneath. As I'm glueing the planks, I would start sanding the other planks when the ones that were glued on are drying which I think just makes it easier and more efficient because I'm not a huge fan of sanding excessively at the very end. Doing it in chunks doesn't make it as painful.

Then, I realized something, actually a funny observation. Some of the experienced folks submitting their build logs really have some spectacular pictures showing every step, up close shots, etc. ...magazine quality shots. Sure, my pictures capture the before and after shots of each major section when following the practicum, but my pictures look nearly the same and in the same pattern...just simple overall shots, nothing fancy. I figure I explain in my narrative what is going on and the mistakes I made and how I adjusted to them with some type of solution is likely enough for anyone to get the idea of what is going on in the pictures, but again I find it funny that I'm shooting the same pictures but at different stages. Simplicity is good; maybe I should add some music and video to them for full effects, lol. My cat takes better selfies that I do...
I do my build log pretty much the same way, so don’t feel alone in that regard
 
Back
Top