• Ships of Scale has incorportated an extra level of security when you log In. Please follow on-screen prompts to acknowledge that you are not a robot via a "Check Box" or a "Pictorial Check Box Puzzle". This is needed due to higher level of AI Activity Security.
  • SUBSCRIBE TO SHIPS IN SCALE TODAY!

    The beloved Ships in Scale Magazine is back and charting a new course for 2026!
    Discover new skills, new techniques, and new inspirations in every issue.

    NOTE THAT OUR NEXT ISSUE WILL BE July/August 2026
  • Win a Free Custom Engraved Brass Coin!!!
    As a way to introduce our brass coins to the community, we will raffle off a free coin during the month of August. Follow link ABOVE for instructions for entering.

USS Constitution - Model Shipways

Hi Peter,
Looks great. Thanks for the break down. Curious to see what you're doing for the other end
I could have sworn I already replied to this, but can't find it, so:

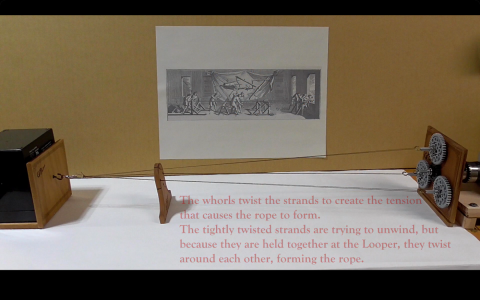
The easiest path is the one-step method, as executed in the YouTube video "Rope Making For Model Ships" by
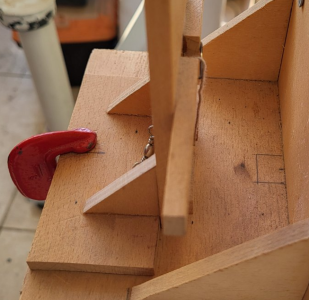
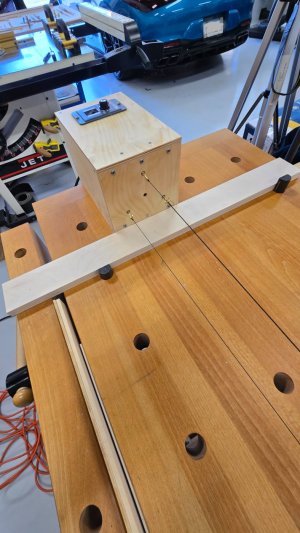
WalnutAndTungOil (see screen shot below). In this case, using WalnutandTungOil's terminology, my box is the whorl. The topper is that string separator in the center. And the looper is the panel with the single hook to which is attached a swivel hook. The black box appears to be a battery, which I presume acts as a weight. This looper will move towards the whorl as the threads twist and then begin to form rope. In other examples of this one step process, the looper has a line attached to the back end, which is rigged to an eyebolt or pulley with a weight attached to it. The weight provides resistance as the rope forms but the pulley/eyebolt setup permits the rope to contract.
1793201712607.png

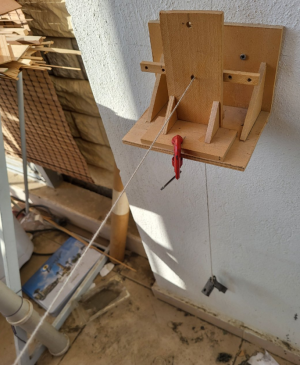
This is how Mustafa does it. No pully, just a whole.
1793203468953.png

Here's the swivel hook...
1793203579995.png


Then there's the two step process popularized by Chuck Passaro with his Syren Rope Rocket. The whorl is the device on the right. I don't know what the unit on the left is called, but this is the piece that performs the second pass. The wheel spins to form the rope. In step one, the whorl only twists the strands which are threaded hook for hook between the two units. The disk on the left is fixed in place while the whorl runs to twist the threads. In that pass, the whorl will move towards the fixed second unit. When the threads are sufficiently twisted, the whorl is fixed into place, the second unit unclamped and fired up to rotate the disk. As the rope forms, this unit will walk towards the whorl. I'm sure everyone reading this post has already seen Chuck's video on the subject. You can easily find it at Syren Ship Model Company website, or at YouTube.
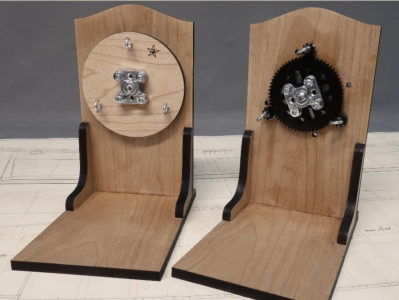
1793202615797.png

Since I have an extra motor, bracket, controller, power supply etc. I'll build this too - just for fun.

Enough armchair rope making. Back to the shipyard...
 
do the hooks have to be detachable? I am leaning towards epoxy
No, the hooks do not have to be detachable. In fact, I'd prefer that they didn't come undone at all. For what it's worth, the epoxy seems to have held.

I've done three experiments with the completed rope walk. One was a success, sort of. The other two were failures.

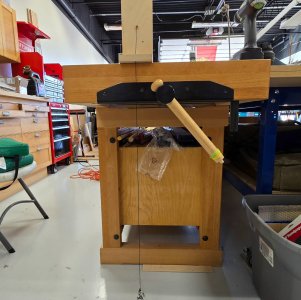
Here's the current setup.

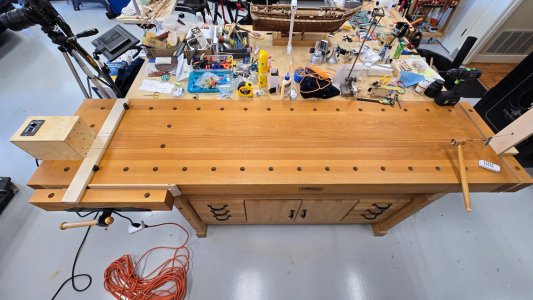
There's three feet of distance between the hole in the back of the "looper" and the large cup hook screw near the floor. That is where I intend to try to balance weights with tension on the threads by using miscellaneous nuts and washers.

I thought this would be more than enough distance, given the research I've done that said I should only see about 10 or 15% shrinkage in length of the rope. I guess there's a learning curve involved in how much weight to use for a particular diameter thread.

20261028_150938.jpg

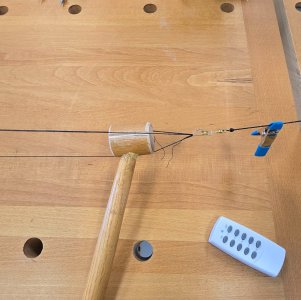
I had a broken chair in my recycling bin, and made use of one of the legs for the "topper".

Note the remote control to start and stop the whorl.
20261028_150956.jpg

20261028_151002.jpg

Seven feet between the "whorl" and the "looper".
20261028_151025.jpg

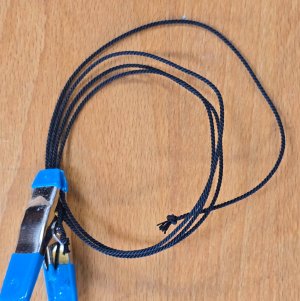
I guess my cable laid rope experiment was a success, of sorts. I only got 3 ft from nearly 7 ft of thread. The threads were tripled. I did not notice whether or not the weight ended up at the back of the looper. It's possible that it did, but there was enough thread in play that the rope just stretched rather than snapped.

20261028_154406.jpg


I tried single strands of thread and attempted making rope with several different weights. I thought the rope was snapping because of too much weight, but even reducing it to just the cup hook screw ended up with the same result. I think what happened was, I used up that 3 ft of cord and the cup hook screw made its way to the back of the looper. The whorl kept spinning and tensioning until the rope snapped.

I got my order from Wawak when I got home, so now have plenty of thread to continue experimenting with. My cable laid rope turned out fairly well, even if it was by accident and a bit thicker than I need. I imagine that if I find the right diameter of thread, I can make what I need to finish the shrouds.

Off to dinner and a bicycle ride with the Admiralty.
 
Turns out that I screwed up the order with Wawak. Evidently black is not always black.

So, while I wait for the replacements to arrive, I'll practice with the green and purple thread I received. (they are super dark and, in the right light, could pass for black, but lesson learned. Don't order from the color sample chart).

I don't know that anyone will order from that company, but if you do, and you want the color black, make sure you choose color 00.
 
Back
Top