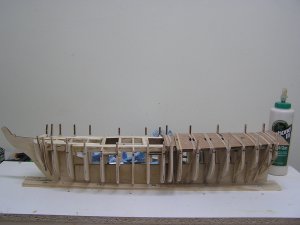
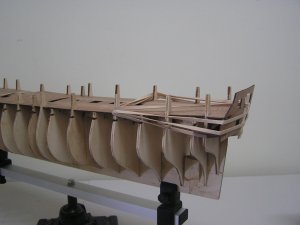
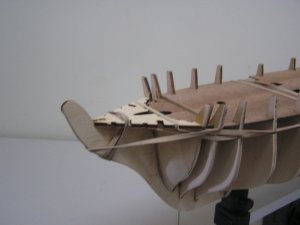
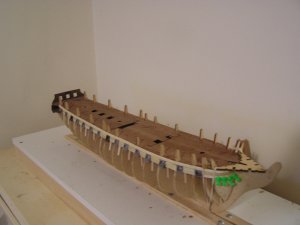
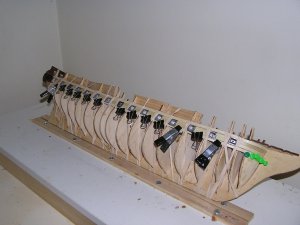
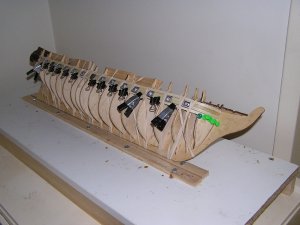
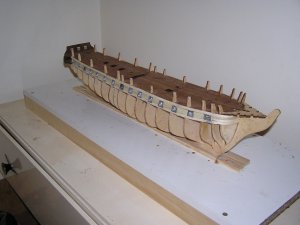
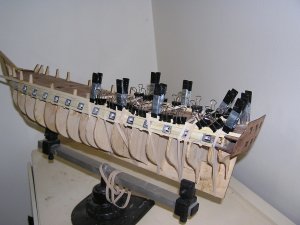
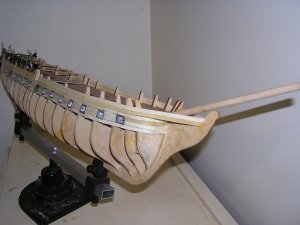
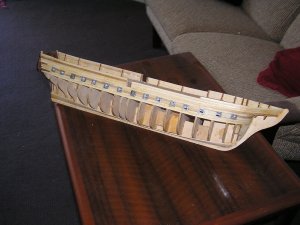
USS Constitution "Old Ironsides " 1:93 Scale Mamoli

Gemma

It comes from a spay can. I think it is probably easier to handle by just having to shake the can than to mix.

I have been reading through your build log of the Black Pearl, but am in the early stages and yet to comment

One of our friends is also working on a ZHL kit which I will be seeing later this morning. He is the one who came up with the idea and has used it on most of his builds if not all. I am impressed with the quality of the timber of the ZHL. He is the best one to explain the process. I'm pretty sure you know who I am talking about.

We are going to look at deck planking for my Connie as I have been advised very strongly not to use the Tanganyika that was supplied in the kit

Cheers
Geoff
 
Hi Geoff,

I think I know who you mean ;-)

If your kit Tanganyika is anything like the replacement wood I bought for my Black Pearl build, you may be well advised not to use it! I only carried on with it because the Pearl is supposed to be a bit rough around the edges, on a more serious build it would have been of little use at all.
 
We came up with some cherry to replace the Tanganyika with.

It is a lot lighter than Tanganyika I have which was more orange in colour but I have seen some different shades of Tanganyika which vary a lot.

Cheers
Geoff
 
Hi Geoff

Build is looking very nice well done.

Good move to change the Tanganyika deck planking over to Cherry, I wish I had done the same with my Revenge build.


Denis.
 
Hi Denis

Thanks for being so adamant that I was not to use the Tanganyika for deck planking.

I must also thank Brian for sourcing the Cherry for me. I hope I can do it justice and sure I will.

The thing I like the most on SOS is seeing old mates and meeting new ones in a very friendly environment.

Sharing advice, advice is free.

My goal is to get my build log up to date before the end of the month and then start building again. :D

Cheers
Geoff
 
Hi Geoff

I don't think you will regret using the Cherry.

Also a thank you to Brian for helping you out.


Denis.
 
Well time for the next update to catch up the build log with the actual build. I do hope I am building again late next week. :D

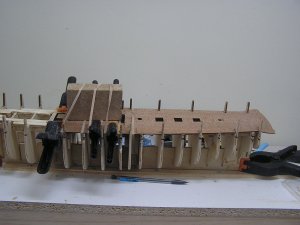
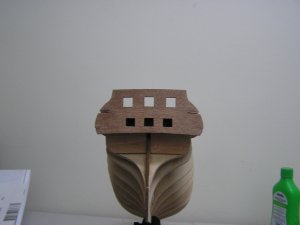
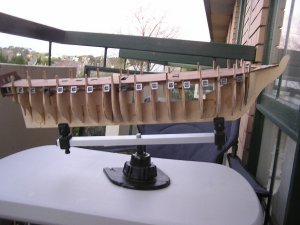
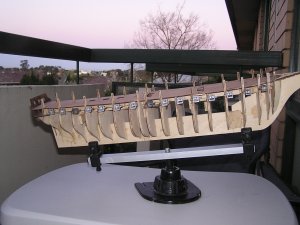
It was time to dry fit and install the false deck


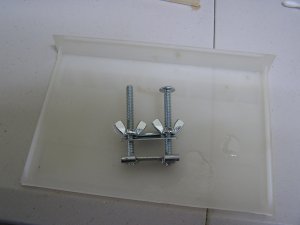
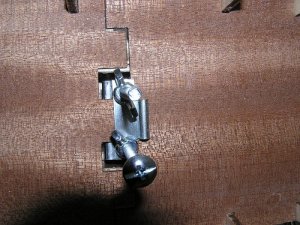
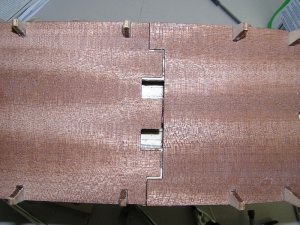
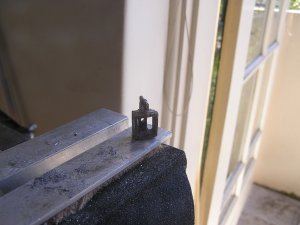
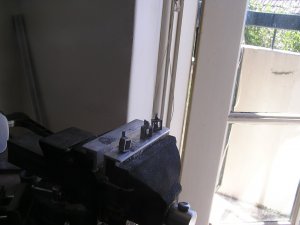
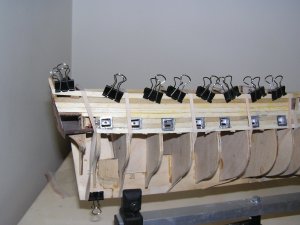
Well I had an issuewith the false deck. The false deck goeds upward from this point. My clamps were all to large so it was time to make a clamp up. I went through my junk box that has all the little bits and pieces in it that you should never throw out and made a clamp


Problem solved with a bit of scrape glued underneath the issue All fixed.P1010093D.jpgP1010094D.jpgP1010095D.jpgP1010098D.jpgP1010099D.jpgP1010100D.jpgP1010102D.jpgP1010104D.jpgP1010106D.jpg
 
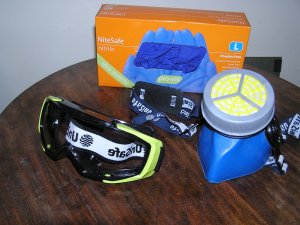
The next step was to fit the lower gun ports. I needed to use epoxy resin OOPS I am allergic to that stuff. Eye lids get real red around the eyelids forehead got scaly. Down to the Safety shop and get the right equipment for the job. The mask and gloves are special for the ingredients in the appoxy. resin Epoxy resin nearly got me put in hospital for 3 days

The epoxy resin still did get me but only slightlyP1010110D.jpg
 
Great to see your update Geoff. Some brilliant tips there I will be remembering.

I share your allergy to epoxy resin. I use to run a company casting the stuff. Most of us who worked with it now only have to be exposed to the fumes to get a reaction to it. So It is the same for me all the safety gear just to use some five minute epoxy. :roll:
 
Gemma

Thanks for visiting my build log of my Connie. :D

I had used epoxy resin over the years with no reaction at all. I don't know what has chanded in the formulation of the epoxy resin. I was using the 24 hour epoxy resin and I did not realize till the 3 time I used it. Same with the 5 minute epoxy which is not as strong a resin. 3 days I went to see the Dr at the hospital ., The first time. He put me on Hospital strength antibiotics which did clear it up quickly. Originally we did not know what caused it, maybe water, maybe an insect bite.

As you said it is the fumes but as you can see I went for the as much protection as I could.

I have always like to show details of how I achieved different parts in a build as it can give other builder ideas and I also get feedback on issues.

Cheers
Geoff
 
Unfortunately Geoff it is using epoxy resin for years that does it. I was told it was the repeated exposure to epoxy resin that causes the reactions. So people like us who used it with no bad effect at all, suddenly get really sensitive to the stuff. A lesson to all to be careful with it, if it is not a problem now, still take precautions to avoid any contact with the stuff.
 
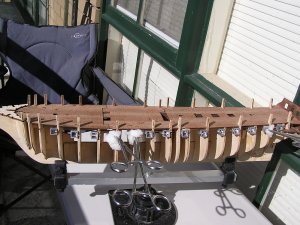
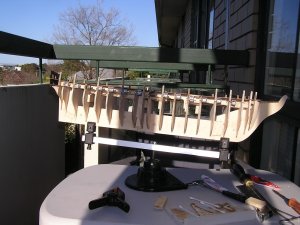
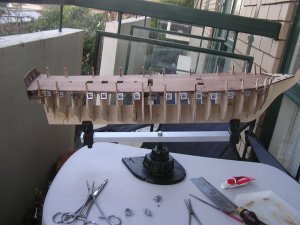
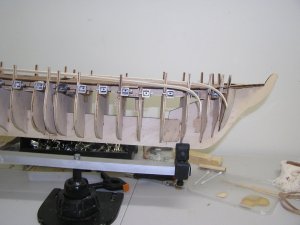
Update:- I mounted all of the gun ports and I did not like some of the alignments so I tried to remove them and try again. It was succesful to a dregee removing them but I did manage to bust of some of the tags on the gun ports. You will notice some of the gun ports are black in colour. I knew that Birchwood Casey Brass black would not work on lead basses material. I tried Birchwood Casey aluminum Black. I was not happy with the result so I have decided I will paint them black later on.

You will notice ther are tubes of that nasty stuff epoxy resin on my table

Just about competed refitting the gun ports

This was another Oops moment during the refit of the gun ports. I actually cleaned up the tabe and must have had the gun ports in my hand. Only one gun port but there was three

I found them eventually. When soldering the tags back on the gun ports I did a test with one of the tags with the little sodering iron I had. It disintegrated. I tested with two tags and dropping the solder on them and that worked. A little bit of a file and they where good to go back on

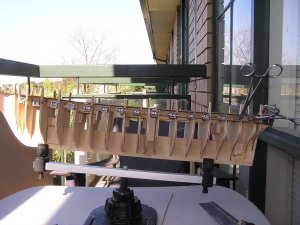
Well the next step is to start planking. I put the jug on and found my empty lolly tin and proceeded to curve some planksP1010111D.jpgP1010114D.jpgP1010115D.jpgP1010116D.jpgP1010117D.jpgP1010124D.jpgP1010128D.jpgP1010129D.jpgP1010127D.jpg
 
Brian

Thank for visiting my build log. I have just about caught up with the log to the build. I just need to sort through some photos and do one post and I will be up to date with the log. The plan is to start building again about Thursday.

Cheers
Geoff
 
Hi Geoff, usually the gun ports are fitted once the deck areas have been planked and cut out, is your model doing it A about F or is it your choice?
Looks like you were lucky to get a semi sunny day in Melbourne, btw how many seasons did you go through that day?

Regards
Eric
 
Eric

Thanks for visiting my build log and the comments are much appreciated. I take all suggestions as positive. I know in the past you wonder why you would do this before that.

The weather was ideal out on the balcony that day not to hot and not to cold, just perfect. It was afternoon as I remember. Maybe Spring. I did not get to download the original build log before it was deleted an another Forum and the camera was not set to the correct date at the time.

Looking at the sketch plans that I have been following which are in number order, I am doing it in sequence although I have just realized that a temporary plank was fitted prior to fitting the lower gun ports. I think I might have missed that step of the one plank. I know I did not use it when I fixed the misaligned lower gun ports. he instructions are a bit poor but the sketch plans are good.

The deck planks go in on sketch plan 4 where I am only on sketch plan 2 diagram 5 on the build. Each sketch plan has about a dozen diagrams on it. So a long way to go before I get to deck planking

Cheers
Geoff
 
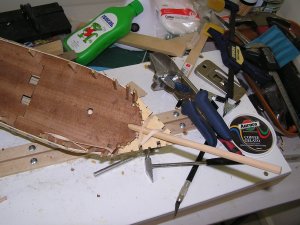
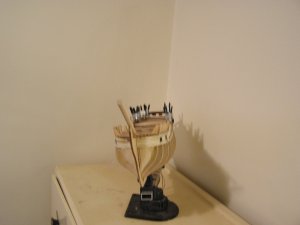
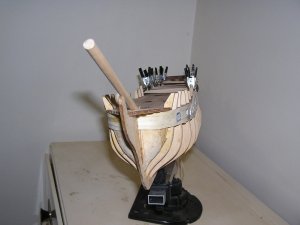
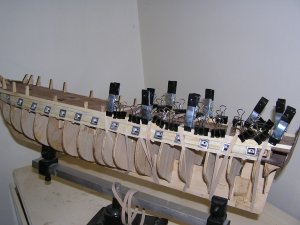
Well I got on with some of the planking


Yes I know it is time to clean up the work bench


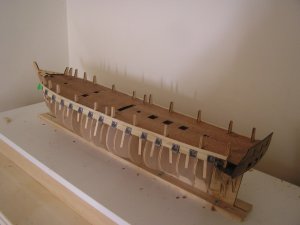
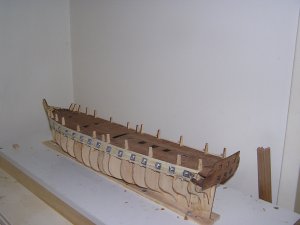
This is where the actual build is currently up to :banana-dance: :D
Now I need to take measurements of the gap. I will use a plastic tag strip that I can mark with a pencil and measure that with a ruler. After that get out my excel spreadsheet and determine the tapering require per plank per frame
004D.jpg005D.jpg006D.jpg010D.jpg011D.jpg012D.jpg013D.jpg016D.jpg017D.jpg018D.jpg019D.jpg020D.jpg021D.jpg022D.jpg023D.jpg
 
Hi Geoff ,your Connie coming along nicely,for those gunports you should try Jax pewter blackener, produces a dark, black antique finish on pewter, lead, brass, bronze, copper, nickel, tin-lead alloys and solders.

https://www.gessweincanada.com/product-p/407-45907m.htm
 
Zoltan

Thanks for the suggestion

I check out prices on the JAX Pewter Blackener and there is nothing around here

eBay from the USA with free shipping comes in at AU $63.13

With the cannons in place I don't think much will be seen in the lower gun ports, so I think just painting them is the best option. I could not justify the cost

Cheers
Geoff
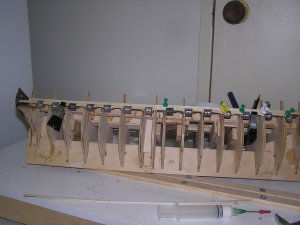
 
Seems like a lot of progress there Geoff, she is really shaping up nicely. :handgestures-thumbup:
 
Back
Top