Hello Friends,
Nearly two weeks has passed since research and work commenced on my sails. I have experimented with silkspan (tissue 'paper' but made from woven silk - I would recommend this for small scale models as it is very fine; I found it a bit too transparent at my scale), glue-laminating panels to build up sails (as Kirill has pointed out laminated panels can actually be made 'soft' by wetting them down though I believe this requires the use of a certain adhesive strip); as well as the linen fabric from Whaleys I mentioned previously (this is what I am about to show you).
I started with a template created using the sails that came with my kit adjusted according to the Billing's sail plan and the actual lengths of my yards. Here is the main topsail as an example:
View attachment 312923
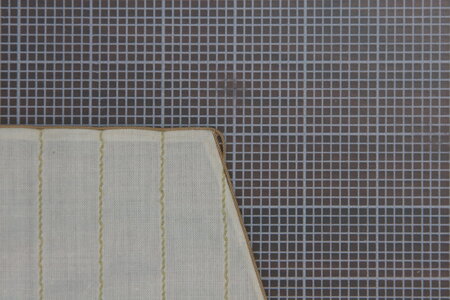
I then cut out the fabric (oversized) and popped over to my mom's house to sew faux panels (in the following image you will see I used a straight-line stitch at 1.5 mm). I suspect my mom's sewing machine needs a tune-up though to be fair the human eye cannot see this close):
View attachment 312925
I then traced the sail onto the fabric using heat-erasing ink (marked 3 mm oversized to account for a future fold). Here is the final result after the fold:
View attachment 312924
As you can see, I ended up choosing to NOT sew around the perimeter of the sail at the fold. While I actually like the sewing in the field of the sail that represents panels - when I sewed the perimeter it just looked out of scale to me. Part of the reason for that might have been my choice of thread color. Anyway, I convinced myself that leaving off the perimeter stitching looked marginally better.
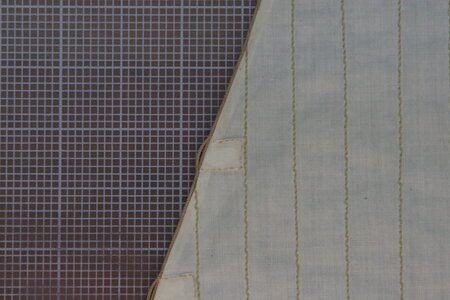
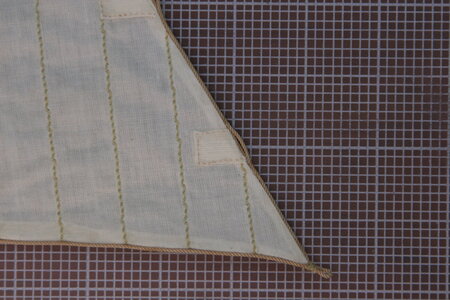
Here is the back side where you can see I did a single fold and mitered the corners (some corners turned out better than others). In order to keep the perimeter of the sail as thin as possible I did not fold over the fold (a double fold to hide the cut edge). Why is my fabric not unraveling? I treated the fabric cut line with a product called Fray Check from Dritz:
View attachment 312926
Next up was securing a bolt rope. Once again, I attempted to sew this to the perimeter of the sail but wasn't too impressed with my hand stitching. I ended up just gluing the rope to the edge of the sail. I tacked the bolt rope every inch or two using CA and then went back with a fabric glue called Liquid Stitch. Honestly, it's probably overpriced PVA, but it dries colorless, does not leave a mark on the fabric, and remains surprisingly flexible. Here is the bolt rope:
View attachment 312930
As I installed the bolt rope I added in the necessary details. Here are a few images...
Clews on the lower corners:
View attachment 312927
Cringles on the sides of the sail along with reinforcing patches:
View attachment 312928
And earing cringles at the top corners:
View attachment 312929
I have seen some modelers splice in a tiny piece of bolt rope under these attachment points. I may give that a go. I also think I may need to add something like stitching to the reinforcement patches to highlight them (???) - or maybe not.
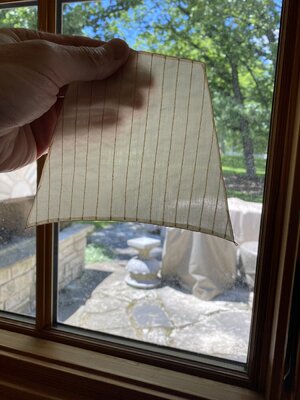
Here is the overall appearance thus far:
View attachment 312931
I am happy to hear your suggestions for improving my work. I have 9 more of these sails to make so I'll be at this for a while.
As always, I feel blessed that you would take the time away from your own builds to see what is happening on mine.
)) ... and I saw some our collegues appreciate such mistakes?
)) but from my point of vew, thee mistakes are principal , which easily could be avoided...how sail should looks with all posible details even in simplified form...I don't know, may be Im wrong and better should say - Oh..!!! How Perfect they are !!!


