VASA 1628 (De Agostini)

Lucius,

Excellent - I needed to post - have been following, but silently - your Vasa will be a very excellent example indeed.
Great work !!!

regards,
 
Hello everyone,
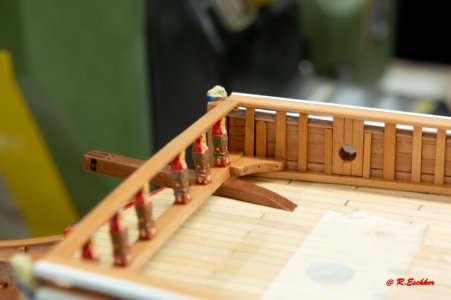
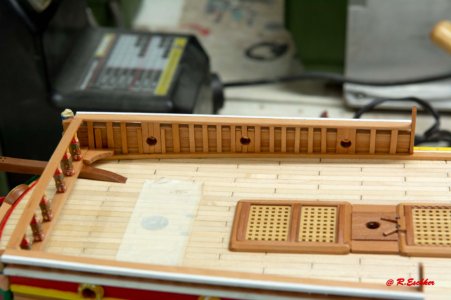
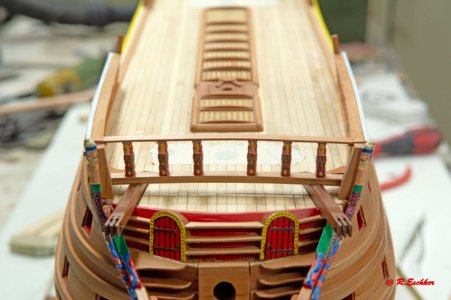
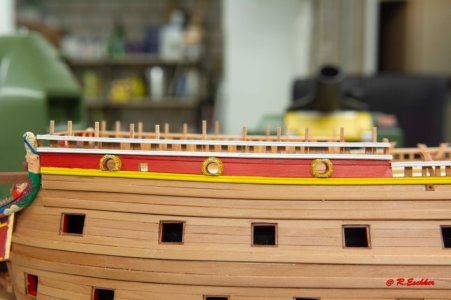
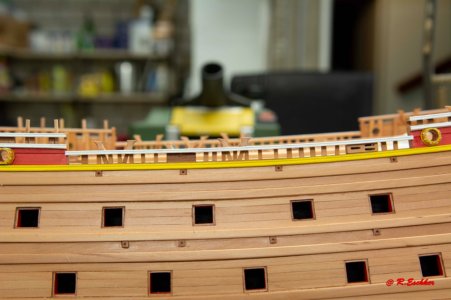
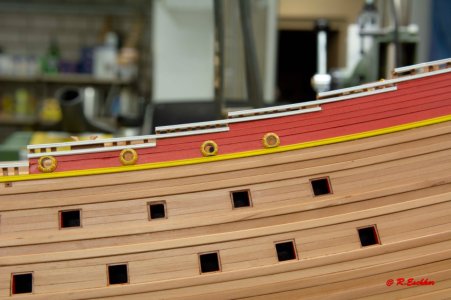
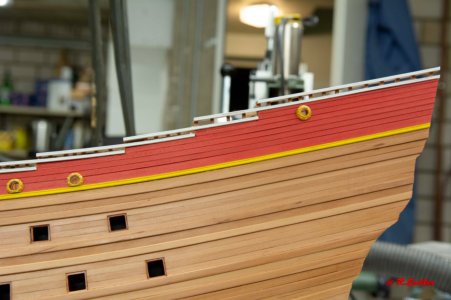
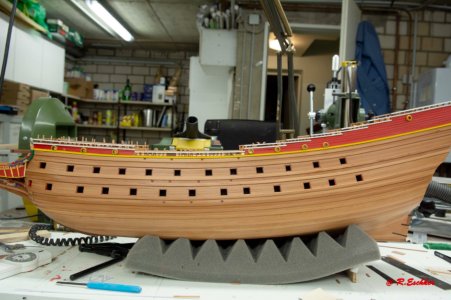
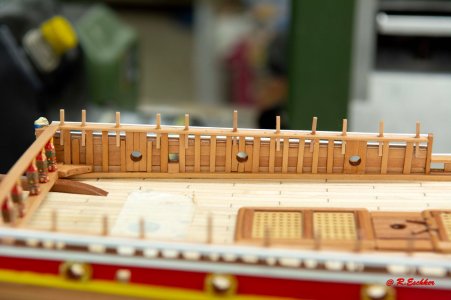
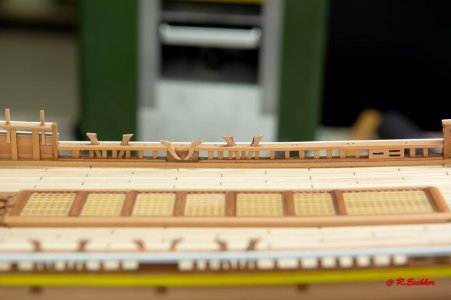
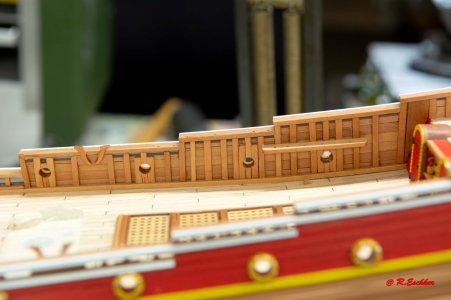
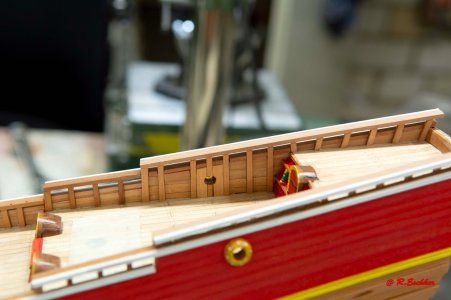
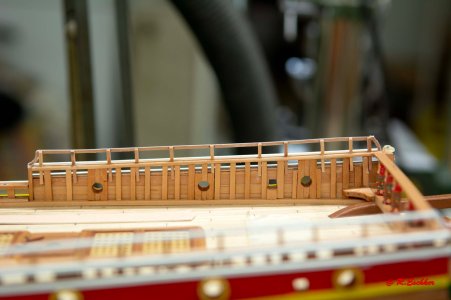
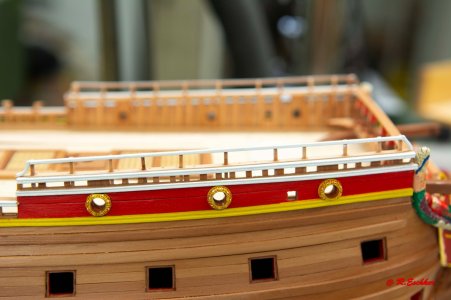
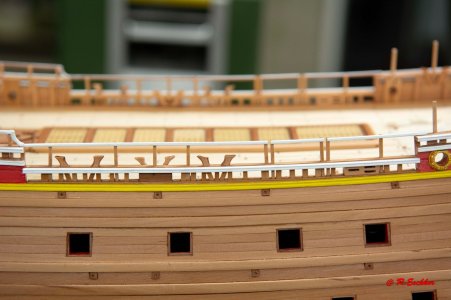
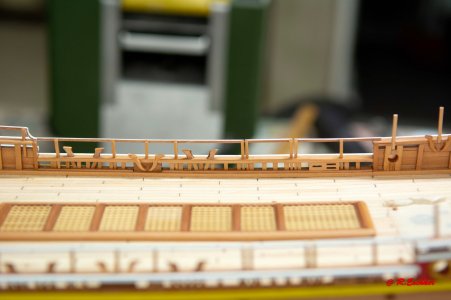
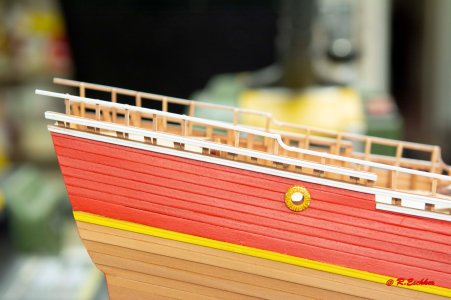
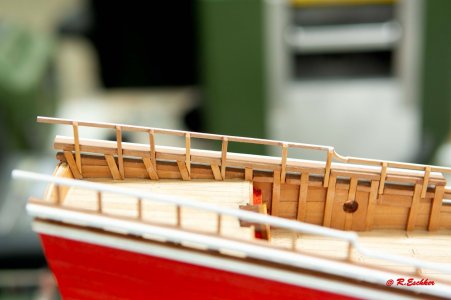
The remaining decorations for the gun ports on the deck have been fitted and the first railings installed.

ESC8608.jpgESC8609.jpgESC8610.jpg

The last decoration (top right) was not present on the de Agostini. I made it out of wood, painted it and attached it according to Mondfeld's plan.

ESC8611.jpgESC8613.jpg

To be continued

Greetings
Rüdiger
 
Hello everyone,

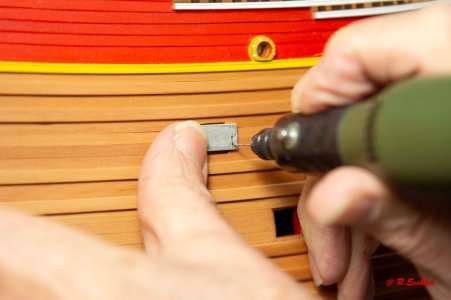
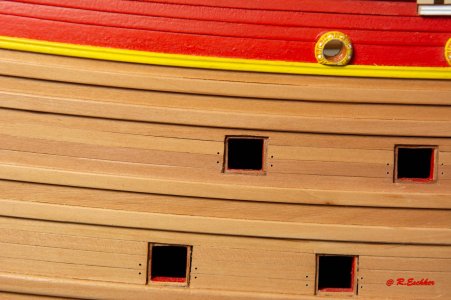
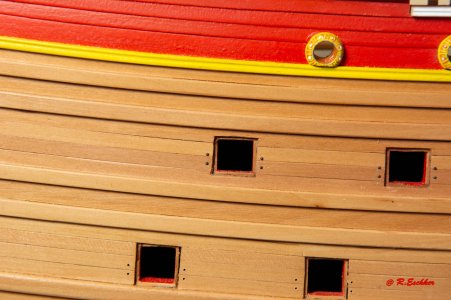
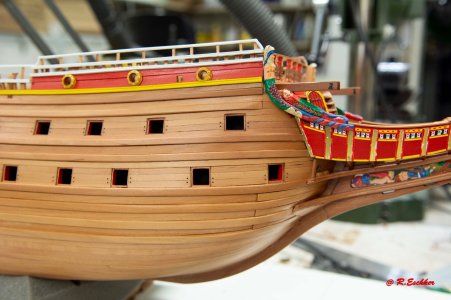
The next step was to make the frames for the gun ports. I took three sizes from the plan of the one whose name should not be mentioned and transferred them to a template. I then glued the mouldings with Loctite superglue, sanded them down and fitted them into the existing gun ports. The second row of gun ports was only remeasured and marked after the remaining bargwoods had been fitted. But more on this later.


View attachment 468395View attachment 468396View attachment 468397View attachment 468398View attachment 468399View attachment 468400

To be continued

Greetings
Rüdiger
Today, I can say that I have learned something new in this post and it was very useful for me. Thank you for sharing your wonderful project "Vasa"
 
Hello everybody,

The model is built to a scale of 1:65 using a subscription kit from de Agostini. In contrast to the original De Agostini kit, the panelling, keel, rudder and all visible timbers (as far as possible) are made of pear wood. I also tried to incorporate details from Wolfram zu Mondfeld's construction plans. I could have saved a lot of money if Artesania Latina had come out with the complete kit 6 months earlier. So it just becomes a subscription kit.
Again, I do not claim to build a ‘museum model’ that is exactly modelled on the original. It will contain errors (mostly from the figures) but I personally don't think they are that bad. Descriptions of the construction steps will be sporadic, as pictures usually say more than words.
I wish you a lot of fun and hope I can help some of you to enjoy our hobby. The construction report is again written in the ‘past’. This means that I am already a bit further along than previously shown here.
So let's start with the first 10 pictures.

View attachment 465921

View attachment 465922

View attachment 465923

View attachment 465924

View attachment 465925

View attachment 465926

View attachment 465927

View attachment 465928

View attachment 465929

View attachment 465931

To be continued

Greetings
Rüdiger
That is a beautiful job with planking! Wow!

Bill
 
Nice work, the internal framing work on the bulwarks is exactly right. Glad to see you are adding the breeching bolts. Will you add the other boltheads for the internal riders? They are the same size, but there are about 6000 of them! Paint samples on the upper railings indicate that they were a pale lemon yellow rather than white, if you want to paint them that way.

Fred
Hello Fred,

Thank you very much for your praise of our work to date. I have one more question regarding the colour of the upper railing. Was the entire upper railing lemon yellow or just the upper handrail? I would ask for your patience regarding the bolts. There will be another post to follow. Of course I have tried to make it as accurate as possible.
Greetings
Rüdiger
 
Hej Rüdiger,
As far as we can tell, the uppermost wale is bright yellow (as you have it painted) and all the railings you have in white were pale yellow.

Fred
 
Hello everyone,
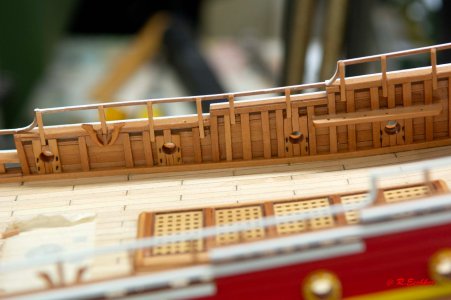
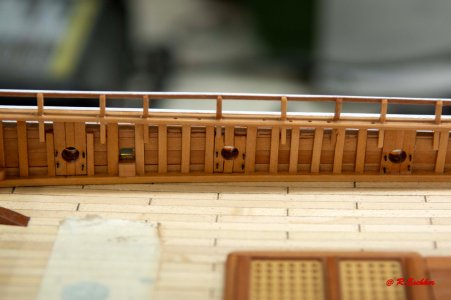
Just a short update today. The eyelets for the gun rigging were attached to the inside of the bulwark.

ESC8642.jpgESC8643.jpg

Following Fred's important advice, I'm going to paint the railings in light yellow and will let you know when I'm finished. In the meantime, the construction report continues.

To be continued

Greetings
Rüdiger
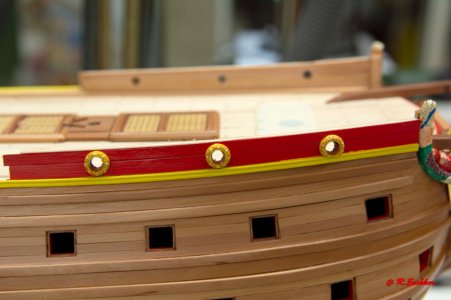
 
Hello everyone,

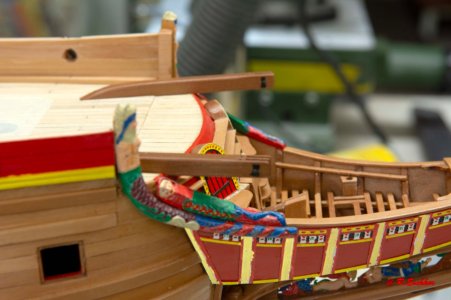
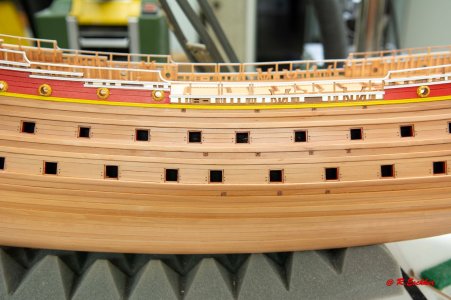
Let's continue with the bolts for the gun rigging. The bolts are made from 0.6 mm burnished brass rivets.

View attachment 472423View attachment 472424View attachment 472425View attachment 472426View attachment 472427

To be continued

Greetings
Rüdiger
Hallo Rüdiger - this is looking very good
Is it possible to show us such a brass rivet with a close-up photo?
and off course the question if you make them, how you make them or where did you buy them? ;)
 
Back
Top