-

Win a Free Custom Engraved Brass Coin!!!
As a way to introduce our brass coins to the community, we will raffle off a free coin during the month of August. Follow link ABOVE for instructions for entering.
-

PRE-ORDER SHIPS IN SCALE TODAY!
The beloved Ships in Scale Magazine is back and charting a new course for 2026!
Discover new skills, new techniques, and new inspirations in every issue.
NOTE THAT OUR FIRST ISSUE WILL BE JAN/FEB 2026
You are using an out of date browser. It may not display this or other websites correctly.
You should upgrade or use an alternative browser.
You should upgrade or use an alternative browser.
Hello everyone,
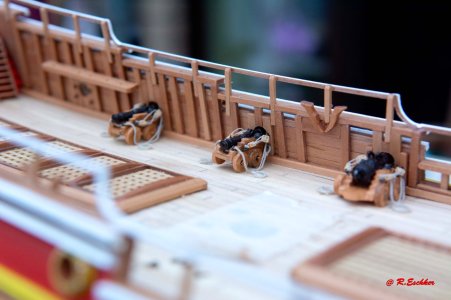
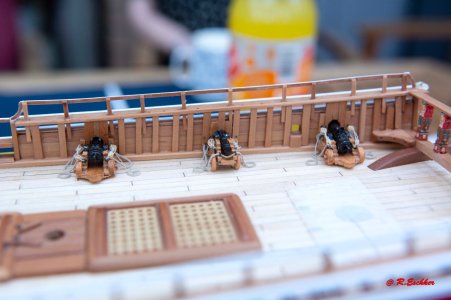
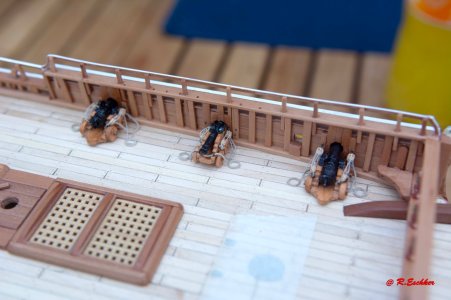
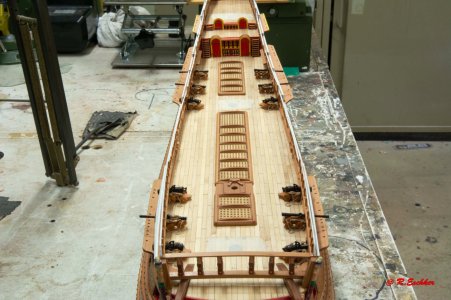
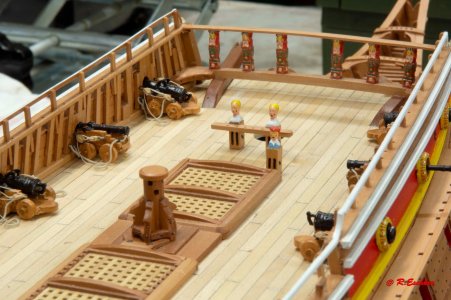
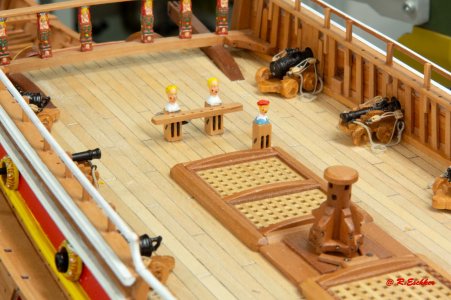
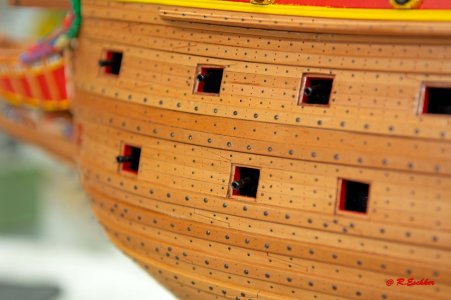
The gun barrel mounts for the cannons are made of 2 mm thick brass wire and glued to the cannons for the gun decks. I used brass wire for this as it is more stable than 2 mm wooden rods. Then everything was primed and the cannons painted.
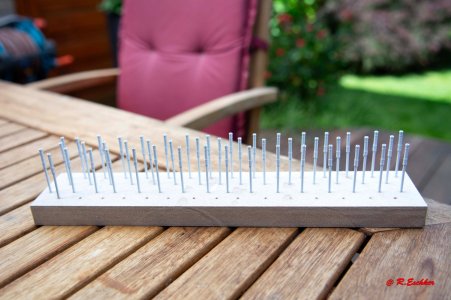
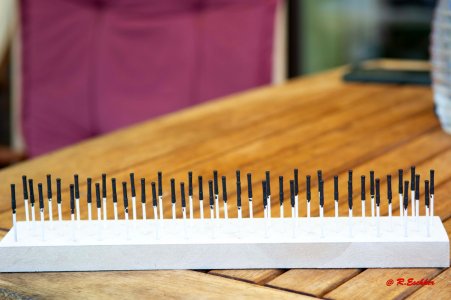
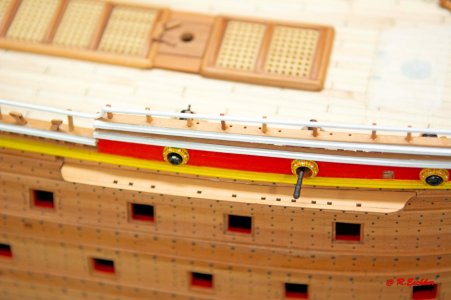
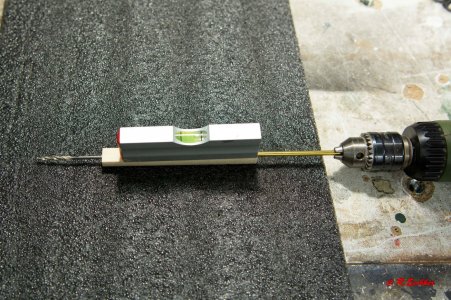
The holes were then drilled with the help of a Self-built drilling jig. I extended the drill bit with a 3 mm brass tube.
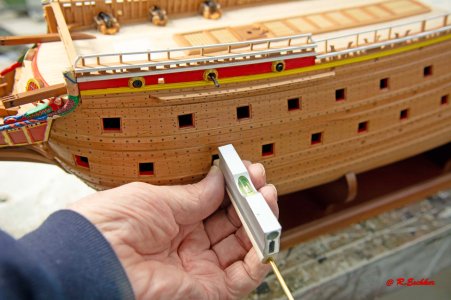
The cannons were test-fitted. I think it is ok.
To be continued.
Greetings
Rüdiger
The gun barrel mounts for the cannons are made of 2 mm thick brass wire and glued to the cannons for the gun decks. I used brass wire for this as it is more stable than 2 mm wooden rods. Then everything was primed and the cannons painted.


The holes were then drilled with the help of a Self-built drilling jig. I extended the drill bit with a 3 mm brass tube.


The cannons were test-fitted. I think it is ok.

To be continued.
Greetings
Rüdiger
Hello everyone,
Oops, something went wrong
To be continued
Greetings
Rüdiger
Oops, something went wrong
To be continued
Greetings
Rüdiger
Hello everyone,
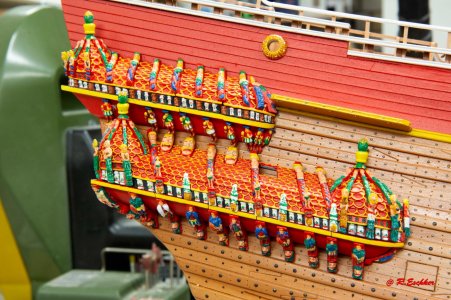
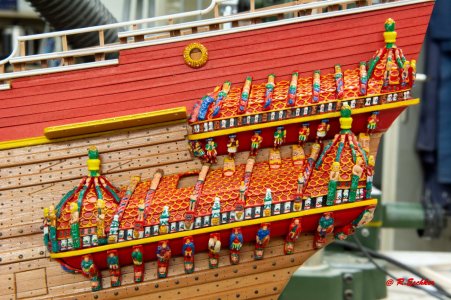
It started and there was no turning back. The galleries were attached to the hull. I glued wooden strips to the inside of the galleries to ensure durability. Wooden Strips were also attached to the hull on which the inner mouldings of the galleries were placed. Unfortunately there are no pictures of this, sorry. I still had to file the galleries to match the curve of the hull. I glued and sanded wood in some places. Everything fitted and the builder was very pleased.
To be continued
Greetings
Rüdiger
It started and there was no turning back. The galleries were attached to the hull. I glued wooden strips to the inside of the galleries to ensure durability. Wooden Strips were also attached to the hull on which the inner mouldings of the galleries were placed. Unfortunately there are no pictures of this, sorry. I still had to file the galleries to match the curve of the hull. I glued and sanded wood in some places. Everything fitted and the builder was very pleased.


To be continued
Greetings
Rüdiger
Hello everyone,
The ship's stern has been decorated. Apart from the lions in the upper large crest, everything fitted together quite well. Some of the Lion's mane was sanded off the lions. Everything was glued with Loctite 454 superglue, which has proved its worth over the years.
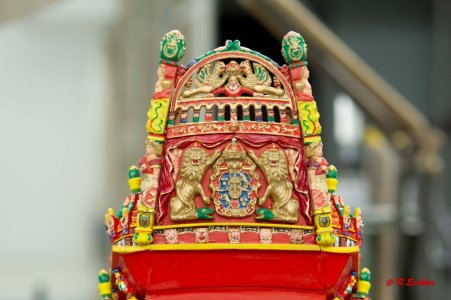
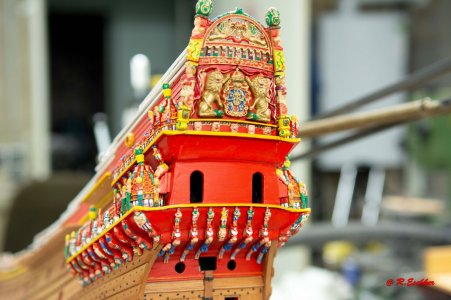
The four holes between the figures were drilled after gluing them in place.
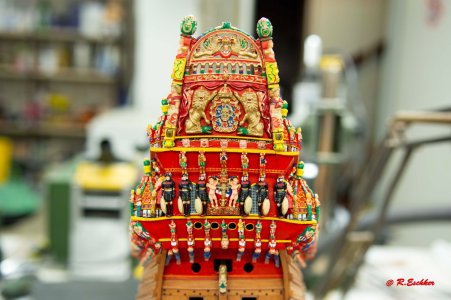
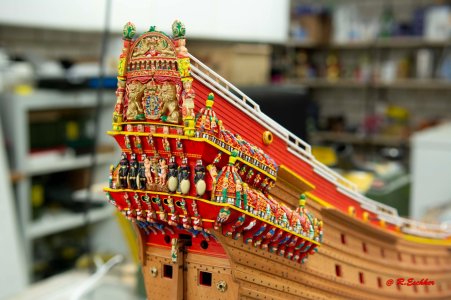
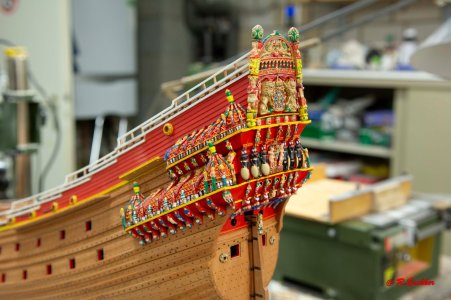
We are slowly approaching the actual state of the model.
To be continued.
Greetings
Rüdiger
The ship's stern has been decorated. Apart from the lions in the upper large crest, everything fitted together quite well. Some of the Lion's mane was sanded off the lions. Everything was glued with Loctite 454 superglue, which has proved its worth over the years.


The four holes between the figures were drilled after gluing them in place.


We are slowly approaching the actual state of the model.
To be continued.
Greetings
Rüdiger
Hello everyone,
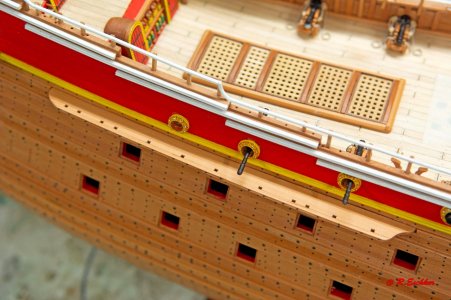
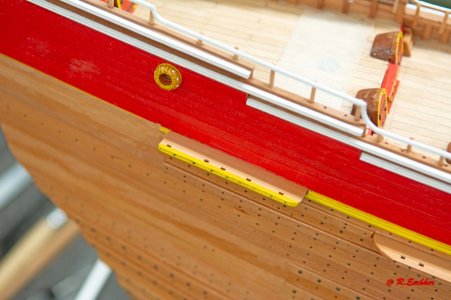
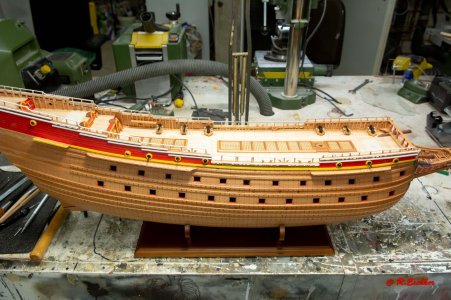
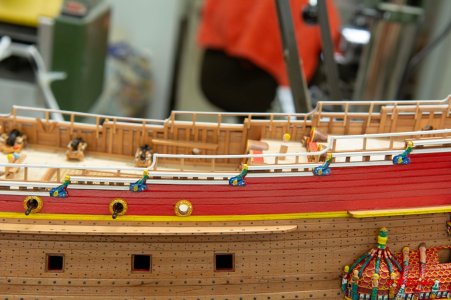
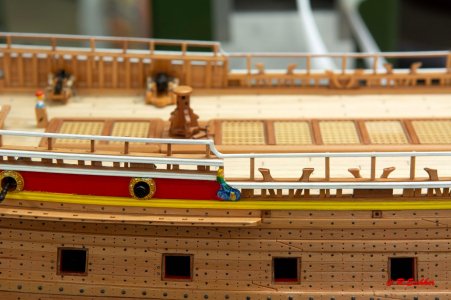
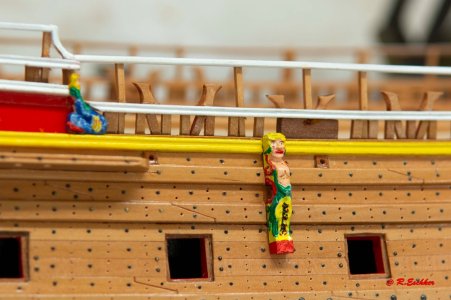
The gallion has been completed and the last figures for the stern have been attached.
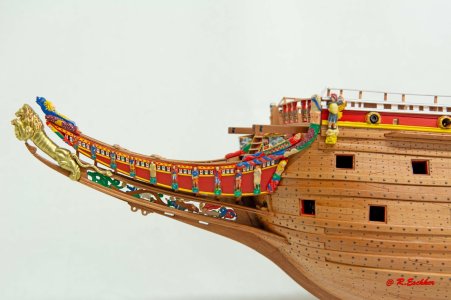
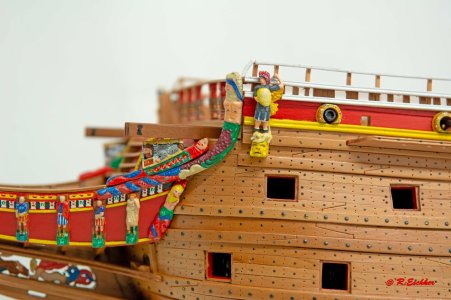
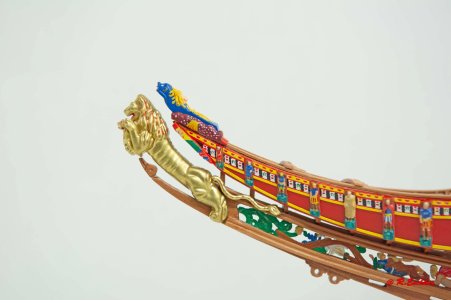
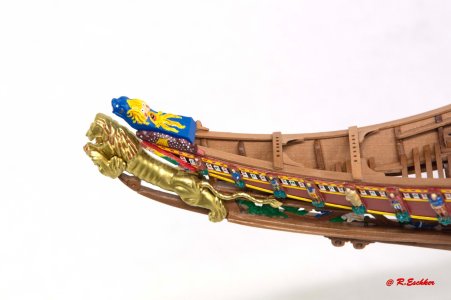
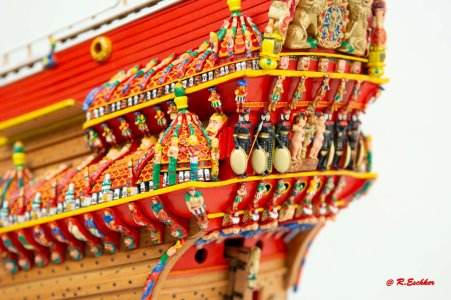
The hull was finished, except for the gun ports. I've built, modified and finished the masts, but I consider whether I should rig the ship and attach the sails.
What do you think?
To be continued
Greetings
Rüdiger
The gallion has been completed and the last figures for the stern have been attached.


The hull was finished, except for the gun ports. I've built, modified and finished the masts, but I consider whether I should rig the ship and attach the sails.
What do you think?
To be continued
Greetings
Rüdiger
Re you KIDDING ? This is astounding! Put sails on it and make it completeHello everyone,
The gallion has been completed and the last figures for the stern have been attached.
What do you think?
Last edited:
Hello everyone,
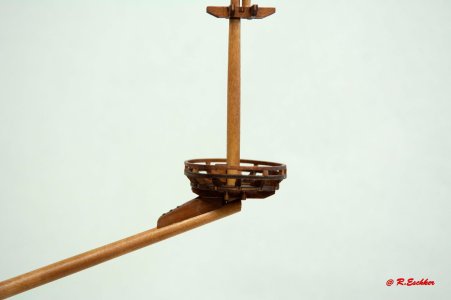
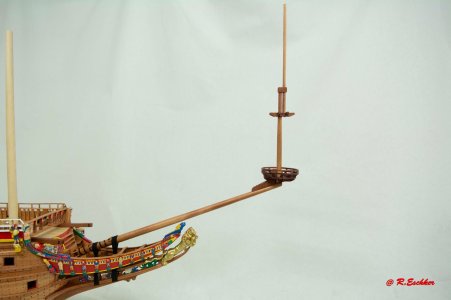
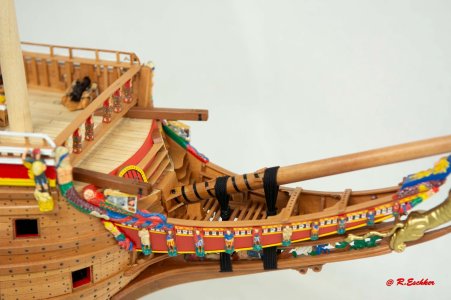
Despite the fact that I probably won't be rigging, I made the masts with several modifications.
The bowsprit was the first to go. This is version 2, and in the original there was only one railing on the Mars platform. According to my documents, there were more. There will be more on this later. If I don't rig, the bowsprit will be cut off. Fred Hocker's comment has already made me a little unsure. I can do a lot of things wrong when rigging and I don't want to do that. So I'm going to buy his book and wait for the second part. It is still possible to retrofit the model later.
To be continued
Greetings
Rüdiger
Despite the fact that I probably won't be rigging, I made the masts with several modifications.
The bowsprit was the first to go. This is version 2, and in the original there was only one railing on the Mars platform. According to my documents, there were more. There will be more on this later. If I don't rig, the bowsprit will be cut off. Fred Hocker's comment has already made me a little unsure. I can do a lot of things wrong when rigging and I don't want to do that. So I'm going to buy his book and wait for the second part. It is still possible to retrofit the model later.


To be continued
Greetings
Rüdiger
Last edited:
Hello everyone,
the first changes to the mast were necessary. First the ‘original’ from the kit.
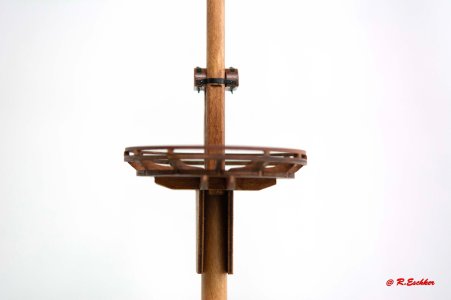
Unfortunately, according to my documents, this was wrong. So everything was changed on the foremast and mainmast. It's still not quite right, but it's close.
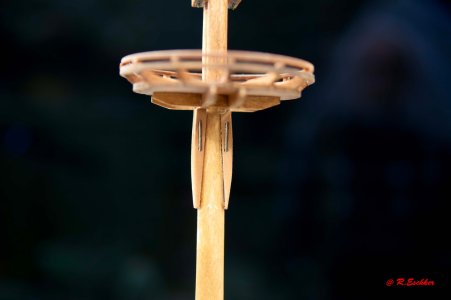
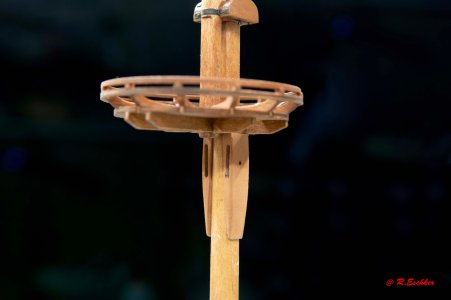
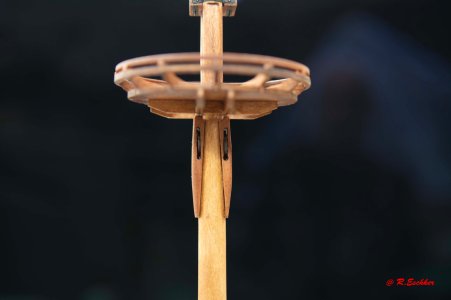
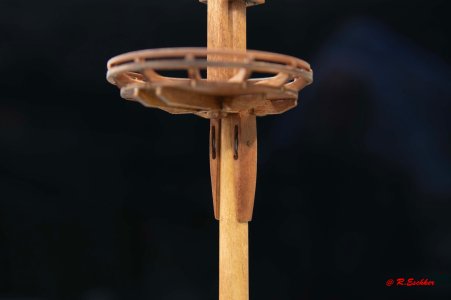
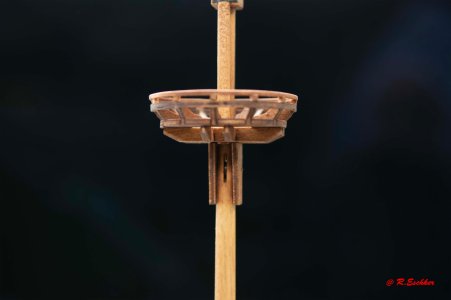
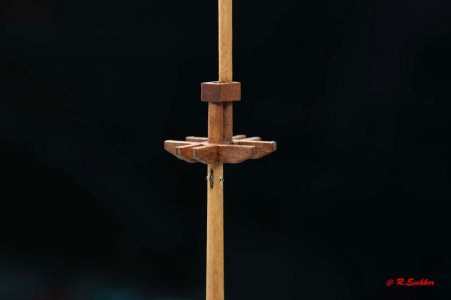
I think you can leave it like that.
To be continued
Greetings
Rüdiger
the first changes to the mast were necessary. First the ‘original’ from the kit.

Unfortunately, according to my documents, this was wrong. So everything was changed on the foremast and mainmast. It's still not quite right, but it's close.


I think you can leave it like that.
To be continued
Greetings
Rüdiger
Much better! Add more things. Keep going!Hello everyone,
the first changes to the mast were necessary. First the ‘original’ from the kit.
View attachment 476268
Unfortunately, according to my documents, this was wrong. So everything was changed on the foremast and mainmast. It's still not quite right, but it's close.
View attachment 476269
View attachment 476270
View attachment 476271
View attachment 476272
View attachment 476273
View attachment 476274
I think you can leave it like that.
To be continued
Greetings
Rüdiger
Hello everyone,
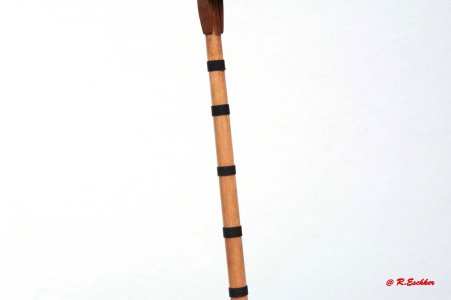
Version 3 of the masts was next. After all the rollers and axles were fitted, I made and fitted the ‘railings’ on the various Mars platforms. Again, not an exact fit, but good enough for me.
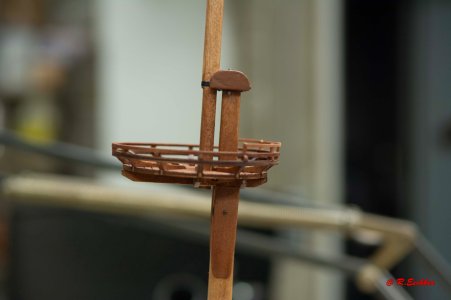
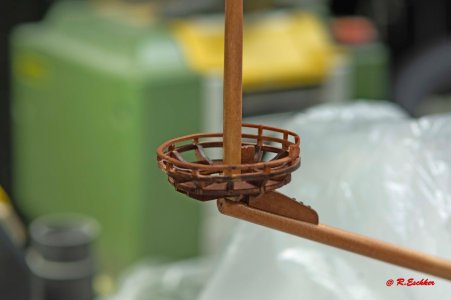
I painted the fittings on the axles with black paint.
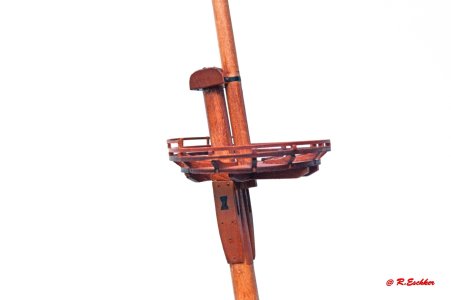
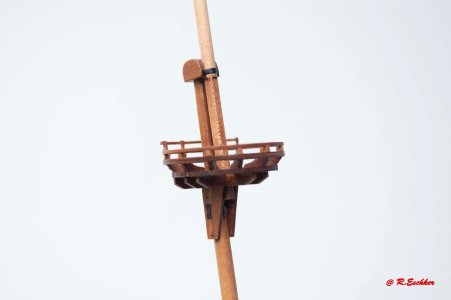
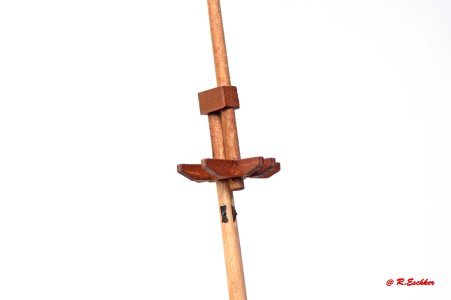
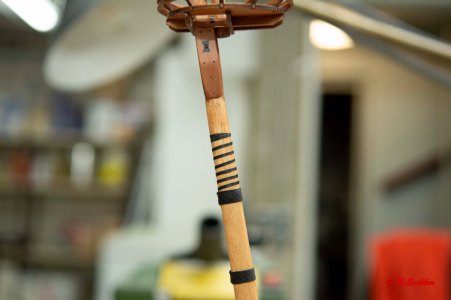
The beading on the main mast was also fitted. However, following a tip from a fellow modwell builder, I made a mistake here. A metal band similar to that on the bowsprit was wound between the penultimate binding and the masthead platform. So there will be a version 4 of the main mast.
To be continued
Greetings
Rüdiger
Version 3 of the masts was next. After all the rollers and axles were fitted, I made and fitted the ‘railings’ on the various Mars platforms. Again, not an exact fit, but good enough for me.


I painted the fittings on the axles with black paint.


The beading on the main mast was also fitted. However, following a tip from a fellow modwell builder, I made a mistake here. A metal band similar to that on the bowsprit was wound between the penultimate binding and the masthead platform. So there will be a version 4 of the main mast.

To be continued
Greetings
Rüdiger
Last edited:
It is a joy to follow your build Rudiger! Schöne arbeit!
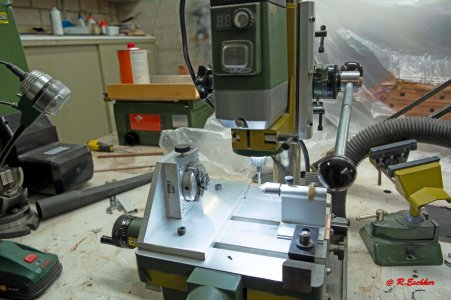
Hello everyone,
Just a small update today. I have mounted my parts attachment for the Proxxon MF 70 micro milling machine on an aluminium bracket for the work on the mast and for the jetting blocks. The part fits perfectly on the KT 150 cross table of my milling machine. The tailstock is from my DB 250 lathe. 2 mm base and everything fits. For use in the horizontal position, the part attachment is fastened in the two upper holes.
To be continued
Greetings Rüdiger
Just a small update today. I have mounted my parts attachment for the Proxxon MF 70 micro milling machine on an aluminium bracket for the work on the mast and for the jetting blocks. The part fits perfectly on the KT 150 cross table of my milling machine. The tailstock is from my DB 250 lathe. 2 mm base and everything fits. For use in the horizontal position, the part attachment is fastened in the two upper holes.

To be continued
Greetings Rüdiger
As a rule, I don't usually like painted ships, but your work with the painting really appeals to me. In this case, it seems impossible to avoid using paint. I'll be following your build closely.
Hello everyone,
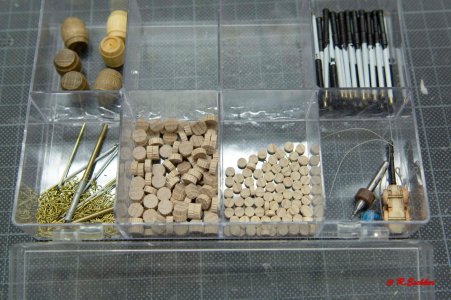
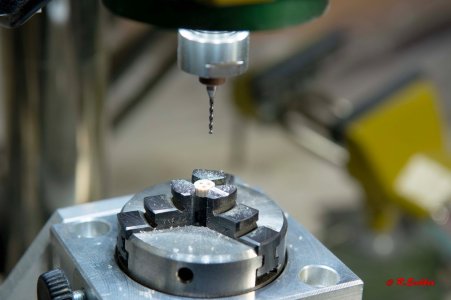
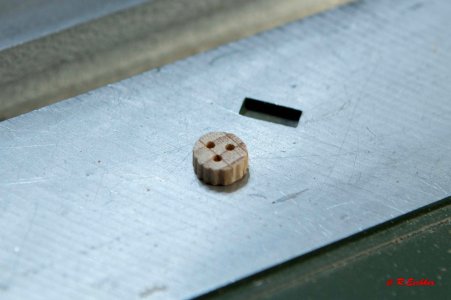
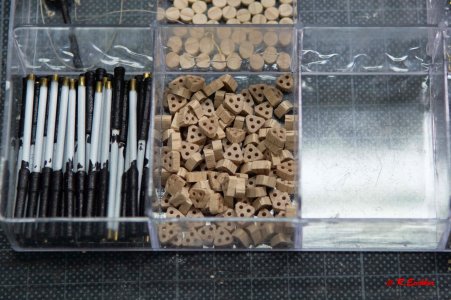
After about 40% of all Deadeyes crumbled when I removed them from the plywood board (long live laser cutting), I decided to make them myself. I took a 5 mm beech dowel rod and cut 2.5 mm thick discs from it (the small deadeye were 2 mm thick). The holes were then drilled on the router with the aid of the part attachment.
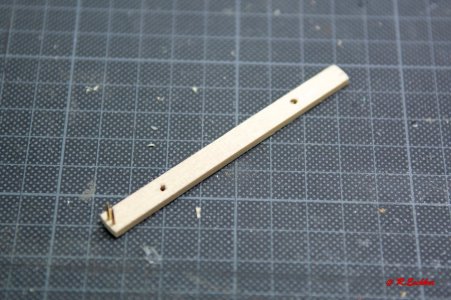
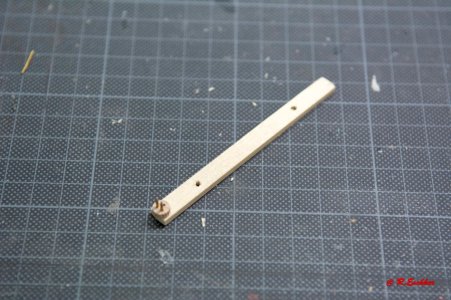
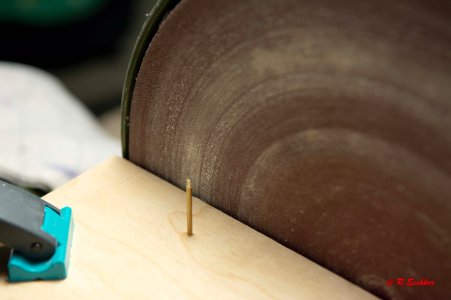
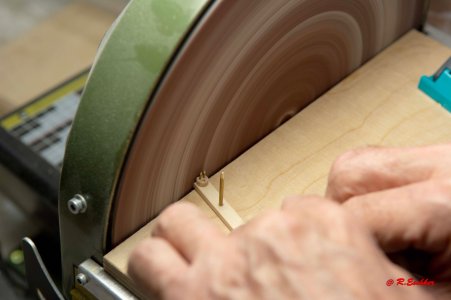
These were then placed on a kind of template and sanded on the disc sander. To do this, you have to offset the blank three times and you have 3 square Deadeyes. I hope the pictures show this clearly.
To be continued
Greetings
Rüdiger
After about 40% of all Deadeyes crumbled when I removed them from the plywood board (long live laser cutting), I decided to make them myself. I took a 5 mm beech dowel rod and cut 2.5 mm thick discs from it (the small deadeye were 2 mm thick). The holes were then drilled on the router with the aid of the part attachment.
These were then placed on a kind of template and sanded on the disc sander. To do this, you have to offset the blank three times and you have 3 square Deadeyes. I hope the pictures show this clearly.


To be continued
Greetings
Rüdiger
Hello everyone,
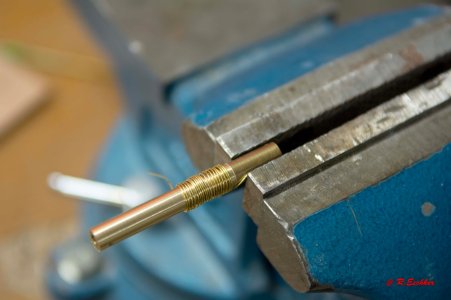
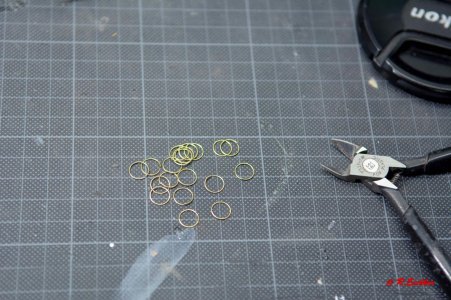
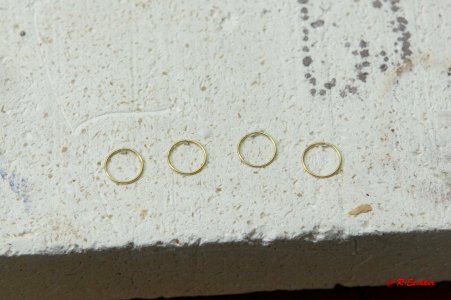
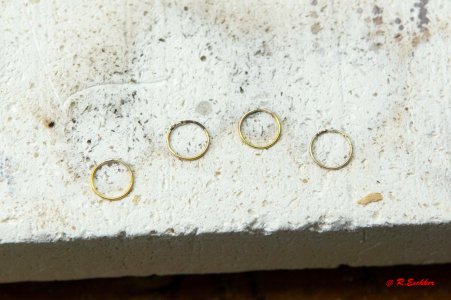
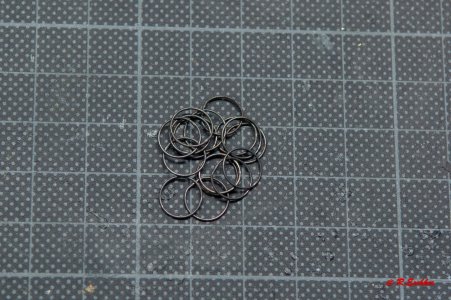
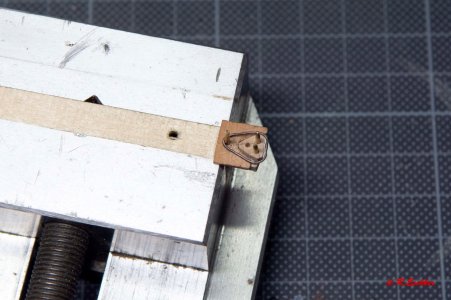
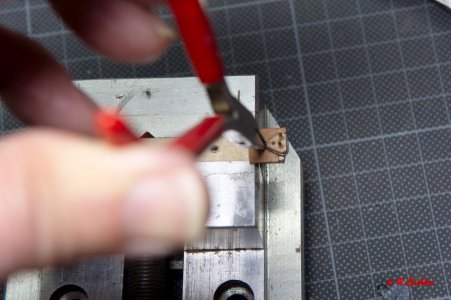
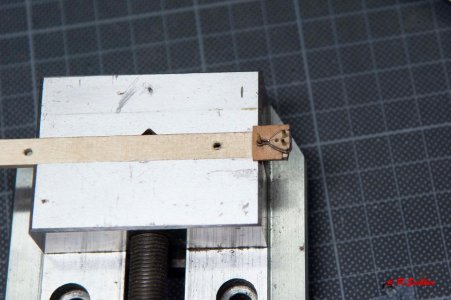
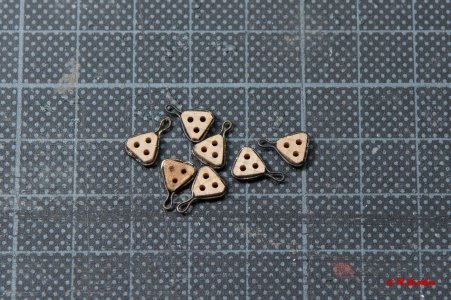
To attach the deadeyes, I now had to make the jig. To do this, I twisted 0.5 mm brass wire around a 7 mm brass pin and cut rings from it. These were then soldered together with silver solder and then burnished. With the help of a template, the wire was then connected to the deadeyes and fixed at the top with a drop of superglue. I think the pictures explain the exact process.
To be continued
Greetings
Rüdiger
To attach the deadeyes, I now had to make the jig. To do this, I twisted 0.5 mm brass wire around a 7 mm brass pin and cut rings from it. These were then soldered together with silver solder and then burnished. With the help of a template, the wire was then connected to the deadeyes and fixed at the top with a drop of superglue. I think the pictures explain the exact process.


To be continued
Greetings
Rüdiger


